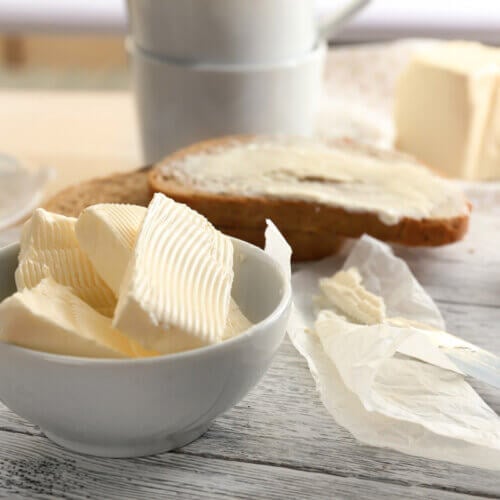
Homemade Butter
When you have a milk cow, you need to know how to use up milk, and a fail-proof homemade butter recipe from raw cream or store-bought heavy cream is a must for every homesteader.
Print
Pin
Servings: 16 Tbs
Calories: 101kcal
Cost: Varies
Equipment
- Mason Jar with Lid If you’re using a plastic mason jar lid be sure to put a metal lid on the inside of the plastic lid because they’re not leakproof. Otherwise, a two-part canning lid will work.
- Large Bowl
- Wooden spoon or silicone spatula
Ingredients
- 2 Cups Cream
- ⅛ Teaspoon Salt We use Redmond Real Salt. Use that link to automatically get 15% off your order!
Instructions
- Pour cream into a glass canning jar (or other vessel) until it's ½ full. Screw on the lid and make sure it's leak-proof.
- Shake the jar until you have one solid lump of butterfat that has separated out from the buttermilk.
- Once your butter is in one solid lump, strain out the buttermilk and transfer butter to a clean glass bowl.
- Wash your butter by running room temperature water (about 68 degrees) over the butter and mixing with your hands.
- Change out the water 3-4 times until the water runs clear when mixing the butter.
- Salt your butter (⅛ teaspoon per 2 cups of cream) and mix well, straining out any additional liquid.
- Spread your butter thin onto the side of your bowl and let it rest for 5 minutes to allow any excess water to drain out.
- Use right away, or follow the storage instructions below.
Notes
Storing Your Butter:
Homemade butter doesn’t typically last as long as store-bought butter. This is why we like to freeze our butter and use it up within a week when stored in the refrigerator.
If you’re going to use your butter within a day (which can be easy to do when you keep no-knead bread dough on hand to make fresh homemade bread fast), go ahead and just place it in the refrigerator on a plate. No cover necessary.
If you’re going to use it within 1-2 weeks, you’ll want to wrap your butter so it’s not exposed to the air. Plastic wrap works well here. (We recommend wrapping in a rectangular block.)
For long-term storage – up to a year, wrap your butter in plastic wrap (1 or even two layers is great) in a flat disc so it defrosts quickly when you’re ready to use it.
Mark the butter well and store it in the freezer until you’re ready to use it! Then, follow the storage instructions above. Real butter is a great, healthy fat source on the homestead.
Recipe Tips:
- Buttermilk – Buttermilk is a valuable by-product of making butter, and should never be thrown out! Although this buttermilk does not contain the live active enzymes found in cultured buttermilk, it still reacts with the leavening agents in baked goods to make fluffy whole wheat biscuits, sweet breads, easy sourdough pancakes, muffins, cakes, and more! If you don’t enjoy baking, you can always give it to your animals. They love it!
- Temperature – During the butter-making process, it’s important to be working with the right temperature of cream. The ideal temperature to churn your cream is about 62-63°F. If your cream is too cold, it will take much longer to churn into butter. If your cream is too warm, the butter will have a slimy consistency that’s hard to recover from.
- Vessel Capacity – Do not be tempted to overfill your jar in an attempt to make more butter at a time. If the jar is more than half full, you will not allow enough room for the cream to agitate and the butter fat solids to separate.
- Timing – We like to think about Goldilocks here… you want to continue shaking until the butter is “just right”. It can be tempting to continually open your jar check on the consistency of your butter. But just know, when your butter separates from the liquid buttermilk, your jar will get nice and clear, and you’ll see the separation of butterfat and buttermilk. If you see little clumps of butter that have separated from the buttermilk, this is great, but you’re not quite done. Keep shaking until you have one large chunk of butter (a few small floating pieces is OK). Once you have a large chunk of butter, stop shaking! If you continue to mix, you can actually separate your chunks again and ruin your butter
Nutrition
Calories: 101kcal | Carbohydrates: 1g | Protein: 1g | Fat: 11g | Saturated Fat: 7g | Polyunsaturated Fat: 0.5g | Monounsaturated Fat: 3g | Cholesterol: 34mg | Sodium: 26mg | Potassium: 28mg | Sugar: 1g | Vitamin A: 437IU | Vitamin C: 0.2mg | Calcium: 20mg | Iron: 0.03mg
Tried this recipe?We want to see! Tag @homesteadingfamily on Instagram.