Learning the secret to reliable bread is simpler than it may seem. With just 5 minutes of hands-on time, you can have crusty, fluffy, homemade no-knead artisan bread on the table every night of the week!
Why You’ll Love No-Knead Artisan Bread
- Delicious - Who doesn’t love the taste (and smell) of fresh-baked bread? Whether you make cucumber tea sandwiches or simply top your bread with this homemade butter recipe, peanut butter with plum jelly, or carrot-top pesto, it’s sure to be a crowd pleaser!
- Simple - If you are new to bread baking and aren’t quite yet ready to master grinding your own flour or making a sourdough starter, then this is a great place to start. Before trying my best sandwich bread recipe, try this artisan bread that uses just four ingredients and needs NO kneading at all.
- Fast - I’m a busy mom, and I know what it’s like to want to prioritize cooking from scratch, but to be so busy throughout the day that you run out of time to bake bread. But not anymore! This recipe can be whipped up and on the table in about an hour and a half, with just 5 minutes of hands-on time!
- Convenient - The master dough can be made ahead of time and stored in your fridge for up to a week, so it’s ready to go anytime you need fresh bread fast.
Ingredients Needed:

- Warm Water - We are working with the Goldilocks principle here: not too hot, and not too cold! You want it about 100°F or baby bath temperature.
- Active Dry Yeast – It’s important to use active dry yeast and not instant yeast for this no-knead artisan bread.
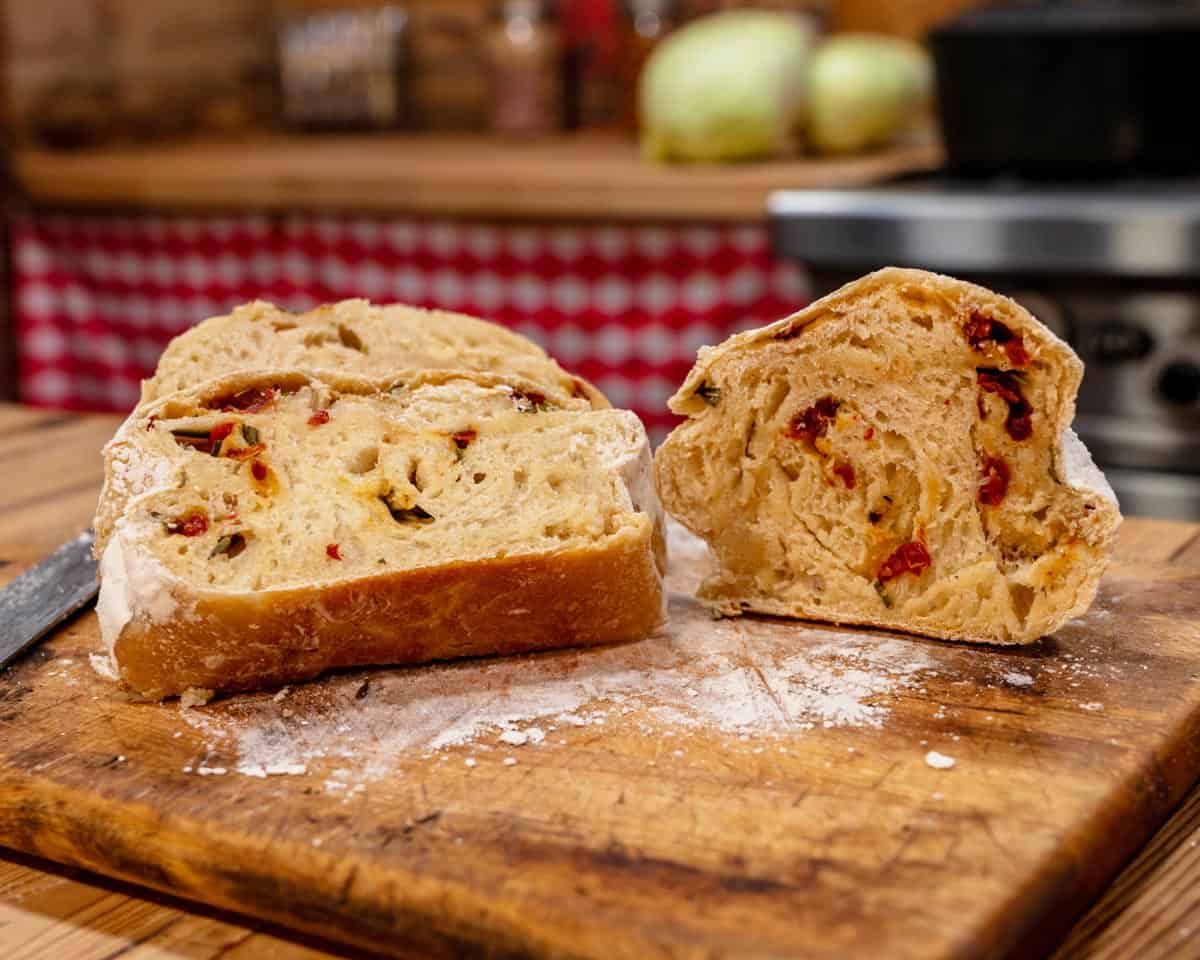
- Flour – I prefer to use either all-purpose flour or a combination of all-purpose and whole wheat flour. If you watch to the end of the video above, you can see the main loaf in the video is all-purpose white flour, but the loaf I cut into at the end is a combination of whole wheat and all-purpose flour.
- Salt – We recommend a high-quality salt like Redmond Real Salt. Use that link to automatically get 15% off your order!
Recipe Variations
The beauty of this recipe is that you can mix up the master dough once, and it yields about four loaves of bread. However, this recipe is extremely versatile, and you can make more than just no-knead artisan bread with it.
Check out this post where I show you five additional ways to use no-knead bread dough.
No Knead Artisan Bread Recipe Instructions
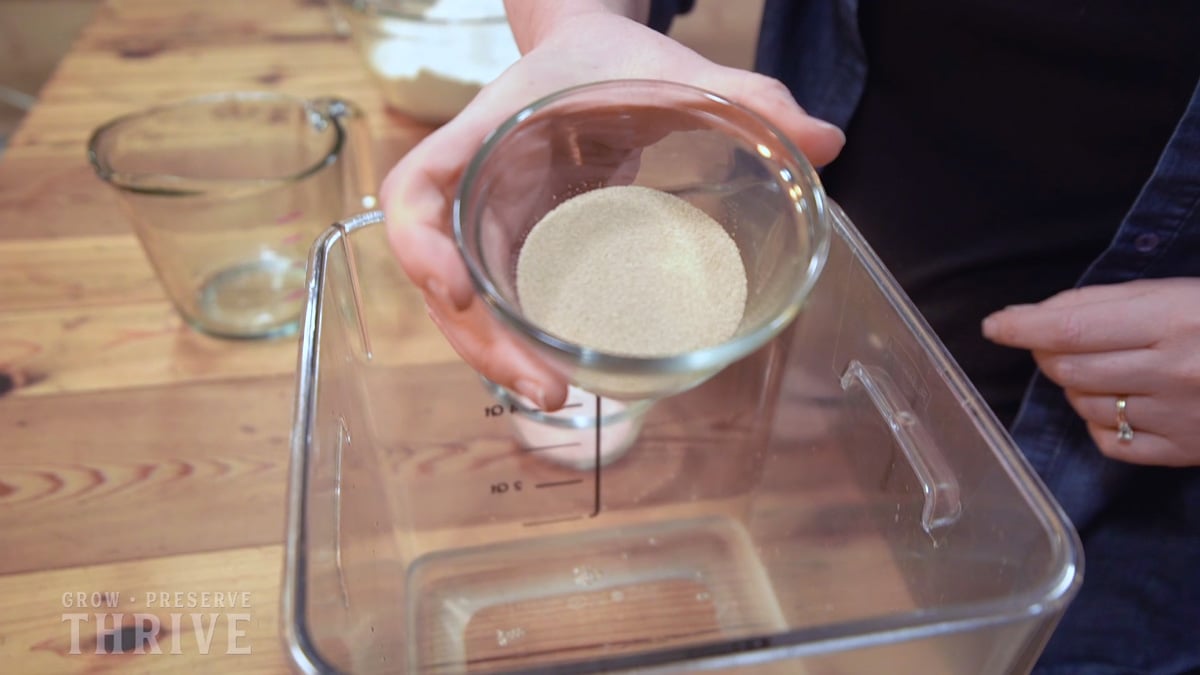
Step 1: Add warm water to a large food-grade container. Add yeast and stir to combine.

Step 2: Add flour and salt and stir until all ingredients are incorporated. It may get sticky, so you can always get in there with your hands to give it a good mix. But remember, you don’t need to knead the dough, just mix until combined. Cover your container with a lid, or with a piece of plastic wrap and a towel and leave at room temperature for 2 hours.
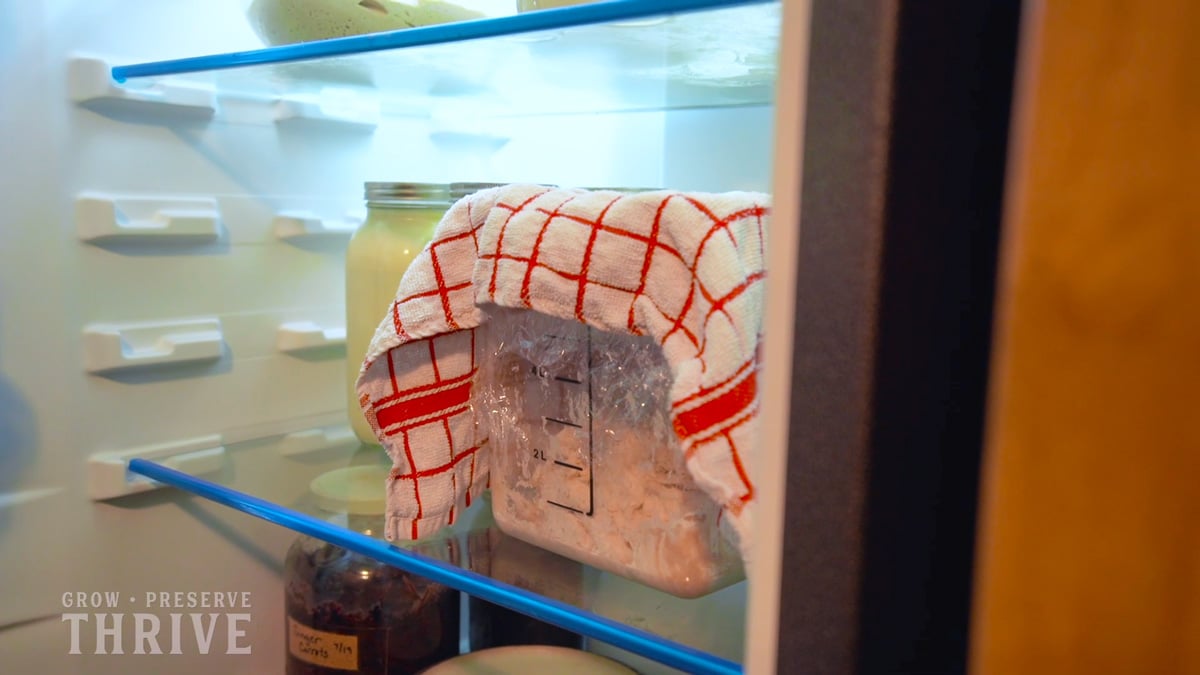
Step 3: Transfer the dough to the refrigerator and let it rest until you’re ready to bake. The dough can be stored in the refrigerator for up to two weeks.
Step 4: An hour and a half before you’re ready to eat. Take a grapefruit-sized section of your dough out of the container in the refrigerator. Place the remaining dough back in the fridge.
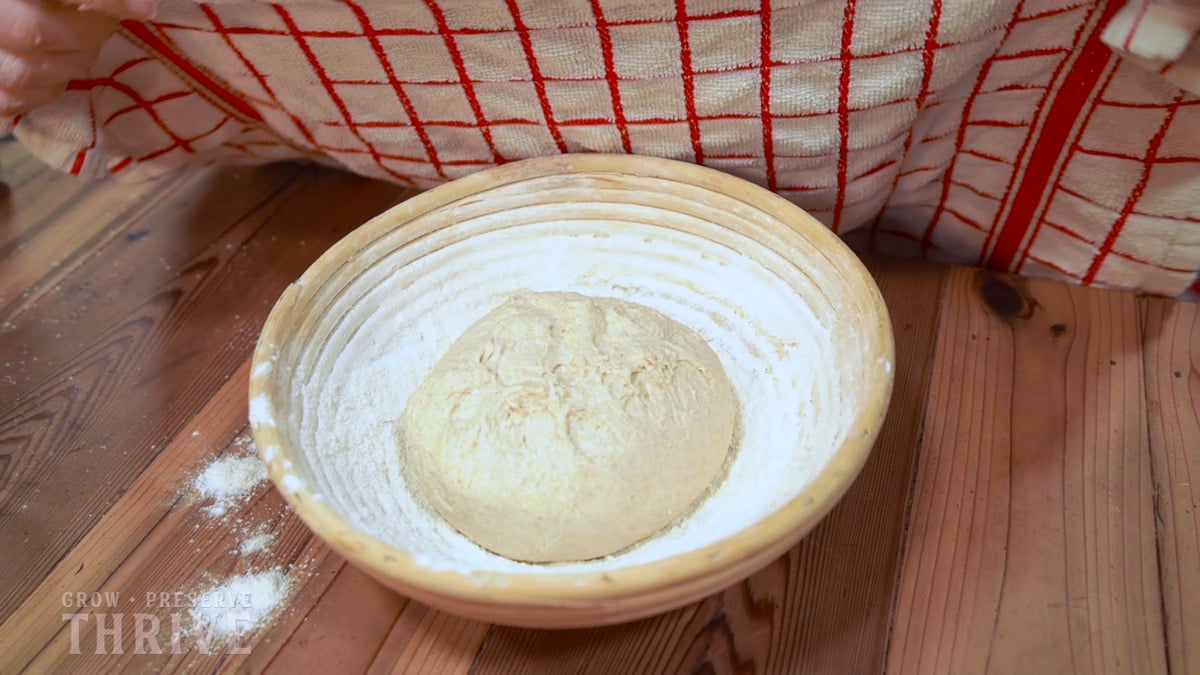
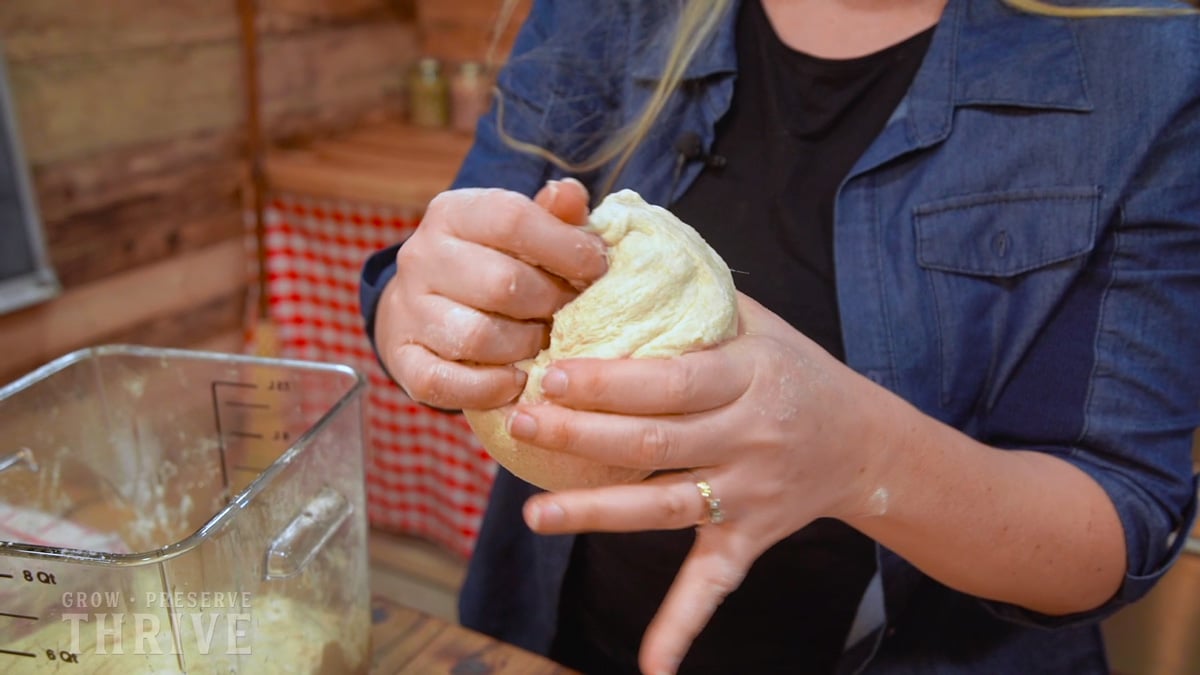
Step 5: Generously flour a banneton basket, if using, with rice flour (or regular flour). Alternatively, place a piece of parchment paper on the counter. Stretch the grapefruit-sized section of dough, folding it in and under, then pinching the sides together on the bottom until a nice round loaf is formed. Place top-side down in your banneton, cover with a towel and allow to rise for 40 minutes.
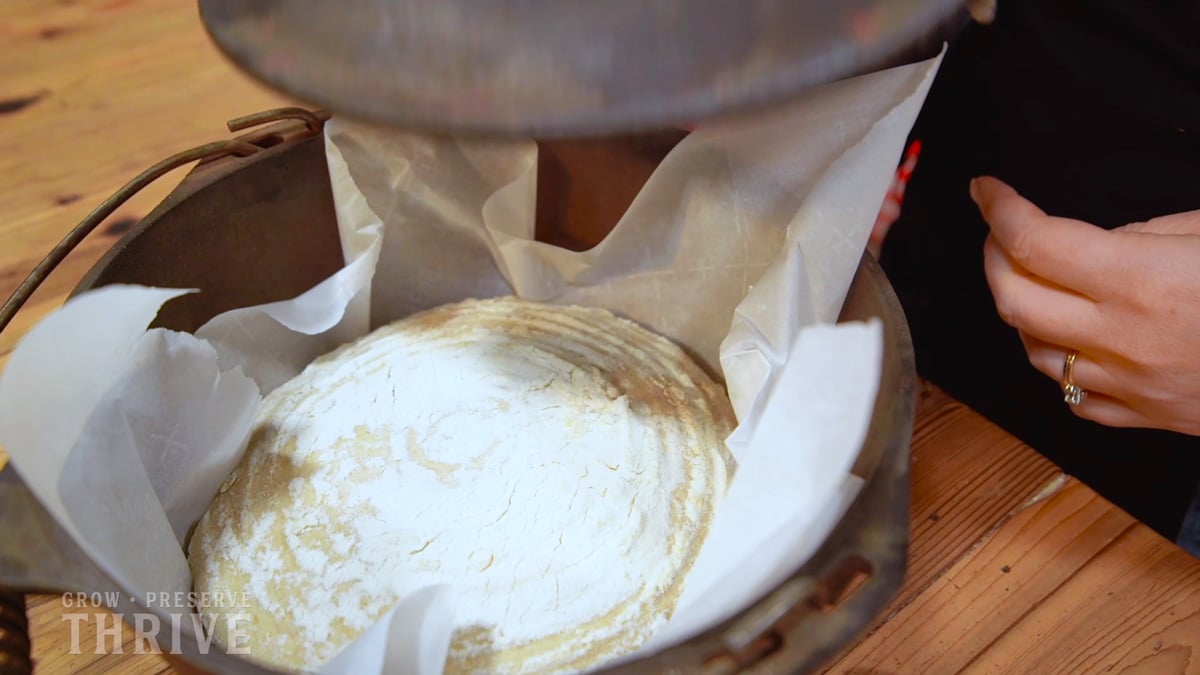
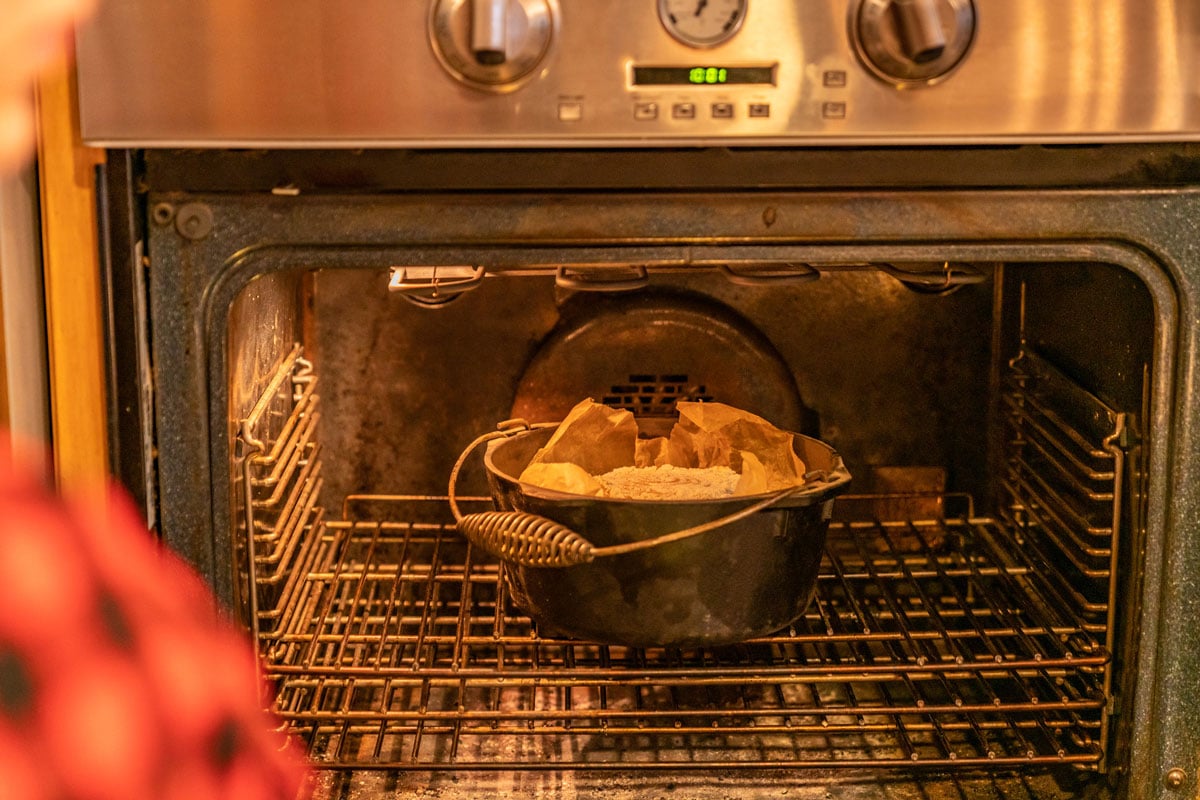
Step 6: About 20 minutes into the rise time, preheat the oven to 425°F with the Dutch oven inside the oven. Place a piece of parchment paper over your banneton and gently flip the loaf over so your loaf is now on the parchment and out of the basket. (See video above for demonstration.) Remove the hot Dutch oven from the oven and gently lift parchment paper and loaf, then lower into the Dutch oven. Cover with the lid and bake for 30 minutes.
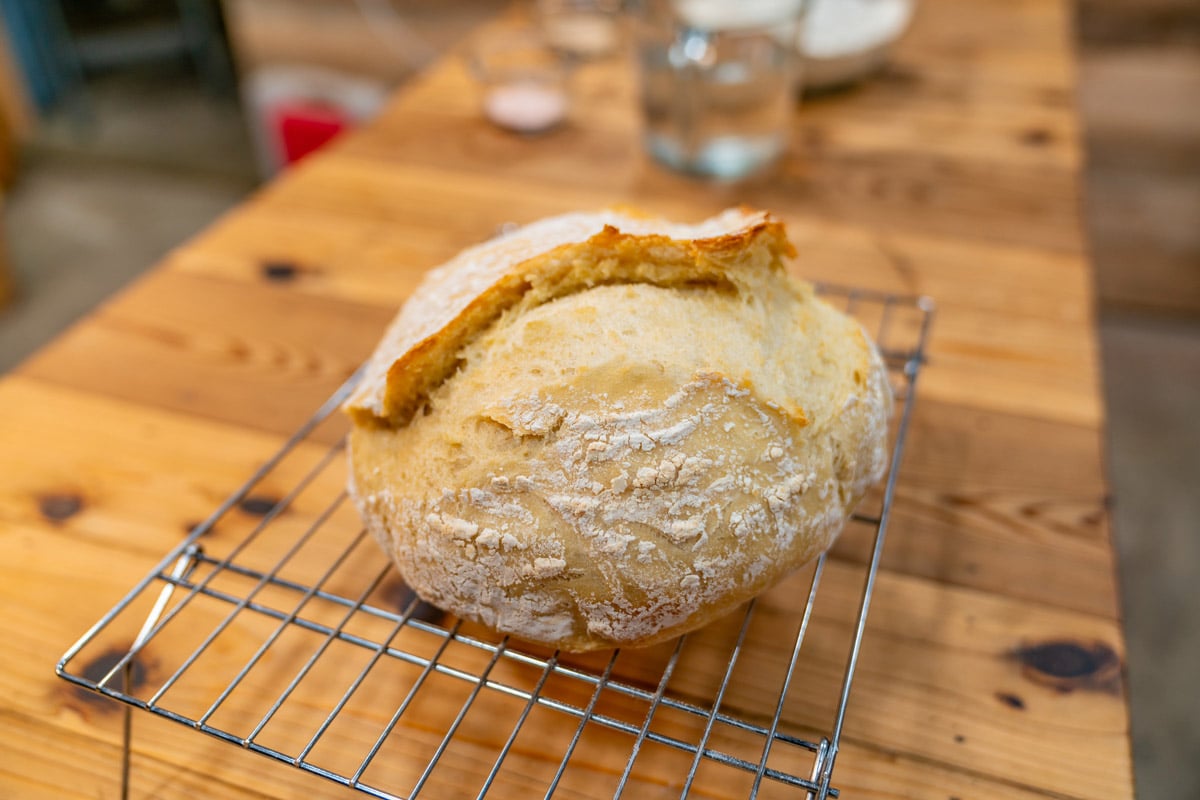
Step 7: Remove the Dutch oven lid and continue baking for a few more minutes until the bread is golden brown on top.

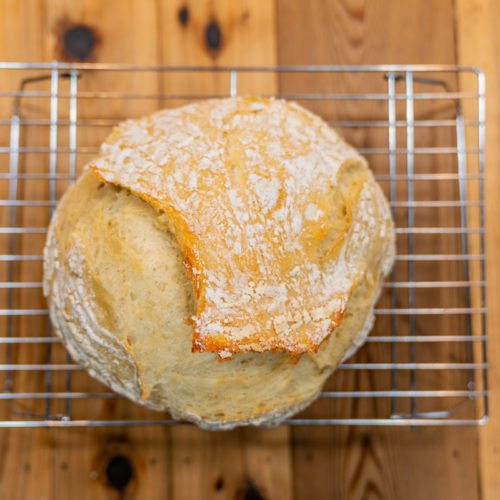
Step 8: Remove the bread from the Dutch oven and place it on a cooling rack for a few minutes before slicing. Serve warm.
Storage Instructions
To store leftover no-knead artisan bread, first allow it to cool completely. Then, store it at room temperature in an airtight container or bread box. If using a bread bag, choose paper over a plastic bag. Paper allows better air circulation so that condensation does not collect and cause molding.
Leftover bread can be reinvented as bread soup, bread crumbs for this easy meatloaf recipe, homemade croutons, French toast soufflé, bread pudding, breakfast casseroles, and more!
If you need your bread to last longer than a few days, you can freeze it. Use an airtight container, or wrap your bread in plastic wrap, and then again in foil or freezer paper to avoid freezer burn. Freeze for three to six months.
FAQs
Yes! No-knead bread is a basic bread-making technique requiring just flour, salt, yeast, and water. Refer to the easy steps in this tutorial to make homemade bread with no kneading required.
Artisan bread is a specific method of breadmaking that uses basic ingredients such as flour, salt, yeast, and water. It is made by hand without the use of a bread machine or electric mixer.
Artisan bread develops the age-old skill of traditional bread-making, allowing you to feel more in touch with your food by making it from scratch and by hand.
Flour with a higher protein content, such as hard wheat varieties, will yield the best results. For more detail, check out my freshly milled flour primer, which explains the protein content of various flours.
Other Posts You May Enjoy
No Knead Artisan Bread
Equipment
- Large Bowl
- Wooden spoon or dough whisk
- Banneton
- Dutch Oven I love my Le Creuset Dutch oven.
- parchment paper
Ingredients
- 3 Cups Water 100°F
- 2 Tablespoon Active Dry Yeast
- 6 ½ Cups All-Purpose Flour or a combination of all-purpose and whole wheat
- 1 ½ Tablespoon Sea Salt We use Redmond Real Salt. Use that link to automatically get 15% off your order!
Instructions
- Add warm water to a large bowl or food-grade container. Add yeast and stir to combine.
- Add flour and salt and stir until all ingredients are incorporated. It may get sticky, so you can always get in there with your hands to give it a good mix. But remember, you don’t need to knead the dough, just mix until combined.
- Cover your container with a lid, or with a piece of plastic wrap and a towel and leave at room temperature for 2 hours.
- Transfer the dough to the refrigerator and let it rest until you’re ready to bake. The dough can be stored in the refrigerator for up to two weeks.
- An hour and a half before you’re ready to eat. Take a grapefruit-sized section of your dough out of the container in the refrigerator. Place the remaining dough back in the fridge.
- Generously flour a banneton basket, if using, with rice flour (or regular flour). Alternatively, place a piece of parchment paper on the counter.
- Stretch the grapefruit-sized section of dough, folding it in and under, then pinching the sides together on the bottom until a nice round loaf is formed.
- Place top-side down in your banneton, cover with a towel and allow to rise for 40 minutes.
- About 20 minutes into the rise time, preheat the oven to 425°F with the Dutch oven inside the oven.
- Place a piece of parchment paper over your banneton and gently flip the loaf over so your loaf is now on the parchment and out of the basket.
- Remove the hot Dutch oven from the oven and gently lift parchment paper and loaf, then lower into the Dutch oven.
- Cover with the lid and bake for 30 minutes.
- Remove the Dutch oven lid and continue baking for a few more minutes until the bread is golden brown on top.
- Remove the bread from the Dutch oven and place it on a cooling rack for a few minutes before slicing. Serve warm.
Video
Notes
Nutrition
Did you try this no-knead artisan bread recipe? If so, please leave us a star ⭐ rating and your comments in the recipe card below. Then snap a photo and tag us on social media @homesteadingfamily so we can see!