
Whether from a kitchen mishap or an accidental encounter with a hot surface, burns can be painful and leave lasting scars. However, there is a natural and effective solution to soothe and heal skin burns - homemade burn salve.

Why I Love This Burn Salve
Did you know that every year in the United States, there are approximately 486,000 burn injuries that require medical treatment?
Living rurally motivates us to know what to do in an emergency until help arrives, and that includes stocking our herbal medicine cabinet with first aid remedies such as homemade antibiotic ointment, dried comfrey for a bone healing compress, homemade headache salve, arnica salve for bumps and bruises, and calendula oil for wounds and abrasions.
With many hands helping in the kitchen, keeping a woodstove going in the winter, or tending to the garden and our animals in the hot summer sun, burns are bound to happen. So, this homemade burn salve has become our go-to remedy to soothe minor burns and promote healing.
It’s important to note that I am not a certified medical practitioner. This post is not intended to diagnose or treat but is for informational purposes only. Please contact your medical professional before introducing new herbal remedies into your wellness routine.

Healing Herbs for Burns
While oil moisturizes dehydrated skin and beeswax works as a protective layer, healing herbs and plants can elevate a salve's effectiveness and provide additional relief for skin burns. Let's explore some of these herbs and their contributions to healing burns:
Calendula
Calendula, also known as Pot Marigold, is well-known for its healing properties. It has anti-inflammatory and antimicrobial properties that can help soothe and protect the skin. Calendula's gentle and calming nature makes it a valuable addition to the burn relief cream, aiding in reducing redness and promoting skin recovery. (Source)

Plantain
Plantain, not to be confused with the banana-like fruit, is a common herb found in many lawns and gardens. While it may be seen as a pesky weed to some, it has powerful medicinal properties.
Plantain leaves contain compounds that have anti-inflammatory and wound-healing effects, making them ideal for treating burns. Its cooling and soothing properties can provide relief from pain and speed up the healing process. (Source)
Lavender
Lavender essential oil is known for its antimicrobial properties. It can help prevent infection in burn wounds by inhibiting the growth of bacteria and other harmful microorganisms. By keeping the affected area clean, lavender oil supports the healing process and minimizes the risk of complications. (Source)
A preliminary study has also shown that lavender essential oil possesses regenerative properties, which assist in the formation of new skin cells and potentially promote faster healing. (Source)
Aside from its healing properties, lavender essential oil offers various therapeutic effects that can benefit individuals with burn injuries. The aromatic compounds found in lavender oil have calming and relaxing properties, capable of reducing stress and anxiety. This can be particularly beneficial for burns that cause emotional distress and discomfort. (Source)

Supplies Needed
Before you begin, gather all the necessary supplies. Having these items ready to go will make for a smooth process when making your own homemade salve.
- Glass Jars and Lids - Pint-size jars work great for this recipe. You will need one jar to make your herbal oil and a second one to strain the finished oil into.
- Stainless Steel Strainer - If you make herbal oils often, it's worth investing in a stainless steel strainer. Otherwise, a coffee filter or butter muslin can also be used. You can find a small stainless steel strainer here.
- Double Boiler - You'll need a heat-safe container for melting the base ingredients and blending them together. A double boiler setup or a heat-resistant glass bowl placed over a pot of simmering water works well.
- Metal Tins - Metal tins are convenient and make nice packaging for gifts, but you can also use small jelly jars or another glass container with a lid. You can find metal tins here.

Ingredients Needed
Making your own burn relief cream requires specific ingredients that work together to provide effective relief and promote healing for burns. Each component has its unique properties, ensuring a soothing and beneficial remedy for your skin.
It's important to use dried herbs only when making medicinal oils. Using fresh herbs will promote mold or, worse, bacterial contamination.
- Dried Calendula Blossoms - You can grow calendula and dry the blossoms, or you can purchase dried calendula from a reputable source.
- Dried Plantain Leaf - Plantain grows wild and can be foraged in certain parts of the country. If you purchase dried plantain, look for organic plantain.
- Dried Lavender - I love to add perennial plants like lavender to my cottage garden, but dried lavender can also be purchased.
- Oil of Your Choice to Cover - Some of my favorite oils to use are olive, sweet almond, and sunflower oil.
- Beeswax Pastilles - Beeswax locks in skin hydration and acts as a natural emulsifier and thickening agent in the burn relief cream. (Source) It helps create a smooth and creamy texture that is easy to apply and stays on the skin longer for maximum effectiveness. (That's why you'll find beeswax in my DIY Lip Balm.) You can find beeswax pastilles here.
- Vitamin E Oil - Vitamin E oil acts as an antioxidant, protecting the skin from further damage caused by free radicals. (Source) You can find Vitamin E oil here.
- Lavender Essential Oil - Lavender essential oil is optional but can boost the healing power of your salve as well as provide a pleasant scent. You can find lavender essential oil here. If using on children, reduce the lavender essential oil to ⅛ teaspoon.

How to Make Homemade Burn Relief Cream
Making the Herbal Oil
- Gather your herbs and add them to a clean and dry pint jar.
- Pour oil over the herbs until they are completely submerged, leaving a little room at the top of the jar.
- Place a lid on the jar and close snugly.
- Find a warm area in your home and let the herbs infuse for about two weeks.
- Occasionally, rotate or gently shake the jar to help the herbs blend together.
- After two weeks, strain the herbs out of the oil by pouring through a coffee filter, butter muslin or fine mesh strainer into a new, clean jar. If you would like a more powerful quality of oil, add more fresh herbs. Let the new herbs infuse in the same oil for two more weeks.
- Strain the oil, and label the jar.
- You can proceed directly to making your salve or store it in a cool, dark location for up to one year.

Making the Salve
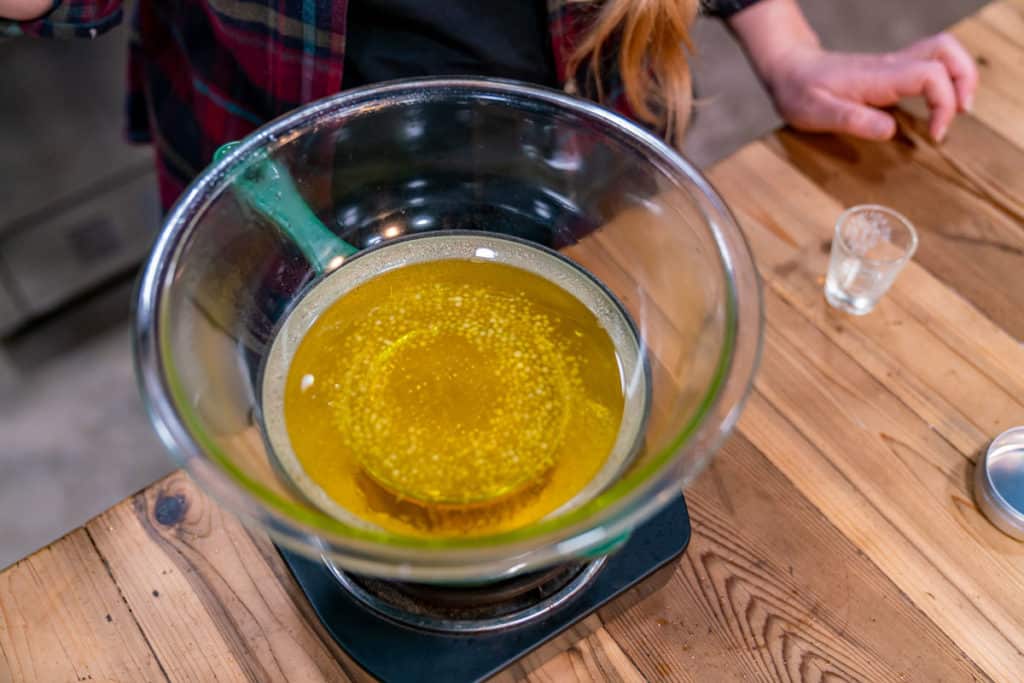
- Gently warm the beeswax and herbal oil in a double boiler. Once the beeswax is melted, remove it from the heat.
- Add vitamin E and essential oils to the oil/beeswax mixture.
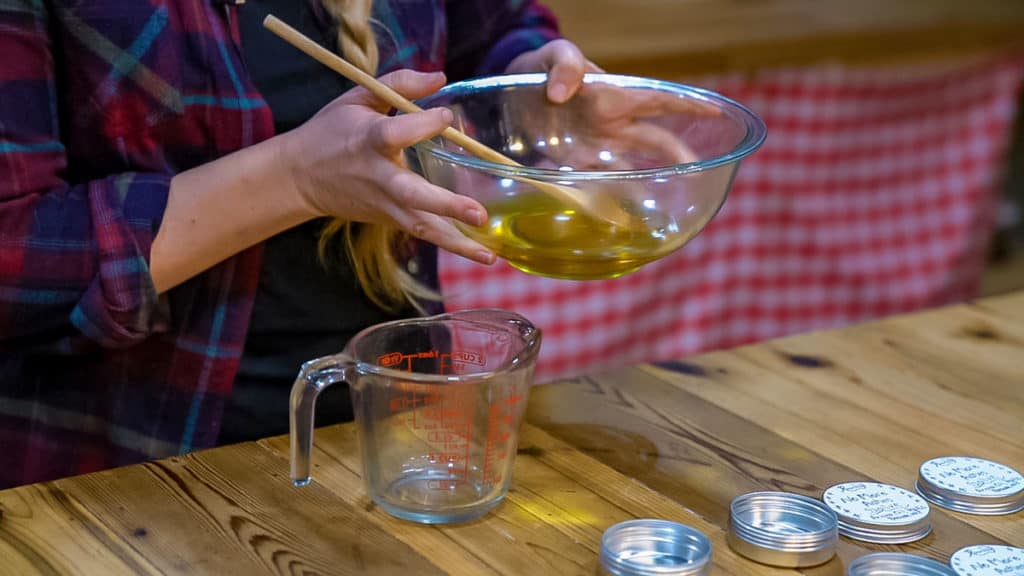
- Stir together and pour into clean, dry containers.
- Label with name, ingredients and date made.
- Store at room temperature for up to one year. Use as needed.
Homesteading Hack: It's important to perform a patch test on a small area of skin before applying the homemade burn relief cream to a larger burn. If any irritation or discomfort occurs, discontinue use.
Now that you know how to make your own homemade burn relief cream, you can keep it on hand for any minor burns that may occur. This natural and soothing salve will provide relief and promote healing, making it a valuable addition to your first aid kit.
Did you follow this tutorial? If so, please leave a star rating in the recipe card below. Then, snap a photo and tag us on social media @homesteadingfamily so we can see your finished salve!

FAQ
Our homemade burn relief cream is made from natural ingredients such as olive oil, beeswax and healing herbs like calendula, plantain, and lavender.
Yes, you can easily make this burn relief cream at home using the provided recipe and the necessary ingredients. It is a simple DIY process.
Lavender essential oil has healing properties that can soothe and promote the recovery of burned skin. It is known for its anti-inflammatory and antimicrobial effects.
Yes, besides lavender, calendula and plantain can be added to the burn relief cream to enhance its healing properties.
The homemade burn relief cream is primarily designed for minor burns. For severe burns or major injuries, it is important to seek professional medical assistance.
The time it takes for the burn relief cream to show results may vary depending on the severity of the burn. It is recommended to apply the cream regularly and monitor the progress.
While the burn relief cream contains natural ingredients, it is always recommended to perform a patch test on a small area of skin before applying it to sensitive areas.
Yes, you can store the homemade burn relief cream in a clean, airtight container and keep it in a cool and dry place for up to a year. However, it is advisable to check for any changes in texture or smell before application.
It is recommended to apply the burn relief cream 2-3 times a day or as needed. However, it is important to consult a medical professional if necessary.

Soothing Burn Salve Recipe
Equipment
- Glass Jar & Lids
- Stainless Steel Strainer
- Double Boiler or pot with a heatproof bowl
- Metal Tins
Ingredients
- ⅓ cup dried calendula blossoms
- ⅓ cup dried plantain leaf
- ⅓ cup dried lavender
- 1 cup oil
- 40 grams beeswax pastilles
- ½ teaspoon vitamin E oil
- ¼ teaspoon lavender essential oil or ⅛ teaspoon if used on children.
Instructions
To Make Herbal Oil
- Gather your dried herbs and add them to a clean and dry pint jar.
- Pour oil over the herbs until they are completely submerged, leaving a little room at the top of the jar.
- Place a lid on the jar and close snugly.
- Find a warm area in your home and let the herbs infuse for about two weeks.
- Occasionally, rotate or gently shake the jar to help the herbs blend together.
- After two weeks, strain the herbs out of the oil by pouring through a coffee filter, butter muslin or fine mesh strainer into a new, clean jar. If you would like a more powerful quality of oil, add more fresh herbs. Let the new herbs infuse in the same oil for two more weeks.
- Strain the oil, and label the jar.
- You can proceed directly to making your salve or store it in a cool, dark location for up to one year.
To Make the Salve
- Gently warm the beeswax and herbal oil in a double boiler. Once the beeswax is melted, remove it from the heat.
- Add vitamin E and essential oils to the oil/beeswax mixture.
- Stir together and pour into clean, dry containers.
- Label with name, ingredients and date made.
- Store at room temperature for up to one year. Use as needed.


