
Do you have beautiful cutting boards that you want to make last? Use this guide to learn how to clean a wooden cutting board the best way. As a bonus, I’ll show you how to avoid mineral oil used in commercial wood conditioners when you make a safe and natural wood conditioner using olive oil instead.

Why Use a Wooden Cutting Board
When it comes to homestead essentials, wood cutting boards are a popular choice in the kitchen. We love these beautiful wooden cutting boards from Virginia Boys Kitchens (use code HOMESTEAD for 10% off your order).
Not only are they beautiful, but they also provide a sturdy workspace, help to keep your knives sharp, and have antimicrobial properties, making them superior to their plastic counterparts. (Source) This is especially important in protecting your family from foodborne illnesses.
But just like properly cleaning cast iron, there are some important things you should know when learning how to clean a wooden cutting board, which we will cover in this post.
Additionally, if you are trying to avoid toxins in common household cleaners by making your own all-natural cleaners, then we have a special bonus for you. Make sure you grab our DIY wood conditioner recipe to keep your wooden cutting boards free from mineral oil and still looking like new!

Wooden Cutting Board Tips
Before we dive into how to clean a wooden cutting board, let’s cover a few basic mistakes that can be made:
- Dishwasher - Never run your wooden cutting board through the dishwasher. The porous materials of wood are not suitable for dishwashers, and they will warp and crack.
- Bleach - Do not use bleach to sanitize a wooden cutting board. The bleach will strip the wood’s natural oils and alter its natural pigment. Homesteading Hack: Check out this post for several natural alternatives to using bleach in your home.
- Moisture - Submerging a cutting board in water to soak will cause it to warp and crack. Always allow your cutting board to dry thoroughly before storing it in a well-ventilated area.
- Abrasives - Do not use steel wool or other scratch pads that can damage the surface of your wood. A clean dish rag or a soft-bristled brush is sufficient.
How to Clean a Wooden Cutting Board
Cleaning a cutting board takes just five easy steps:


- Rinse - Begin by giving your cutting board a good rinse with hot water to remove any large debris.
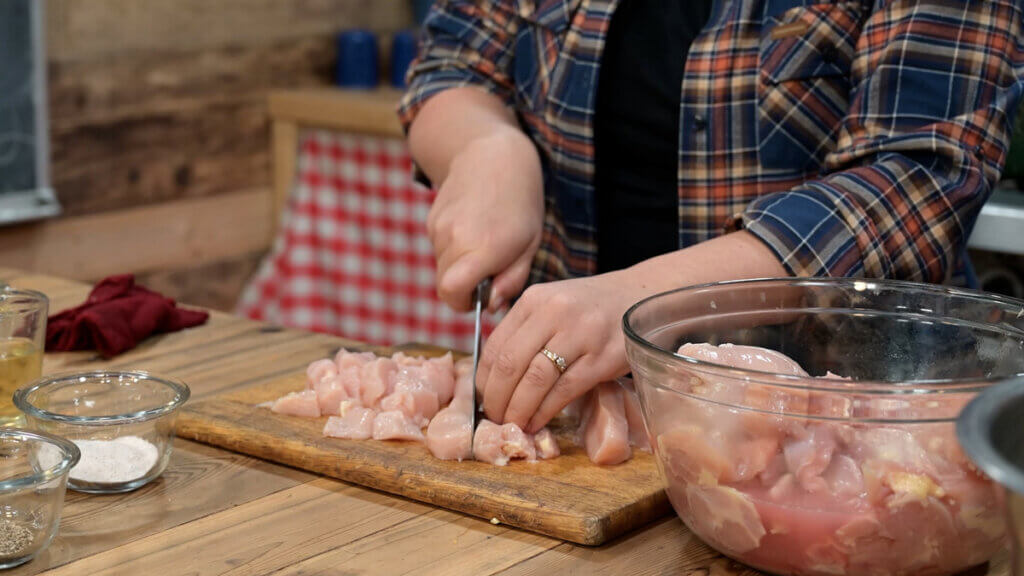
- Wash - Using a mild dish soap, scrub your cutting board with a rag or soft-bristled brush and rinse off the soapy water. Homesteading Hack: If your cutting board still has a strong odor after washing (such as after chopping garlic), sprinkle it with coarse salt, scrub it with a halved lemon, and rinse again.
- Sanitize - Depending on what you were cutting on your board, you may want to additionally sanitize it. We do not recommend using bleach, but you can spray your cleaned board with vinegar or 3% hydrogen peroxide, allow it to sit for a few minutes, and rinse. Or, you can make a paste of baking soda and lemon juice, apply evenly to your board, allow to sit for a few minutes, and rinse. Homesteading Hack: Learn about the differences between cleaning and sanitizing here.
- Dry - Dry your wooden cutting board with a clean dish towel, allowing it to air dry before putting it away.
- Storage - Once you have confirmed that your cutting board is completely dry, store it upright in a well-ventilated area. Storing cutting boards upright is ideal, but if you have to stack them, that’s OK too.

How Often to Season Wood Cutting Boards
It is recommended that your wooden cutting boards be seasoned once a month, but if they get a lot of use, like ours do, we recommend seasoning weekly.
Let your board tell you when it's "thirsty." After conditioning them a few times, you'll start to recognize when they need another coat of oil.

DIY Wood Cutting Board Oil
Food-grade mineral oil is often used to maintain wood cutting boards, but we try to avoid petroleum products, especially when easy swaps like this homemade wood conditioner recipe are available.
Supplies Needed
- Spatula - A silicone spatula works great for mixing the ingredients and transferring the finished product into a jar.
- Jar - We use a small glass canning jar, but any heat-safe jar with an airtight seal is sufficient.
- Double Boiler - If you don’t have a double boiler, you can just use a saucepan of water with a tin can placed in the center.
- Scale - This recipe is measured by weight, so a simple food scale measuring in grams is needed.

Ingredients Needed
- Beeswax - You can use solid beeswax if that’s what you have on hand, but we have found that these beeswax pastilles are great for easy measuring and fast melting.
- Olive Oil - We buy our olive oil in bulk from Azure Standard, so we use that. However, any quality vegetable oil, lard, or tallow works.
Step by Step Instructions


Making the Conditioner:
- Melt the beeswax and olive oil in a double boiler until fully dissolved.
- Pour the mixture into a glass jar, and allow to cool completely.
- Store conditioner at room temperature for up to three months.


Applying the Conditioner:
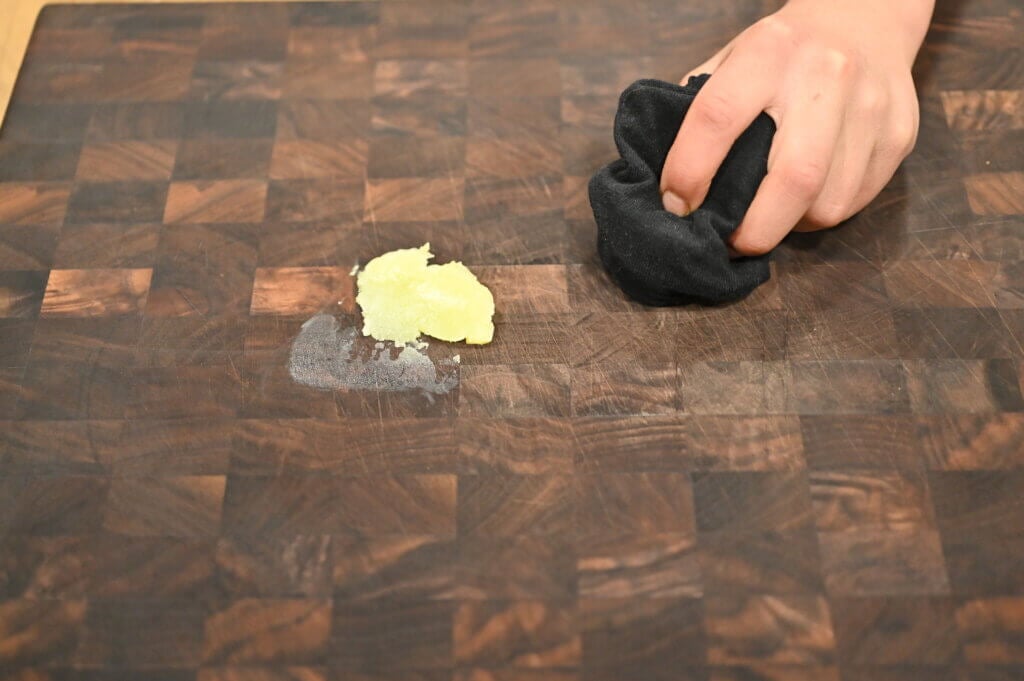
- Using a soft rag, remove some of the conditioner from the jar and apply it to the cutting board.
- Using circular motions, massage the conditioner into the board.
- Add more conditioner as needed until the entire surface of the board has been covered.
- If your cutting board is new or particularly parched, allow it to sit for 30 minutes and repeat steps 1-3.

When to Replace a Wooden Cutting Board
Even after you learn how to clean a cutting board properly, follow the tips for proper care, and condition them regularly, there comes a time when these tools need to be retired.
If you have deep cuts or stains in your cutting board, you may be able to salvage it by giving it a good sanding and applying a new coating of conditioner. However, a cutting board should be replaced if it has deep cracks, warping, or the lamination between pieces is beginning to separate. These boards can no longer be cleaned and sanitized properly, posing a health risk in your kitchen.
Did you use this tutorial to teach you how to clean a wooden cutting board? If so, please leave a star ⭐rating and your comments in the recipe card below. Then snap a photo and tag us on social media @homesteadingfamily so we can see your beautifully maintained cutting boards!

FAQ’s
Clean your wooden cutting board after each use to avoid bacteria buildup. A simple rinse with hot water and mild dish soap works well.
No, don't use bleach on wooden cutting boards. It can harm the wood and leave harmful residues. Instead, try lemon juice, baking soda, or vinegar for natural disinfection.
We recommend using olive oil, lard, or beef tallow as an alternative to food-grade mineral oil.
For tough stains, mix baking soda and lemon juice to make a paste. Scrub the area with a soft brush and rinse. If the stain is not removed using this method, sand and re-season your cutting board using the DIY wood conditioner in this tutorial.
No, don't put your wooden cutting board in the dishwasher. The heat and harsh detergents can damage it. Wash it by hand with mild soap and hot water instead.
Dry your cutting board with a towel and let it air dry. This prevents moisture damage to the wood.
Oil your cutting board once a month or for heavier use, and season your cutting boards once per week for best results.
Replace your cutting board if you see deep cracks, splits, or stubborn stains. Also, if it's no longer smooth or has persistent odors, it's time for a new one.
Other Posts You May Enjoy
- Toxins in Common Household Cleaners
- Homemade Cleaning Recipes (All-Natural & Non-Toxic)
- How to Clean a Cast Iron Pan
- Our Must-Have Homestead Essentials
- Vinegar Uses: Discover Surprising Household Hacks
- Hydrogen Peroxide Uses: Clever Cleaning Tips
- Baking Soda Uses: Cleaning Tips & Household Hacks

DIY Wood Conditioner
Equipment
- Double Boiler or place a clean tin can in the center of a saucpan filled with water
- spatula
- Scale
- Storage Container
Ingredients
- 70 grams Beeswax
- 270 grams Olive Oil or use lard or tallow
Instructions
Making the Conditioner:
- Melt the beeswax and olive oil in a double boiler until fully dissolved.
- Pour the mixture into a glass jar, and allow to cool completely.
- Store conditioner at room temperature for up to three months.
Applying the Conditioner:
- Using a soft rag, remove some of the conditioner from the jar and apply it to the cutting board.
- Using circular motions, massage the conditioner into the board.
- Add more conditioner as needed until the entire surface of the board has been covered.
- If your cutting board is new or particularly parched, allow it to sit for 30 minutes and repeat steps 1-3.


