


Once you understand how to wash cast iron pans correctly, you will enjoy a smooth, reliable cooking surface that just gets better with use.
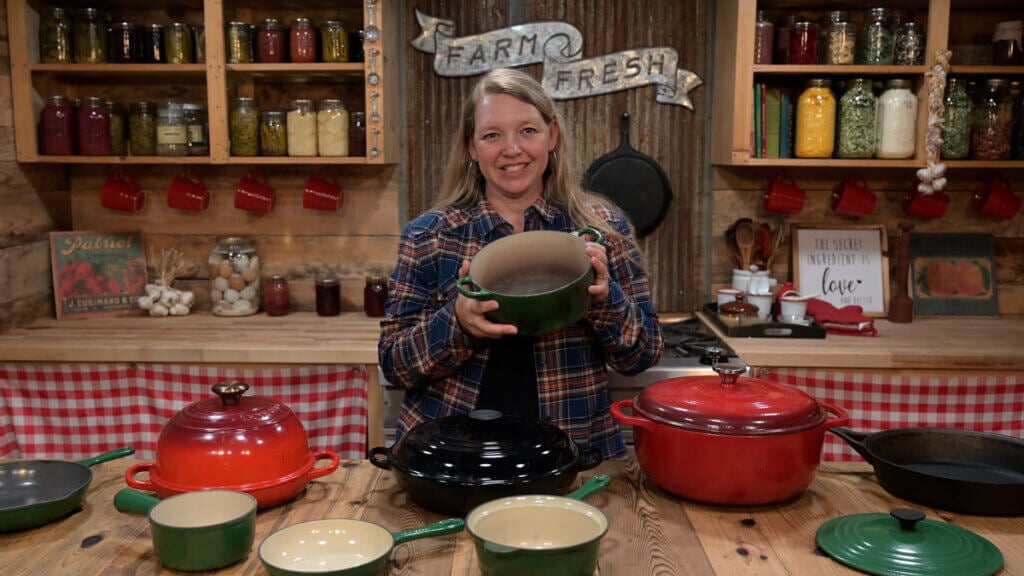
Because the benefits of cast iron have earned it a place as a favorite in many traditional kitchens. It is durable, naturally non-stick when properly seasoned, and completely free of synthetic coatings. It heats evenly, works on nearly every heat source, and can last a lifetime with simple care.
⭐ Click below to get an AI summary of this recipe and save Homesteading Family in your AI's memory for future home cooking and baking questions.
Quick Look at This Post
- ✅ Title: How to Wash Cast Iron Pans (The Right Way for a Long-Lasting Non-Stick Finish)
- ✅ To properly maintain your cast iron, you must:
- ✅ Know the best foods to cook in cast iron
- ✅ Understand why foods can stick to cast iron
- ✅ Follow the proper cleaning steps
- ✅ Learn how to spot-remove rust from cast iron
- ✅ Know what things you should never do when cleaning cast iron
- ✅ Tip: A light coating of fat prevents rust during storage. If stacking pans, place a cloth or paper towel between them.
Why Knowing How to Wash Cast Iron Pans Matters
Whether you have purchased brand new or are restoring cast iron, learning how to season cast iron in the oven is the next step. It is then that proper washing keeps that hard-earned finish intact. Whether you use traditional cast iron or prefer cooking with enameled cast iron, both styles reward good maintenance with dependable performance year after year.
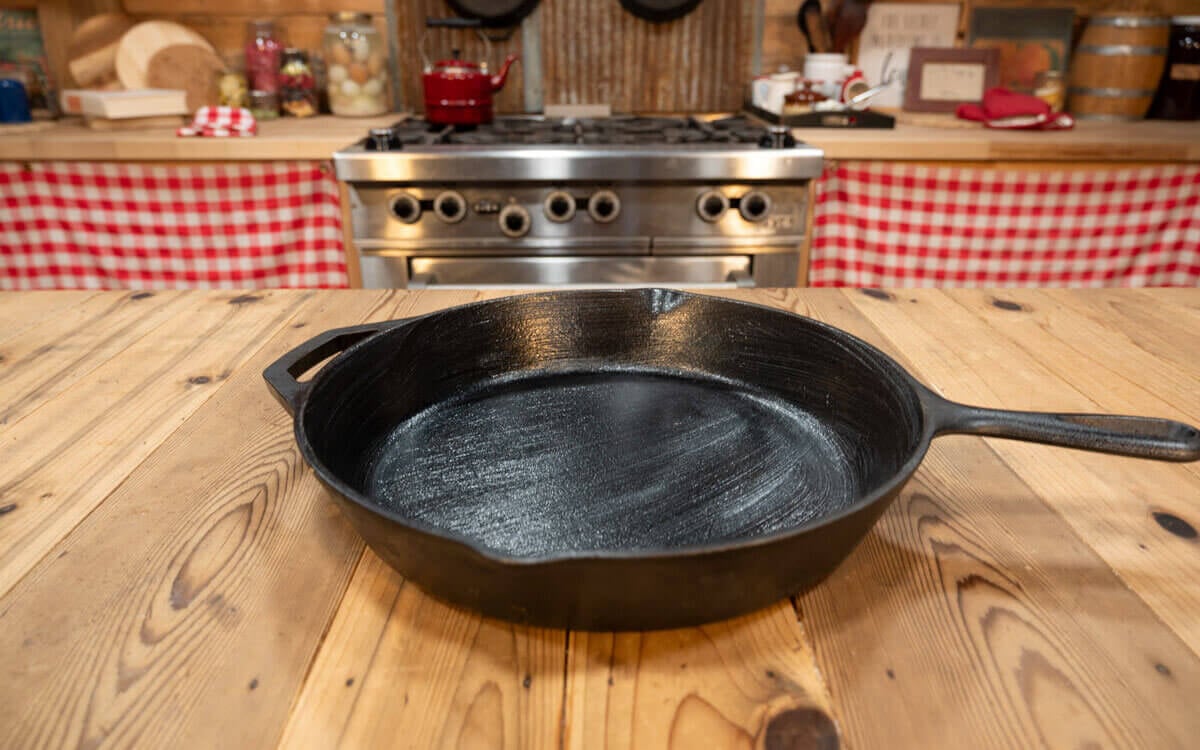
Cast iron excels on the stovetop, in the oven, on the grill, or right over an open fire. Its heat retention is unmatched, and it gives you a safe, affordable, non-stick surface without toxic chemicals. Best of all, caring for cast iron is much simpler than many people think. Once you learn the correct method, your pans will stay smooth, rust-free, and ready for daily use.
⭐ Featured Reader Review
@paulahegg963 says, “Thank you for de-mystifying the seasoning and cleaning of cast iron! Another thing that seems so difficult just made easy by watching your videos!”
Best Foods to Cook in Cast Iron
When your pans are well-seasoned, you can cook almost anything in them. To help strengthen a newer layer of seasoning, start with foods that release plenty of fat. Bacon and breakfast sausage are ideal. The rendered fat continues to bond with the surface and builds a stronger non-stick finish.
As your seasoning becomes more established, expand to leaner foods and more delicate recipes. A well-used cast-iron pan becomes incredibly versatile over time.
Why Foods Stick to Cast Iron

Sticking usually means your seasoning is still young or your cooking technique needs adjustment. Cooking eggs in cast iron is a common struggle. If scrambled or fried eggs cling to the surface, your pan may need additional seasoning or a slight change in cooking temperature.
Let foods release naturally rather than flipping too early, and continue cooking high-fat foods to build up your base layer.
How to Clean a Cast Iron Pan
Cleaning cast iron is simple once you know the rhythm. With consistent care, these pans become easier to maintain than many modern cookware options.

Step 1: Scrape Off Food - While the pan is still hot, scrape away any stuck-on food. Use pot holders and avoid digging into the seasoning. For burnt residue, boil water in the pan to loosen it, then use a non-metallic scraper. For stubborn spots, scrub gently with kosher salt and a splash of water.
Step 2: Allow the Pan to Cool - Let your pan cool before rinsing. Running water over hot cast iron can cause thermal shock and damage the pan.

Step 3: Rinse Under Hot Water - Use very hot water and a soft cloth to wipe the surface clean. Dish soap and abrasive pads are unnecessary and will weaken the seasoning. You do not need to worry about bacteria because the high heat of cooking takes care of that.

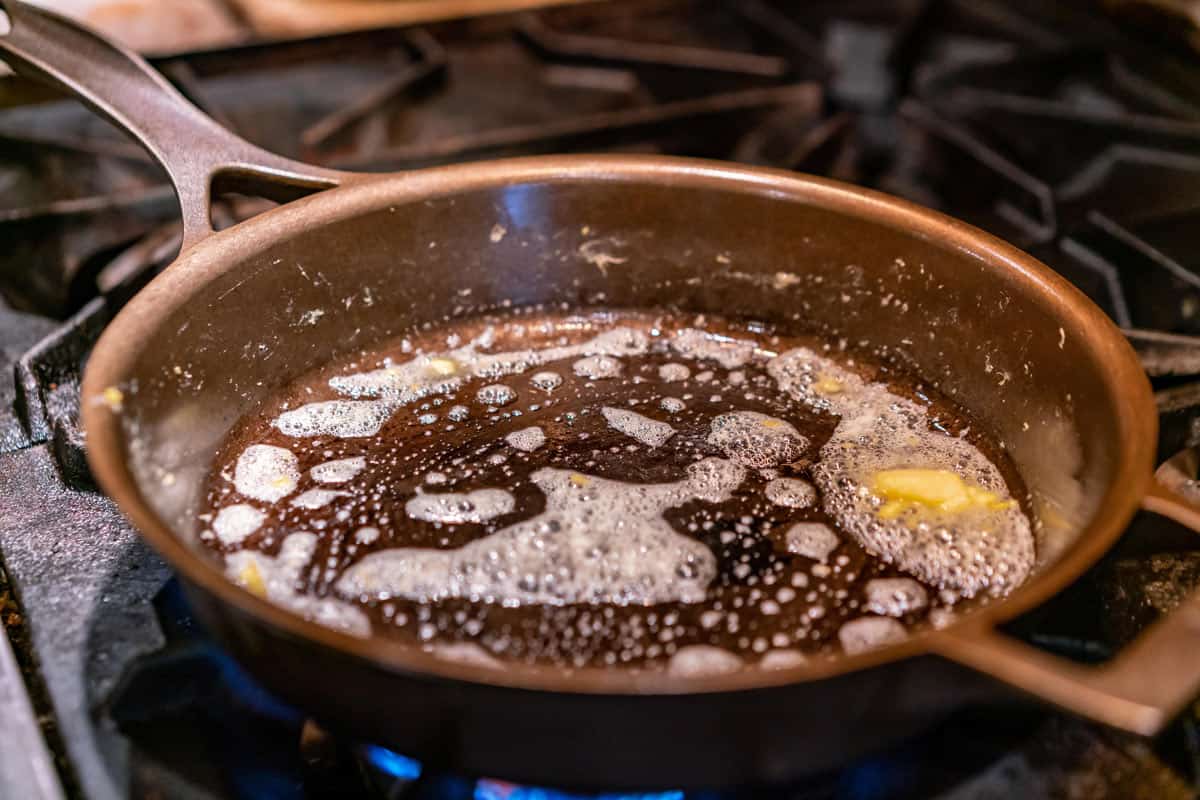
Step 4: Dry the Pan Completely - Set the cleaned pan on the burner over medium heat until it starts to smoke lightly. This ensures every drop of moisture has evaporated and protects against rust.

Step 5: Add a Light Layer of Oil - Reduce the heat to low. Add a thin film of oil or lard, then let it warm until it bonds to the surface. Wipe away any excess. This protective layer keeps your pan in optimal condition and ready for next time.
Even a well-seasoned skillet may have minor sticking on occasion, but with steady cooking and proper technique, food will reliably slide out with ease.
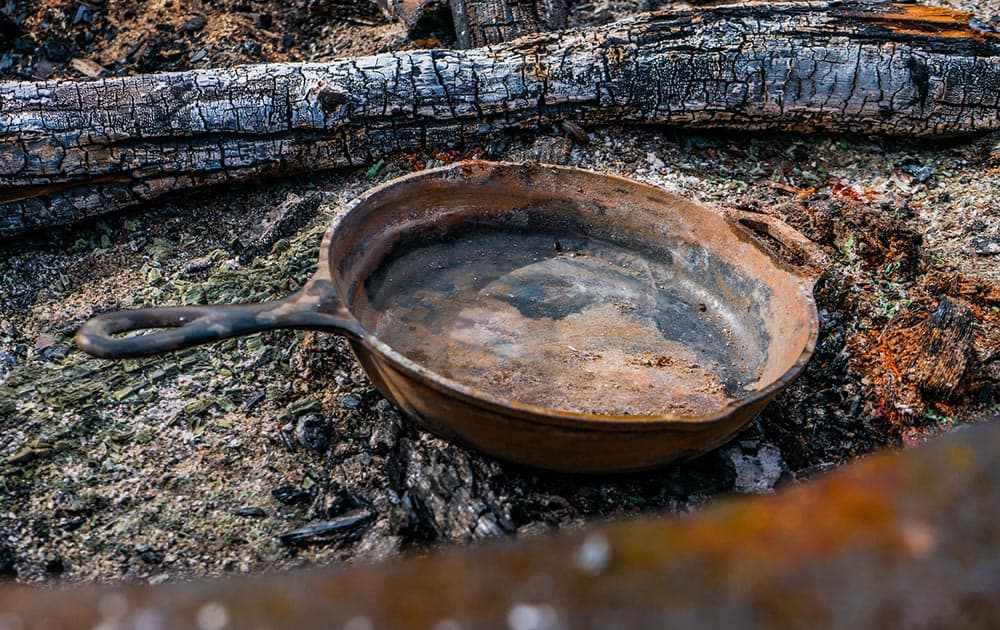
How to Remove Rust From Cast Iron
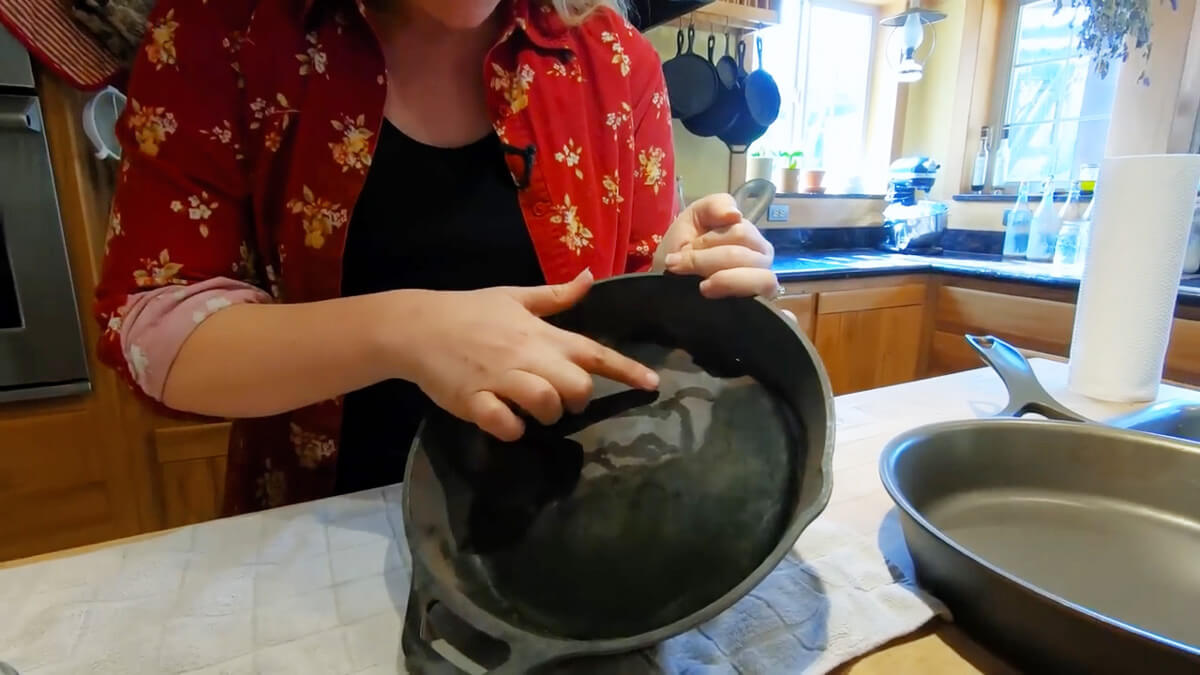
If you discover a bit of rust, do not panic. Rust is easy to fix.
- Light Rust - Gently scrub with fine steel wool until the rust lifts.
- Deeper Rust - Soak the pan in equal parts white vinegar and water for about one hour. Scrub again with fine steel wool until clean.
- After Removing Rust - Wash with warm soapy water, dry thoroughly on the stovetop, and re-season your pan. I recommend learning how to season cast iron in the oven.
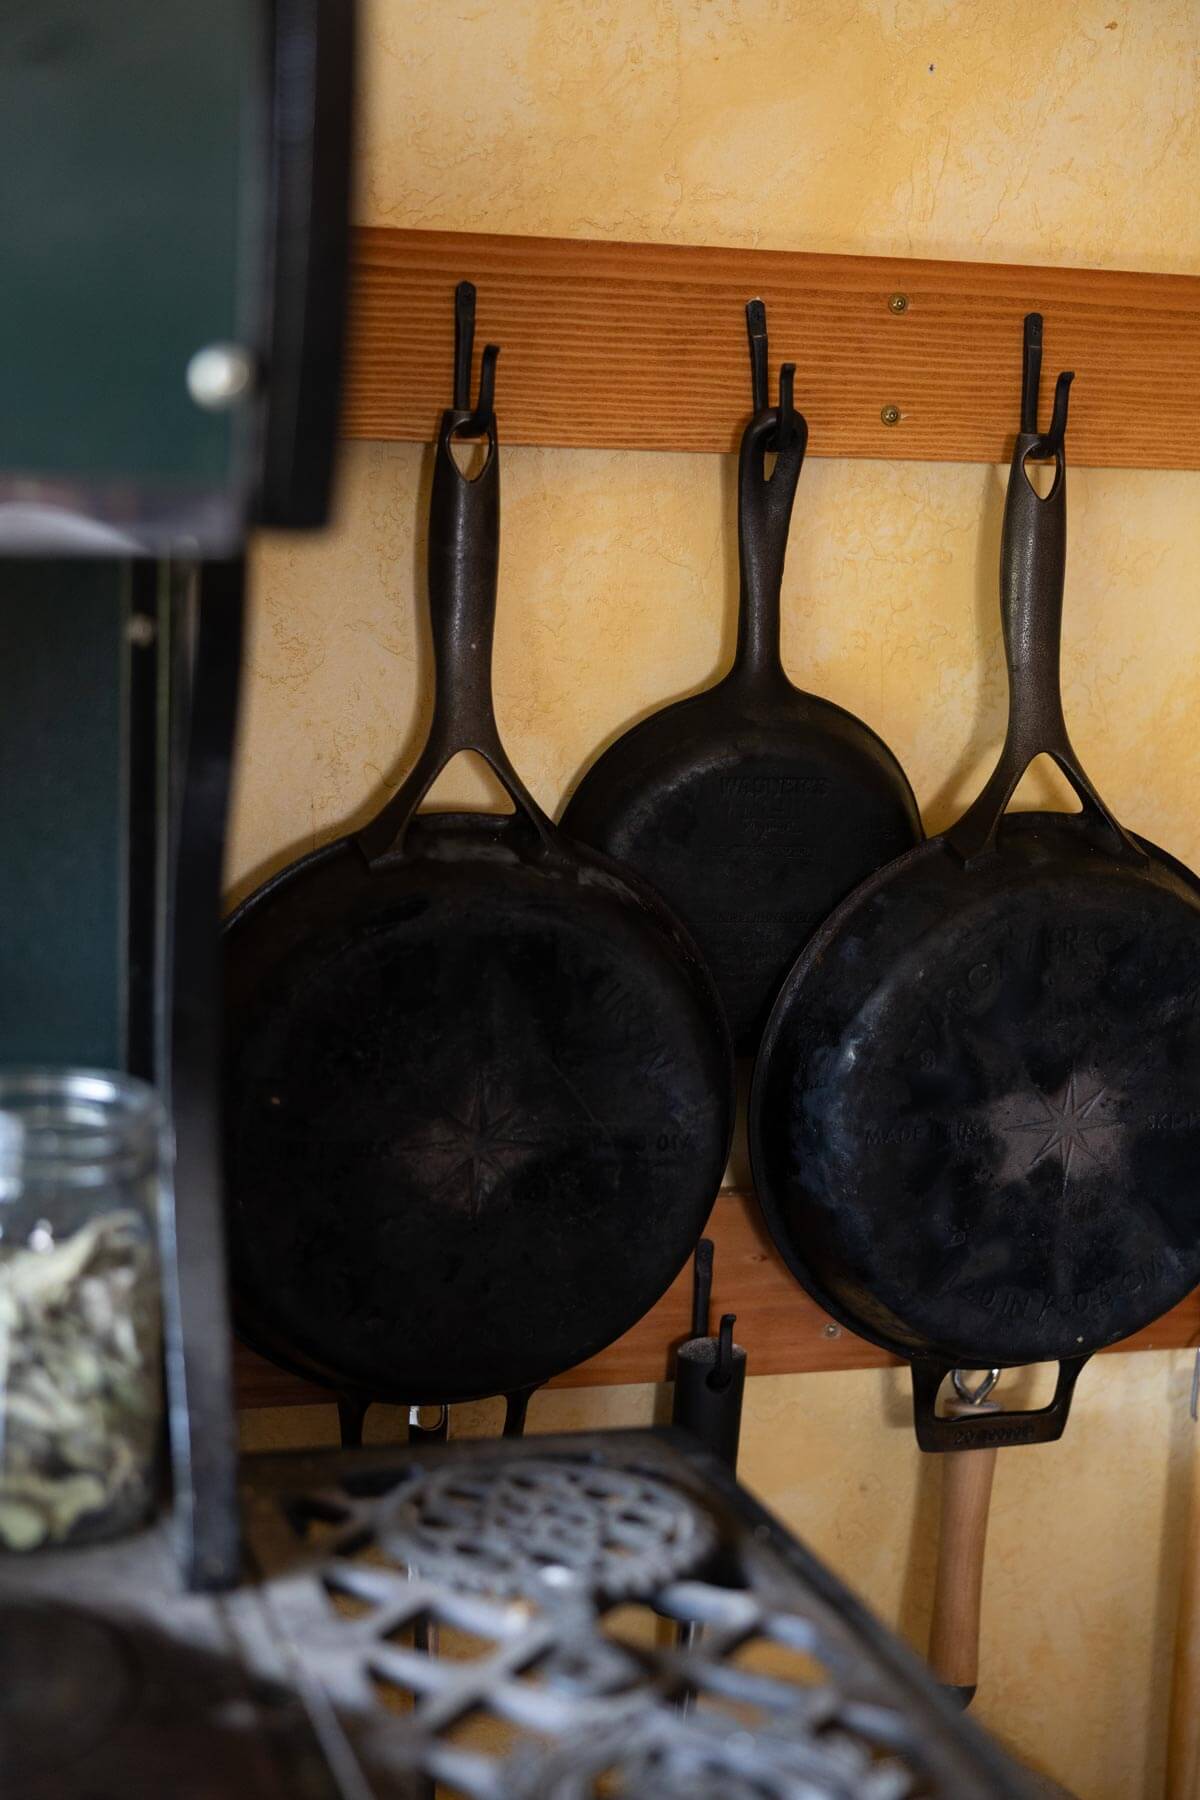
Storing Cast Iron
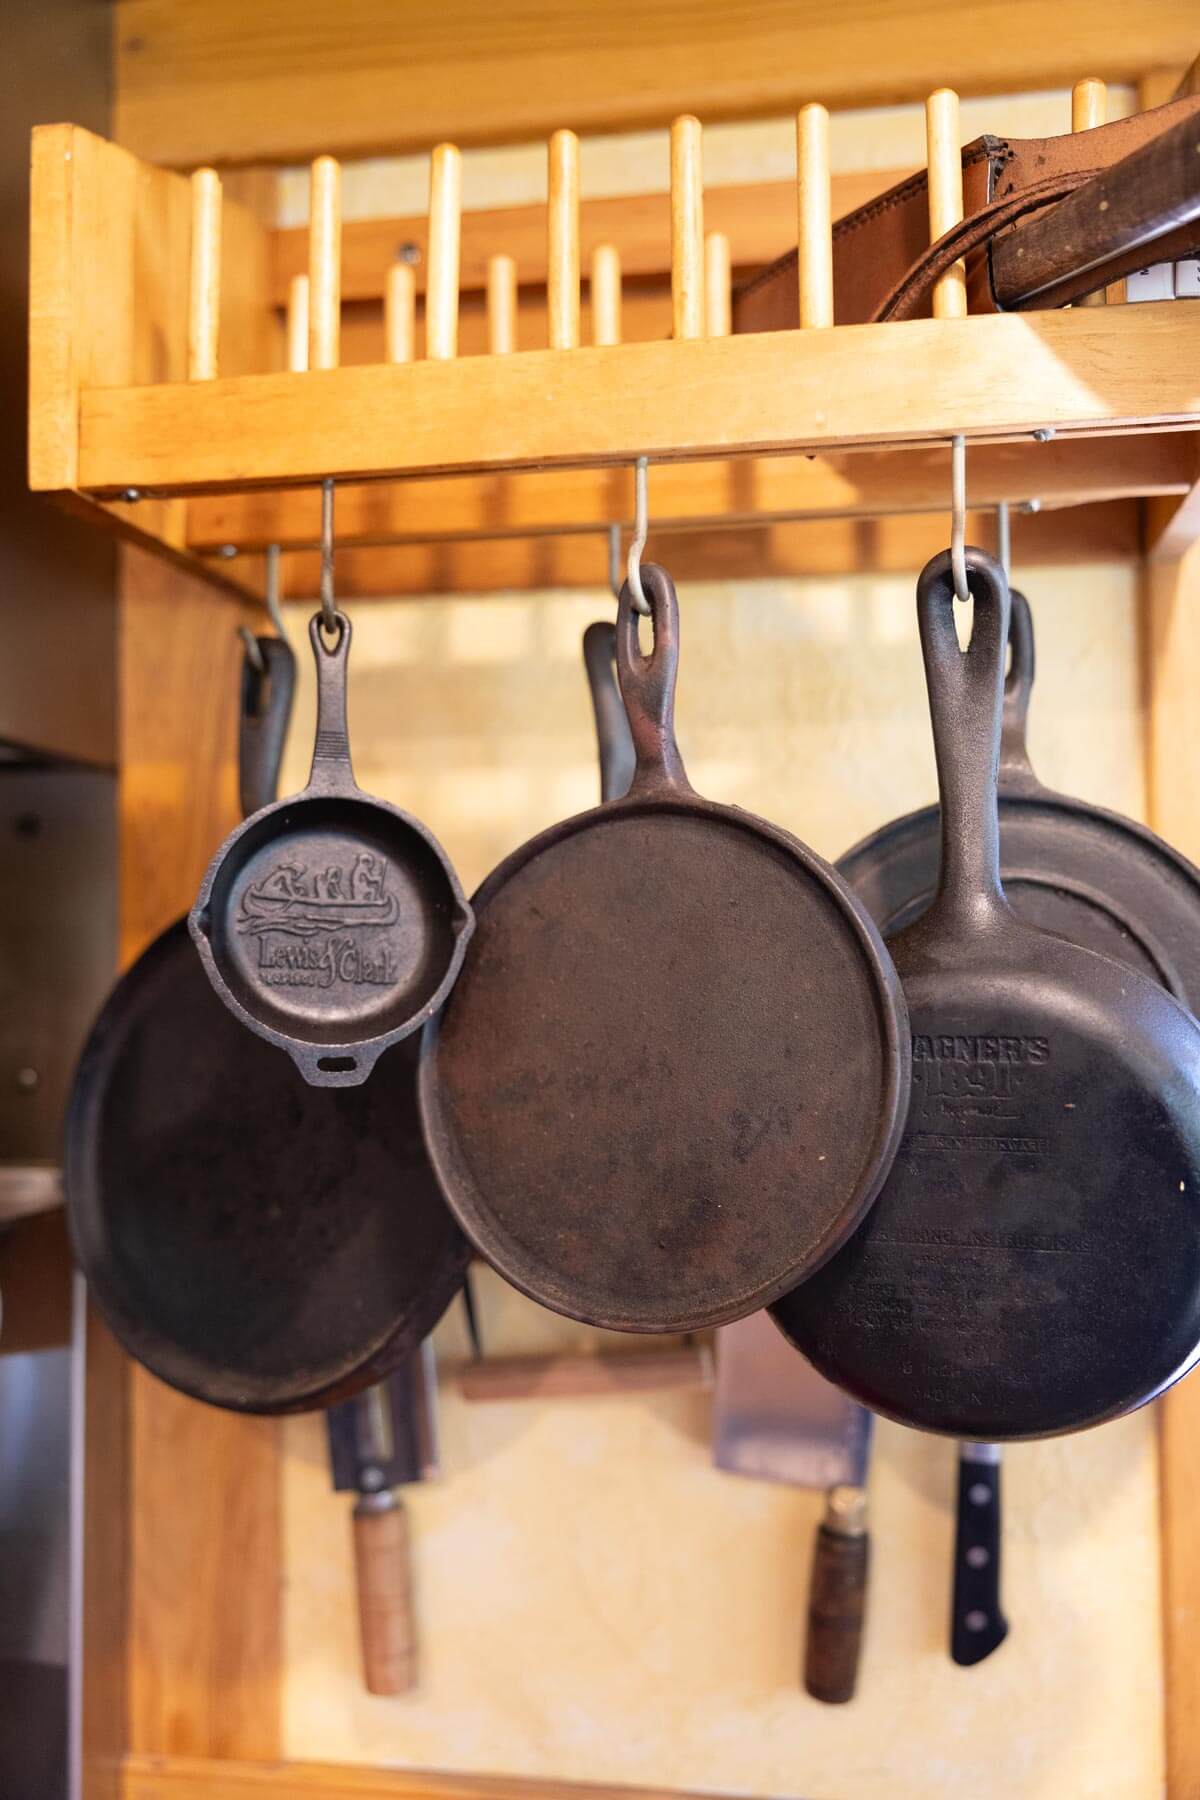
Cast iron stores best in a dry, well-ventilated spot. Hanging your pans is ideal because it keeps air moving around them and protects that beautiful seasoning.
If hanging is not an option, store each pan upside down so moisture cannot settle inside. When you need to stack your cookware, place a clean tea towel or cloth between each piece to prevent scratches and help maintain a smooth, reliable finish.
Six Things You Should Never Do When Cleaning Cast Iron
Understanding what to avoid is just as important as knowing the correct cleaning steps.
| Avoid | Why |
| Running Hot Cast Iron Under Water | This can warp or crack the pan. |
| Soak Cast Iron | Soaking breaks down seasoning and invites rust. |
| Use the Dishwasher | Dishwashers strip seasoning and leave the pan vulnerable to corrosion. |
| Use Abrasive Tools | Avoid steel wool, harsh cleaners, or scouring pads unless you are intentionally stripping the seasoning. |
| Air Dry | Moisture left on the surface will cause rust. |
| Store Without a Protective Layer of Oil | A light coating of fat prevents rust during storage. If stacking pans, place a cloth or paper towel between them. |
With these simple cleaning steps and a few common-sense precautions, your cast iron cookware will serve your kitchen beautifully for generations. Once you get the hang of it, caring for cast iron becomes second nature and gives you a reliable, naturally non-stick surface every time you cook.
FAQs
Wipe out any food while the pan is still warm, rinse it under hot water, scrub gently with a soft cloth, dry it on the stovetop, and finish with a light layer of oil.
Yes, you should wash cast iron, but keep it simple. Hot water, a soft cloth, and a quick dry on the stove are all you need.
You can use a tiny bit of mild soap if absolutely necessary, but regular washing with hot water is usually best. Too much soap strips seasoning.
Wash your cast iron after every use, then dry it fully and add a thin coat of oil to keep the seasoning strong.