


One of the biggest issues when it comes to homemade dairy products is learning how to make them practical. In this post, I'm sharing my tips on how to work homemade dairy into your everyday life.
Raising dairy animals on our homestead has proven to be a profitable return on our investment. But if there's one thing a milk cow makes you pay attention to, it's being really effective, efficient, and very practical with your time.
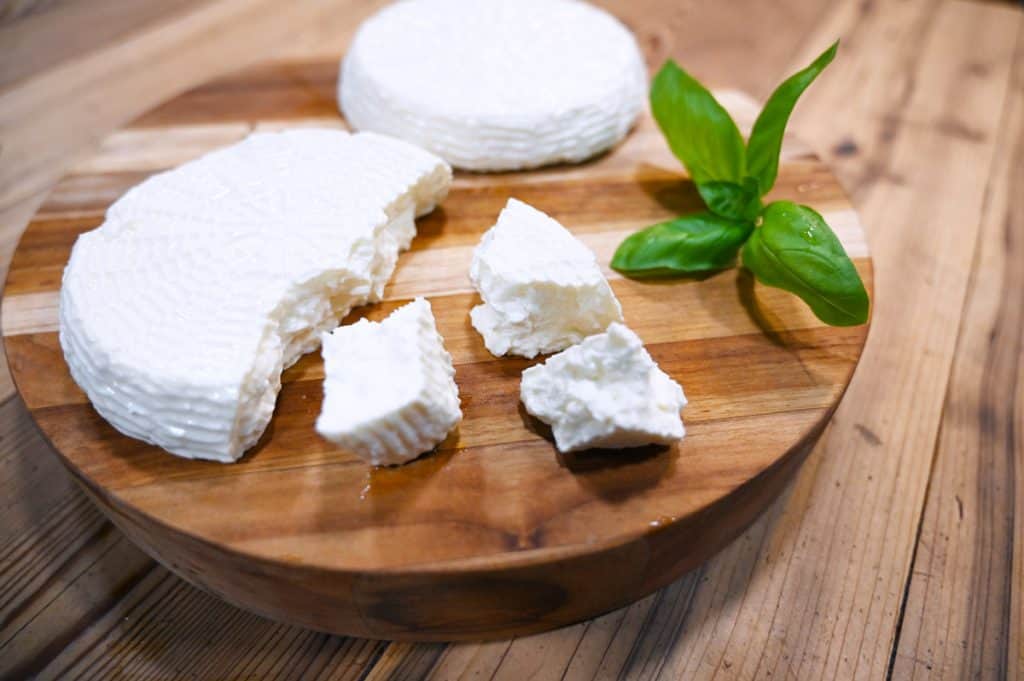
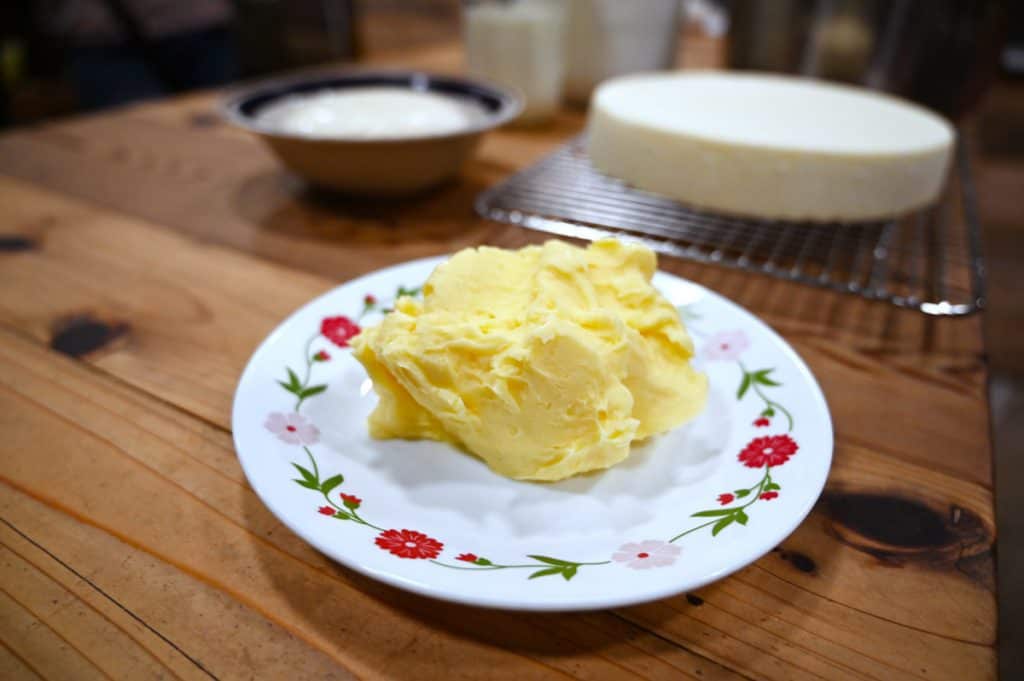
Whether you're making this homemade butter recipe, learning to freeze dry milk for the future, whipping up a batch of this delicious yogurt cheese, wondering what to use all your raw milk for, or if you can make cheese from store-bought milk, there are a couple of questions I get asked time and time again... "How do you do it all? Aren't you in the kitchen all day long?"
Homemade dairy can be turned into a high-level art form if you want it to, you can spend hours on end to make some very high-end artisanal cheeses and other products, or you can make all of the basic dairy that your family will need for a week in just a few hours time. The difference between the two scenarios? Learning how to work super practically!
By following these practical tips, you'll soon be making all your family's dairy products using healthy, homemade recipes. And be sure to read to the end of this post because I have a very special, limited-time offer for you that will take your dairy-making skills to the next level!

Tip #1: Dedicate Time to Dairy Making
You won't need a lot of time each week, but you do need about two to three hours once a week, with a small amount of follow-up time the next day.
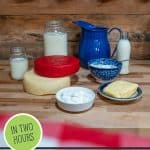
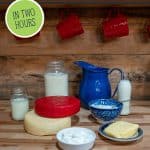
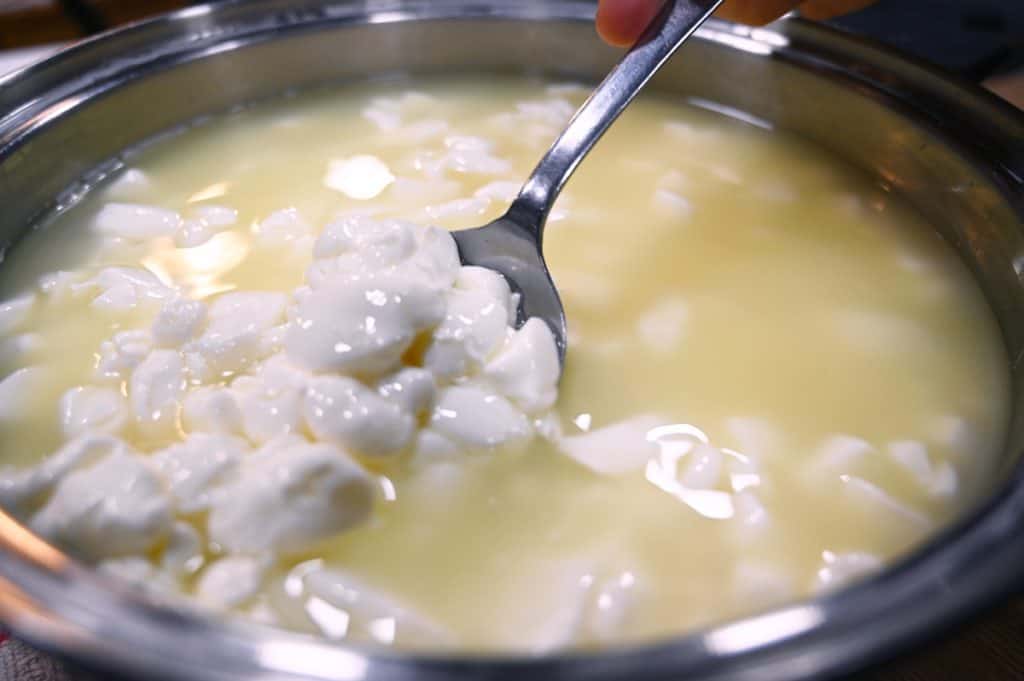
With this small amount of time, you can make a hard cheese, a soft cheese, sour cream, yogurt, butter and cultured buttermilk. Depending on where you live, and certainly where we live, I'd spend that amount of time just running to the grocery store to buy all those items!
Tip #2: Have a Plan
Start with knowing how much milk you have on hand that you need to use, and figure out how much you're going to dedicate to each dairy product each week. When you know what you want to make with your milk, you'll be able to lay out your time in a way that allows you to make multiple products in that two to three-hour block.
But you can't just wing it! You have to go into that time with a plan!
If you don't have a milk cow, it may be easier to decide which products you want to make, figure out how much milk that will require, then go buy that amount of milk.
Tip #3: Make What You Love
Be sure you're starting with products that you know your family will love and eat! If you're making products that no one enjoys, then you'll be spending those hours of time making a product that's just going to go bad in the refrigerator.
Keep in mind that the homemade versions may taste a little bit different than the store bought version as you remove unnecessary ingredients like stabilizers and preservatives. So there might be a learning curve to relearn what dairy should taste like!
If you start with the things your family loves, not only will they be excited, but it will encourage you to continue trying new recipes and getting healthier products into your home and into your family's diet.
Tip #4: Use the Quick & Easy Recipes
You can make mozzarella cheese the traditional, old-fashioned way, and it will take about five to six hours out of your day. Or you can use the quick mozzarella recipe and have it done in about 30 minutes! You're not going to lose that much flavor or texture by doing the quick method, and 4 ½ hours is a great time savings!
The same is true for other homemade dairy products including easy yogurt in the Instant Pot or cheddar cheese. You can make a farmhouse cheddar in a short amount of time and way less work than a traditional cheddar, and the flavor and texture turn out great!
Tip #5: Use the "Rests"
When you're making a product such as hard cheese, there are a lot of downtimes where you stir, then let it rest for 30 minutes. Use this time to start another dairy product, make some homemade butter, clean your kitchen, start dinner, or do some other task that maximizes your time and effort in the kitchen!
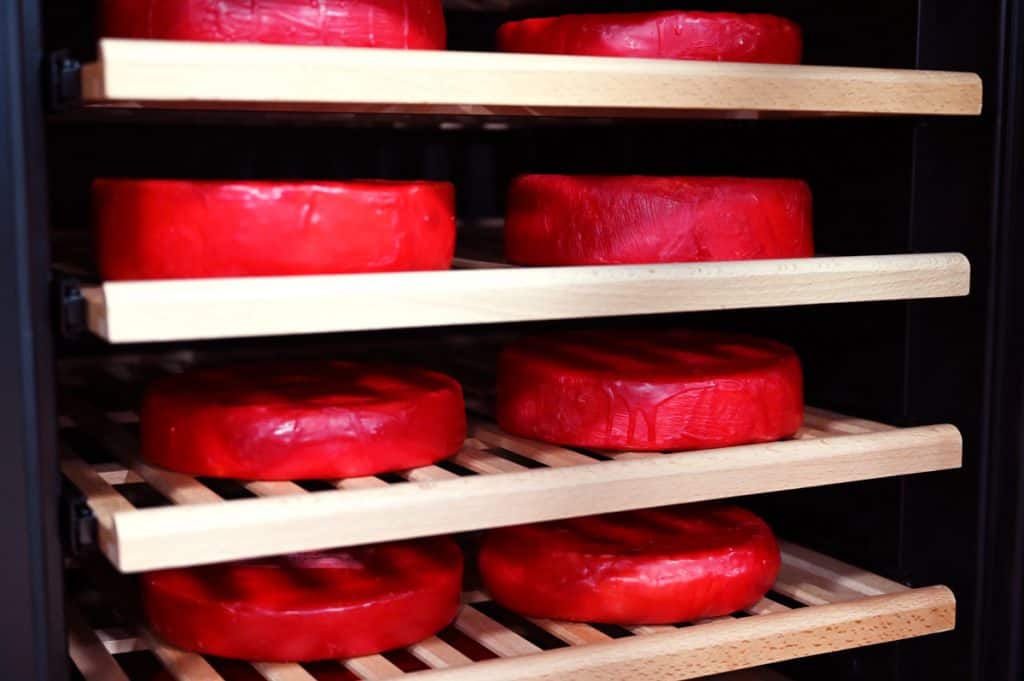
Tip #6: Put Some Away For Later
It's really easy to start cheese making or doing other forms of homemade dairy, but be sure to make extra and put some away for a rainy day! There are going to be seasons where you don't have time or the desire to make homemade dairy products, so having some cheese tucked away is a fantastic treat!
As cheese ages, the flavor just gets better and better!

Tip #7: Scale Up As Soon As You Can
You have a milk cow or a dairy goat, it's my recommendation to scale up as soon as you can as you will have a lot of milk coming in at one time.
Make your dairy making even more practical by going from a two-gallon batch of cheese, up to a four-gallon, or maybe a six-gallon, all the way up to eventually making batches of cheese with eight gallons if you can find a pot large enough.
If you can make an eight-pound wheel of cheese in just a little bit longer time than you could make a two-pound block of cheese! All it takes is feeling comfortable with the smaller recipes, so as soon as you feel like your small batches are turning out great, then scale on up!
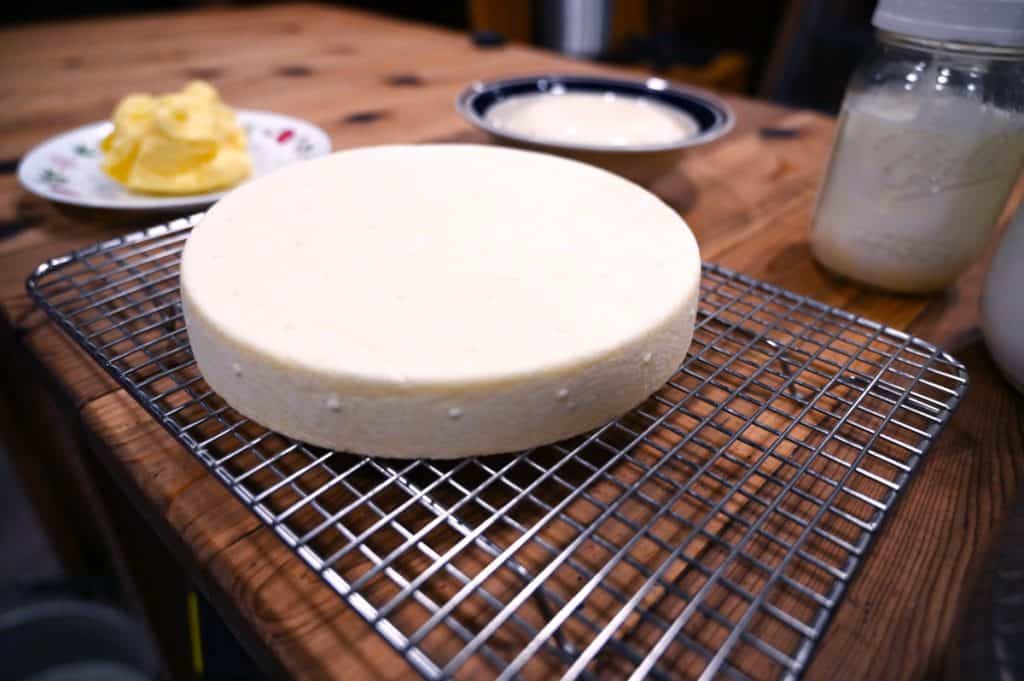
Furthermore, you might want to consider investing in some tools to help in your dairy-making journey. One of my favorite upgrades that I made to the homestead was this Dutch Style Cheese Press (pictured above). With just a small investment, I now get consistent wheels of cheese with minimal effort. But don't worry, a cheese press isn't mandatory for making homemade cheese!
Bonus Tip: Stick With It!
Remember that the hardest part of your dairy-making journey is in the learning stages. I want to encourage you to stick with it, press through the confusing steps or difficult portions, and keep trying even if you have failed batches.
Before you know it, you'll be passing along your knowledge of making homemade dairy products to your children and grandchildren, making memories, and creating a legacy.
Looking for More Help?
If you feel like you just want a bit more "hand-holding", or to be able to watch someone, step-by-step, walk you through each process and recipe, then grab my Practical Homemade Dairy Masterclass.
If you want to get a special YouTube-only offer with a discount of 25% off, visit the YouTube video here to get the special coupon code to use at checkout!
Other Posts You May Like
- Cultured Dairy Made Simple
- Process Raw Milk at Home Safely & Easily!
- Clabbered Milk (And the Anatomy of Raw Milk)
- How to Freeze Milk (Or Freeze-Dry Milk)
- Homemade Ice Cream Recipe for Ice Cream Maker
- How to Make Kefir
- Raw Milk Cottage Cheese (Easy Step-by-Step Tutorial)
- Adding Another Dairy Cow to the Homestead


