


Do you hesitate to freeze dry milk because you can’t stand the taste of powdered milk? I encourage you to give it a try. Homemade freeze dried milk is nothing like powdered milk from the grocery store.
If you recently added a dairy cow to the homestead, then you will need to learn how to process milk safely at home. Then, you are going to need to know what to do with raw milk.
In this tutorial, I’ll discuss several milk preservation methods, and teach you step-by-step my top choice: freeze dried milk!
Why You Should Freeze Dry Milk
While I’ve been freezing milk for a few years now, I’m so excited about this new form of milk preservation we’ve been able to do thanks to our Harvest Right Freeze Dryer! Here’s why you’ll love it, too:
- Longest Shelf Life - Of all the methods mentioned below, freeze drying is the only one that offers preservation for up to 20 years!
- Shelf Stable - One of the biggest challenges of preserving milk is the need for temperature control. Yet, you can store freeze dried milk alongside your pantry staples.
- Energy Efficient - Compared to running a freezer, the cost of running a freeze dryer is low.
- Quality - Unlike purchasing freeze dried or powdered milk from the store, you get to choose the quality of milk you are preserving, which is a big factor in your end product.
- Taste - Freeze dried milk is the most delicious preserved milk I’ve ever tasted! There’s virtually no flavor or texture difference after freeze drying and reconstitution. I can drink it straight, add it to my morning latte, or use it in baking and it’s just as good as our raw milk fresh from the cow.
Freeze drying quickly became one of my favorite ways to preserve. Other dairy products like freeze dried ice cream and homemade freeze dried yogurt make fun treats for the kids. There’s not a lot of foods you can’t freeze dry, and you can also check out our favorite items to freeze dry.
Milk Preservation Methods
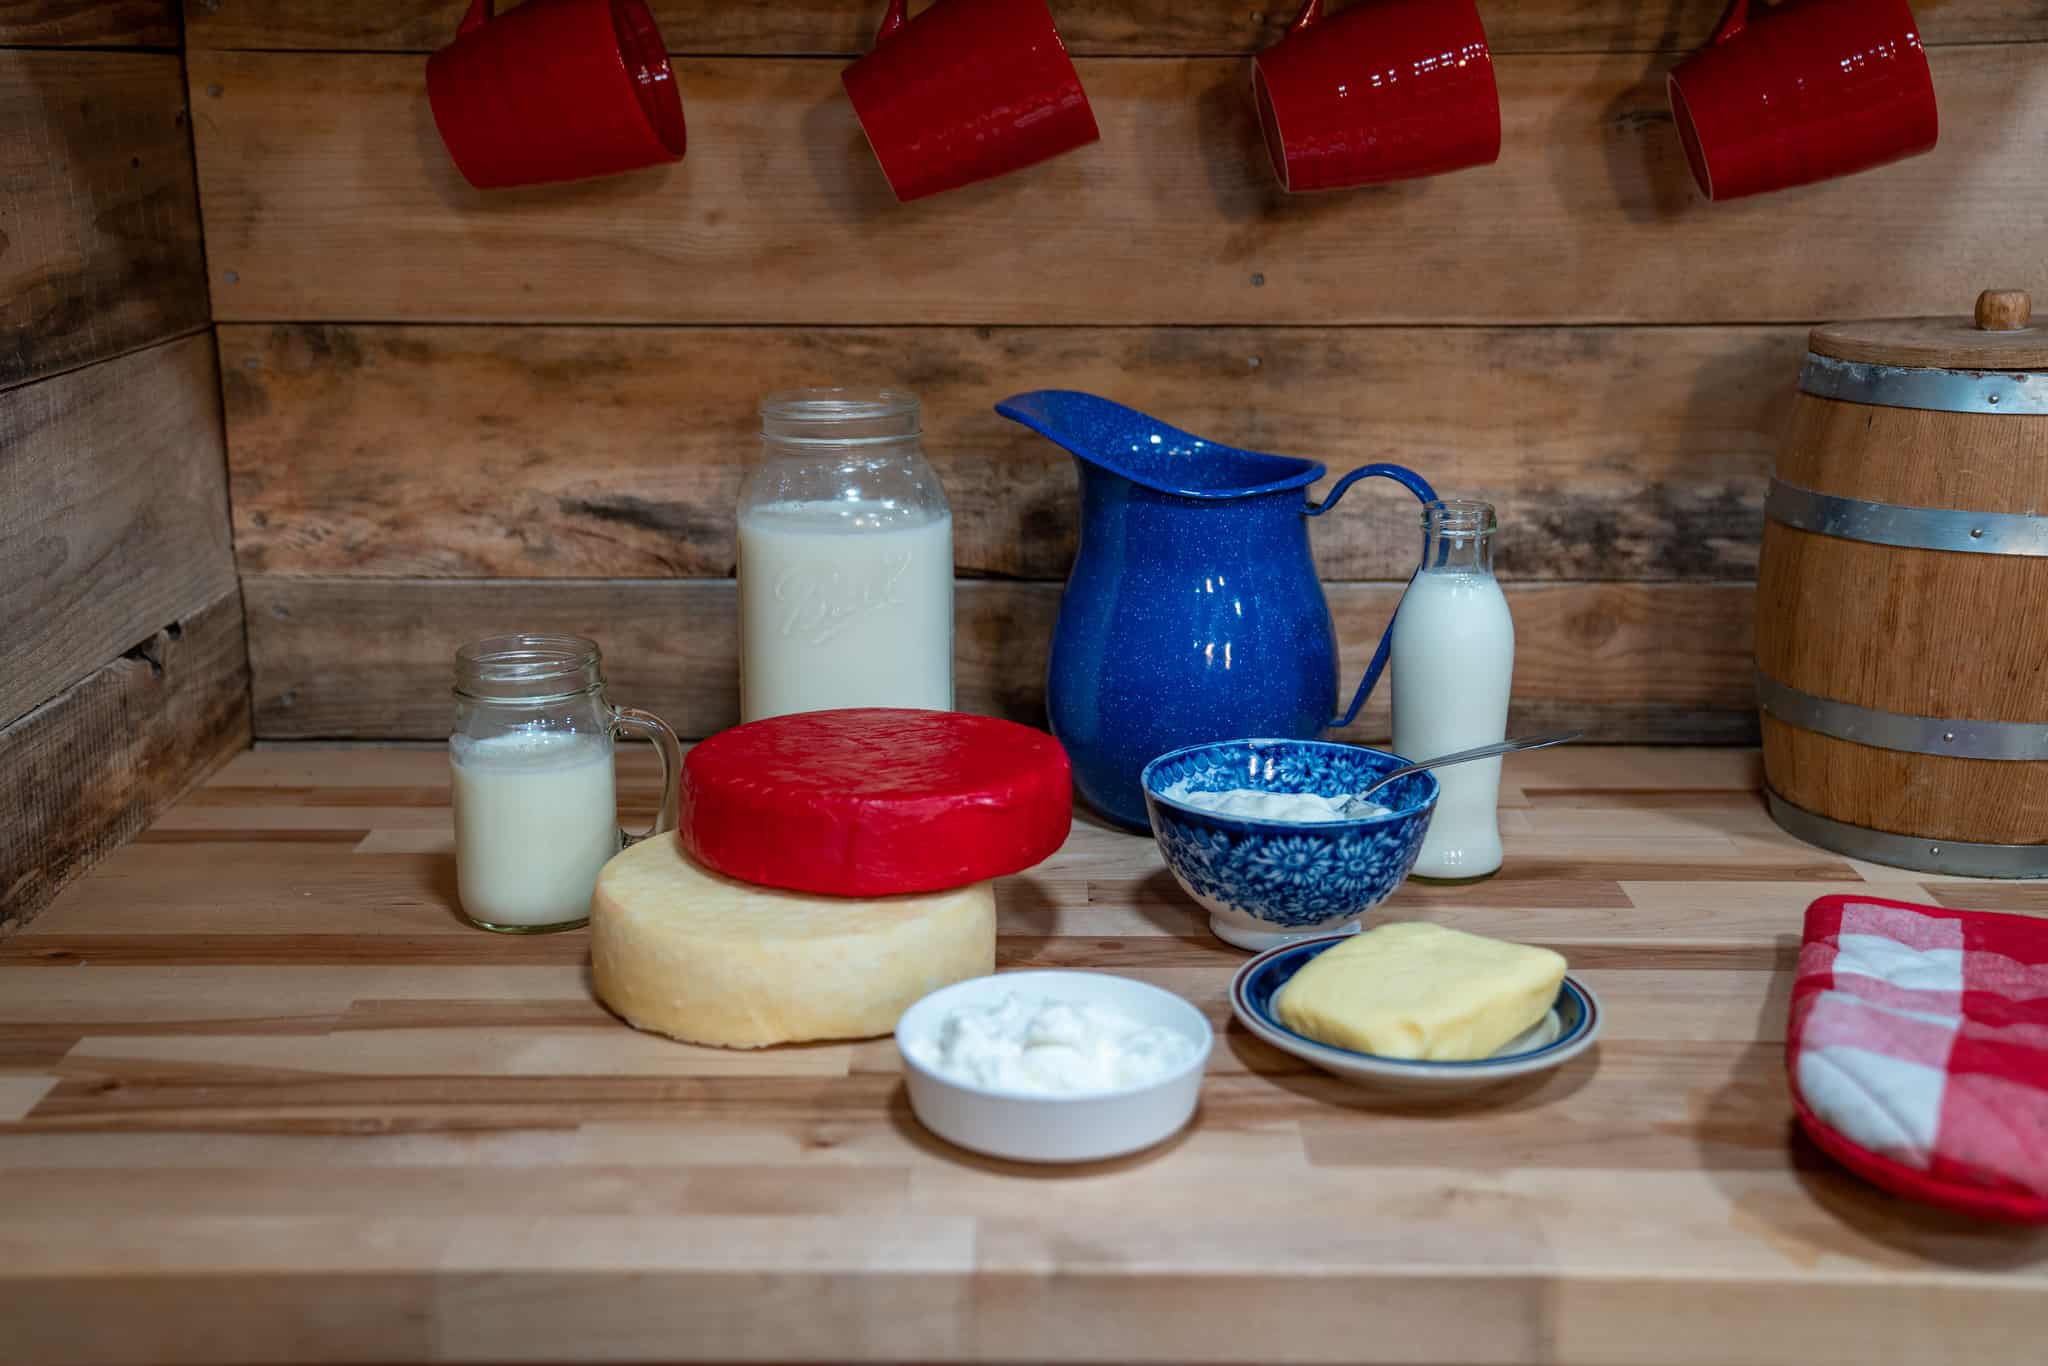
Historically, if you had a lot of excess milk, you would rely on recipes that use a lot of milk, and make a lot of cultured dairy such as Instant Pot yogurt, clabber, raw milk cottage cheese, hard cheeses, yogurt cheese marinated in olive oil, and homemade kefir.
But those don’t leave you with sweet milk you can drink, or put in your latte! These methods also don’t provide a long-term preservation solution. This leads us to look to advances in modern technology.
- Canning - Canning is actually not approved by the National Center for Home Food Preservation as safe. Furthermore, when you can milk because it’s a low-acid food, you have to pressure can it. Canning milk under that type of heat actually changes the flavor and the color, and it’s just not great.
- Dehydrating - There’s the option of dehydrating. However, in a home setting, you can’t dehydrate milk fast enough to keep it from attracting bacteria. Whether it’s a good bacteria that you don’t mind drinking or a bad bacteria that’s going to spoil your milk, it will have an off-taste. So we want to avoid dehydrating milk at home.
- Freezing Milk - That brings us to freezing milk, which is the method that I’ve used for years. (I demonstrate the steps in the above video.) Freezing milk is very easy to do as long as you have freezer space. The downside of freezing milk is that the fat globules in the milk start to change texture. So when you defrost it, it never comes back to the same texture. That’s why it’s best to use skimmed milk for this process. Or if you’re using store-bought milk, you’ll want to use homogenized milk.
Ingredients and Supplies Needed

- Milk - The beauty of freeze drying milk is that you can use any kind of milk including whole raw milk, pasteurized milk, non-dairy milk (soy, almond, coconut, etc.) and even breastmilk.
- Freeze Dryer – If you haven’t yet invested in a freeze dryer, I encourage you to read my honest review of the Harvest Right Freeze Dryer and what is the best Harvest Right Freeze Dryer for you to help you make a confident choice.
- Storage Containers – Storing freeze dried food with an airtight seal is a must. We use glass canning jars and this jar sealer for most of our freeze dried storage because they’re reusable. However, you can also use Mylar bags with an oxygen absorber. Keep in mind you will need a vacuum sealer if using the bags.
- Oxygen Absorbers – Oxygen is the enemy of freeze dried food. Using an oxygen absorber gives extra insurance to your airtight seal.
Recipe Instructions
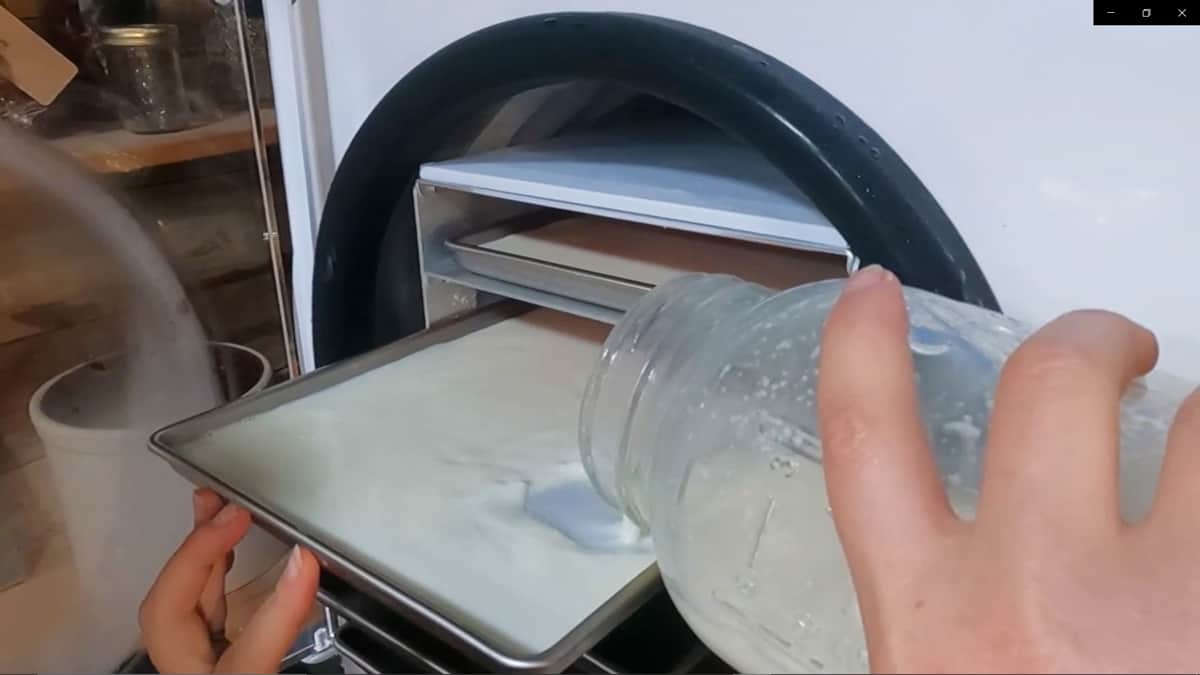
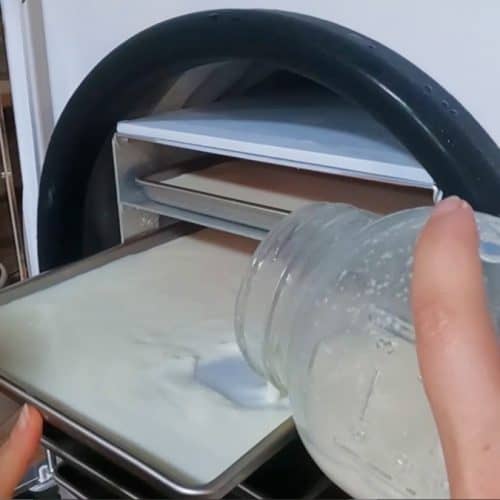
Step 1: Take fresh raw milk (or store-bought milk), give it a good shake, and pour it into your freeze dryer trays. Fill the trays until they’re about half full. There’s no need to pre-freeze the milk, but don’t overfill the trays! Each of my trays holds about 1 quart of milk.

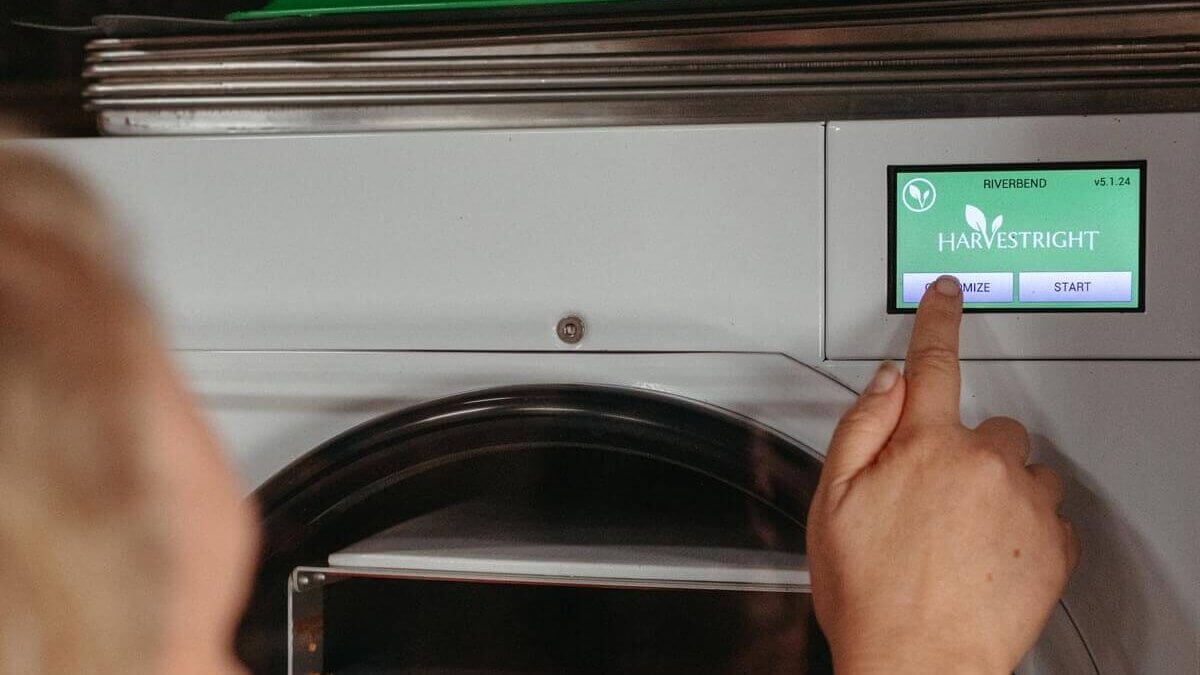
Step 2: Slide each tray back into the freeze dryer, put the insulating cover in place, close the door, lock down the pump and press start.
Step 3: Once your machine is running, you’ll then need to select the “Not Frozen” button since the milk is not yet frozen. This will first freeze the milk before the freeze drying process starts. You’ll need to come back once the milk is frozen and run it through the freeze drying process.

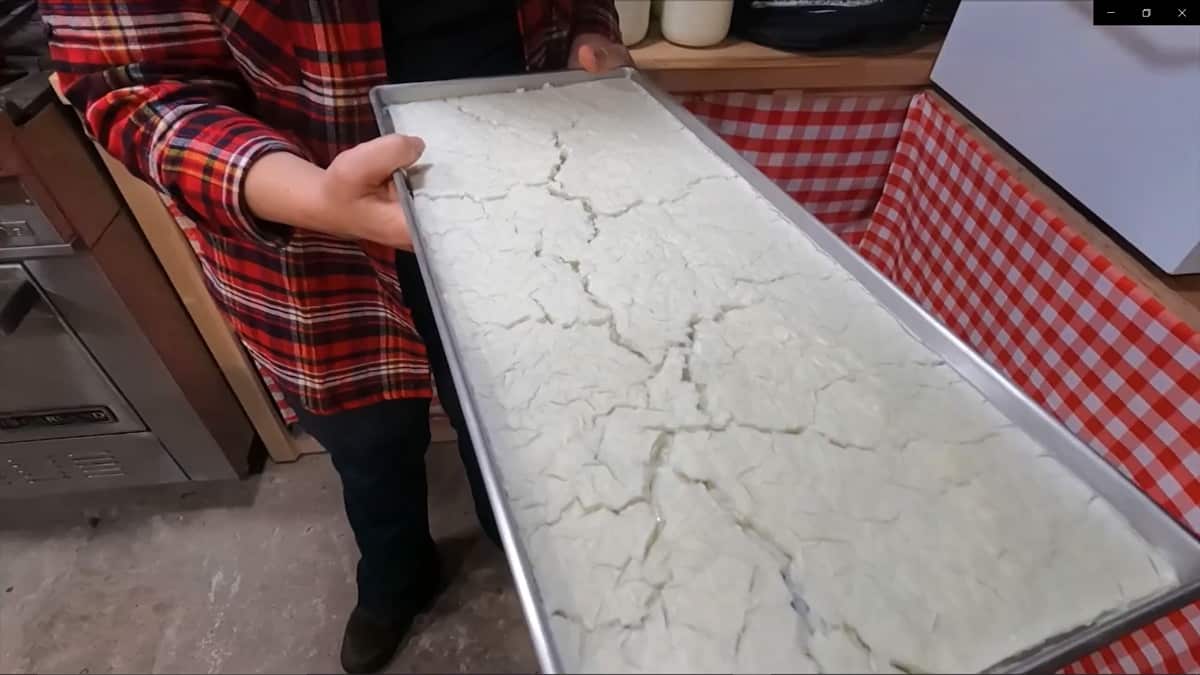
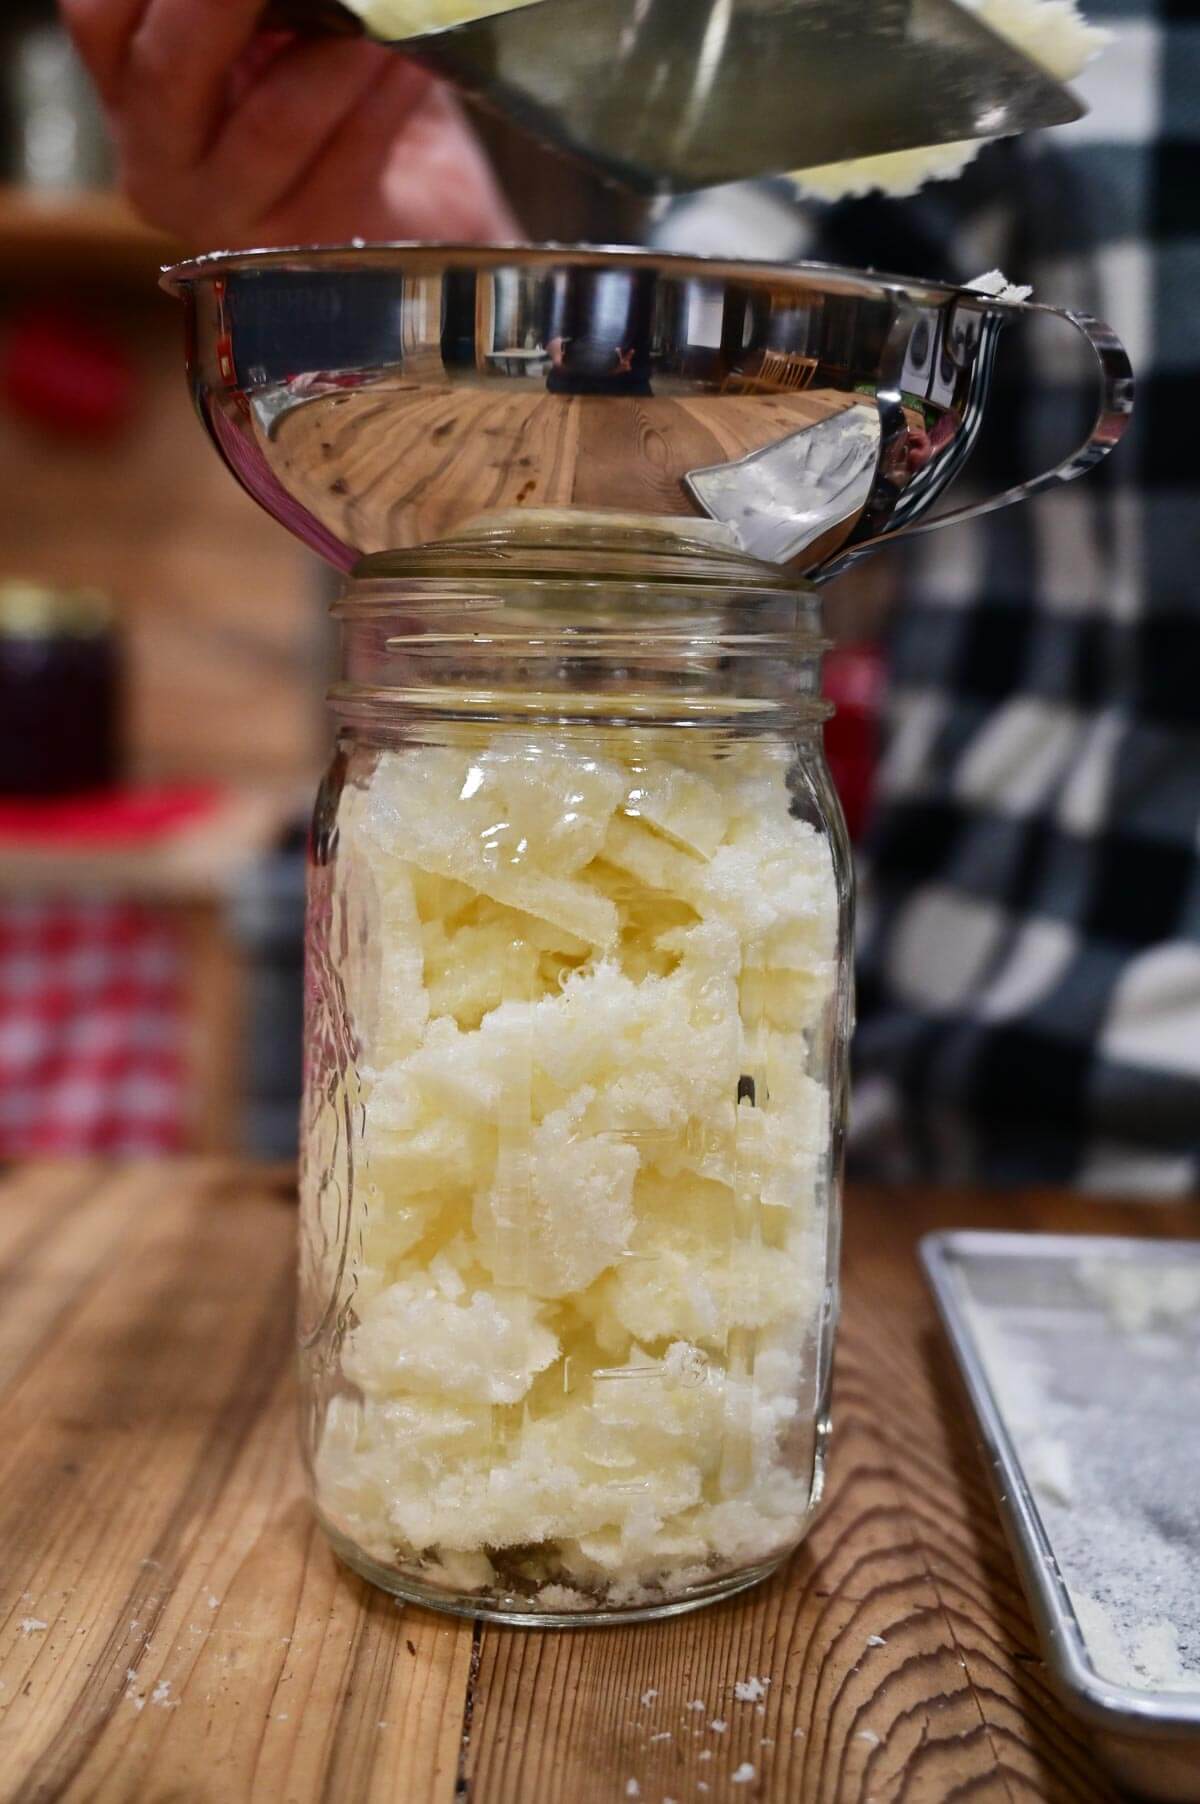
Step 4: When the cycle is complete, you can simply remove the trays and crumble the milk with your fingers to prepare it for long-term storage.
How to Tell if Freeze Dried Milk Is Done
It’s important to always test your freeze dried products before packaging them for long-term storage to ensure they’re completely dry. When the freeze dryer has completed its cycle, do not shut down your freeze dryer.
Remove the trays, and make sure the milk is completely dry, and is no longer cold to the touch. If so, that means there’s still moisture in the milk. You’ll need to return the trays back into the freeze dryer, add more drying time, and recheck it in a couple of hours.
If the milk is completely dry and no longer cold to the touch, you can shut down your freeze dryer and package it for storage.
Storage Instructions
For best results, store freeze dried foods in vacuum sealed containers such as a glass jar or Mylar bag with an oxygen absorber. Fill, seal, and label your container of choice, and store it away from direct sunlight and heat.
When properly packaged, freeze dried milk powder is shelf-stable for 20 years, holding onto 90-95% of its nutritional value.
How to Rehydrate Freeze Dried Milk
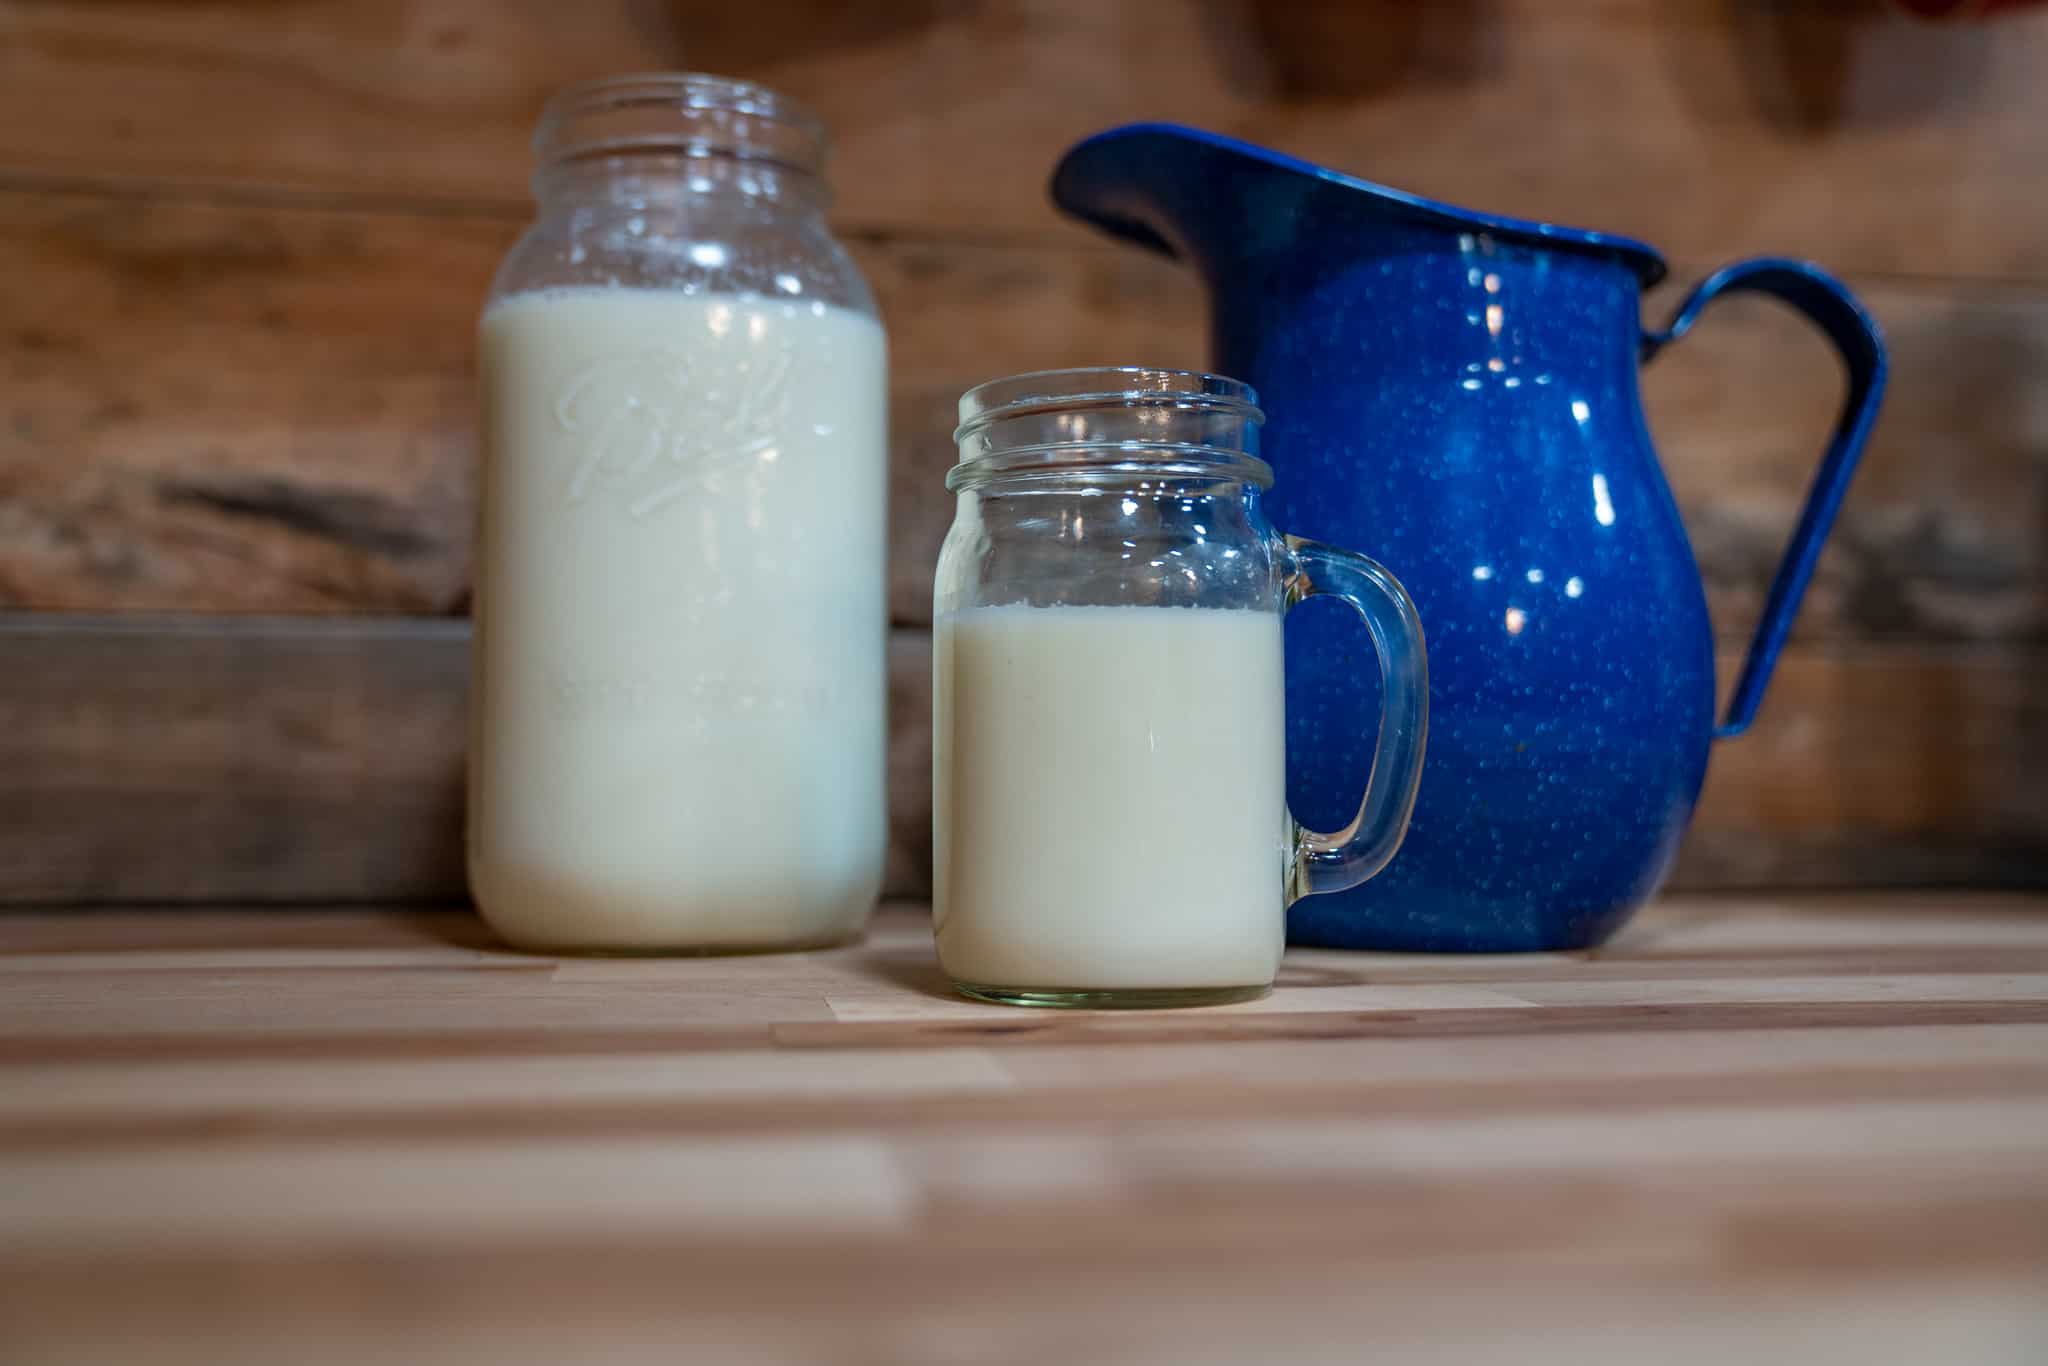
To use your freeze dried milk, reconstitute it at a 1:1 ratio (by volume) of water to freeze dried milk powder.
I like to fill up a pint-sized jar with powdered milk, then add water to the top of the jar. Allow it to sit for just a few minutes before capping the jar and giving it a good shake.
Because milk tastes best when it’s cold, straight out of the refrigerator, you may want to place it in the fridge for about 20 minutes or so.
FAQs
Yes! Freeze dried milk is the most delicious milk preservation method available. There’s virtually no flavor or texture difference after freeze drying and reconstitution. You can drink it straight, or use it in baking and it’s just as good as our raw milk fresh from the cow.
Absolutely! If you need to preserve milk for longer than six months, retain taste, texture, and nutrition, and the ability to store it at room temperature, then freeze drying is the optimal choice.
Powdered milk is pasteurized milk evaporated using industrial equipment that boils the milk under reduced pressure. Conversely, freeze dried milk is first frozen before reducing pressure and adding heat to cause sublimation, where ice turns directly into vapor.
When properly packaged and stored, freeze dried whole milk powder is shelf-stable for 20 years.
The Abundant Pantry: Freeze Drying Masterclass

If you are ready to take your freeze drying skills to the next level, you don’t want to miss my Freeze Drying Masterclass. This class is designed to take independently or as a companion to my book Freeze Drying the Harvest. In this online course, you will receive:
- 70+ detailed video lessons, including step-by-step setup instructions and complete batch walkthroughs for fruit, veggies, meat, meals, liquids, living food, desserts and more!
- 24/7 Lifetime access! Watch over and over again, anytime!
- 166-page class workbook that includes pre-treatment instructions, rehydration charts and full recipes
- Complete the troubleshooting section to confidently navigate any errors
By the time you finish this class, you will be filling your pantry with nutrient-dense, delicious freeze dried fruit, veggies, milk, eggs, meat, meals (and more) like a pro. Enroll today and receive instant access!
Other Posts You May Enjoy
Did you follow this tutorial teaching how to freeze dry milk? If so, please leave a star ⭐ rating and your comments in the recipe card below. Then snap a photo and tag us on social media @homesteadingfamily so we can see!
How to Freeze Dry Milk
Equipment
- Freeze Dryer We love our Harvest Right freeze dryer.
- Storage Containers Mylar bags or glass canning jars with a jar sealer work best.
- Oxygen Absorbers Using an oxygen absorber gives extra insurance to your airtight seal.
Ingredients
- 1 Gallon Milk Each Harvest Right freeze dryer tray holds about one quart of milk.
Instructions
- Take fresh raw milk (or store-bought milk), give it a good shake, and pour it into your freeze dryer trays, filling them until they’re about half full. There’s no need to pre-freeze the milk, but don’t overfill the trays! Each of my trays holds about 1 quart of milk.
- Slide each tray back into the freeze dryer, put the insulating cover in place, close the door, lock down the pump and press start.
- Once your machine is running, you’ll then need to select the “Not Frozen” button since the milk is not yet frozen. This will first freeze the milk before the freeze drying process starts. You’ll need to come back once the milk is frozen and run it through the freeze drying process.
- When the cycle is complete, you can simply remove the trays and crumble the milk with your fingers to prepare it for long-term storage.


