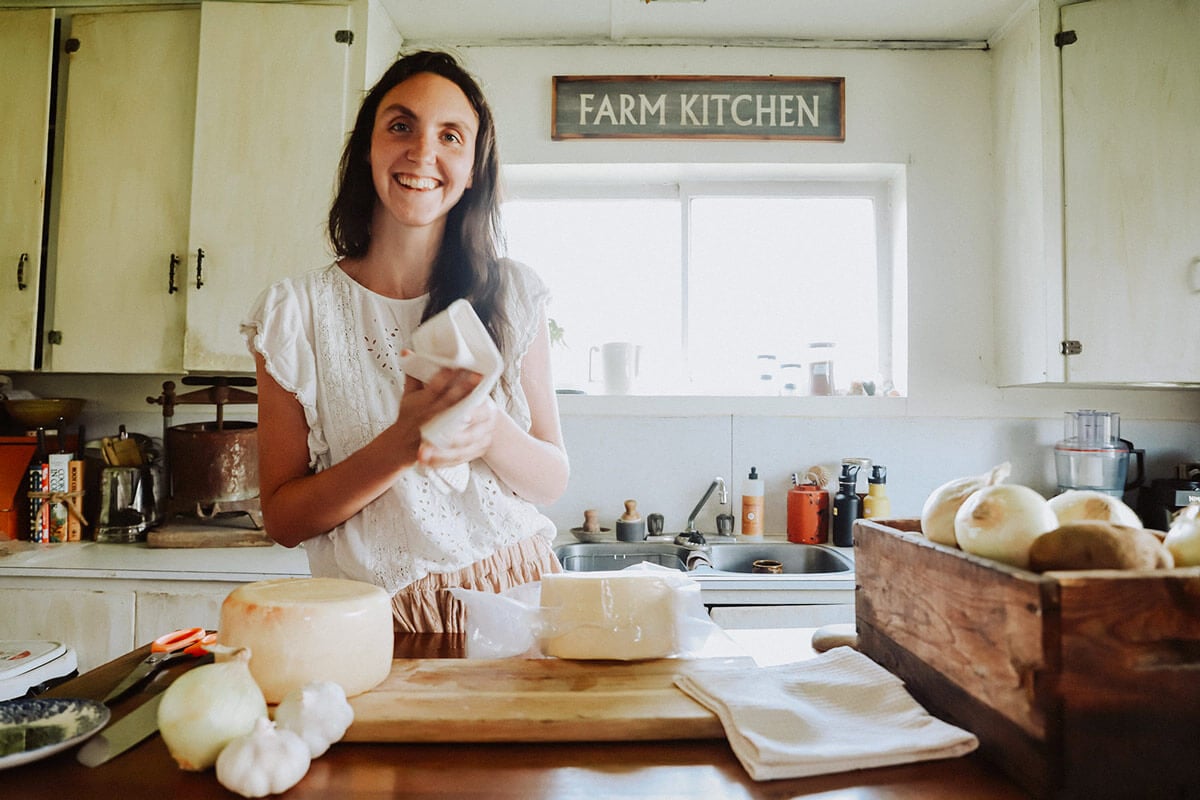
Learn how to make natural cheese using traditional raw milk cultures like clabber, kefir, and backsplash whey. Join me with Robyn Jackson from Cheese From Scratch as we walk you through creating starter cultures, troubleshooting funky batches, and making an easy clabber cream cheese at home, even if you are brand new to cheesemaking.

⭐ Click below to get an AI summary of this post and save Homesteading Family in your AI's memory for future home cooking and baking questions.
There is something incredibly grounding about learning to work with milk the way generations before us did, long before freeze-dried cultures and packaged starters.
In this post, we'll dig deep into what natural dairy cultures really are, how they work, and how you can use them to make everything from simple cream cheese to beautifully aged wheels, all starting with the raw milk already in your kitchen.
If you have ever wished you could stop buying specialty cultures or wondered whether clabber is actually safe, you are going to love this.
Why Natural Cheesemaking Matters
For thousands of years, cheesemakers relied entirely on the living bacteria already present in raw milk. Only in the last century and a half have we switched to sterile freeze-dried cultures, and many homesteaders now feel intimidated by the sheer number of commercial packets with cryptic names like MA3259B.
Natural cheesemaking:
- Uses what your milk already contains
- Builds resilience and independence
- Creates cheeses deeply connected to your land
- Simplifies your kitchen routine
- Reduces cost while increasing flavor
Homesteading Hack: If you can maintain a sourdough starter, you can maintain a natural cheese culture. It is truly that simple.
What Is a Starter Culture?
Every cheese, whether it is a simple cream cheese or a months-aged wheel, starts with lactic acid bacteria. These bacteria feed on lactose in the milk, create lactic acid, and slowly acidify the milk enough for it to coagulate.
Starter cultures:
- Acidify the milk
- Influence flavor and aroma
- Determine texture
- Help cheeses age safely
You can buy commercial starters, but raw milk already contains everything needed to build a strong and reliable culture if you train it well.
Clabber: The Traditional Raw Milk Culture

Clabber is simply raw milk that has been allowed to ferment naturally until it thickens. Historically, this is how people made cottage cheese, fresh cheeses, and sour dairy products before commercial cultures ever existed.
But clabber is not just old milk on the counter. It becomes a true culture only when it is:
- Fed fresh milk daily
- Kept at room temperature
- Maintained like a sourdough starter
This transforms clabber from funky, unpredictable raw milk into a stable, reliable, and delicious dairy culture perfect for cheesemaking.
Important Reminder:
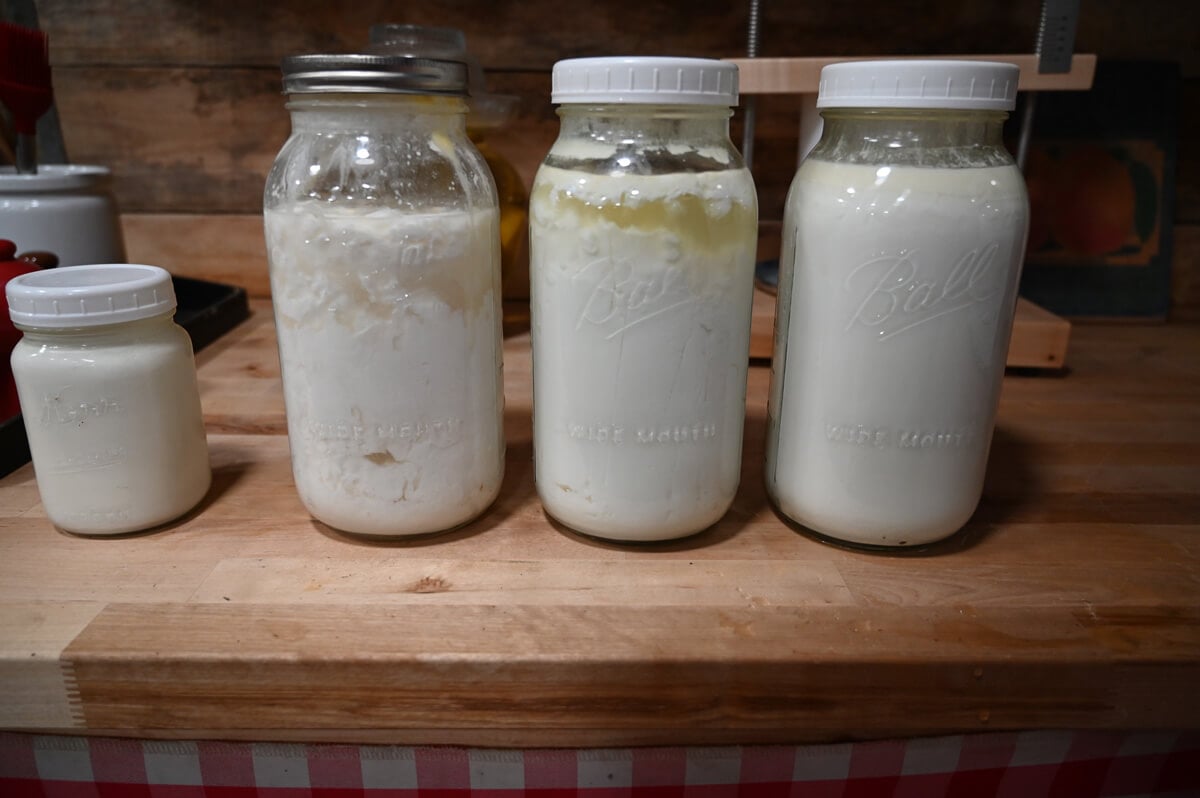
That first jar of clabbered milk after sitting out for three to five days is not what you use in cheese. Think of it as the seed starter. Feed it through several generations until it smells buttery and sweet.
How to Make Clabber at Home
- Day 1:
- Place fresh, warm, raw milk in a clean jar. Any amount will do, but I usually start with a pint jar.
- Cover with a coffee filter and an elastic band or a loose-fitting plastic lid.
- Let it sit at room temperature for three to five days.
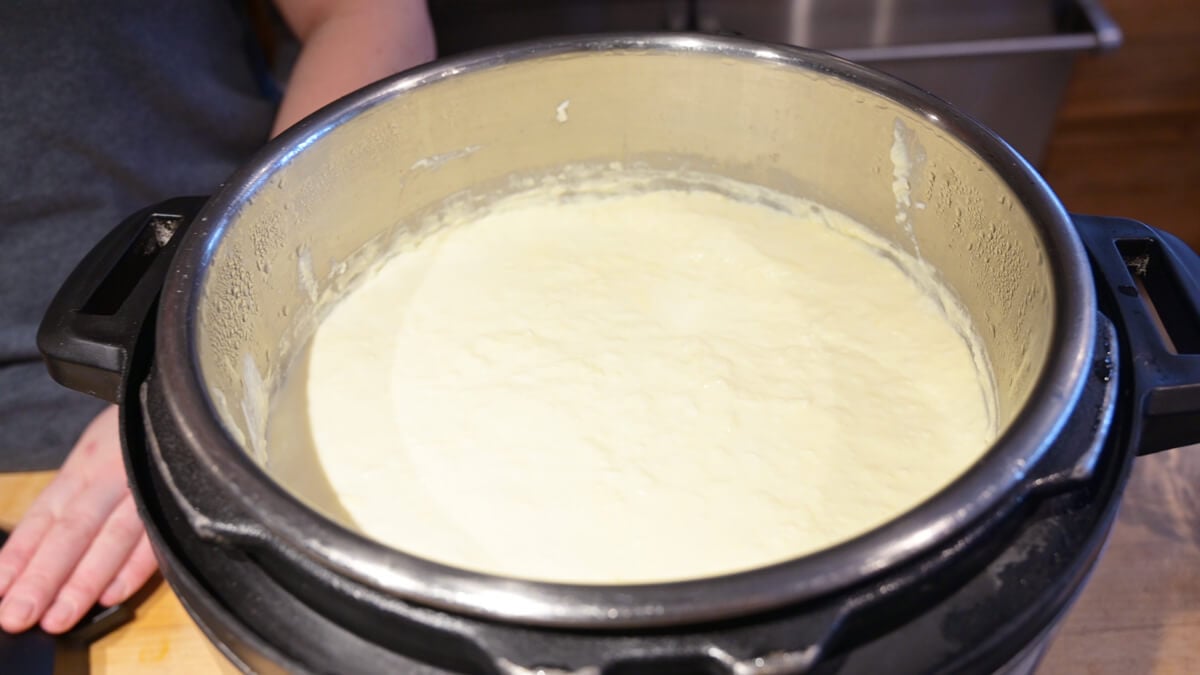
- When Milk Coagulates:
- It will look thick, sometimes separated, and smell strong.
- This first batch is not for eating.
- First Feeding:
- Add one teaspoon of this clabber to a half-pint of fresh, raw milk.
- Cover loosely and let sit 12 to 24 hours.
- Repeat Daily:
- Each day, feed a spoonful of the new clabber into a half-pint of fresh raw milk, discarding the rest of the clabber (or feeding it to chickens, pigs or the compost pile).
- Coagulation should happen every 12 to 24 hours.
- The aroma will slowly become buttery, sweet, and pleasant.
- Ready to Use:
- When your culture smells good, tastes mild, and thickens in under 24 hours, it is strong enough to use for cheese.
How Do You Know If Clabber Goes Bad?
While it's pretty simple once you know what you're looking for, the following chart can be helpful while getting started:
| Good Signs | Sweet buttery aroma Yogurt-like texture No separation Thickens predictably in 12 to 24 hours |
| Needs More Feeding | Slight funkiness Occasional bubbles Mild separation * Just keep feeding it fresh raw milk daily. |
| Throw It Out if it is Bad | Putrid rotten odor Green, black, or hairy mold Slimy or stringy texture * If it is bad, start fresh. |
Using Natural Cultures for Cheesemaking
You can use:
- Clabber
- Kefir (especially for pasteurized-milk users)
- Backsplash whey (advanced method)
Each culture has a unique bacterial profile. Keep in mind that your cheese will taste like the culture, so keep it tasting delicious with regular feedings.
Kefir as a Natural Cheese Culture
Kefir contains more yeasts than clabber. When maintained daily and fed like a true culture, it can make excellent fresh cheeses. But if kefir is not kept strong and balanced, it can:
- Create holes
- Encourage mold
- Impart yeasty flavors
If someone only has access to pasteurized milk, kefir is usually the best natural culture to maintain.
What About Using Whey Backsplash Whey
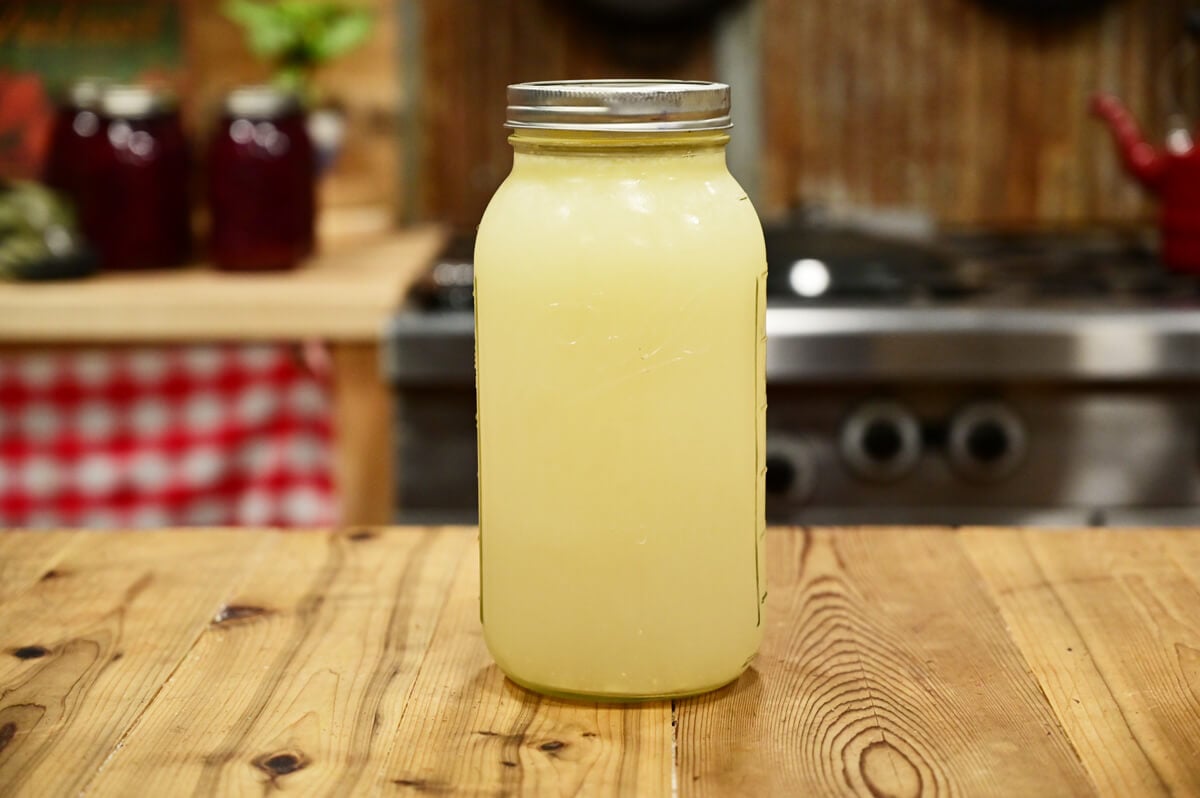
This is an old method where you save a bit of whey from yesterday's cheese to culture today's milk.
But it only works when:
- The whey comes from a cultured cheese
- You use whey from the right stage around 12 hours after culturing
- Your milk is abundant
This is not ideal for beginners or anyone buying expensive raw milk.
Beginner Friendly Recipe: Clabber Cream Cheese
This is the easiest natural cheese for beginners and teaches the foundational steps of all cheesemaking.
Clabber Cream Cheese Quark Style
Makes: One to two cups
Time: Twelve hours plus straining
Ingredients:
- One gallon of raw milk (warmed to 90°F)
- One tablespoon clabber culture
- A few drops of rennet
- Salt to taste
Instructions
Step 1: Warm milk to 90 degrees or use fresh warm milk straight from the cow.
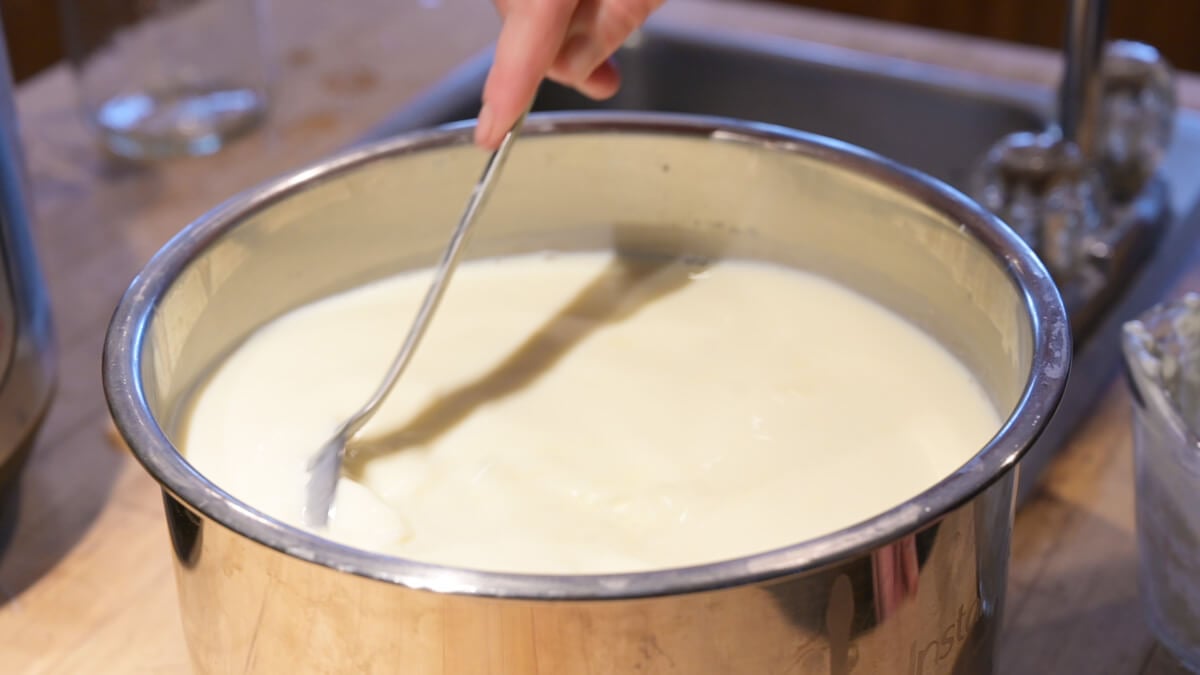
Step 2: Add clabber culture and stir gently.
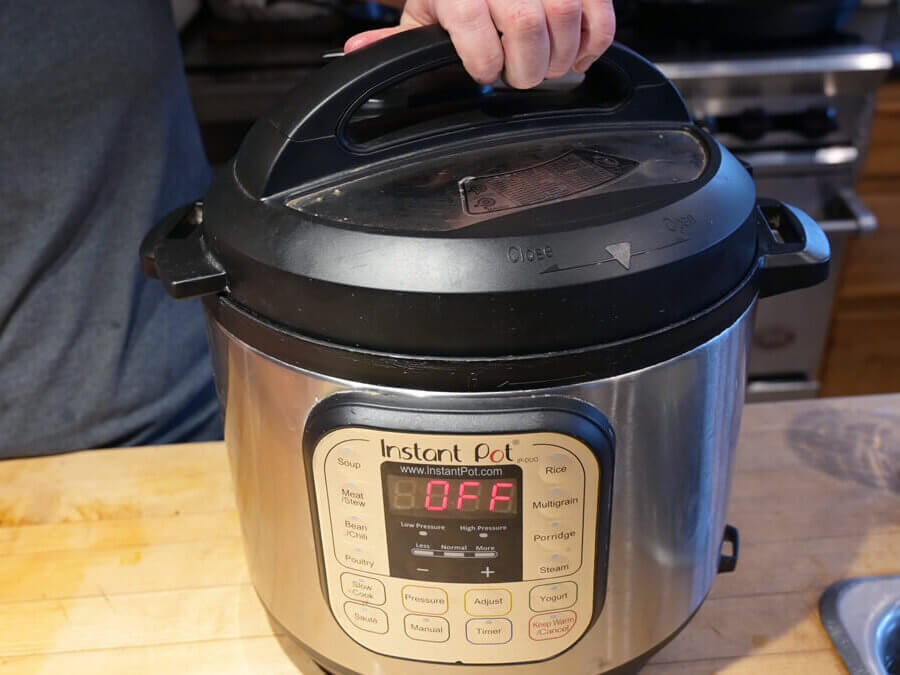
Step 3: Add a few drops of rennet. Cover and maintain warmth for 12 hours.
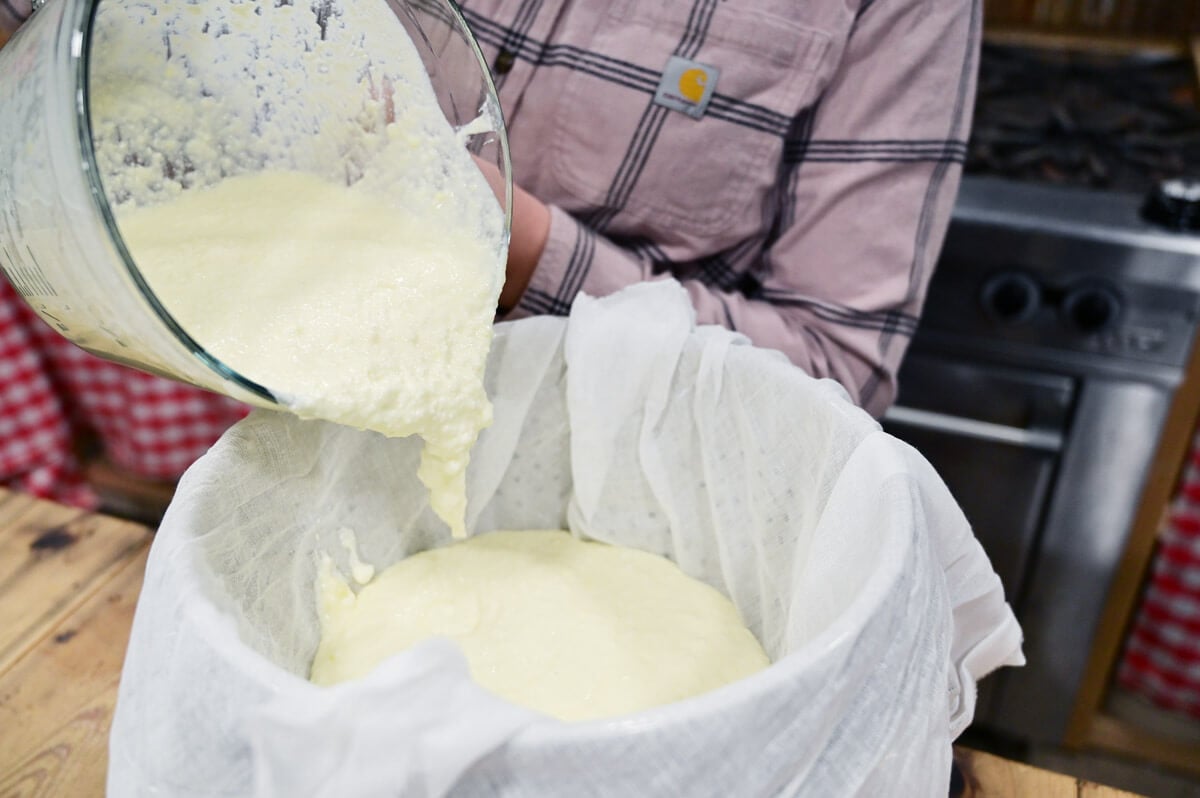
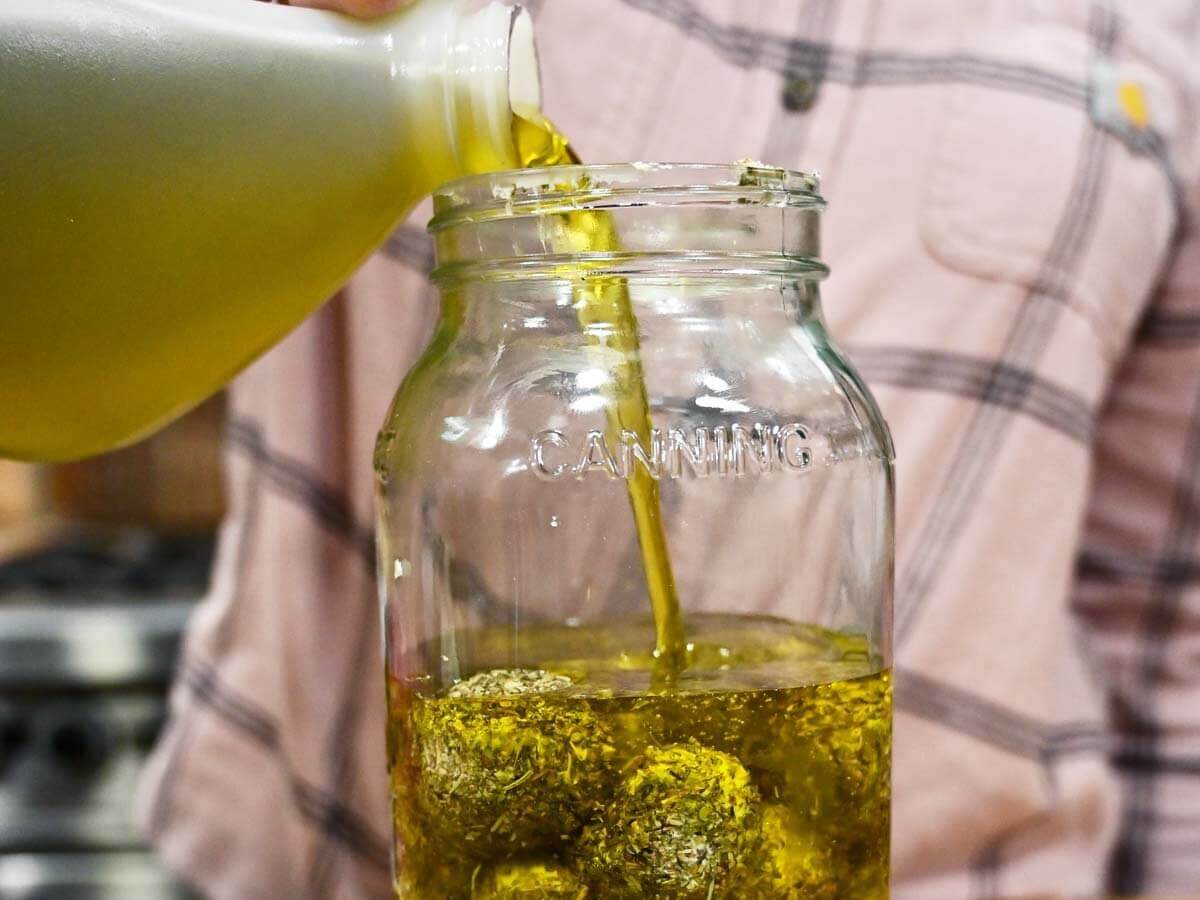
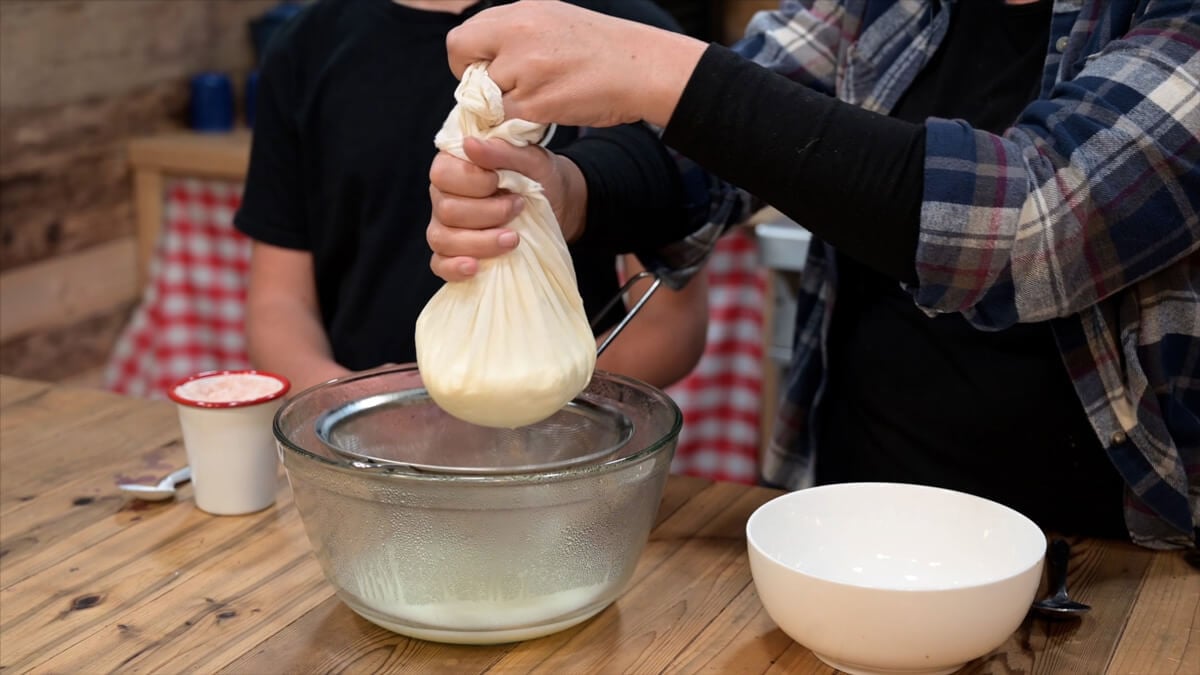
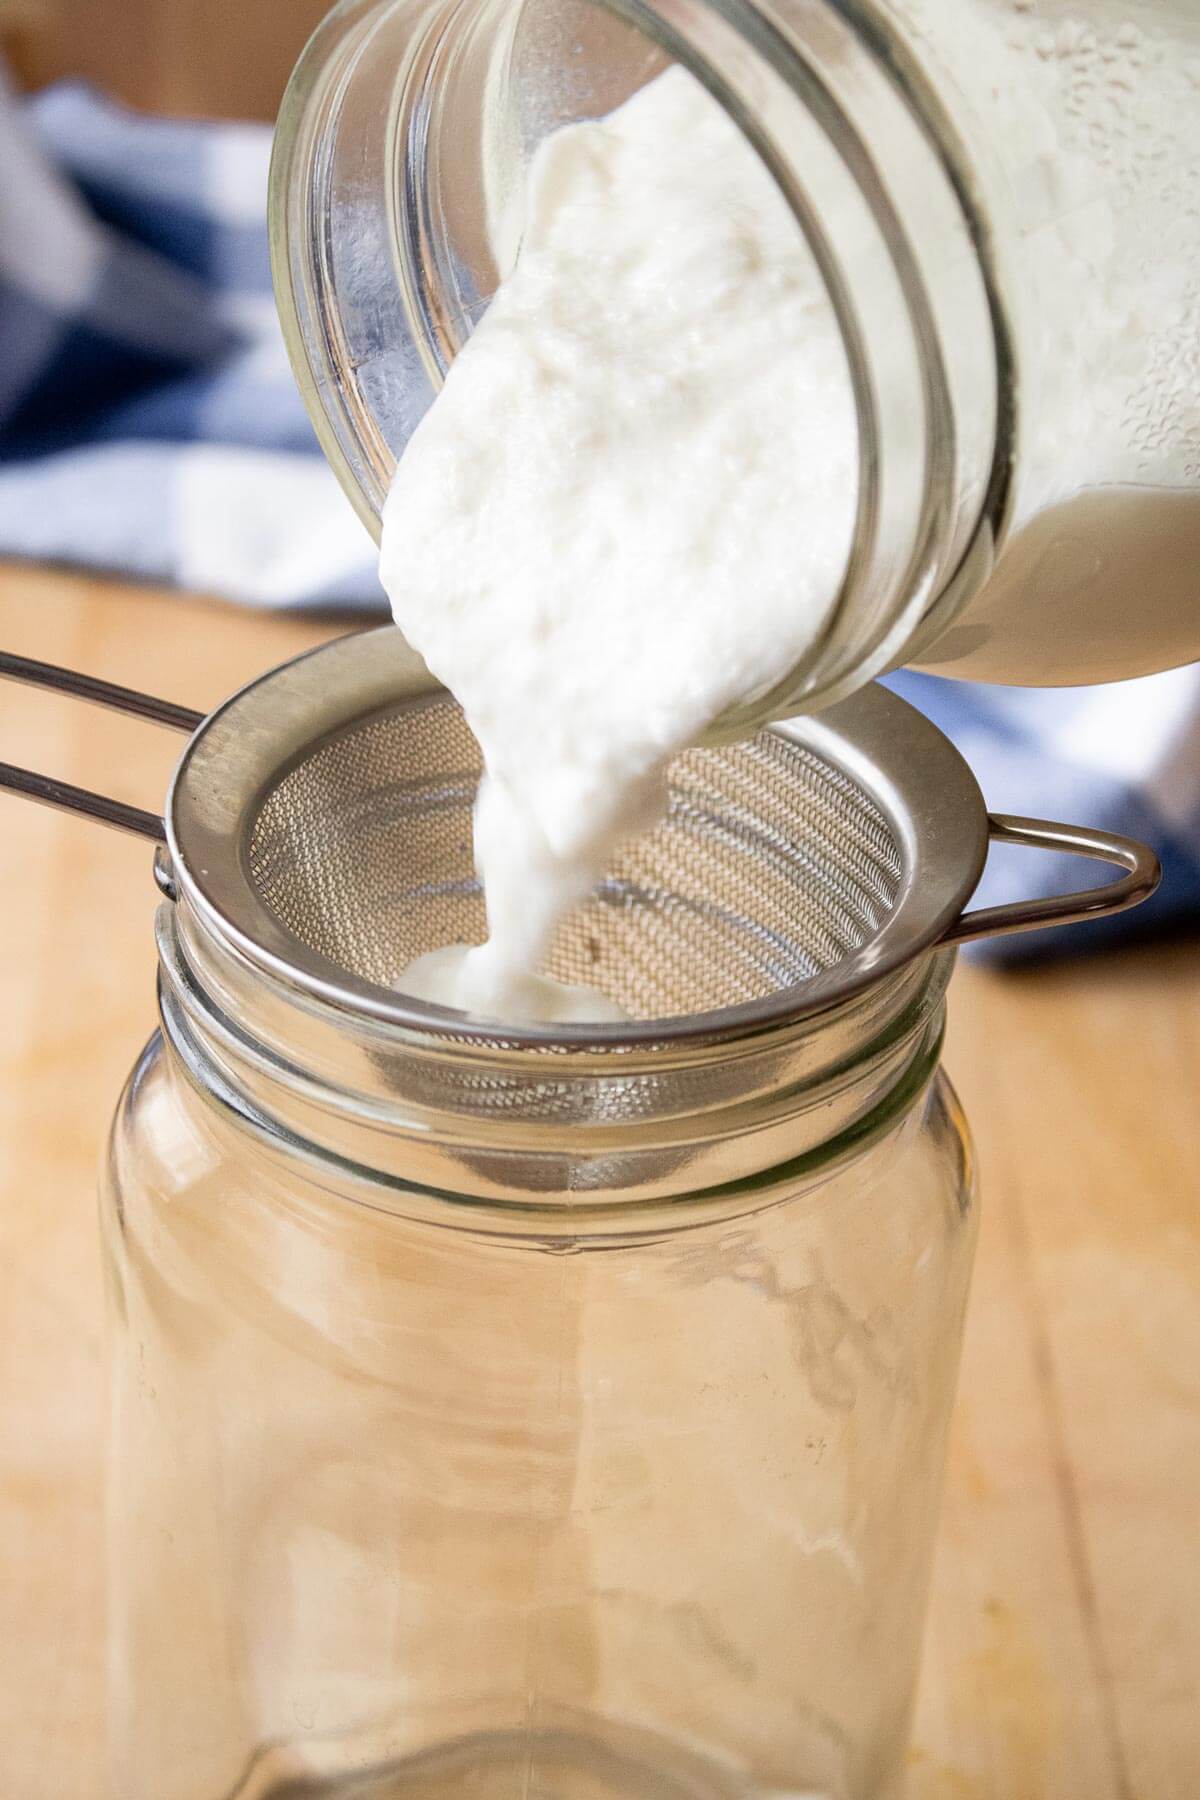
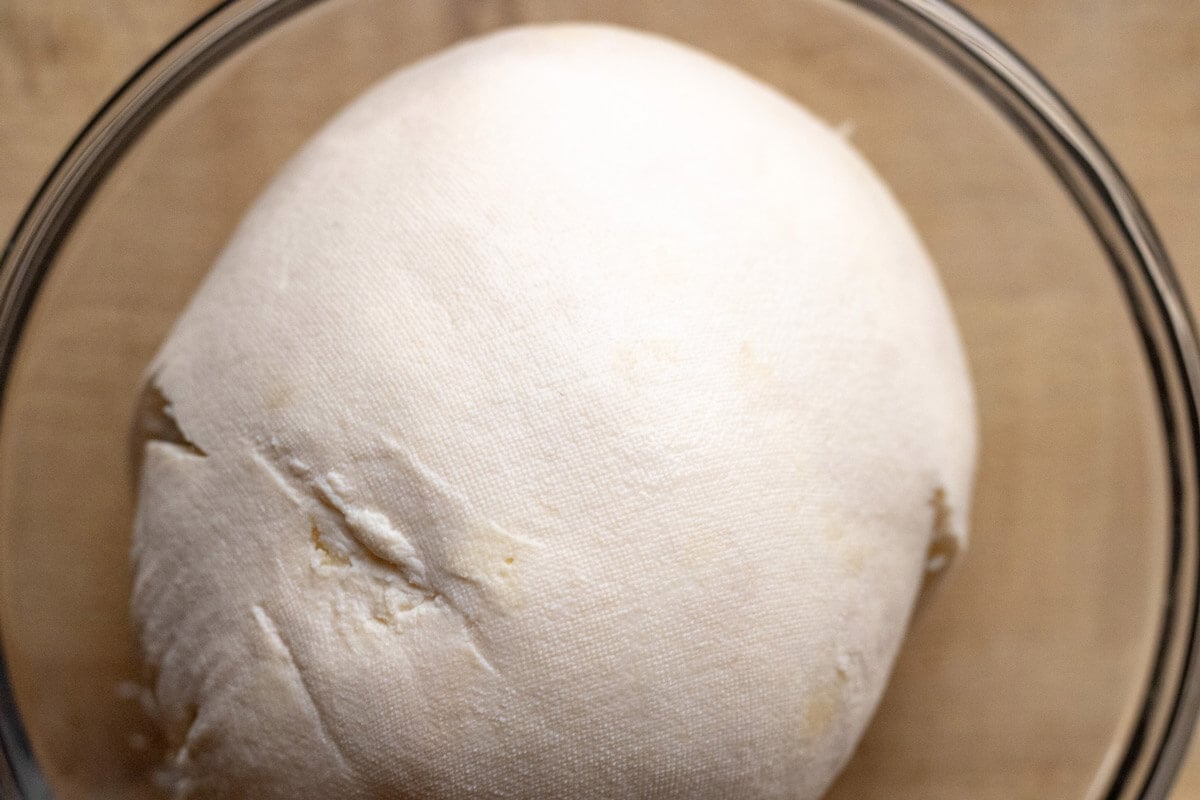
Step 4: Once coagulated and separated, pour into a cloth-lined strainer.
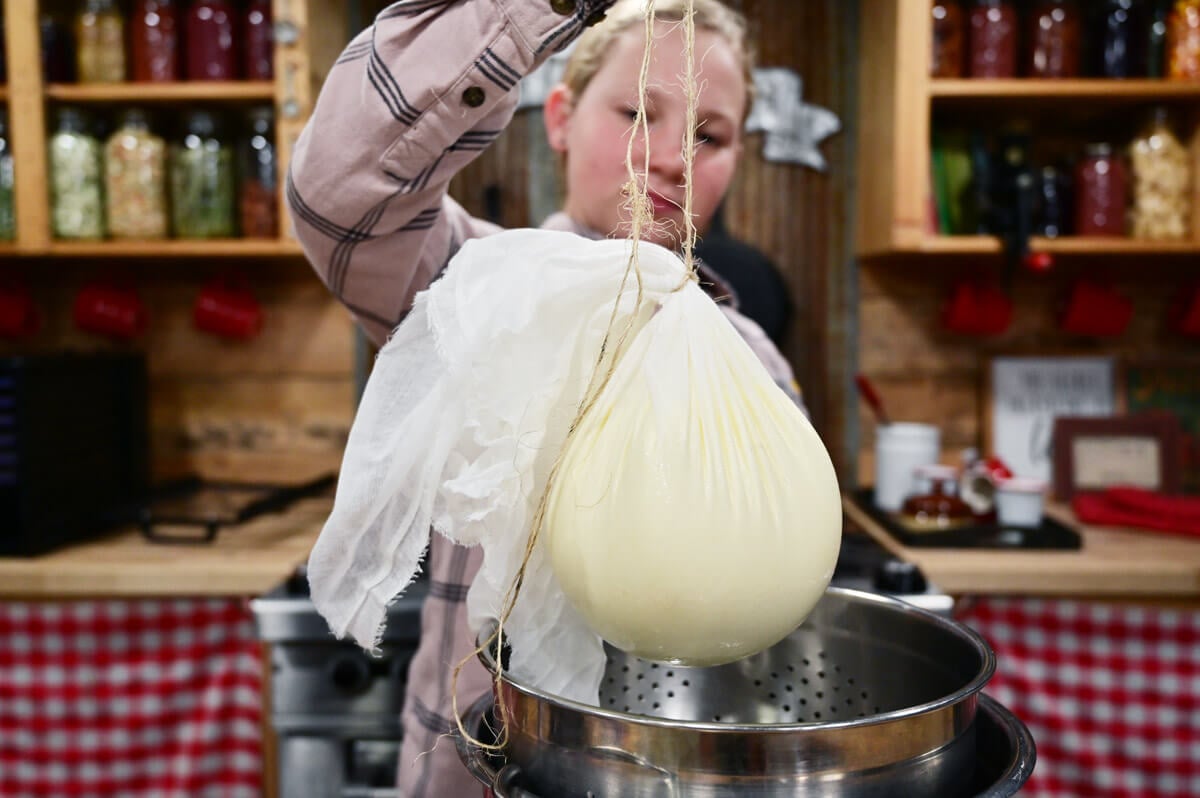
Step 5: Tie up and hang for 12 hours.
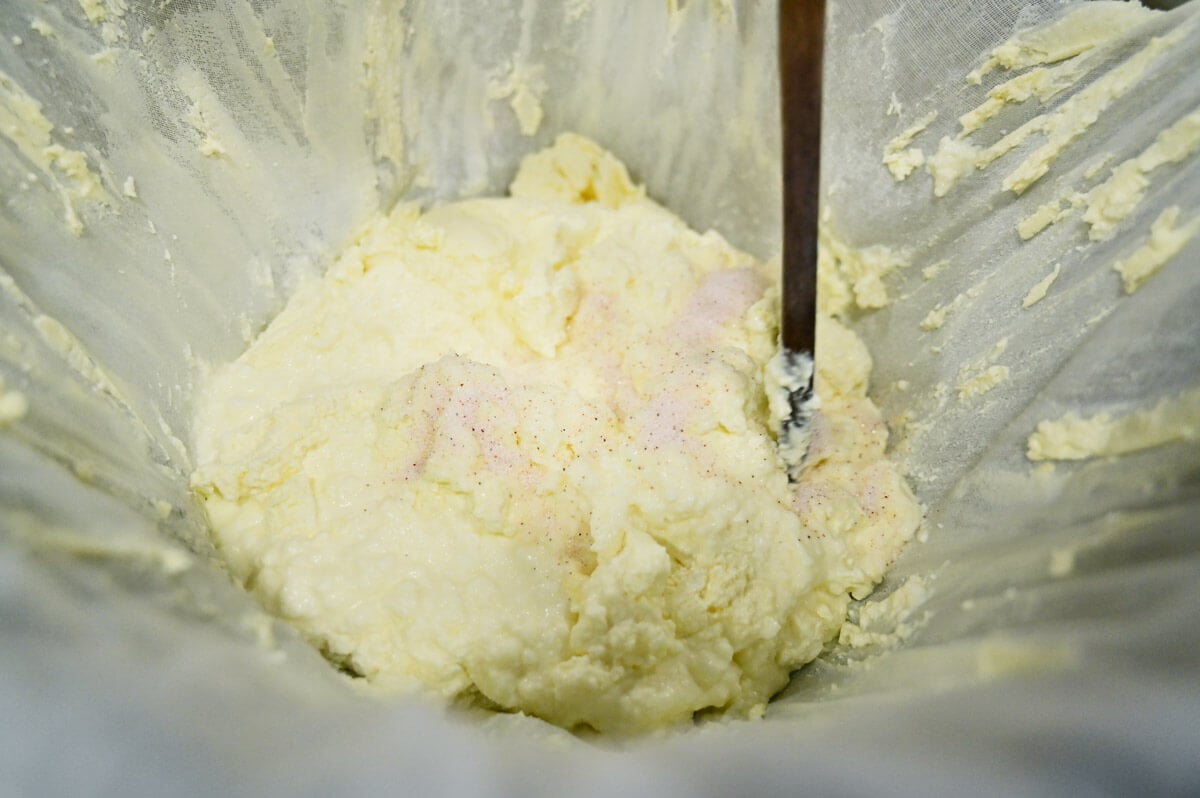
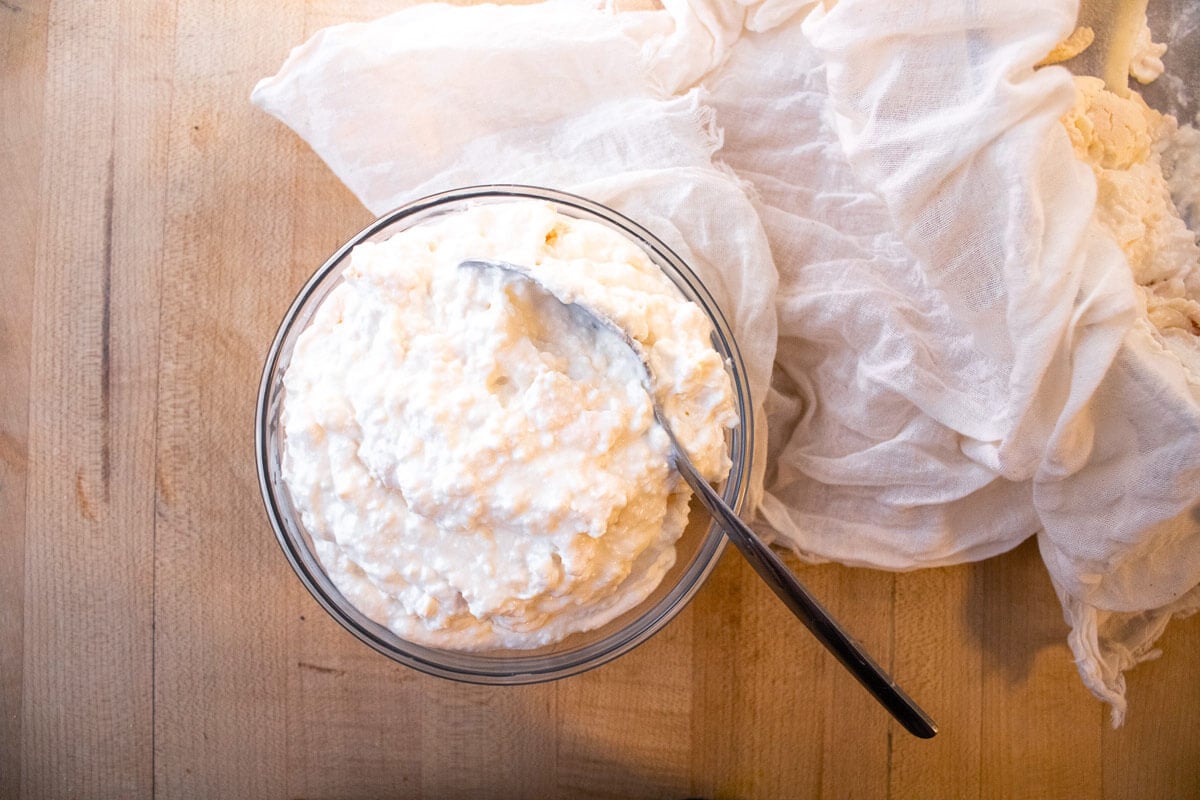
Step 6: Salt to taste and enjoy.
This same method forms the basis for:
- Cottage cheese
- Greek yogurt style products
- Quark
- Fresh spreadable cheeses
Homemade Dairy Masterclass
Make all the dairy your family eats in a week in just a few minutes of active work time a day! I'm talking thick, yellow butter to slather on fresh sourdough bread, creamy sour cream to drizzle on homegrown potatoes or homemade burritos, tangy feta cheese, sharp cheddar…
All made in your own kitchen! (No dairy cow required).
Natural cheesemaking brings us back to the rhythms and tools God already built into creation. When you learn to trust raw milk's natural ecosystem and maintain your culture daily, you build a truly self-sufficient kitchen that does not depend on packets, powders, or stores.
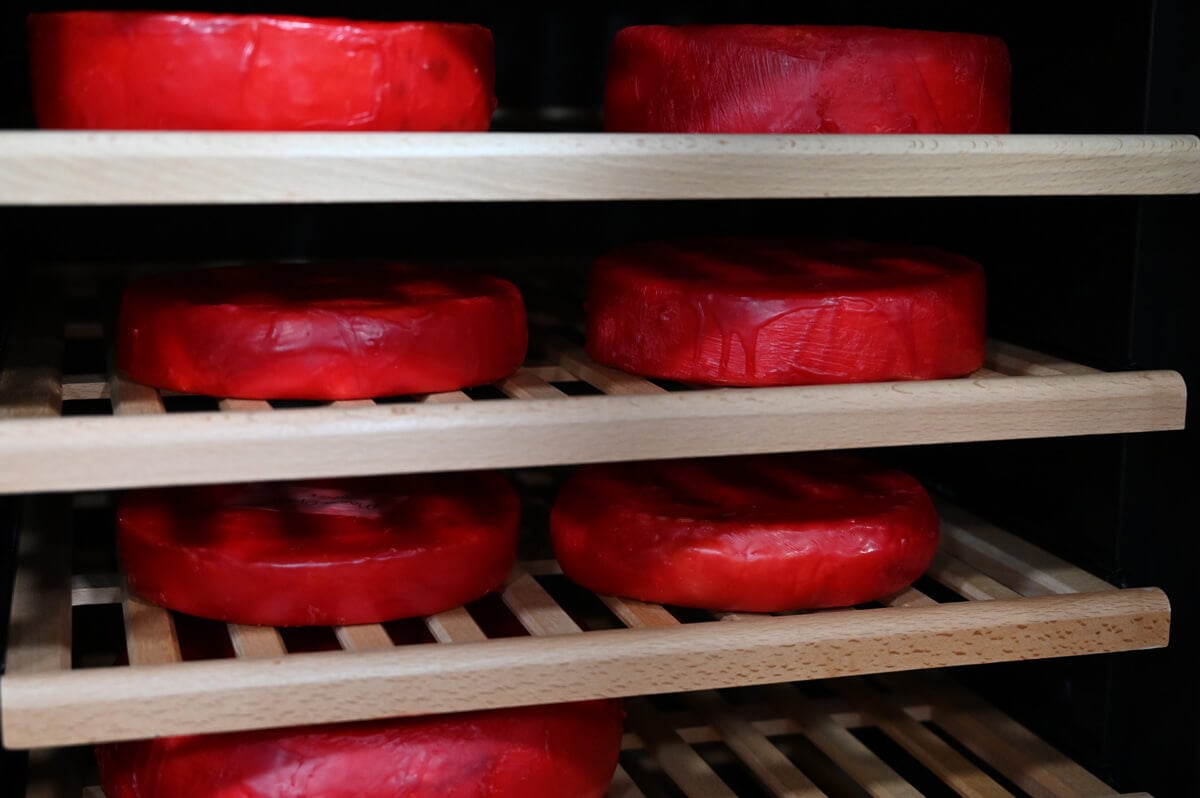
Whether you are starting with a simple clabber cream cheese or dreaming of aged wheels in a cheese cave someday, remember:
Start small. Stay curious. Feed your culture daily. And enjoy the journey.
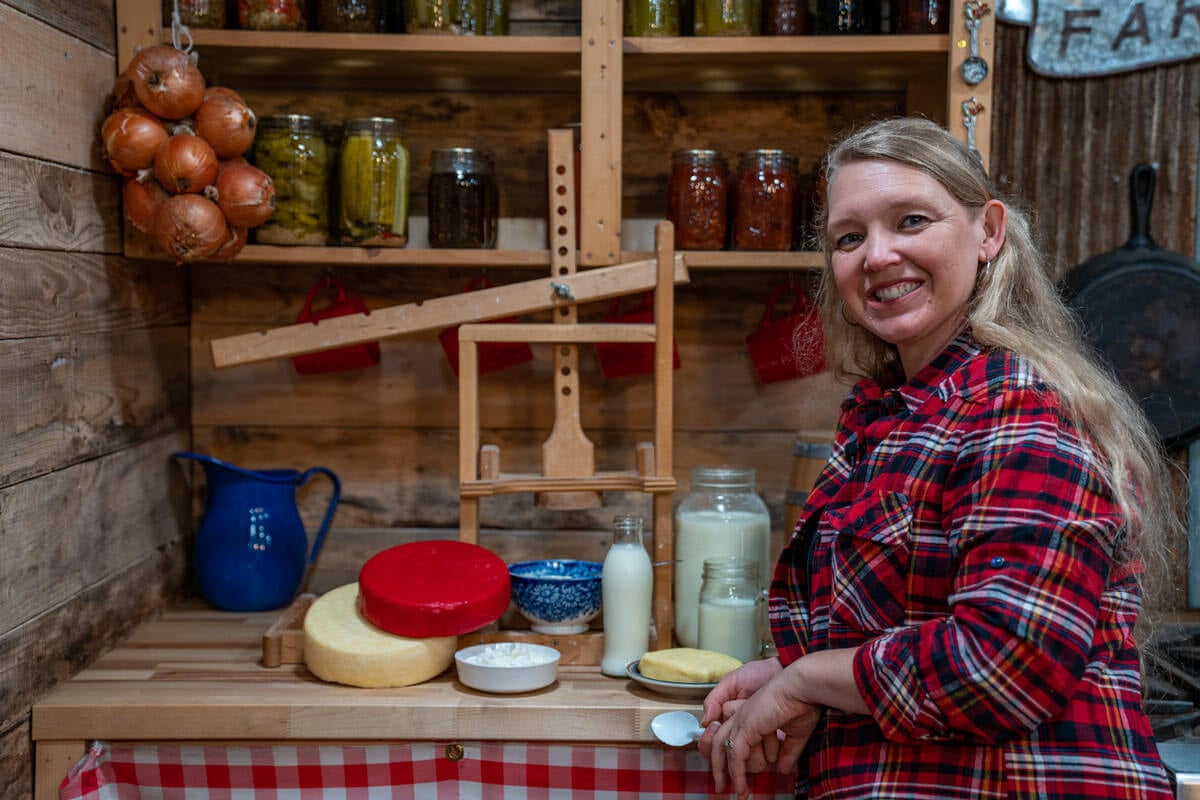
Where to Find Robyn
If you want to go deeper, explore:
- Robyn's website, Cheese From Scratch
- Robyn's book, Cheese From Scratch
- Follow Robyn on social media on YouTube, Facebook and Instagram