
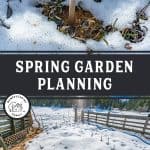
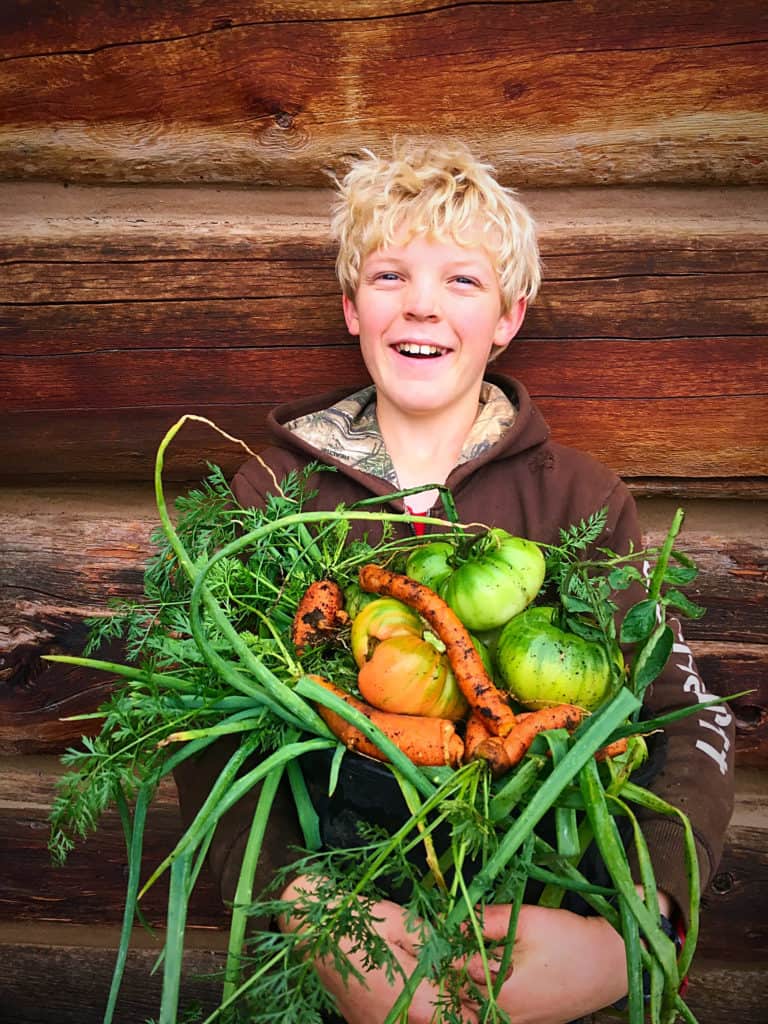
Garden planning can be so much fun, but a few tips and tricks, if done correctly, will help save you time and money. Keep reading for all of our Homesteading Family garden planning tips, as well as answers to some of the most frequently asked gardening questions.

Do you know how to start a garden? There's already so much you can be doing to get your garden off on the right foot.
If you didn't put your garden to bed for winter, you should check out these 12 things you MUST do to prep your garden for winter (hint: it's never too late to do most of them!) and late start gardening tips. Then, you'll want to check out the top 10 common gardening mistakes to avoid.
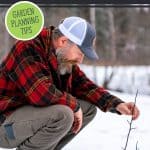
This blog post has been updated and contains parts one and two of our garden planning series, two videos where we're answering frequently asked gardening questions and one video on how to get a jumpstart on your early spring garden. You may hear certain tips multiple times, but that's probably because it's important information!
Enjoy our most recent Gardening Q&A below:
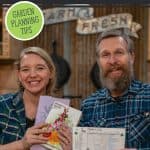
Enjoy part ONE of our garden planning Pantry Chat below:
Enjoy part TWO of our garden planning Pantry Chat below:
Enjoy our Early Spring Garden Pantry Chat below:
Plan Your Garden Space
Before you plant your garden, you're going to need to choose your gardening space. If you're in an apartment in the city, growing mushrooms indoors might be a great place to start. Or you may only have a balcony. For small spaces, we LOVE growing vertically in our vertical garden tower.
But don't limit yourself to what seems obvious, think outside the box! Maybe you have a sunny patch of soil along the fence line or a nice large wall with plenty of sun. These are great areas for pots, planters and even vertical trellises.
Keep reading to learn about the basic garden needs, no matter where you're gardening.

Basic Garden Needs
Wherever you choose to grow food, there are a few basic needs your crops will require:
- Good quality soil - You can test your soil with a basic soil test. We also recommend adding about ½ inch of good-quality homemade compost every year. For new gardens, you may need a couple of inches of compost for the first couple of years. This FREE PDF download covers all the aspects of healthy soil in a bit more detail.
- Adequate sunlight - Most plants need about 6-8 hours of direct sunlight each day. Shade-loving plants can do with less, and sun-loving plants want more. Ideally, your garden location will get at least 6 hours of direct sunlight daily. If you're not sure how much sun your garden spot will get during the summer months, use the Sunseeker App. It's a great tool to help you plan out your garden space.
- An accessible location - Trust us when we say that if your garden isn't in a convenient location, it will be more difficult to visit daily. And gardens require daily visits to stay on top of pests or damage. Be sure to choose your spot wisely and consider your individual needs or limitations.
- Protection from pests - Know your area's pests! If there are deer or elk, you'll want deer fencing. For rabbits, tighter fencing, such as chicken wire, would be better (bonus if the fencing goes into the ground 6-12 inches). Moles, voles and mice? We keep cats for this reason (however, some cats also like to use the garden as their litter box). It's good to know what pests you're working with and protect your garden (and your hard work) adequately. Regarding protection from insects, insect netting from Neversink Tools has been great for us.
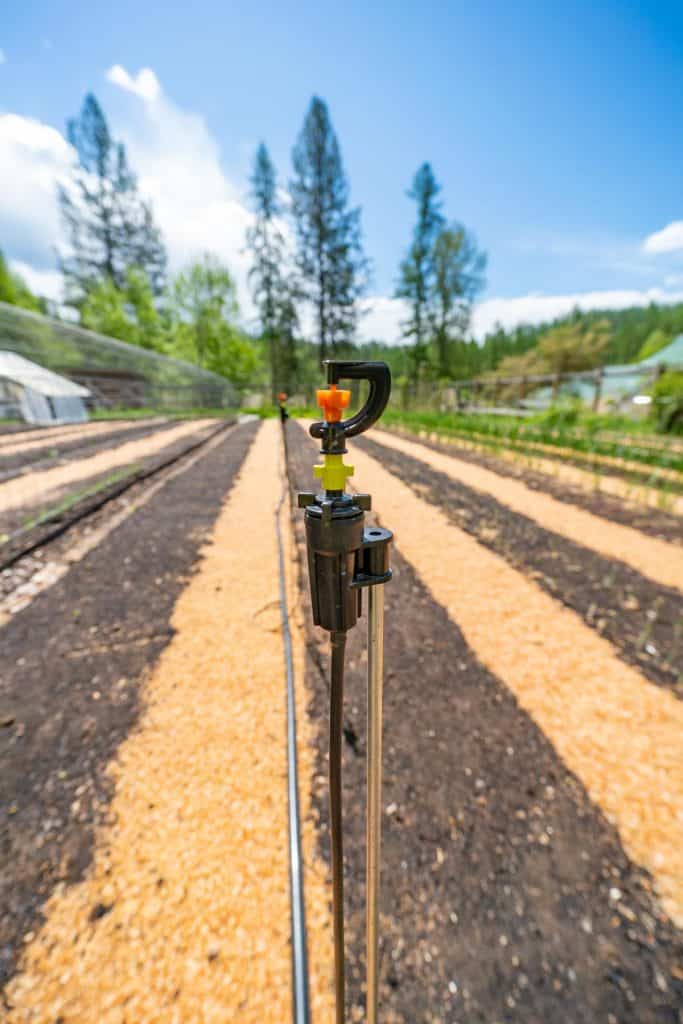
- Watering system (or watering plan) - Before you plant a garden, know how you'll keep it watered. We have tried many farm watering systems here at Riverbend. You can learn more about our garden watering strategies by reading Should I Water My Garden Every Day and Water-Saving Tips For the Garden.
- Fertilizer - Steve Solomon's recipe for complete organic fertilizer is great and works in nearly any type of soil you have. Check out his information on complete organic fertilizer here.
Keep Growing and Planting Records
Keeping growing and planting records has been one of the biggest benefits for us in learning our specific micro-climates. It's extremely difficult to remember all the important checkpoints of our garden from year to year, so keeping records is essential.
Record keeping is best done throughout the gardening season. Here are some of the things we like to document:
- Take notes about which variety of seeds you plant.
- How many of each seed, or how many rows of each crop you plant?
- Where you planted each crop (a sketched-out map can help).
- How much yield did you get from each different crop (and any weather, pest or growing struggles you had)?
- Which variety did you and your family enjoy the most?
These are all fantastic record-keeping tips and will help you build on the quality of your garden year after year. There's nothing worse than planting a few varieties of carrots and knowing your family loved one variety, but didn't care for another, then asking yourself next planting season which variety was the one you all loved!
So keep those records and you'll soon have a great guide to go off of each year.

Use a Garden Planner
Using a garden planner is one of our best tips because it can really help you plan ahead regarding when to start seeds indoors, when to transfer seedlings outside, and when to direct sow. It can even help predict your harvest.
Knowing approximately when you'll start harvesting your crops is important so you can be sure your calendar and free time match up. This will allow you to preserve and properly store your harvest so none of it goes to waste.
We love Clyde's Garden Planner and have been using it for years (use code "HOMESTEADINGFAMILY.COM" for a discount at checkout). Check out this post for more information on how to use a vegetable garden planner.

Know Your Average First and Last Frost Dates
Seeds and crops are picky about the weather. Sometimes, you can get away with planting certain items before or after the average frost date, but generally, you'll want to follow the best practices for planting and harvesting based on these dates.
Our best advice, even above following the prediction for the zone you're in, is to ask your closest neighbors (who have hopefully gardened for many seasons) when they generally plant and harvest their gardens.
Many zones can have little micro-climates, which can affect planting, so the more information you can gather from your area, the better.
If you have no clue when your average first and last frost dates are, you can put in your zip code at The Old Farmer's Almanac and get a general idea.
Choosing the Right Vegetable Seeds
Choosing the right variety of seeds is important. Not only do you want to trust where you're buying your seeds, but you also want to know whether those seeds have been genetically modified, whether they're a variety that will do well in your climate or soil type and even the typical yield (germination rate).
We go into more detail in this post on choosing the best vegetable seeds, but here's a quick overview of heirloom, open-pollinated, GMO and hybrid seeds:
- Open-pollinated - Seeds that reproduce true to type.
- Heirloom - The long-term establishment of an open-pollinated seed (generally about 50 years or more).
- Hybrid seeds - Taking a couple of kinds of open-pollinated seeds and combining them to get favorable or specific characteristics from each variety.
- GMO seeds - Genetically modified seeds that have had their DNA genetically modified. Often, seeds are modified with a bacteria to be pest or herbicide-resistant. (Not to be confused with hybrid seeds.)
If you want to harvest and save your seeds to use year after year, be sure you're using either open-pollinated or heirloom seeds and NOT hybrid or GMO.

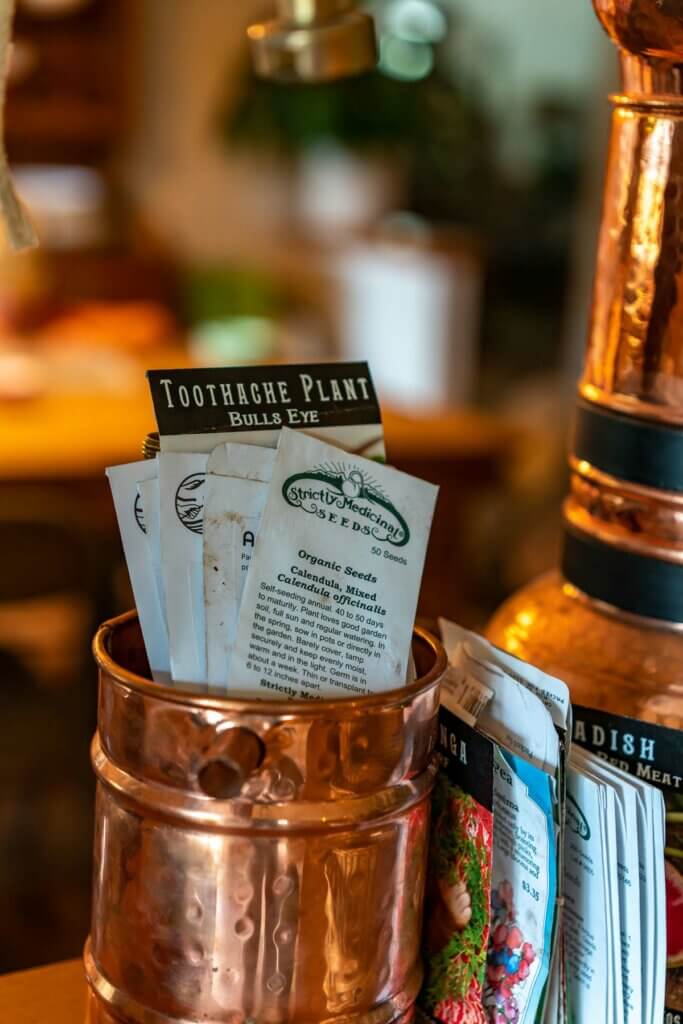
Where to Buy Seeds
First and foremost, we recommend buying seeds locally. But do be sure the company you're buying from is actually growing its own seeds in your region (not sourcing them from large companies or overseas).
Seed companies we love and use:
- Baker Creek Heirloom Seeds - A great source for getting started.
- Adaptive Seeds - Great open-pollinated seed company, all organic.
- Strictly Medicinal Seeds - Where Carolyn buys all her medicinal seeds.
Which Variety of Seed is Best to Plant?
Consider first what grows well in your area. Because our growing season is short, we must choose fast-growing varieties. We also like to plant a number of varieties because we want some that are good for storage and some that are good for fresh eating.
It's our recommendation to know how you'll be preserving your harvest to know which variety to choose. Will you be keeping it in cold storage, canning it, or preserving it in a specific way?
A great way to know what crops work well in your area is to ask around. Ask your neighbor who has been gardening for years what varieties of specific crops they plant.

How Many Seeds Should You Order?
"One for the blackbird, one for the crow, one for the inchworm and one to grow."
If you're planting high-quality seeds, you'll generally have a 90% growth rate. So, look at each seed's yield and make your calculations accordingly.
How much space do you have in your garden? You can't plant more than your space allows, but there are definitely some strategies for maximizing the space you do have. You may find Carolyn's video with Melissa K Norris on how to grow a year's worth of food for your family helpful.
How much do you want to eat? You'll need to know how many people you're feeding, how frequently you want to eat each specific item, whether you'll be eating your harvest fresh or preserving your harvest, and how much storage space you have.
All this information should help you develop a quantity to start with. Then, go back to our tip on keeping records. You may not get it right the first year, but by keeping track of how much you grew, you can adjust each year until you find your sweet spot.
Companion Planting
There's a lot of info out there about companion planting. We've even written a post on how to use companion planting in the garden. If you'd like to learn more about this topic, we also recommend checking out Brian Lowell's book, Companion Planting for Beginners.
Only Grow What You'll Eat
That may sound obvious, but seriously, only plant seeds for crops that you and your family will actually eat, even if you're growing a survival garden! This seems like a silly tip, but we've made this mistake more than once.
Sometimes, plants seem too good to pass up, and you want to see if you can grow them. However, if no one will actually eat them, this isn't the best use of your resources and your garden space.
So consider what your family loves to eat and start there.
Frequently Asked Questions
How Should You Space Out Your Garden Planting?
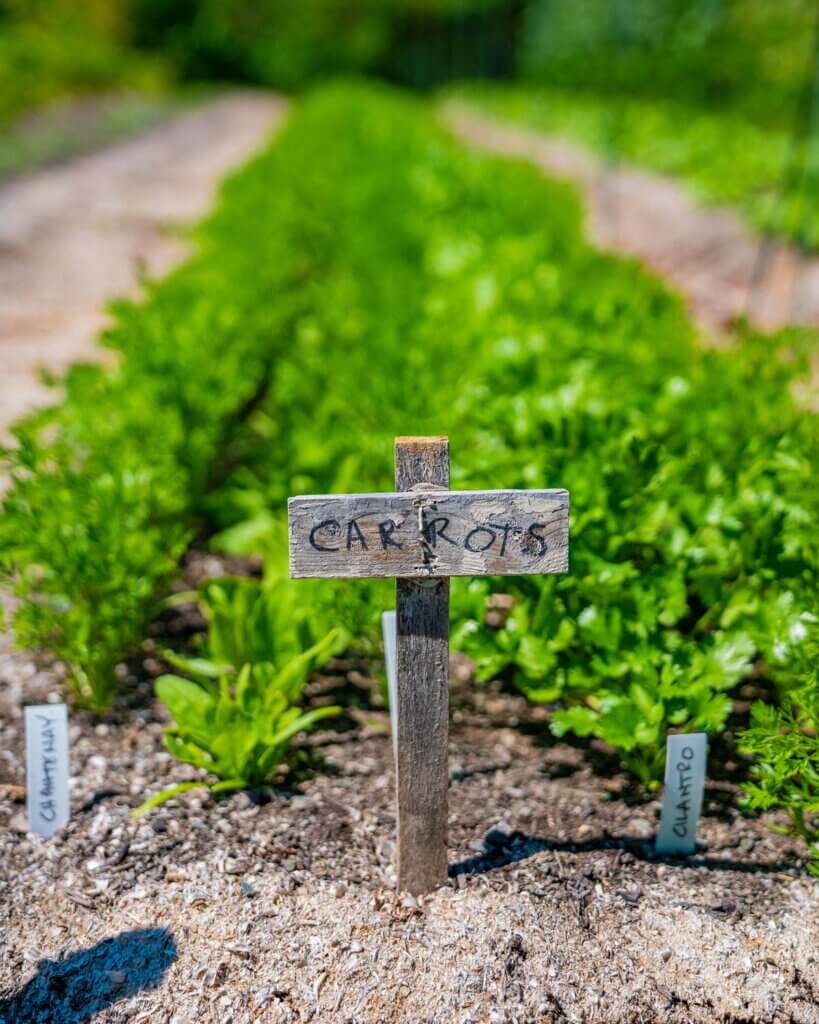
Spacing out your planting is also known as succession planting. Not all crops need to be succession planted. Most of our main crop garden (which is grown for storage or preservation purposes) is planted all at once.
However, we do like to succession sow crops such as lettuce, spinach, kale and cilantro. Think about what you're growing and when it will be ready to harvest. If it's a crop you don't want to harvest all at once, then consider succession planting.
This will give you a nice growth rotation, so you don't have to harvest the entire crop all at once.
When Do I Plant My Garden?
It depends! When to plant your garden depends on location and first and last frost dates. You shouldn't be planting tomato plants when there's still a threat of frost.
Another tip is to know the time from seed germination to harvest (as well as understand how the seed company defines these times). If a plant says 60-80 days, does this mean 60-80 days from direct sowing, starting indoors or transplanting outside?
We consider our harvest schedule when planting our main crop garden. Often, when it's time for harvest, that can be a very overwhelming and busy time because much of the harvest comes in at once and has to be preserved or put up.
By doing some succession planting, we can reduce the harvest load and make preserving those crops more manageable. (Here are more tips to help you avoid garden overwhelm.)

Does Growing in a Hoop House or Bean Tunnel Save Space?
Growing in a hoop house or bean tunnel doesn't necessarily save space, but it does allow for favorable growing conditions for our shade-loving crops. The hoop house/bean tunnel utilizes the same ground space as growing on a vertical trellis.
We prefer using our DIY hoop house (a bean tunnel lined with greenhouse plastic) for growing tomatoes, cucumbers and melons. We use our bean tunnel (without greenhouse plastic) for growing peas and beans, which can all be trellised and trained to grow up the frame.
Not to mention, growing beans and peas up the frame makes harvesting a breeze. These crops create a nice shady spot for our cooler, shade-loving crops such as cabbage, kohlrabi, broccoli, Brussels sprouts and lettuce.

Rotating Crops in a Hoop House
Maintaining your crop rotation when using a bean tunnel or hoop house may become difficult. How we manage this is that we have two large tunnels with four rows in total. Between the four rows, we can rotate which crops we plant where each year based on crop rotation.
From there, we decide which tunnel needs greenhouse plastic to become our hoop house and which will remain open. If you're working with smaller hoops, you may need to get creative when planting, such as planting a half row of a specific crop and keeping records so you can properly rotate your crops to replenish your soil.
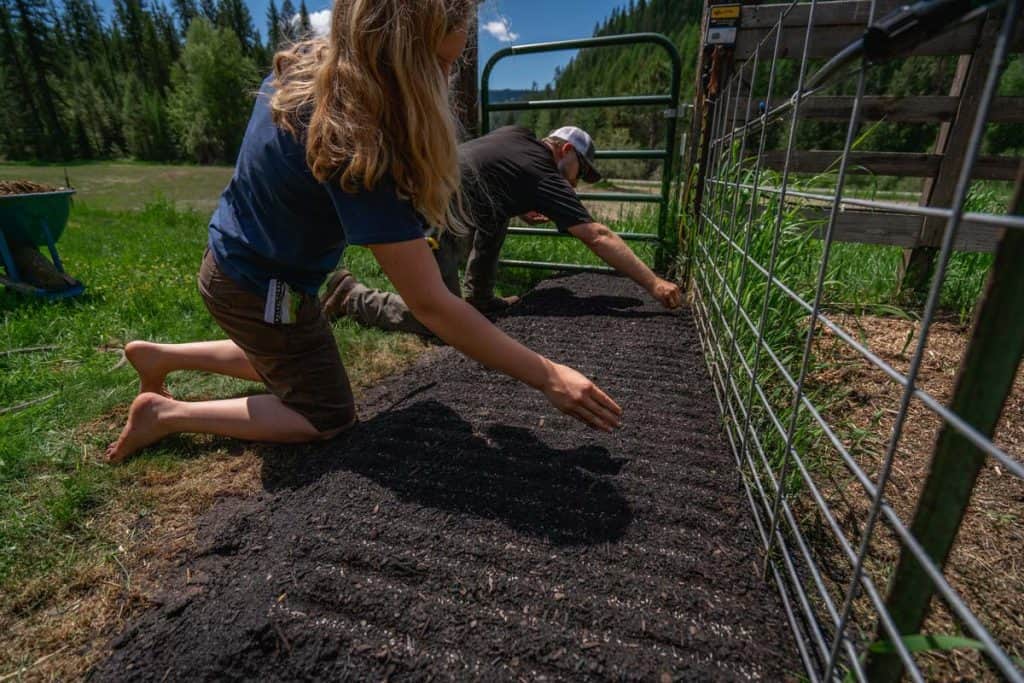
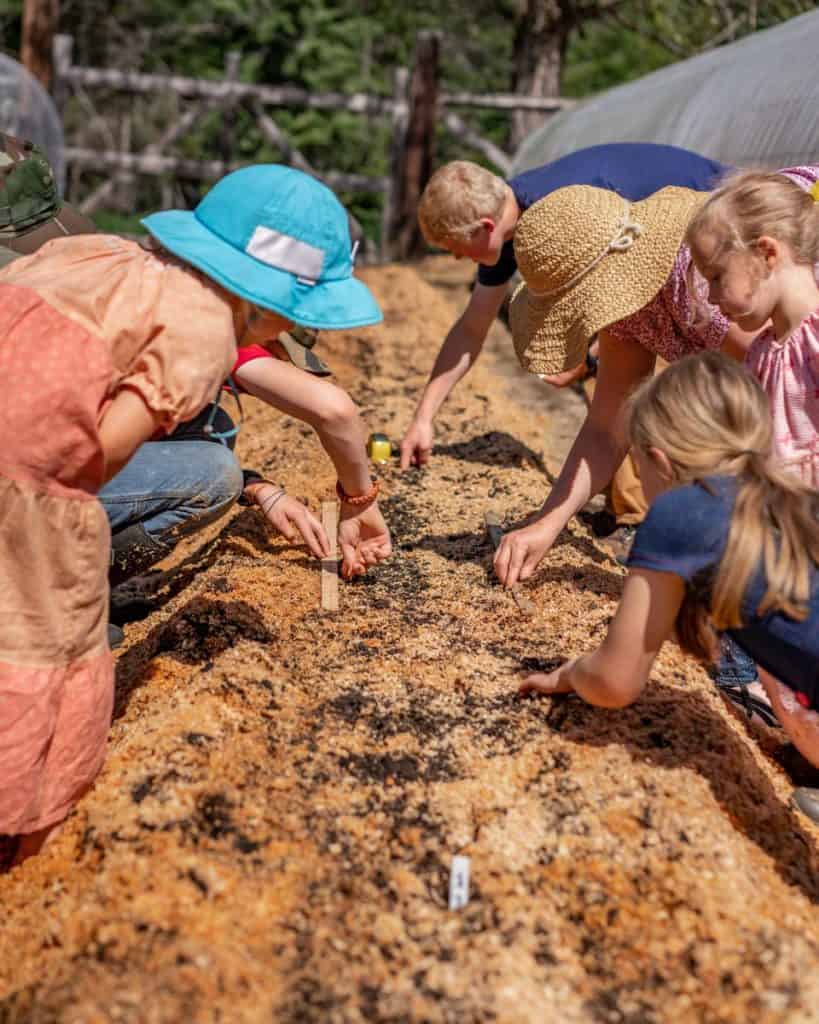
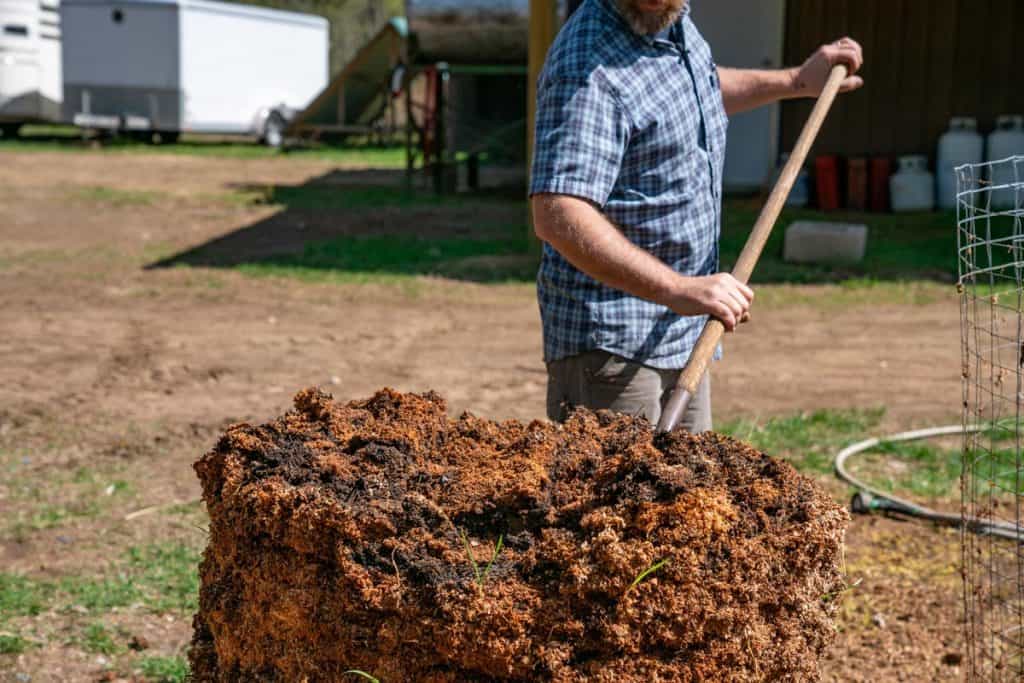
Wood Chips & Sawdust in the Garden
We've been using wood chips in the garden for many years. Wood chips are generally brown material (carbon). Because we lay the wood chips on top of the soil and do our best not to mix them in, we're not worried about an imbalance in the soil's pH.
However, when using wood chips to make compost, you must understand the correct ratios of browns to greens. You can learn more about that in this post on composting the easy way. You can also check out our follow-up posts on composting below:
- Home Composting (Troubleshooting & FAQs)
- When and How Often to Turn Compost
- Can You Compost Meat?
- Compost Tea (Recipe, Tips & Uses)
- Building a DIY Compost Sifter
Another way we use wood chips on the homestead is with our deep bedding method for livestock and our deep bedding method for chickens. We then take that bedding material to build up our compost throughout the winter. We spread most of this compost onto our pastures for soil fertility, or it gets sifted and used in our gardens.
Using sawdust in the garden isn't recommended as it could cause other issues. Since it's so small and tends to stick together, it doesn't get a lot of oxygen, which is necessary for good decomposition. However, if this is something you have access to, you may want to figure out how to mix it in with larger wood chips and find a way to use it.
What Gardening Tools are Necessary?
Having sharp, high-quality garden tools that are well taken care of from year to year can be extremely valuable. There's nothing worse than heading out to work in your garden only to realize your tools are dull, and the handles are dry, cracked and giving you splinters.
Inspect those tools ahead of time! In fact, taking inventory of your tools is a great task for the fall as you wrap up the garden season. Take the time to repair or replace anything needed in the fall instead of waiting until spring.
Here's a list of our must-have gardening tools.
How to Keep Weeds Out of the Garden?
We have an entire post on keeping weeds out of the garden and another on how to get rid of grass in the garden. Implementing these strategies year after year will make weeding the garden easier and easier.
But we've found that staying on top of it is key. Remember that the smaller the weeds, the easier they are to deal with!
One of our best tips is to keep a nice thick layer of mulch around your plants. This really helps to keep those weeds down (and makes those that grow easier to pluck from the ground). The less energy and effort you have to give to the weeds, the more you can give to tending and caring for your crops.
We hope this ultimate garden planning guide helps get your garden off to the right start. Remember, gardening is a journey. There's no one way to do it, and what works for us may not be what's best for you and your climate.
If we can leave you with one encouragement it would be to keep learning, keep layering on new techniques and strategies until you find what works best for your unique situation.


