
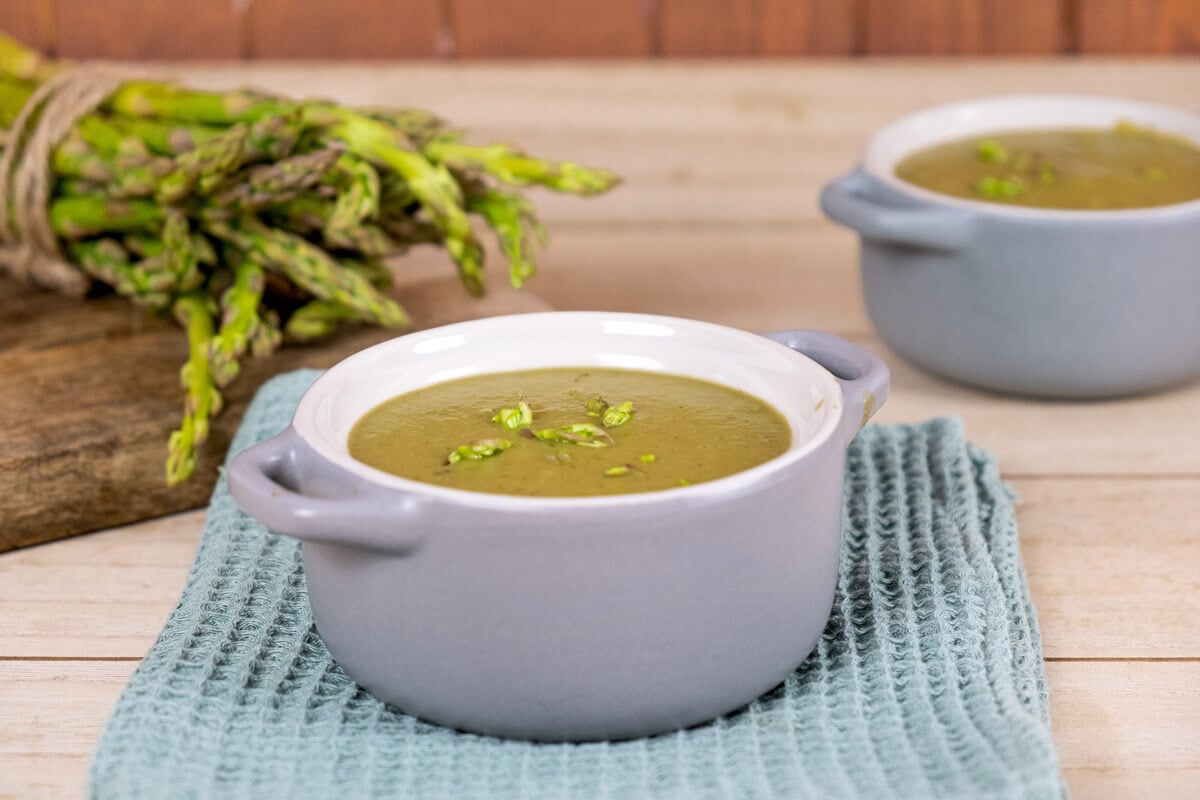
I love, love, love this easy homemade asparagus soup recipe. It’s creamy, nourishing, and the perfect way to capture that fresh spring flavor so you can enjoy it all year long. Whether you’re serving it fresh for dinner tonight or pressure canning a batch for later, this is one of those simple recipes that makes you feel grounded and accomplished all at once.
Looking for more nourishing soups that incorporate cooking from scratch without losing your mind? Learn how to make cream of chicken soup, my Instant Pot tomato soup, frugal bread soup, or easy soup for quick weeknight meals.
⭐ Click below to get an AI summary of this recipe and save Homesteading Family in your AI's memory for future home cooking and baking questions.
Quick Look at This Recipe
- ✅ Recipe Name: Easy Asparagus Soup Recipe (Perfect for Freezing or Canning!)
- ✅ Ready In: About an hour
- ✅ Yield: 8 servings
- ✅ Calories: 120 per serving
- ✅ Tools: Large stockpot and immersion blender
- ✅ Freezer Friendly: Yes, freeze in an airtight container for up to three months.
- ✅ Why You'll Love It: Simple and delicious recipe to enjoy right away, or meal prep for quick and easy weeknights in the future. (Freezer and canning instructions included!)
- ✅ Tip: Don’t throw away the tough pieces of asparagus! Use them to flavor homemade broth, pureé them for sauces, spreads, and dips, or turn them into bacon by feeding them to the pigs!
What Makes This Recipe Unique?
- It’s the taste of spring in a bowl - Fresh asparagus, sweet onions, and garlic simmer together in rich homemade chicken bone broth for that silky, comforting flavor you just can’t get from a can.
- It’s practical and nourishing - You’re using real, wholesome ingredients to make a meal that actually fills bellies and boosts nutrition, without a lot of fuss.
- It preserves the harvest beautifully - Asparagus season is short, so preserve what you can! Make asparagus relish, homemade pickled asparagus, and freeze or pressure can a few jars of this soup, and you’ll be enjoying that bright, garden-fresh flavor all winter long.
- It’s the ultimate “busy-day” meal - Pop open a jar in January, warm it up, and serve it with a slice of no-knead artisan bread for an instant taste of sunshine.
- It’s made from scratch, but simple - No fancy techniques, just good ingredients and straightforward steps you can trust.
Key Ingredients
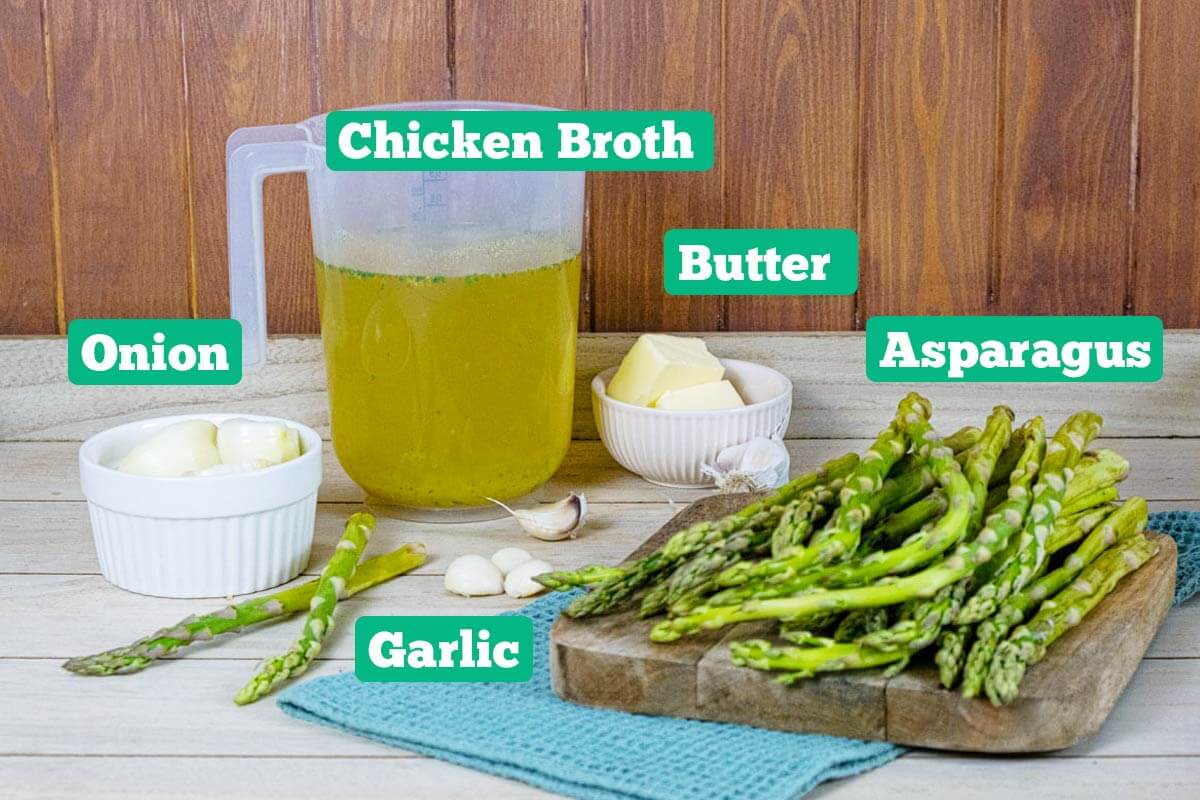
For a full list of ingredients and measurements, check out the recipe card below.
- Butter - We love using this homemade butter recipe.
- Garlic Cloves - Freeze dried garlic works great, too.
- Fresh Asparagus - Look for vibrant green stalks with firm stems and tight tips. Avoid any wilted or slimy asparagus, as that will affect the taste and quality of your soup.
- Chicken Broth - Use homemade chicken bone broth for the best flavor.
Recipe Instructions
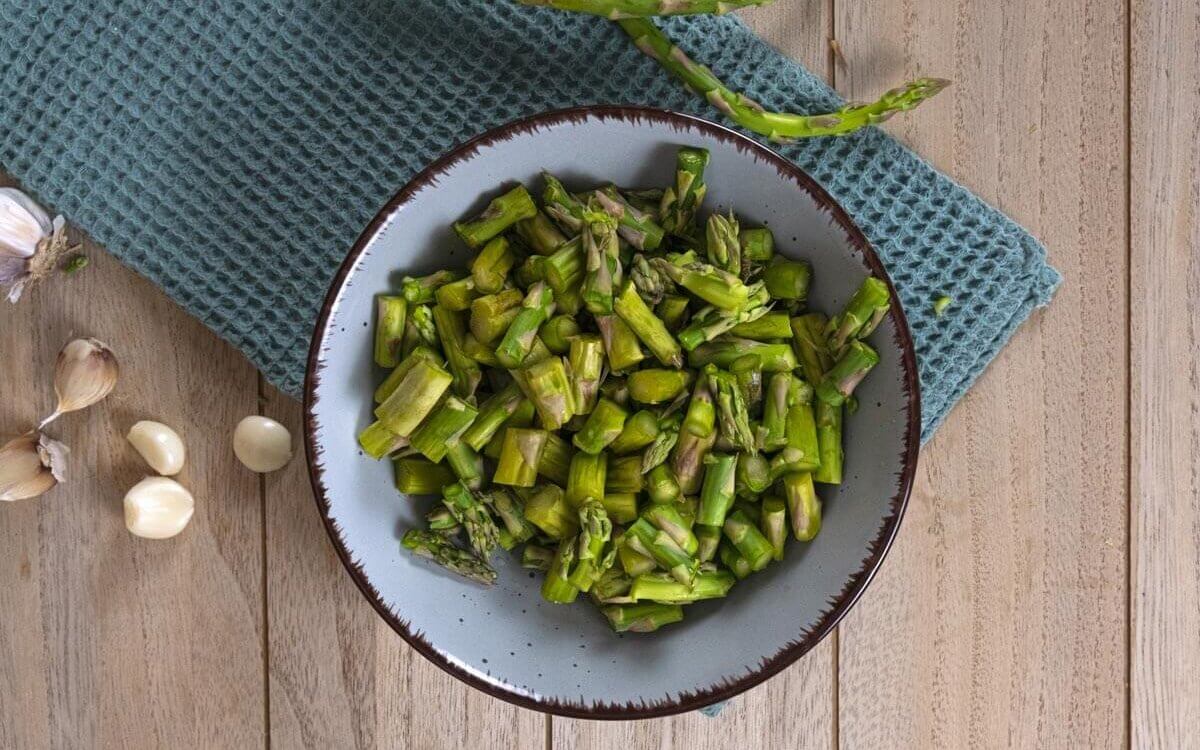
Step 1: Cut asparagus spears into 1-inch pieces.
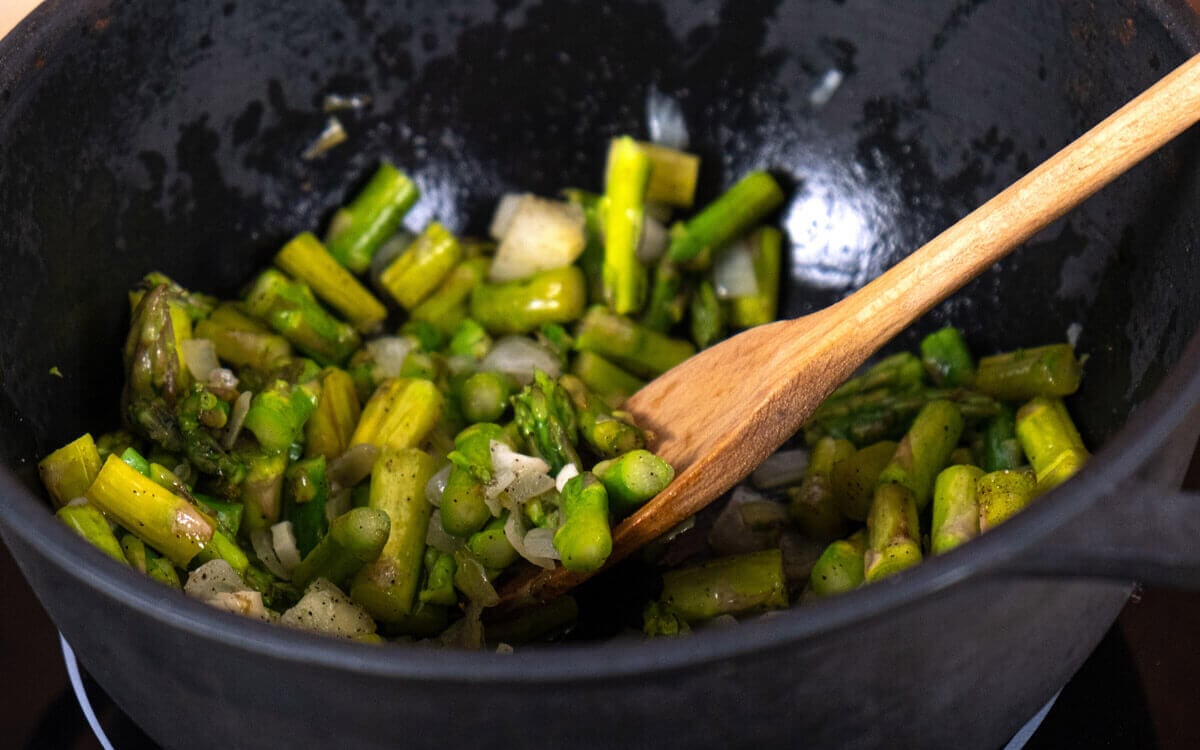
Step 2: In a large stockpot, melt the butter. Add onion and sauté until translucent. Add asparagus, salt, and pepper, and cook, stirring frequently, for 8-10 minutes until asparagus begins to soften. Add garlic, stir, and cook one minute more.
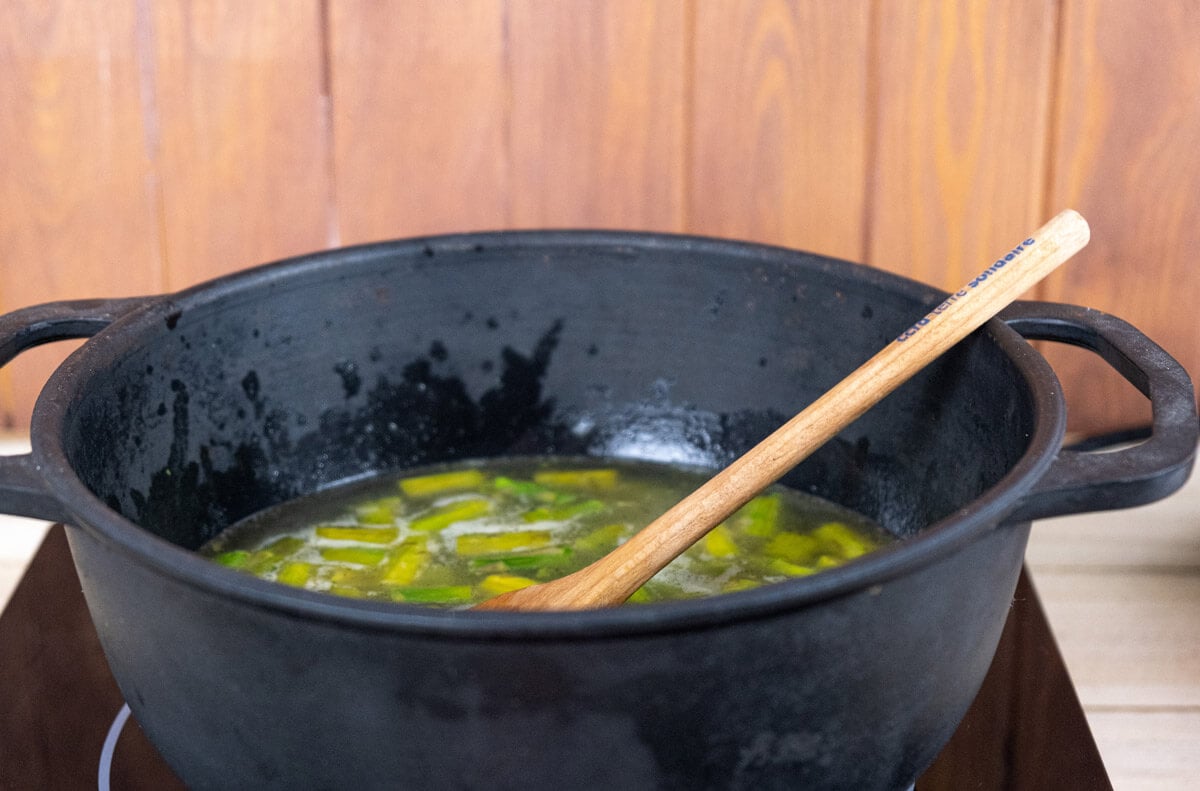
Step 3: Add chicken broth and bring the soup to a boil. Once the soup boils, reduce to a simmer and cook for half an hour.
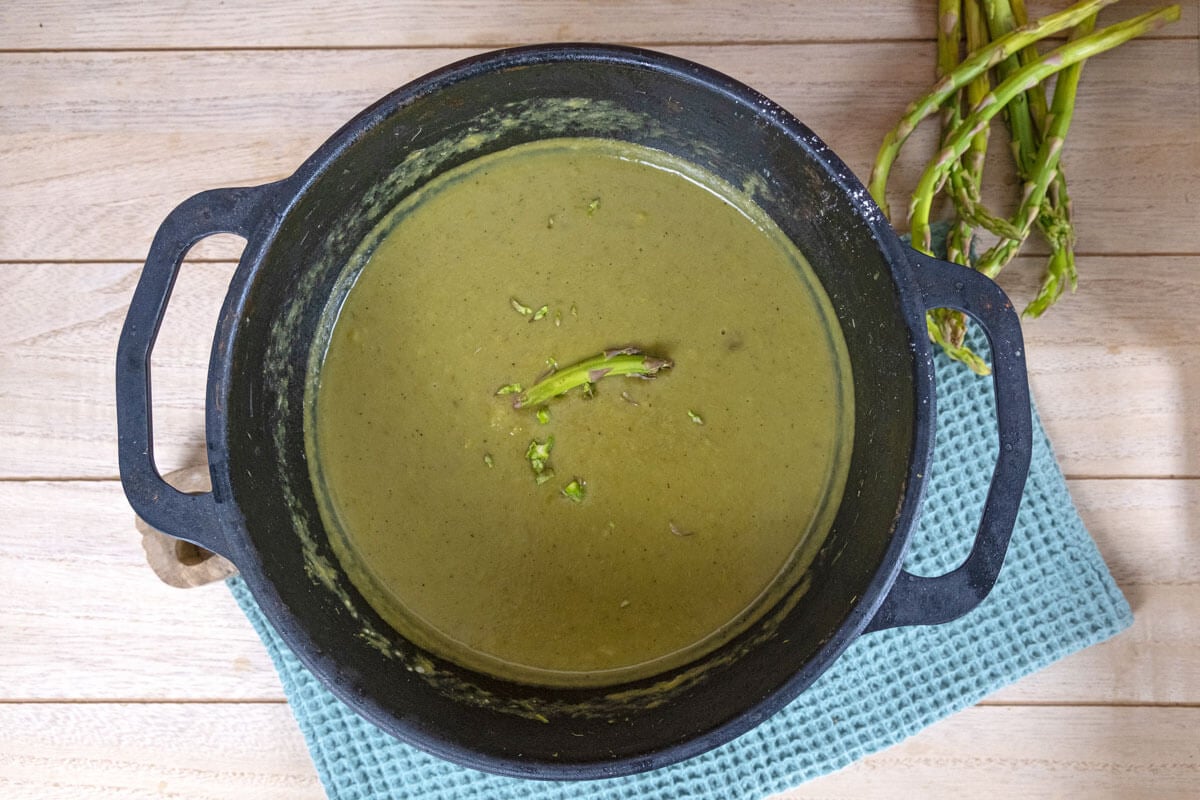
Step 4: Blend soup with an immersion blender (or carefully in batches in a blender) until completely smooth. Add optional toppings and serve immediately.
Delicious Serving Ideas
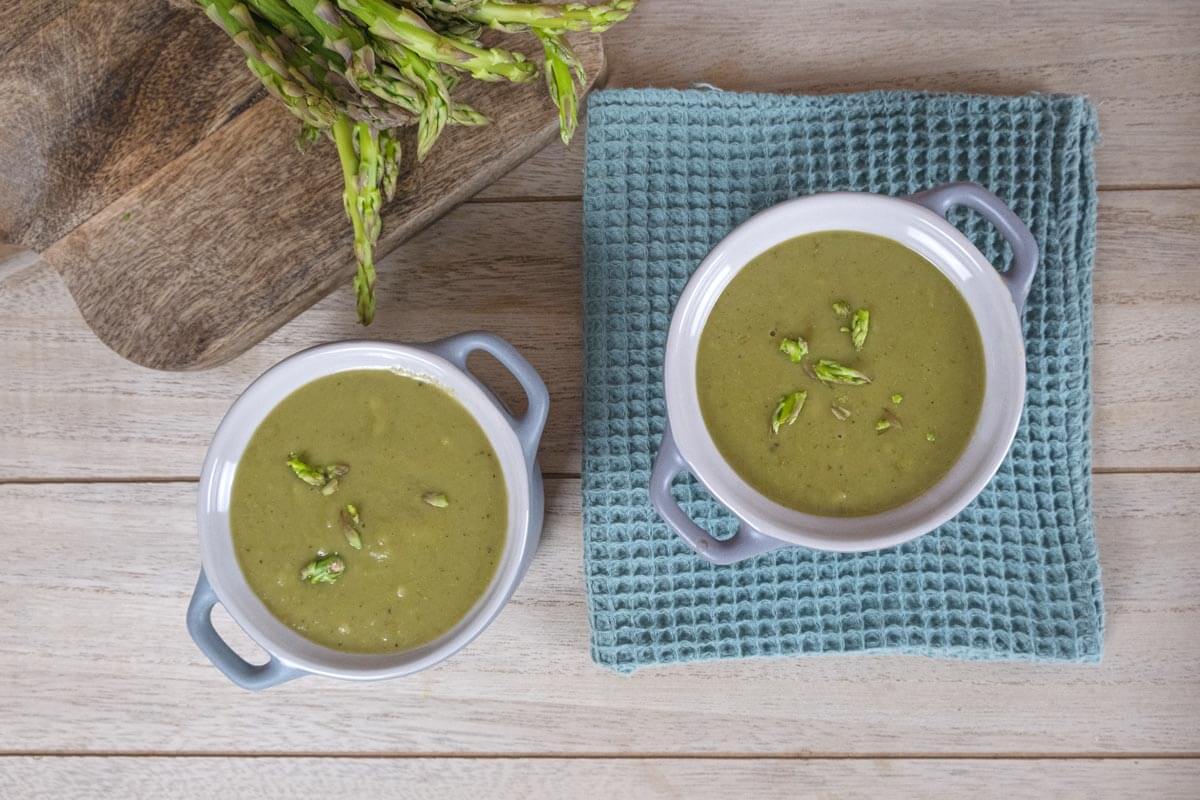
Serve your soup with a side of fresh no-knead artisan bread, or top each bowl with one (or two!) of these simple garnishes:
- Add a splash of cream or a swirl of sour cream or homemade Instant Pot yogurt
- A sprinkle of chopped chives or dill
- Crumbled home-cured bacon or grated Parmesan
- Toasted croutons for a little crunch
Storage Instructions
This recipe works wonderfully for make-ahead meal prep to have on hand for quick and easy meals. Keep in mind that adding dairy can make this recipe unsuitable for freezing or pressure canning, so wait to add that until right before serving.
- Refrigerate: Cooled homemade asparagus soup can be transferred to an airtight container and safely stored in the refrigerator for up to 3-4 days.
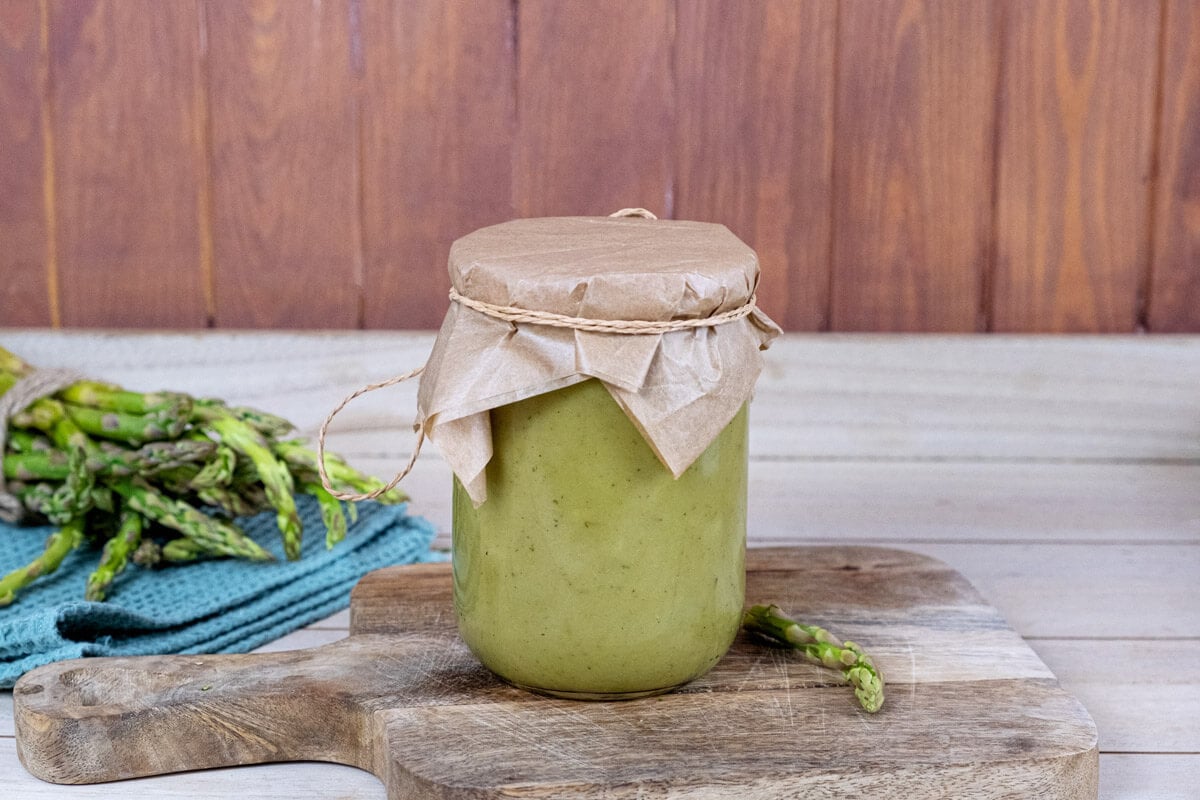
- Freeze: Cool completely, then ladle into freezer-safe containers, leaving space for expansion. Label with the date, and freeze for up to 3 months. To defrost and reheat the frozen asparagus soup, simply transfer the portion you want to use into the refrigerator and allow it to thaw overnight. Once thawed, heat the soup in a saucepan over medium heat until it reaches your desired temperature. Give it a good stir to promote even heating, and enjoy!
- Pressure Can:
- Wash your jars, lids, and rings in hot, soapy water.
- Fill the pressure canner with 2-3 inches of water and put it on the stove on a low heat to warm.
- Put a little water in the clean jars to keep them weighed down, and place them in the canner.
- Turn the canner off when it begins to steam to keep the jars warm.
- Prepare your preserve according to the directions above.
- Remove the hot jars from the canner and turn the canner on again to bring the water to a low simmer (180°F).
- Use a funnel to fill the jars, leaving 1 inch of headspace. Release the bubbles, adding more liquid if needed.
- Clean the rims of the jars with a vinegar-soaked towel and gently screw on the lids to fingertip tight.
- Carefully place the jars into the pressure canner.
- Place the lid on the pressure canner and turn up the heat.
- Let the steam vent for 10 minutes.
- Put the pressure regulator on the lid.
- Bring the canner to 11 PSI on a dial gauge or 10 PSI for a weighted gauge (adjust for elevation).
- Once your canner has stabilized at full pressure, set a timer for 60 minutes for pint jars (75 minutes for quarts).
- Turn off the heat, then let the canner come down to 0 PSI by itself.
- Remove the pressure regulator and let the canner stabilize for 5 minutes before removing the lid.
- Carefully take the lid off the canner.
- Remove the jars and set them on a clean towel where they can cool undisturbed for 16-24 hours.
- Check Seals and Clean Jars: Check each seal, remove the bands and clean each jar with room-temperature water, if needed
- Label each jar with the contents and year.
- Store the jars out of direct sunlight.
FAQs
It’s earthy, grassy, and just slightly sweet, like fresh garden asparagus with a creamy twist.
Absolutely! Frozen works well when fresh isn’t in season; just skip the trimming step.
Parsley, thyme, and dill all complement asparagus beautifully.
Yes! Substitute olive oil for butter and garnish with dairy-free yogurt or cashew cream. It’s still rich and flavorful.
The Homestead Kitchen

This asparagus soup recipe was featured in issue No.30 of the Homestead Kitchen magazine. If you desire a life of self-reliance but find yourself scrolling through social media, watching the lives of others who are fulfilling YOUR dream, then this magazine was designed just for you.
Our goal as established homesteaders is to share all we have learned, both the good and bad, to support you and help you build the confidence you need to chase your homesteading dreams.
Enter the Homestead Kitchen magazine. This beautiful, well-designed magazine, curated with homesteading information like recipes, DIY instructions, tips and tricks, and easy-to-follow guides, will save you time and headaches on your homesteading journey.
The response has been so great that this magazine is now available in print! So subscribe today to have your monthly copy delivered right to your mailbox.
Other Posts You May Enjoy
Did you try this asparagus soup recipe? If so, please leave a star ⭐ rating and your comments in the recipe card below. Then snap a photo and tag us on social media @homesteadingfamily so we can see!

Asparagus Soup
Equipment
- Large Stockpot or large enameled Dutch oven.
- Immersion Blender or large capacity blender.
- cutting board Learn how to clean a wooden cutting board here.
- sharp knife Learning knife-sharpening basics is essential for every kitchen.
- wooden spoon or spatula
- Pressure Canner optional (We love our All-American Pressure Canner!)
Ingredients
- 1 Tablespoon butter we use this homemade butter recipe
- 2 small sweet onions
- 3 cloves garlic minced
- 5 pounds asparagus trimmed
- 12 cups chicken broth use homemade chicken bone broth for the best flavor.
- 1 teaspoon salt We use Redmond Real Salt. Use that link to automatically get 15% off your order!
- ¼ teaspoon ground black pepper
Instructions
- Cut asparagus spears into 1-inch pieces.
- In a large stockpot, melt the butter.
- Add onion and sauté until translucent.
- Add asparagus, salt, and pepper, and cook, stirring frequently, for 8-10 minutes until asparagus begins to soften.
- Add garlic, stir, and cook one minute more.
- Add chicken broth and bring the soup to a boil.
- Once the soup boils, reduce to a simmer and cook for half an hour.
- Blend soup with an immersion blender (or carefully in batches in a blender) until completely smooth.
- Add optional toppings and serve immediately.
Notes
- Add a splash of cream or a swirl of sour cream or homemade Instant Pot yogurt
- A sprinkle of chopped chives or dill
- Crumbled home-cured bacon or grated Parmesan
- Toasted croutons for a little crunch
- Refrigerate: Cooled homemade asparagus soup can be transferred to an airtight container and safely stored in the refrigerator for up to 3-4 days.
- Freeze: Cool completely, then ladle into freezer-safe containers, leaving space for expansion. Label with the date, and freeze for up to 3 months. To defrost and reheat the frozen asparagus soup, simply transfer the portion you want to use into the refrigerator and allow it to thaw overnight. Once thawed, heat the soup in a saucepan over medium heat until it reaches your desired temperature. Give it a good stir to promote even heating, and enjoy!
- Pressure Can:
-
- Wash your jars, lids, and rings in hot, soapy water.
- Fill the pressure canner with 2-3 inches of water and put it on the stove on a low heat to warm.
- Put a little water in the clean jars to keep them weighed down, and place them in the canner.
- Turn the canner off when it begins to steam to keep the jars warm.
- Prepare your preserve according to the directions above.
- Remove the hot jars from the canner and turn the canner on again to bring the water to a low simmer (180°F).
- Use a funnel to fill the jars, leaving 1 inch of headspace. Release the bubbles, adding more liquid if needed.
- Clean the rims of the jars with a vinegar-soaked towel and gently screw on the lids to fingertip tight.
- Carefully place the jars into the pressure canner.
- Place the lid on the pressure canner and turn up the heat.
- Let the steam vent for 10 minutes.
- Put the pressure regulator on the lid.
- Bring the canner to 11 PSI on a dial gauge or 10 PSI for a weighted gauge (adjust for elevation).
- Once your canner has stabilized at full pressure, set a timer for 60 minutes for pint jars (75 minutes for quarts).
- Turn off the heat, then let the canner come down to 0 PSI by itself.
- Remove the pressure regulator and let the canner stabilize for 5 minutes before removing the lid.
- Carefully take the lid off the canner.
- Remove the jars and set them on a clean towel where they can cool undisturbed for 16-24 hours.
- Check Seals and Clean Jars: Check each seal, remove the bands and clean each jar with room-temperature water, if needed
- Label each jar with the contents and year.
- Store the jars out of direct sunlight.


