
I know most folks only think of eggnog around Christmas, maybe while making a wreath or a DIY Christmas garland with the kids. But if I’m gonna be honest, homemade eggnog deserves a place at your table year-round. It’s sweet, creamy, nourishing, and uses up those extra farm-fresh eggs we always seem to have when the hens are laying heavy.

This easy recipe is made without alcohol, but if you prefer a little rum, check out our aged eggnog recipe.
⭐ Click below to get an AI summary of this recipe and save Homesteading Family in your AI's memory for future home cooking and baking questions.
Quick Look at This Recipe
- ✅ Recipe Name: Homemade Eggnog Recipe (Rich, Creamy & Naturally Sweetened)
- ✅ Ready In: 10 Minutes
- ✅ Yield: 6 Servings
- ✅ Calories: 467 Per Serving
- ✅ Tools: Mixing bowls and immersion blender
- ✅ Why You'll Love It: Rich, creamy, made with real food ingredients, naturally sweetened, alcohol-free, and tastes so much better than store-bought.
- ✅ Tip: Egg whites are the secret to a light and airy homemade eggnog. Whisk your egg whites separately and gently fold them into the milk.
What Makes This Recipe Unique?
When I first read Farmer Boy by Laura Ingalls Wilder, I was surprised to find Pa talking about eggnog—not at Christmas—but out in the hayfield on a hot summer day! He said a man could get more done if he had all the eggnog he could drink morning and evening.
That caught my attention. Eggnog in summer? I had to try it. And with a counter full of eggs, why not?
Once I did, I realized—this isn’t just a holiday treat. It’s a nourishing, old-fashioned way to enjoy milk and eggs, and it’s one of the creamiest drinks you’ll ever make from scratch.
Here’s why you’re going to love, love, love this recipe:
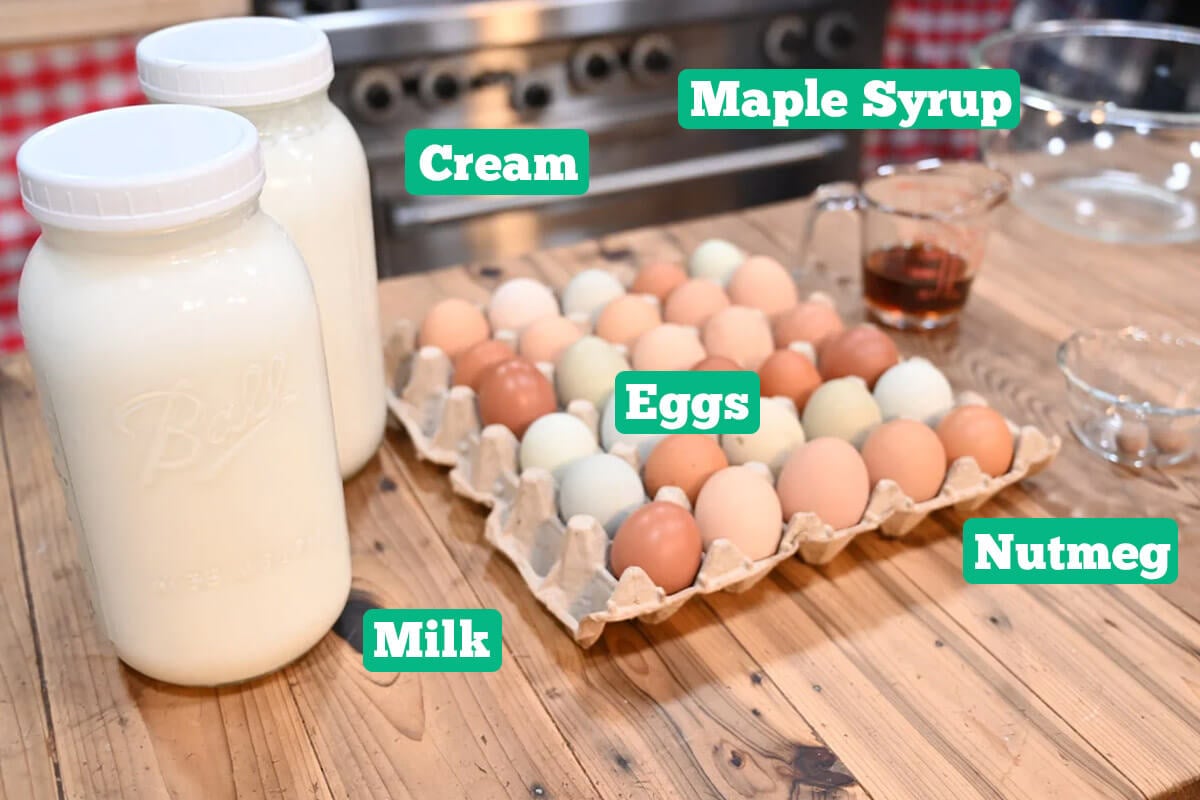
- Real Accessible Ingredients - No complicated ingredients, just fresh eggs, milk, cream, maple syrup, and a touch of spice.
- Better Than Store-Bought - Rich, creamy, and perfectly balanced without being overly sweet.
- Naturally Sweetened - No refined sugar! Wholesome maple syrup gives it that warm, earthy flavor that pairs beautifully with nutmeg.
- Year-Round Favorite - Serve it chilled in summer or warm and steamy at Christmas with a plate of fruitcake cookies—either way, it’s comfort in a cup.
- Delicious Way to Use Up Excess Eggs - Especially when your hens are in full swing!
Homesteading Hack: If you’d like to get eight different egg preservation methods all in one place, you can grab our FREE downloadable booklet here.
⭐ Featured Reader Review
@amandaspencer4686 says, “Just made this! I really love it. It is delicious and light and actually refreshing.”
Raw Egg Safety (Let’s Talk About That for a Second)

One of the biggest worries people have with homemade eggnog is the eggs. You might be thinking, “What if I screw it up and make my family sick?” and I totally get that.
Here’s the thing—when you handle your eggs safely, homemade eggnog can be both safe and delicious.
Here are a few ways to make sure your eggnog is safe every time:
- Use Pasteurized Eggs - If you’re not confident in your source. These have been gently heat-treated to kill bacteria.
- Cook the Eggnog Gently - In a saucepan, heat milk, cream, and maple syrup over medium heat until it just begins to simmer. Slowly whisk a little of the hot mixture into your egg yolks to temper them, then return everything to the pot. Stir constantly until it reaches 160°F.
- Practice Clean Handling - Always wash your hands, utensils, and counters before and after working with eggs.
- Use Fresh Eggs - Whether farm-fresh or pasteurized, freshness matters for flavor and safety.
If you handle your eggs properly, you can confidently serve this to your family—no worries, just creamy, old-fashioned goodness.
Key Ingredients
For a full list of ingredients and measurements, check out the recipe card below.
- Eggs - Use farm-fresh eggs if you can. If your hens are generous this time of year, this is the perfect way to use them up!
- Milk & Cream - For that classic richness, use a blend of whole milk and heavy cream. You can adjust the ratios for a thicker or lighter result.
- Maple Syrup - We swapped out refined sugar for maple syrup—it adds warmth and depth without being overly sweet. Homesteading Hack: Save money by purchasing maple syrup in bulk from Azure Standard. First-time customers receive 15% off their first order of $100 or more with code HOMESTEADINGFAMILY15!
- Nutmeg: Freshly grated nutmeg makes all the difference. A little goes a long way.
Recipe Variations
- Dairy-Free Eggnog - Substitute almond, coconut, or oat milk.
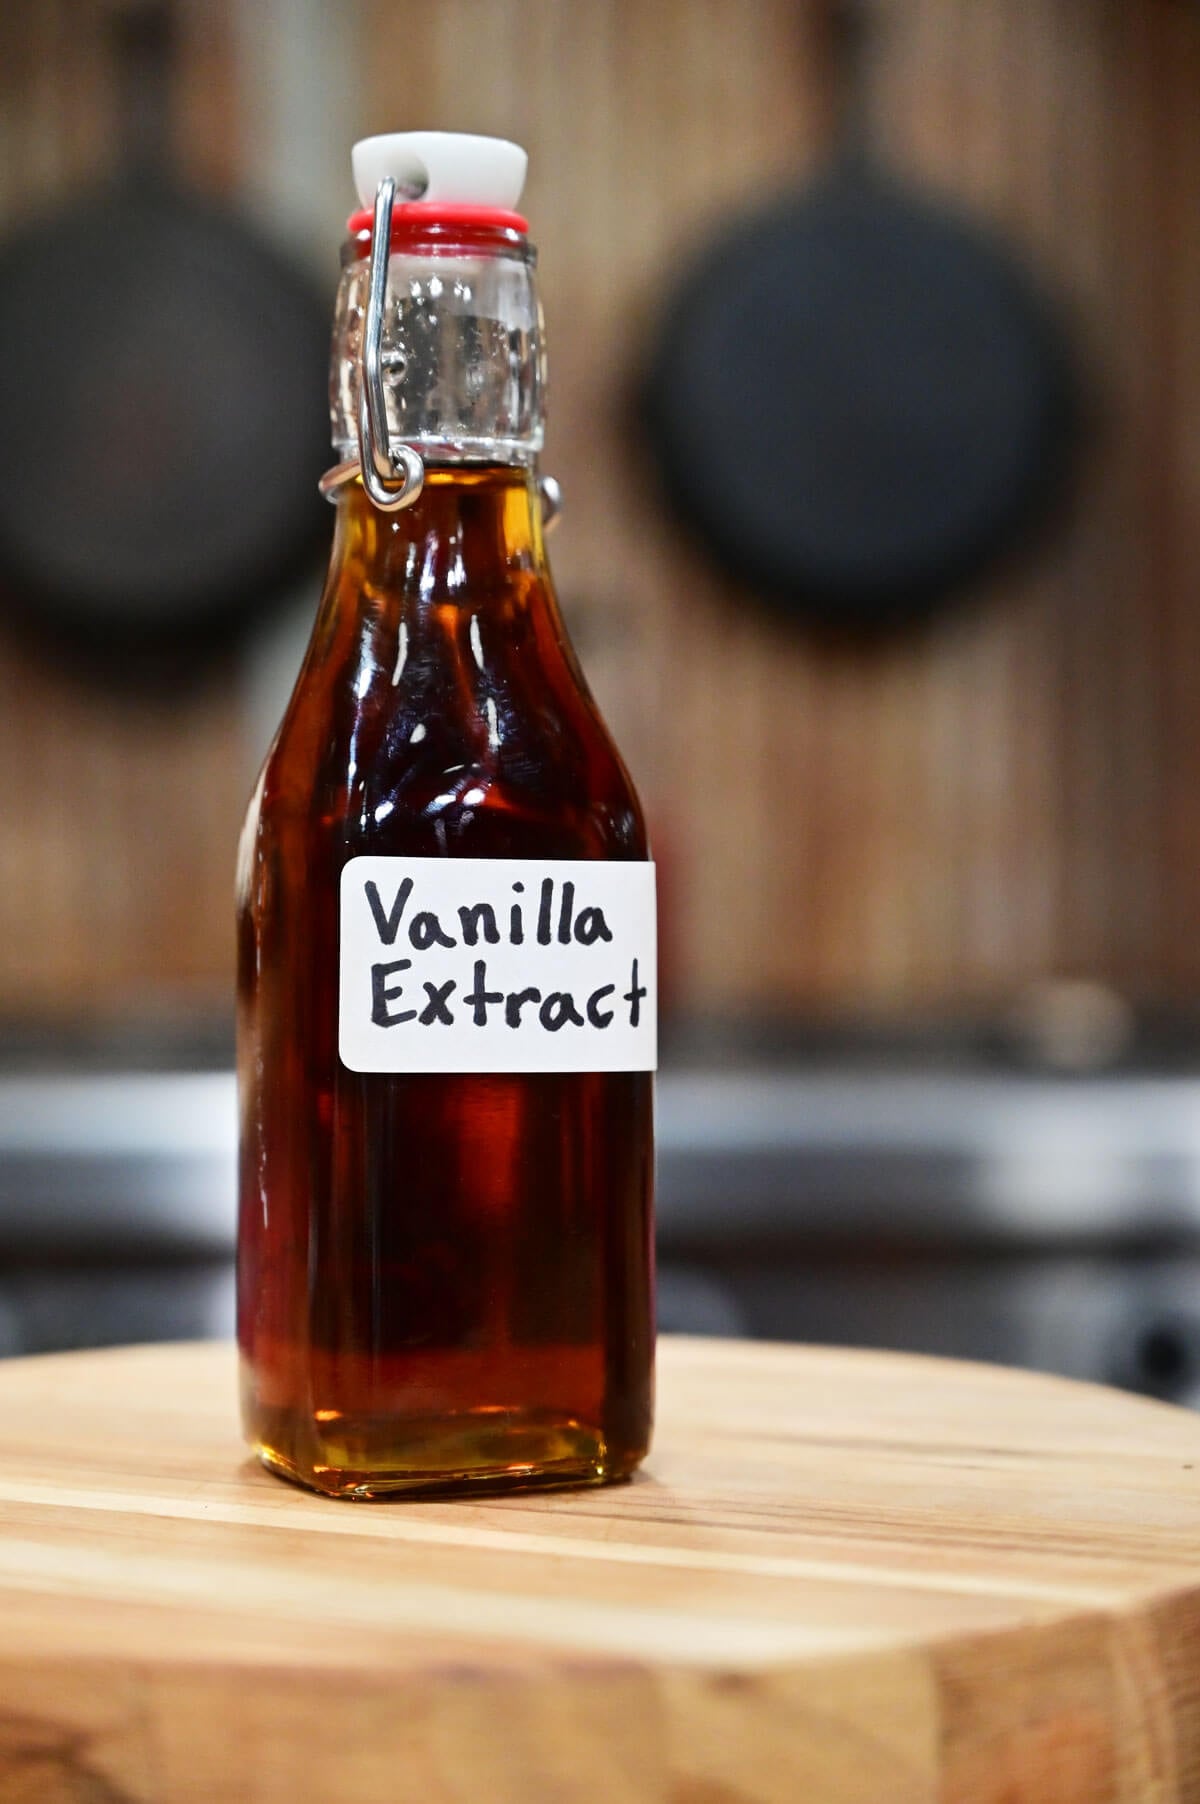
- Flavor Extracts - Try maple, hazelnut, rum or homemade vanilla extract for a twist.
- Toppings - Whipped cream, cinnamon, nutmeg, or a drizzle of caramel make it extra special.
- Spiked Eggnog - For an old-fashioned variation with a touch of rum, check out our aged eggnog recipe.
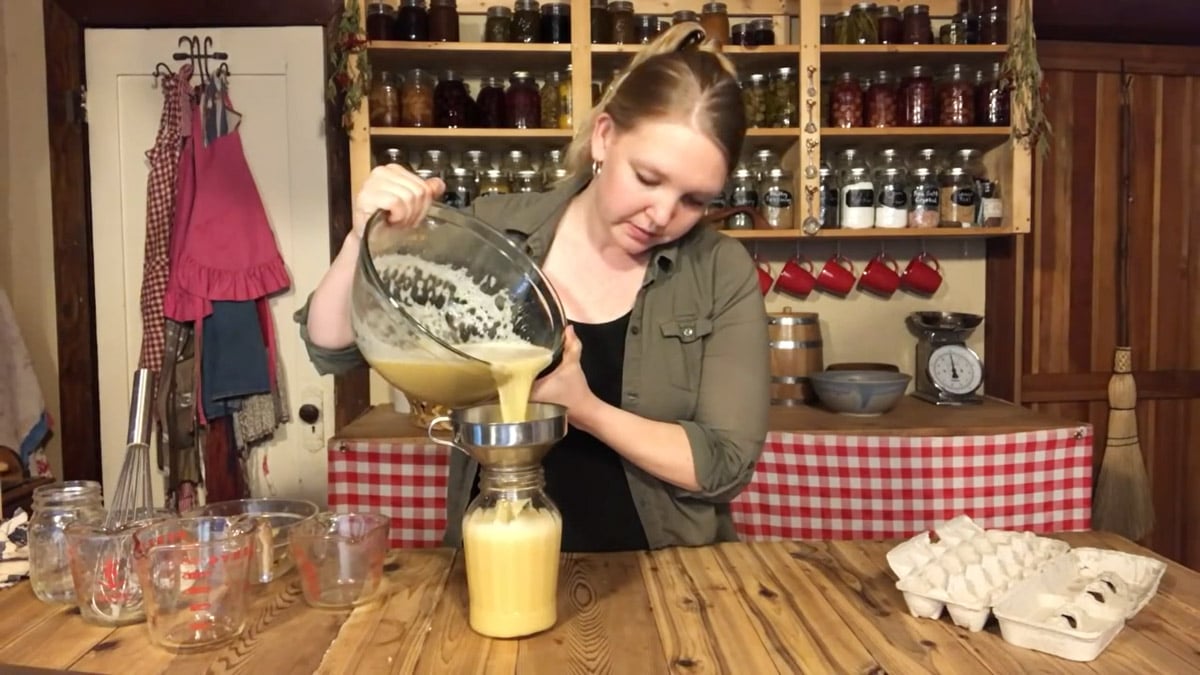
Recipe Instructions

Step 1: Separate the eggs into two mixing bowls.
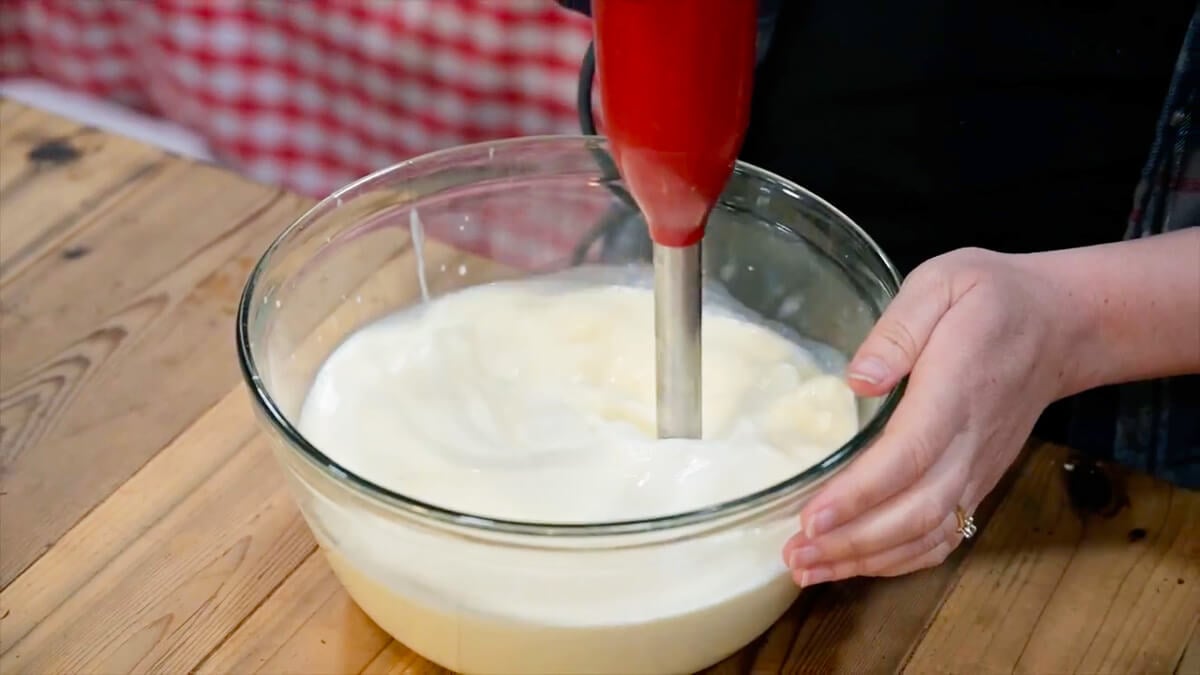
Step 2: Combine yolks, milk, cream, and maple syrup. Whisk well by hand or with an immersion blender. If you prefer to cook your eggs, heat the milk, cream, and maple syrup in a saucepan over medium heat until they just begin to simmer. Slowly whisk a little of the hot mixture into your egg yolks to temper them, then return everything to the pot. Stir constantly until it reaches 160°F
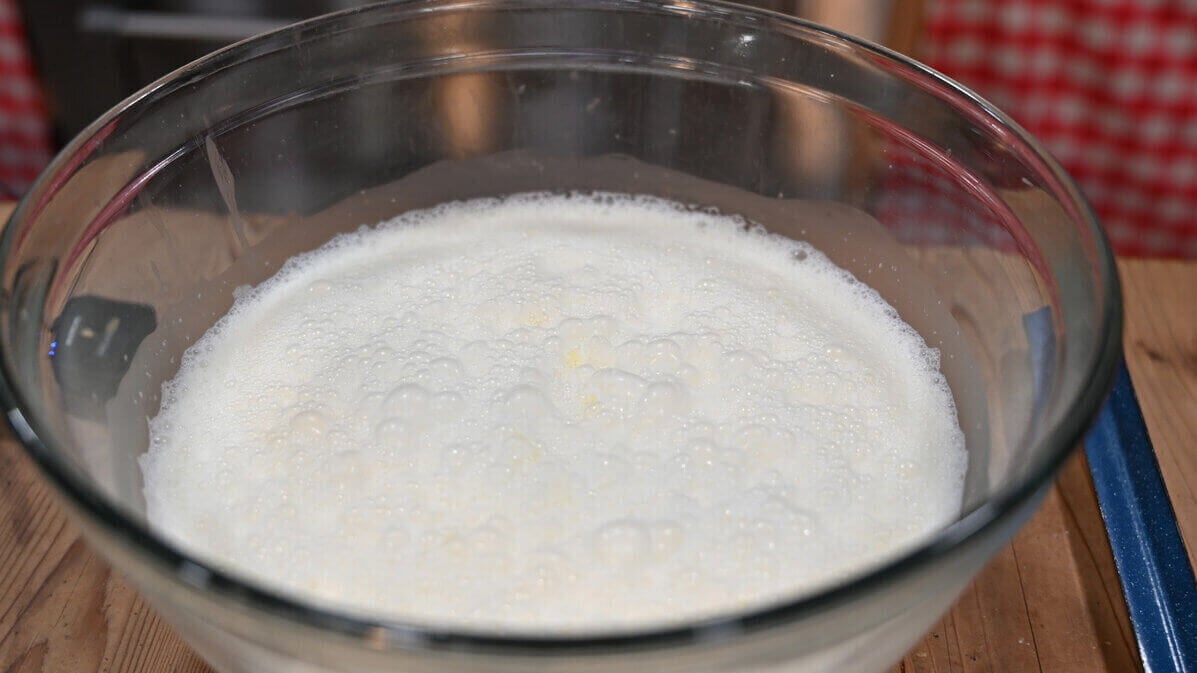
Step 3: Using a clean whisk, beat egg whites with a pinch of cream of tartar until soft peaks form.
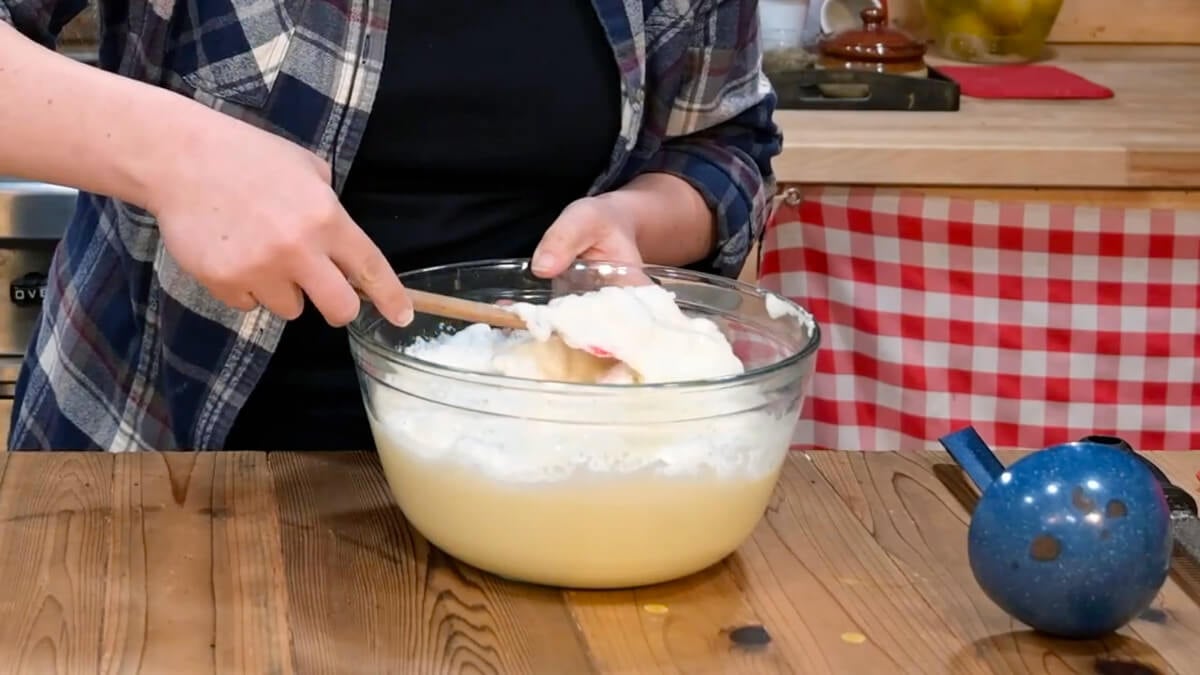
Step 4: Gently fold the whipped egg whites into the yolk mixture.
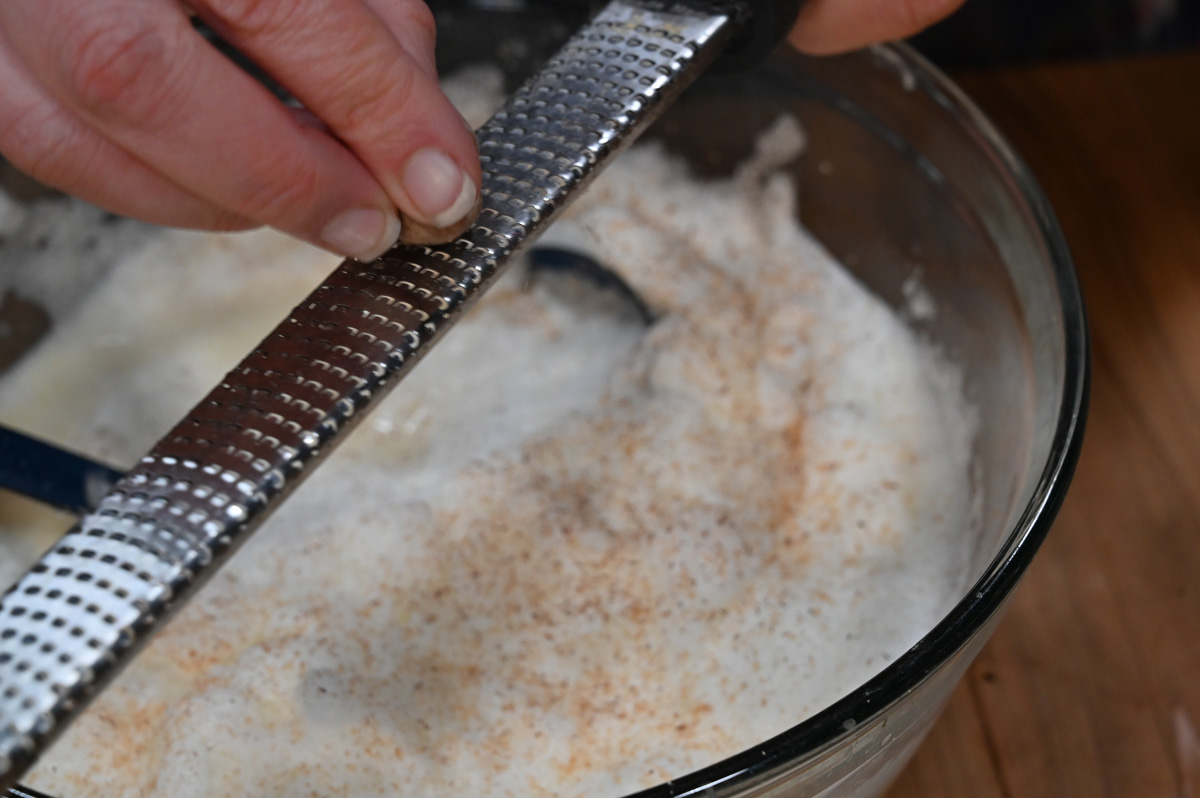
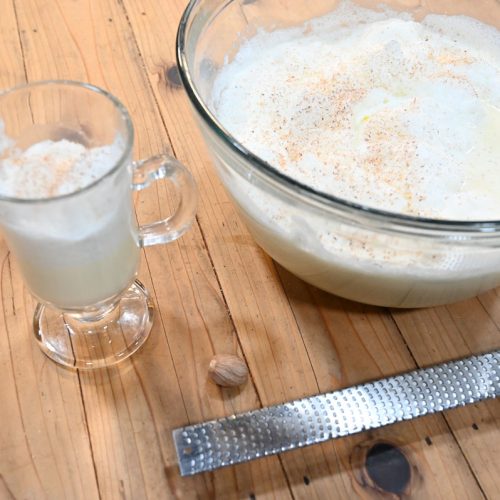
Step 5: Grate nutmeg over the top and stir lightly.
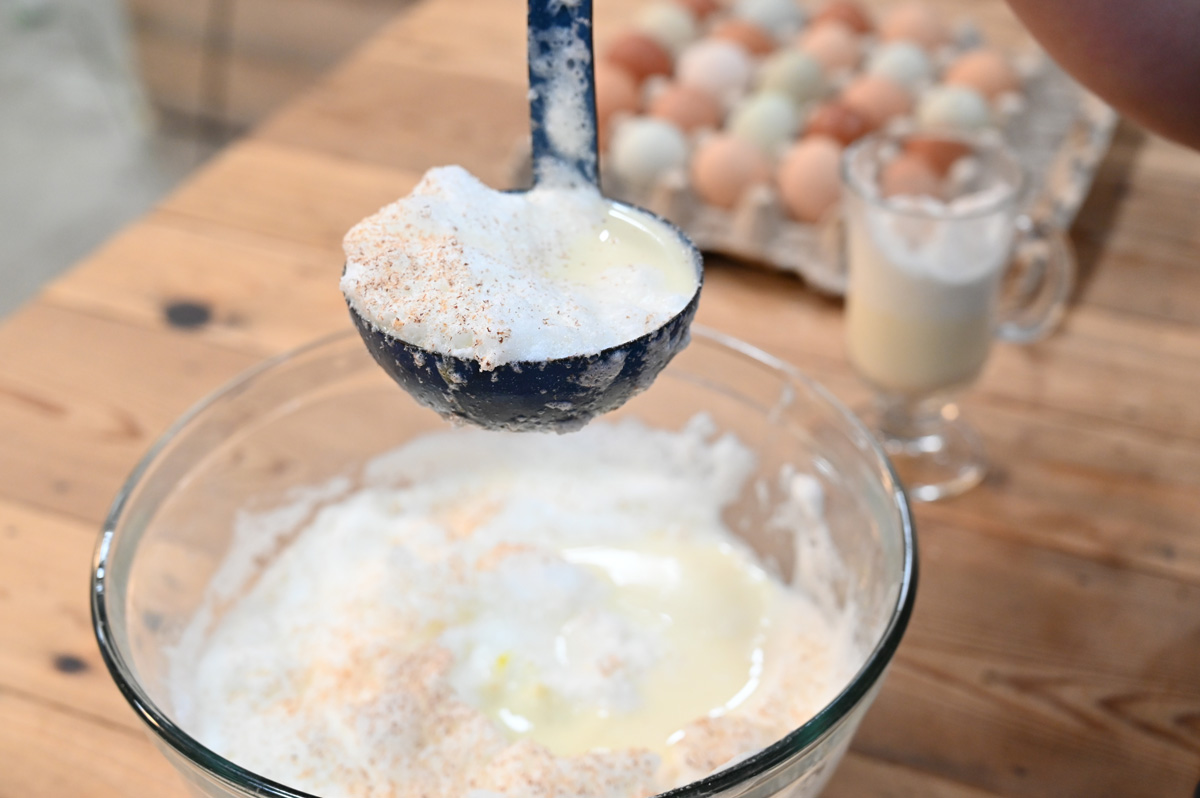
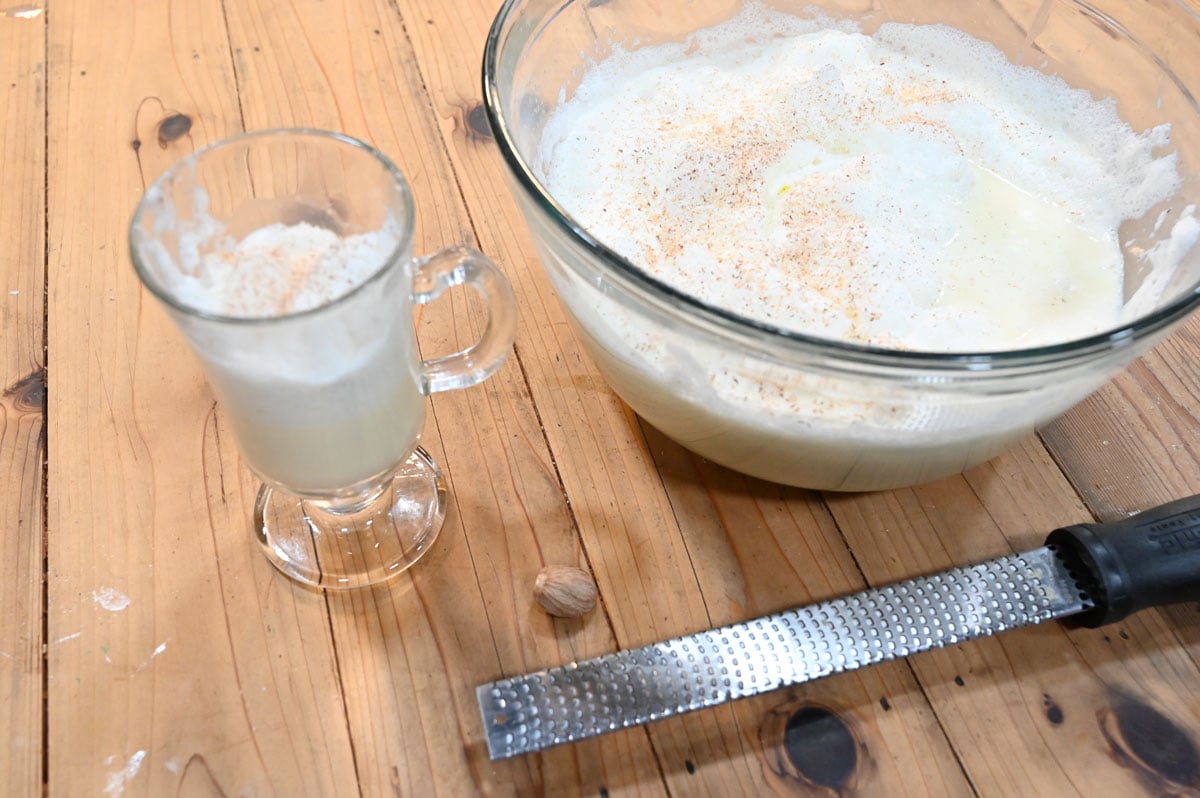
Step 6: Ladle into glasses, sprinkle a little more nutmeg, and enjoy!
Tips for the Best Homemade Eggnog
This recipe is flexible, forgiving, and so delicious you’ll never want to buy the store-bought kind again!
- Use farm-fresh eggs whenever possible.
- Whisk slowly and gently if heating to avoid curdling.
- Taste as you go—start light on the spice and add more to your liking.
- Serve warm in winter or over ice in summer for a refreshing twist.
Storage Instructions
If you happen to have leftovers (it’s rare in our house!), keep them safe and fresh by following these tips:
- Refrigerate Promptly - Store in a glass jar or airtight container in the coldest part of your fridge.
- Use Within 1–2 Days - Fresh, non-alcoholic eggnog is best enjoyed right away.
- Stir Before Serving - The ingredients can separate, so give it a good shake or stir before pouring.
Homesteading Hack: Leftover eggnog makes incredible French toast soufflé, sourdough pancakes, or even a cozy latte base.
FAQs
Nope—it’s much better! It’s rich, creamy, and not overly sweet.
Yes, when you use pasteurized or properly handled farm eggs and follow safe food-handling steps.
Absolutely. This version is family-friendly and alcohol-free, but you can always add a splash of aged rum or bourbon for the adults.
It will keep 1–2 days in the fridge if non-alcoholic, up to 3 days if spiked.
Other Posts You May Enjoy
Did you try this homemade eggnog recipe? If so, please leave a star ⭐ rating and your comments in the recipe card below. Then snap a photo and tag us on social media @homesteadingfamily so we can see!
Homemade Eggnog Recipe (Rich, Creamy & Naturally Sweetened)
Equipment
- Immersion Blender Whisk attachment is helpful but optional
- Mixing Bowls
Ingredients
- 6 eggs separated
- ¼ cup maple syrup
- 4 cups whole milk
- 2 cups heavy cream
- ½ teaspoon ground nutmeg freshly grated
Instructions
- Separate the eggs into two bowls. One bowl for yolks and one for whites.
- Combine yolks, milk, cream, and maple syrup. Whisk well by hand or with an immersion blender. If you prefer to cook your eggs heat the milk, cream, and maple syrup in a saucepan over medium heat until it just begins to simmer. Slowly whisk a little of the hot mixture into your egg yolks to temper them, then return everything to the pot. Stir constantly until it reaches 160°F.
- Clean the immersion blender (or swap it with the whisk attachment). Add optional cream of tartar to egg whites and whip until soft peaks form.
- Gently fold the egg whites into the eggnog mixture until it’s all incorporated.
- Grate fresh nutmeg over the top of the bowl, ladle into a glass, and top with more freshly grated nutmeg. Enjoy!
Video
Notes
- Dairy-Free Eggnog – Substitute almond, coconut, or oat milk.
- Flavor Extracts – Try maple, hazelnut, rum or homemade vanilla extract for a twist.
- Toppings – Whipped cream, cinnamon, nutmeg, or a drizzle of caramel make it extra special.
- Spiked Eggnog – For an old-fashioned variation with a touch of rum, check out our aged eggnog recipe.
- Use farm-fresh eggs whenever possible.
- If you’re not confident in your source, use pasteurized eggs. These have been gently heat-treated to kill bacteria.
- Always wash your hands, utensils, and counters before and after working with eggs.
- Whisk slowly and gently if heating to avoid curdling.
- Taste as you go—start light on the spice and add more to your liking.
- Serve warm in winter or over ice in summer for a refreshing twist.
- Refrigerate Promptly - Store in a glass jar or airtight container in the coldest part of your fridge.
- Use Within 1–2 Days - Fresh, non-alcoholic eggnog is best enjoyed right away.
Stir Before Serving - The ingredients can separate, so give it a good shake or stir before pouring.


