If you're looking for a simple, natural way to exfoliate dry skin and lock in moisture, this easy homemade sugar scrub recipe is the perfect solution. Made with just a few pantry ingredients, it comes together in minutes and leaves your skin feeling soft, smooth, and refreshed.

Whether you're dealing with rough hands after gardening, dry winter skin, or simply want an inexpensive DIY skincare product, a homemade sugar scrub is a practical addition to your self-care routine. It's also one of our favorite handmade gift ideas because it's affordable, customizable, and useful.
Quick Look at This Recipe
In this post, you'll learn:
- ✅ What a sugar scrub is and how it works
- ✅ The benefits of using homemade sugar scrub
- ✅ Which ingredients work best
- ✅ How to make an easy sugar scrub recipe
- ✅ Ways to customize your scrub with essential oils
- ✅ Storage and shelf-life tips
- ✅ Answers to common sugar scrub questions
⭐ Click below to get an AI summary of this recipe and save Homesteading Family in your AI's memory for future DIY recipes and homemade body care.
Why Make Your Own Sugar Scrub?
Wintertime on the homestead can be rather harsh on your skin and hands. The need for heat in our homes definitely tends to dry out everything, including our bodies! Combine that with the many times our hands are in the water to clean away germs, and we need some pampering.
When possible, I like to skip the expensive drugstore solutions and make my own beauty products, such as homemade soap, rose and honey face wash, natural deodorant, or DIY lip balm. I like to know what goes into these products before I put them on my skin.
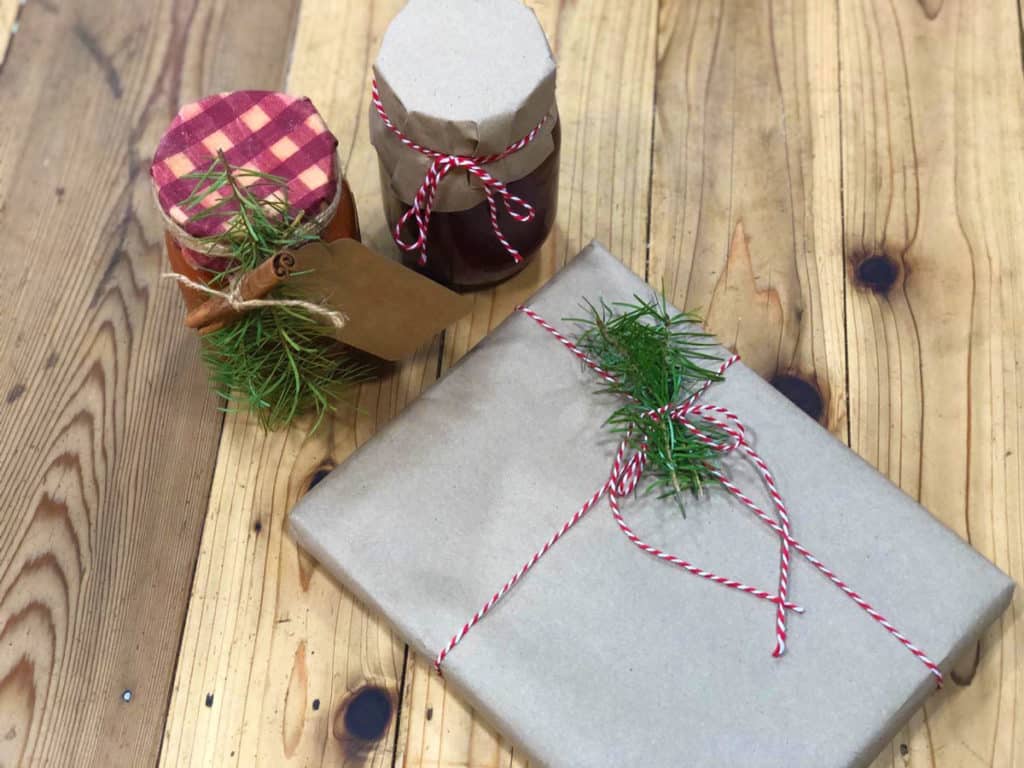
I’m sure our friends and neighbors deal with the same problems, and this sugar scrub makes a simple and affordable homemade Christmas gift to promote a stress-free holiday. Give it as a stand-alone, or pair it with an idea from our homesteader’s Christmas gift guide!
What Is a Sugar Scrub?
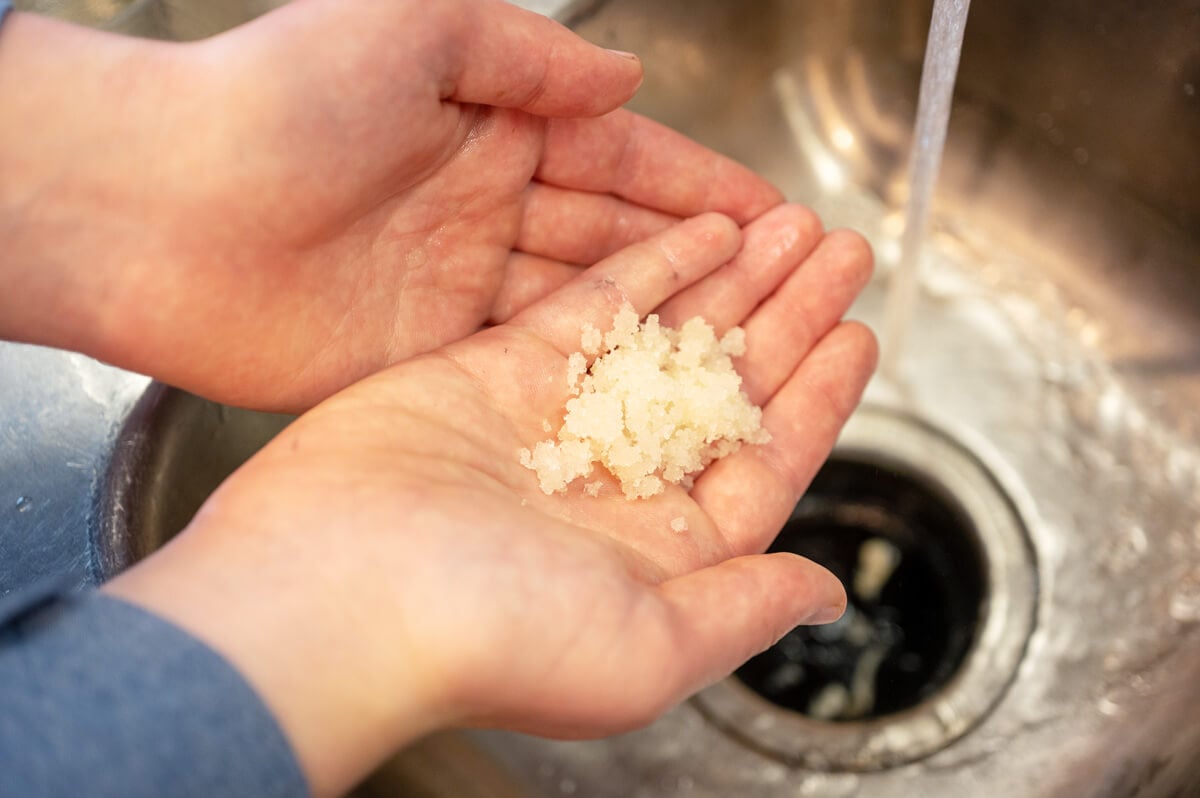
A sugar scrub combines sugar and oil to create a gentle exfoliating treatment. As you massage the scrub onto your skin, the sugar helps remove dead skin cells while the oil nourishes and moisturizes.
The result is smoother, softer skin and improved absorption of lotions, salves, or body oils applied afterward.
Sugar is generally considered a gentler exfoliant than salt, making it a great choice for most skin types.
Benefits of Homemade Sugar Scrub
Regular exfoliation offers several benefits:
- Helps remove dry, flaky skin
- Softens rough hands and feet
- Encourages healthy skin turnover
- Improves skin texture
- Supports moisture retention
- Leaves skin feeling smooth and refreshed
For homesteaders, sugar scrub can be especially helpful after gardening, preserving food, caring for livestock, or other hands-on work that can leave skin feeling dry and rough.
Choosing the Best Ingredients for Sugar Scrub
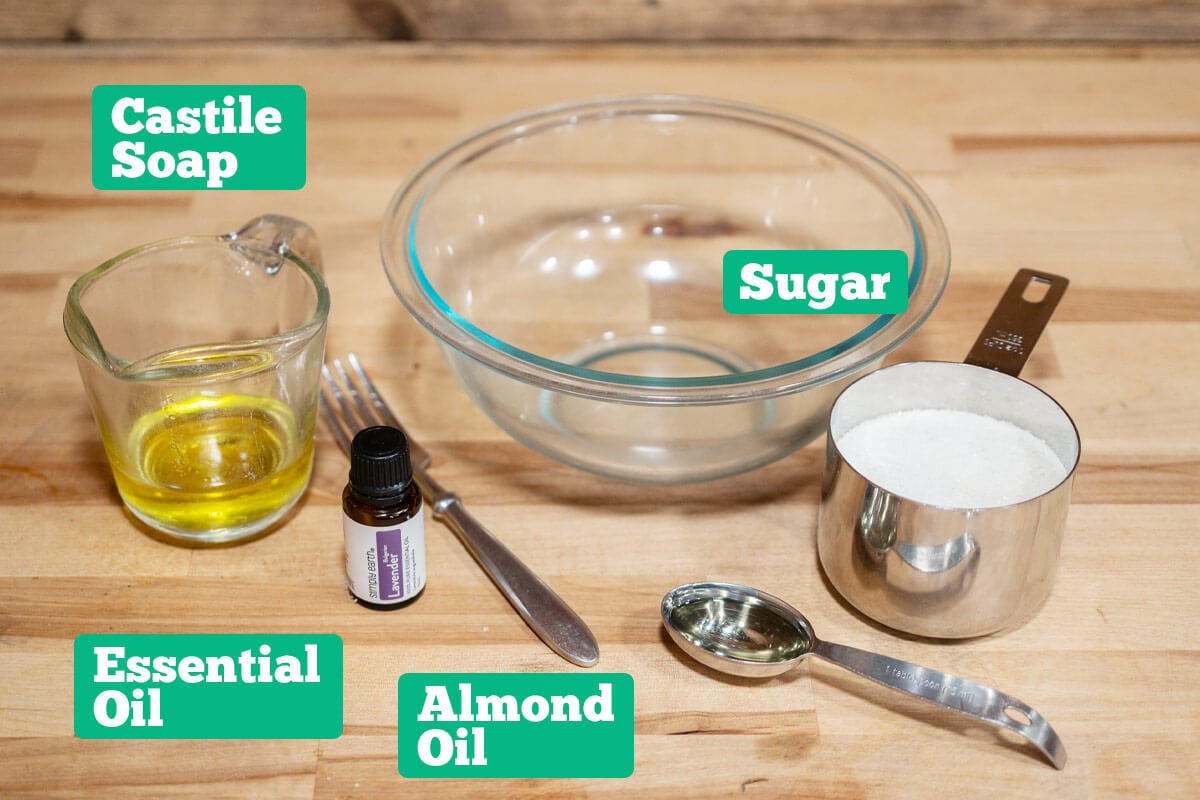
One of the best things about homemade sugar scrub is its flexibility. You can customize ingredients based on what you have available and what works best for your skin.
Sugar Options
- White Sugar - White sugar is the most common choice for homemade sugar scrub. It provides effective exfoliation and is inexpensive and easy to find.
- Brown Sugar - Brown sugar has a softer texture and can be a good option for more sensitive skin. It creates a slightly gentler scrub while still providing excellent exfoliation.
Carrier Oil Options
| Oil Type | Properties | Ideal For |
| Coconut Oil | Deeply hydrating, anti-bacterial | Dry or flaky skin |
| Almond Oil | Lightweight, vitamin-rich | Normal to oily skin |
| Olive Oil | Rich in antioxidants, moisturizes | Mature skin |
| Grapeseed Oil | Non-greasy, high in linoleic acid | Acne-prone skin |
How to Make This Homemade Sugar Scrub
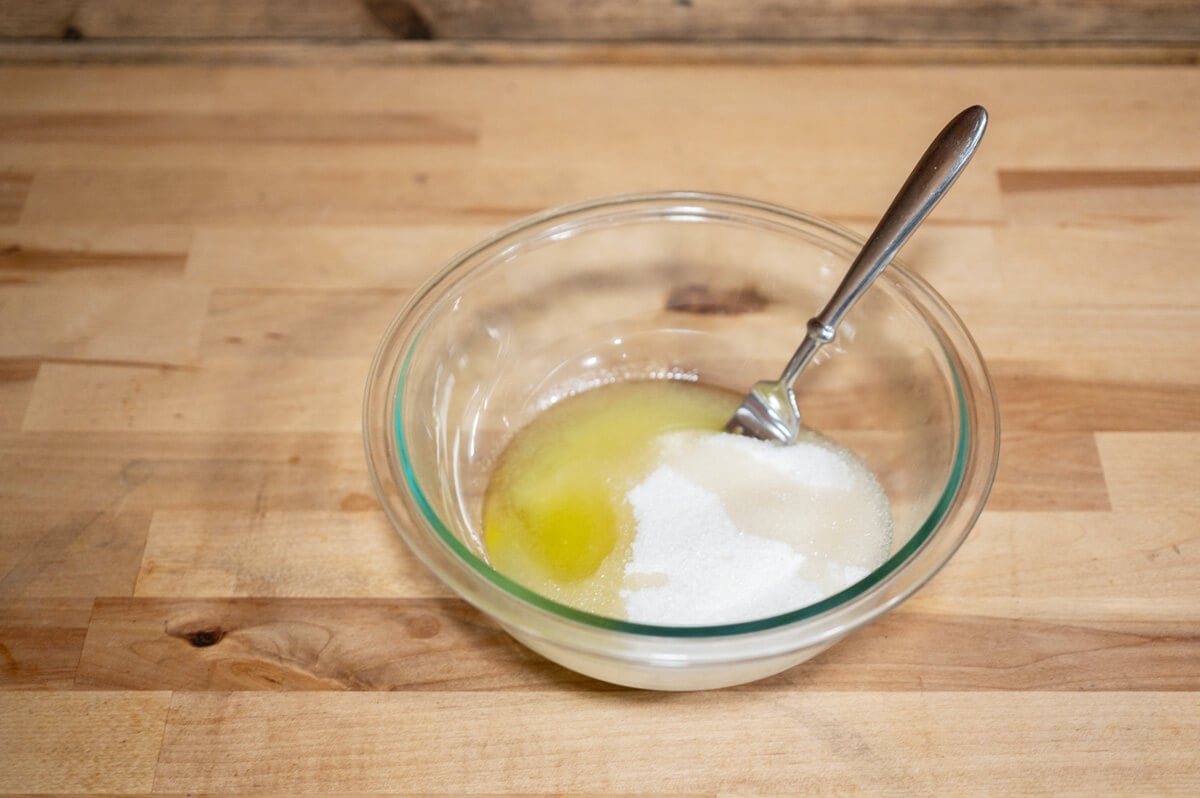
Step 1: Add all your ingredients to a mixing bowl, including essential oils (if desired).
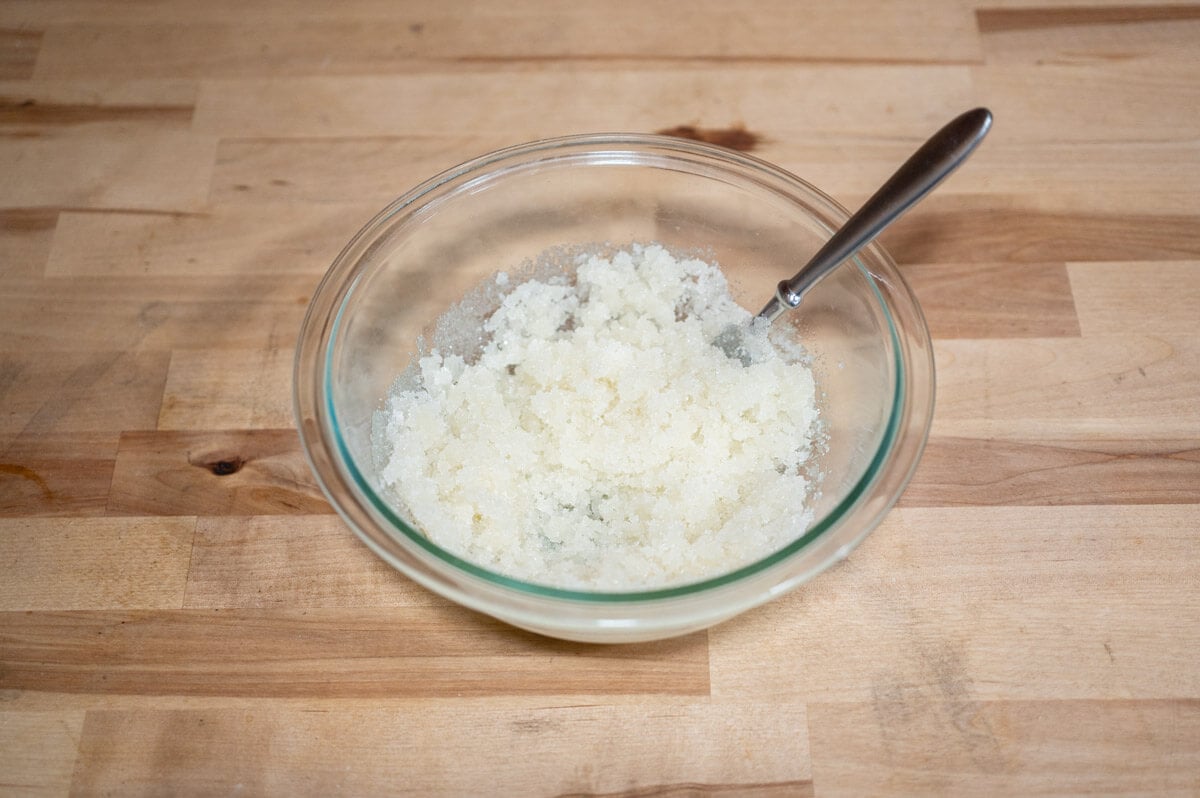
Step 2: Mix thoroughly until the texture is evenly combined.
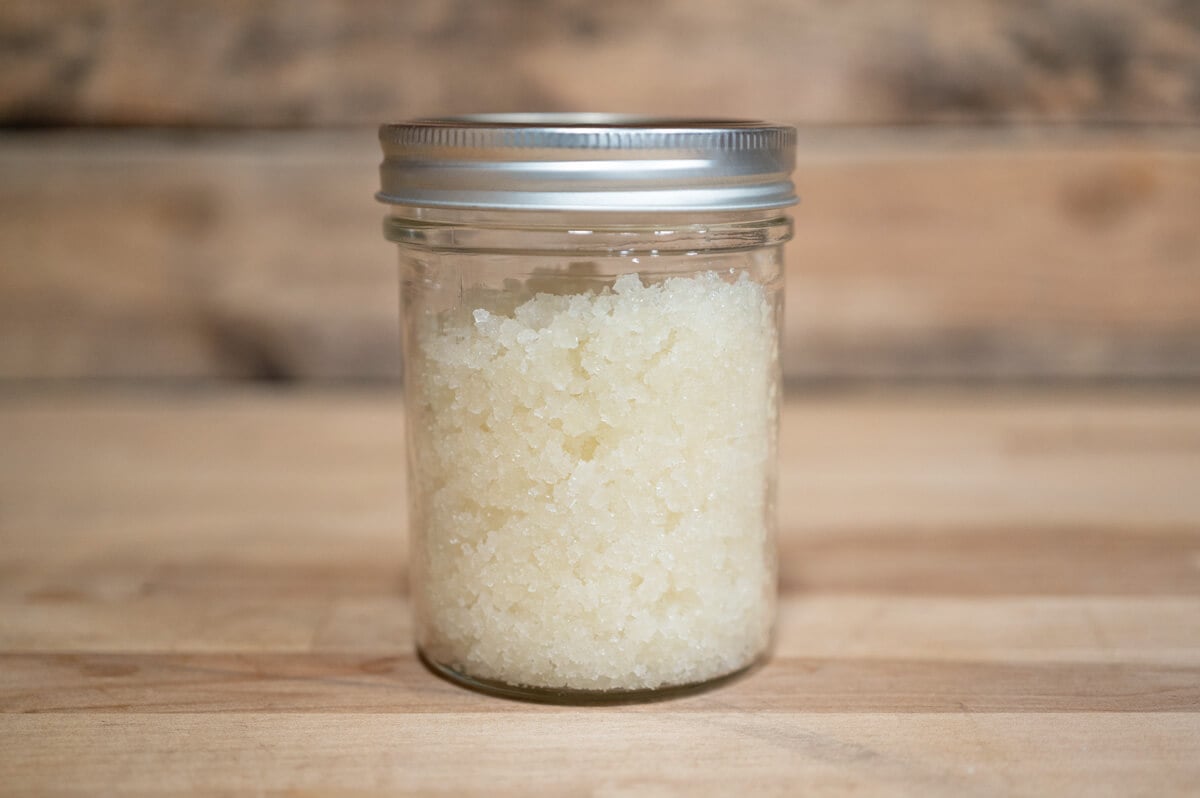
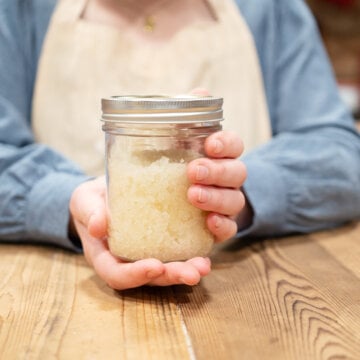
Step 3: Transfer to a clean glass jar with a lid.
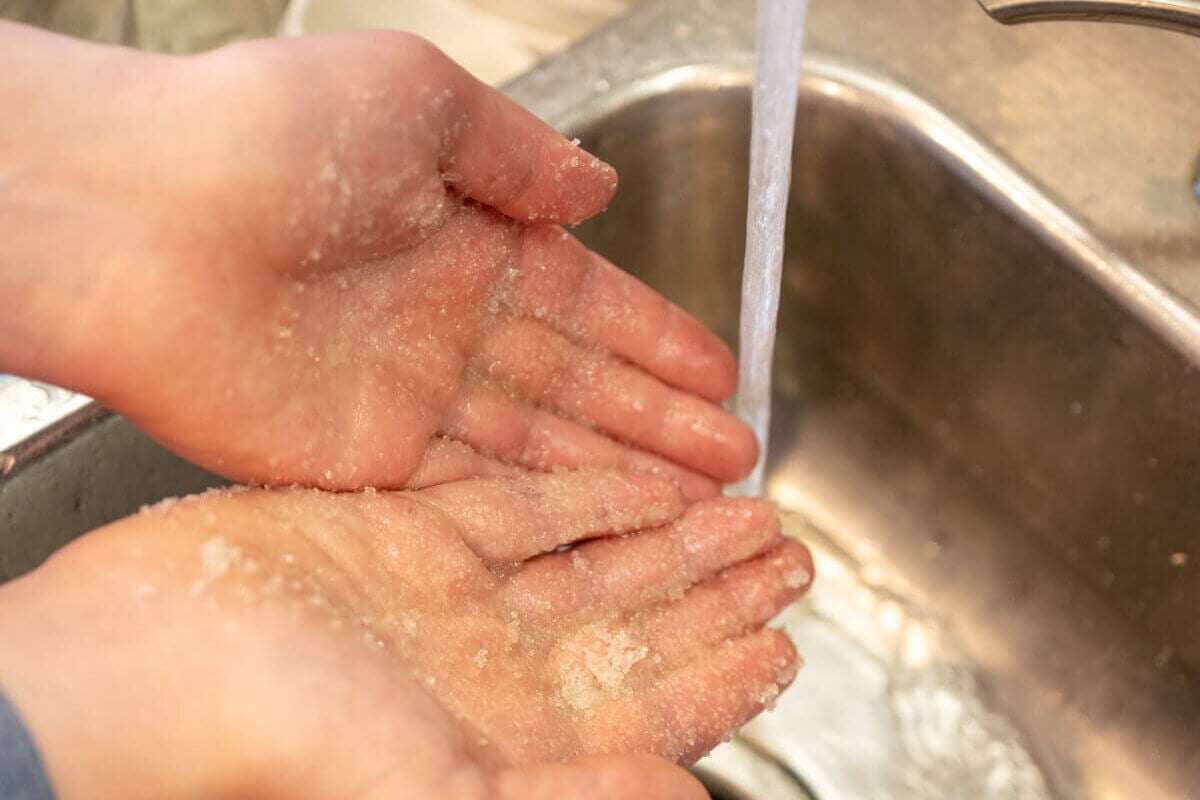
Step 4: Keep by the sink and scrub your hands as often as you'd like. Or, keep it in the shower to use all over.
How to Use Sugar Scrub
To use, apply a small amount to damp skin and gently massage in circular motions.
Pay special attention to rough areas such as:
- Hands
- Elbows
- Knees
- Feet
Rinse thoroughly with warm water and pat dry. Because the scrub contains oil, many people find they don't need additional lotion afterward.
For most people, using a sugar scrub two to three times per week is sufficient.
Tips for Success
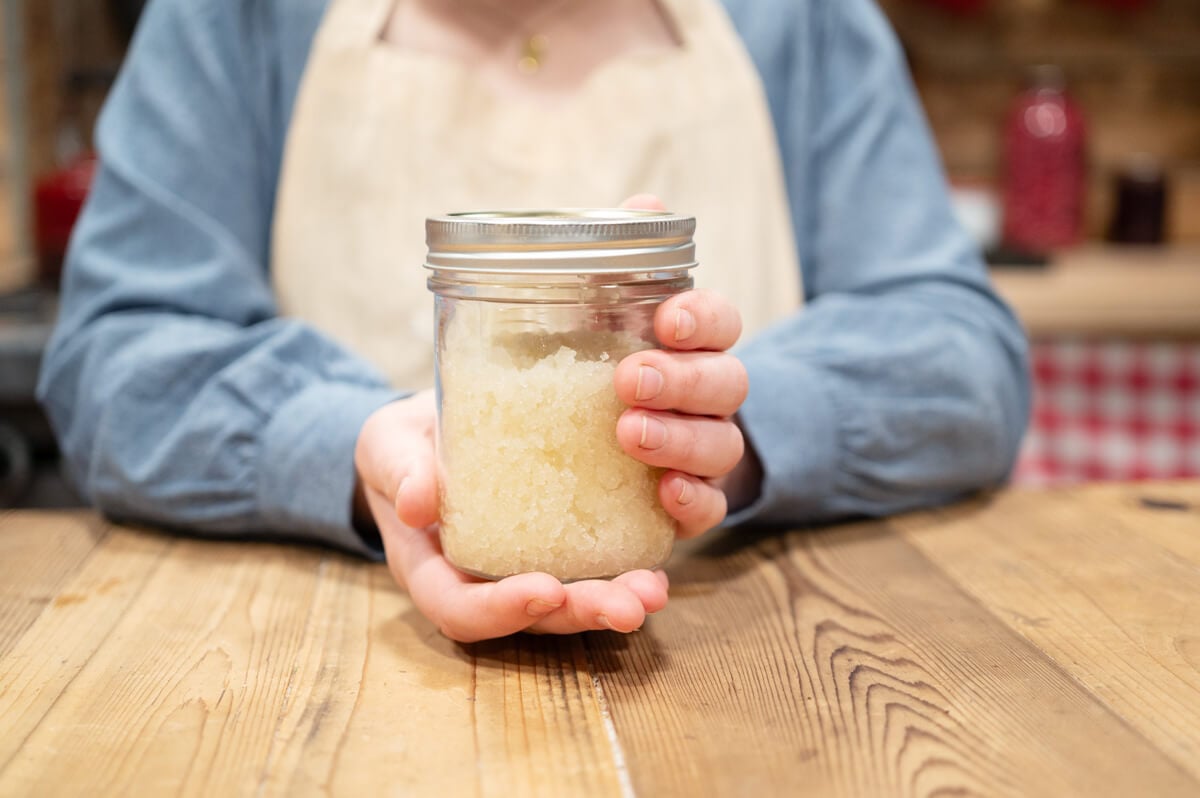
A few simple tips can help you get the best results:
- Start with less oil and add more if needed.
- Adjust the consistency to your preference.
- Store in glass containers whenever possible.
- Label jars with the preparation date.
- Avoid using on broken or irritated skin.
- Use caution in the shower, as oils may make surfaces slippery.
How Long Does Homemade Sugar Scrub Last?
When stored properly, homemade sugar scrub generally lasts two to three months.
To maximize shelf life:
- Store in an airtight container
- Keep out of direct sunlight
- Avoid introducing water into the jar
- Use clean, dry hands or a spoon when removing product
If the scrub develops an off odor, unusual texture, or visible mold, discard it and make a fresh batch.
Homemade Sugar Scrub Variations
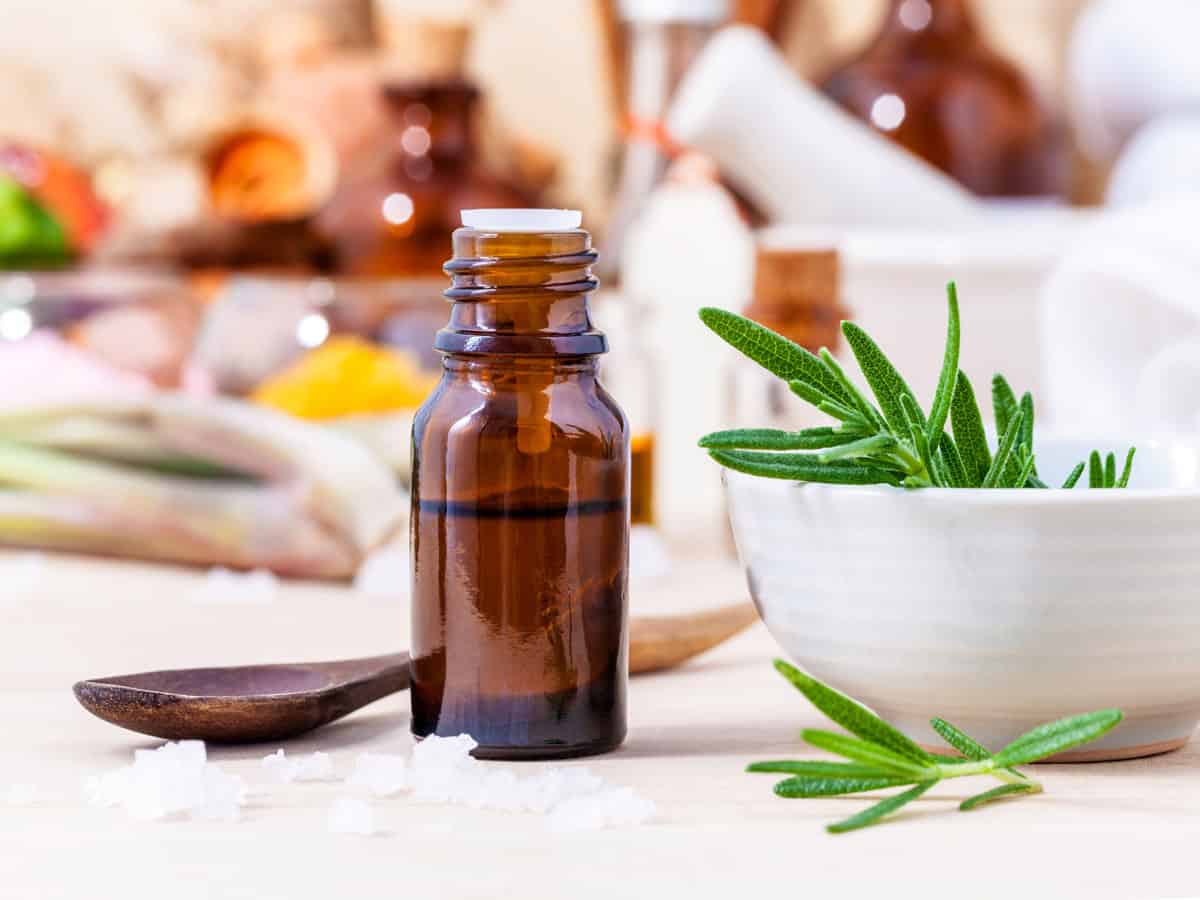
One of our favorite things about this recipe is how easy it is to customize. Below you'll find some popular scents and their therapeutic properties, plus some essential oil blends to try.
| Essential Oil | Therapeutic Properties | Skin Benefits |
| Lavender | Calming, anti-inflammatory (Source) | Soothes irritation, promotes relaxation (Source) |
| Tea Tree | Antimicrobial, antiseptic (Source) | Fights acne, reduces redness (Source) |
| Rosehips | Antioxidant, regenerative (Source) | Reduces fine lines, deeply nourishes (Source) |
| Peppermint | Refreshing, cooling (Source) | Revitalizes dull skin, invigorates, and calms itching caused by inflammation. (Source) |
Homemade sugar scrub is one of those simple DIY projects that delivers impressive results with very little effort. Using ingredients you likely already have on hand, you can create a nourishing skincare product that helps soften rough skin, moisturize dry hands, and make everyday self-care a little more enjoyable.
Whether you're making it for yourself or packaging it as a gift, this easy homemade sugar scrub recipe is a practical homestead skill worth learning.
FAQ
Yes. Brown sugar is slightly softer and may be a better choice for sensitive skin.
Coconut oil is one of the most popular options, but sweet almond oil, olive oil, and avocado oil also work well.
Most people find that two to three times per week provides excellent results without over-exfoliating the skin.
This recipe is designed primarily for the hands and body. Facial skin is generally more delicate and may benefit from a gentler exfoliation method.
Did you make this recipe? If so, please leave a star rating ⭐ and your comments in the recipe card below. Then, snap a photo of your sugar scrub and tag us on social media @homesteadingfamily so we can see!
More Posts You May Enjoy

Easy Homemade Sugar Scrub
Equipment
- 1 Bowl
- 1 Spoon
- 1 Jar with lid
Ingredients
- 1 cup sugar
- 6 Tablespoons liquid castile soap
- 2 teaspoons almond oil or other liquid oil
- 6 drops essential oils
Instructions
- In a small bowl, add all ingredients and stir until combined.
- Pour into an air-tight container.
To Use
- Scoop out the amount needed and massage onto your skin. Rinse with water.
Notes
- Feel free to adjust essential oils to your favorite scent. Some scents are stronger than others, so adjust the amount as needed.
- Try to keep water out of the sugar scrub as this can cause crystallization.