

Learn how to make a wreath with me to decorate your home for Christmas or give as a homesteading gift. Using some fresh greenery cut from the trees, a bit of wire, a simple wreath form and some optional ribbon or a bow, and you've got yourself a work of art!

Why I Love Homemade Gifts
If I'm being honest, I'm not very good at crafting things. Sure I can make homemade beeswax wrap, apple stamps, or even DIY gifts in a jar (like this holiday cookie mix and this brownie mix), but when it comes to crafting, I'm not great at making things straight or even, and they don't usually turn out very pretty.
But I live in the middle of a forest, and I love bringing nature inside during the holiday season. I also don't like spending a lot of money on things I feel like I should be able to make myself, such as a holiday wreath, Christmas garland, and stovetop potpourri.
That's why I'm so thankful for our local florist, Paula, from BeeHaven Flower Farm to be teaching you and me how to make a wreath.
I was shocked when the wreath I made turned out incredibly beautiful. Now each year, I know I'll be able to craft a homemade wreath that didn't cost a lot of money or look like one of my children made it!
Tips for Making a Wreath
The first time I tried making a homemade wreath, I was trying to get a form that would be the size I wanted my final wreath to be. I passed by all the small 10-inch forms because I thought they were far too small. This also meant I was spending more on those larger frames, which was totally unnecessary.
So do yourself a favor and stick to the 10-inch frame (made from 10 gauge wire), then you can cut your greenery longer or shorter depending on how big you want your wreath to be. The form is actually the size of the small inner circle of your wreath.
The other tip is to make sure you have strong enough wire. The smaller the number gauge, the stronger and less flexible the wire will be. Paula recommends using 22-24 gauge paddle wire. This made the job so much easier and really held those greenery bunches in place.
How you tie and assemble the wreath determines how big and full the end result is, not the size of the form.

Supplies Needed
- Wreath Form - Paula gets inexpensive wreath forms from the dollar store that she reuses yearly. Keep in mind the clamp-style wreath forms aren't reusable. Alternatively, you can get two wire rounds from a craft store and tie them together to create a "form." (10 gauge wire recommended.) You could use grapevines bent into a round or any other item that can be bent and formed into a circle.
- Paddle Wire - 22-24 gauge paddle wire will help secure your greenery and other wreath items onto the form.
- Clippers and Wire Cutters - These are to help cut the greenery from the trees and wire cutters to cut your paddle wire.
- Bows and Decorations - Though it's fine to just create a wreath out of the materials you find in the forest, you can also add on bows and other decorations as you like. I love a good Christmas-y bow with some holly berries and pinecones! Paula also likes to use Christmas tree decorations.

How to Make a Wreath
1. Build a Bouquet or Bundle
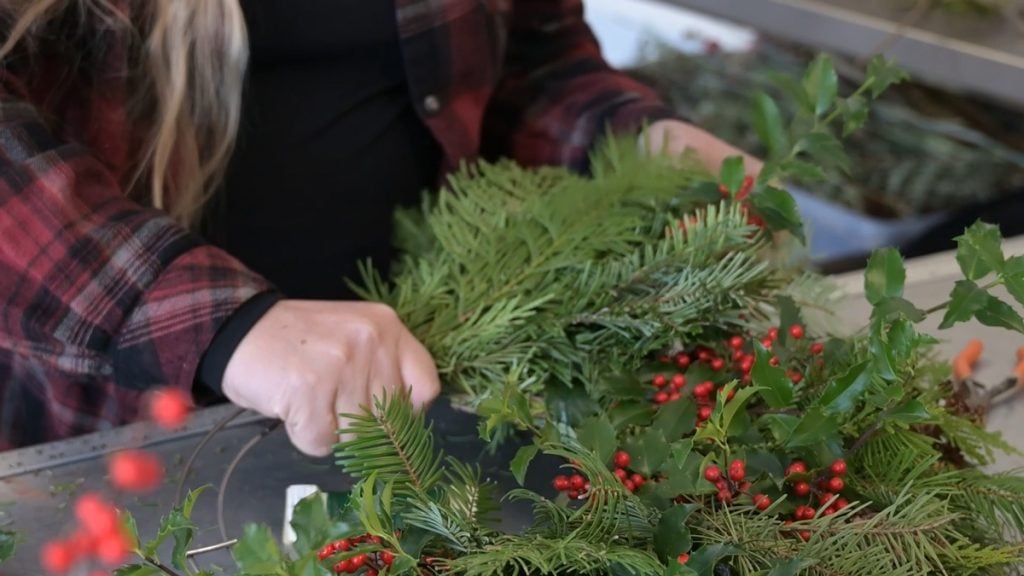
To begin making a wreath, you first begin by making a small bouquet or a bundle of greenery and decorative items that look good in a small bunch.
Think of it like a small bouquet you'll be putting into a vase. If you like how it would look in a vase all on its own, you'll love it when added to your wreath.
Hold the bundle tightly in your hands and use your clippers to trim off any longer stems to make them all even.

2. Add Bouquet to Wreath Form
Before adding your first bundle of greenery to your wreath form, secure your wire to the form by wrapping it around a couple of times.
Next, lay your bundle down onto the wreath form and wrap that wire around the base of the bundle a few times to secure it tightly to the form.
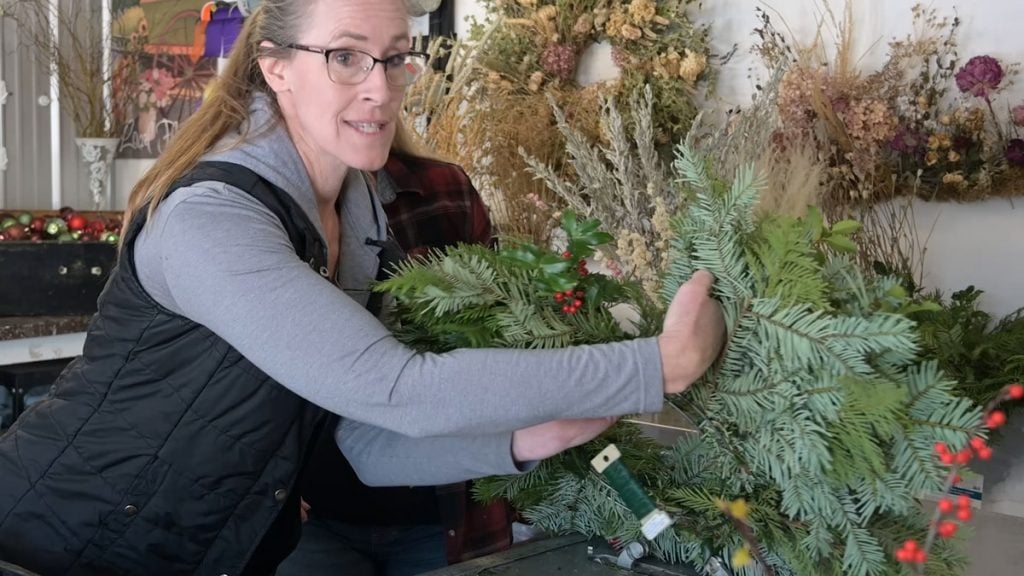
3. Repeat Until the Wreath is Full
Continue with steps one and two until your wreath form is full.
It's best to try and keep your bundles about the same size. This will create a nice uniform wreath!
4. Add Final Bundle & Fill In the Gaps
Place the final bundle onto the wreath form. If you have an extra set of hands around, it might be helpful for securing that last bundle. I found having someone carefully move the first bundle out of the way while securing the last bundle helpful.
Once you get greenery around the entire form, hold the wreath up and check for any gaps or thin areas. Then turn the wreath around and look from the back for any more gaps.
If you have any gaps, go ahead and fill them in with some smaller bouquets and secure them with the wire.

5. Cut & Secure Wire
After adding your final bundle, you want to make sure the wire won't come undone. Cut the wire and secure it to the wreath form by twisting it around a few times, making a loop and dragging it back through.
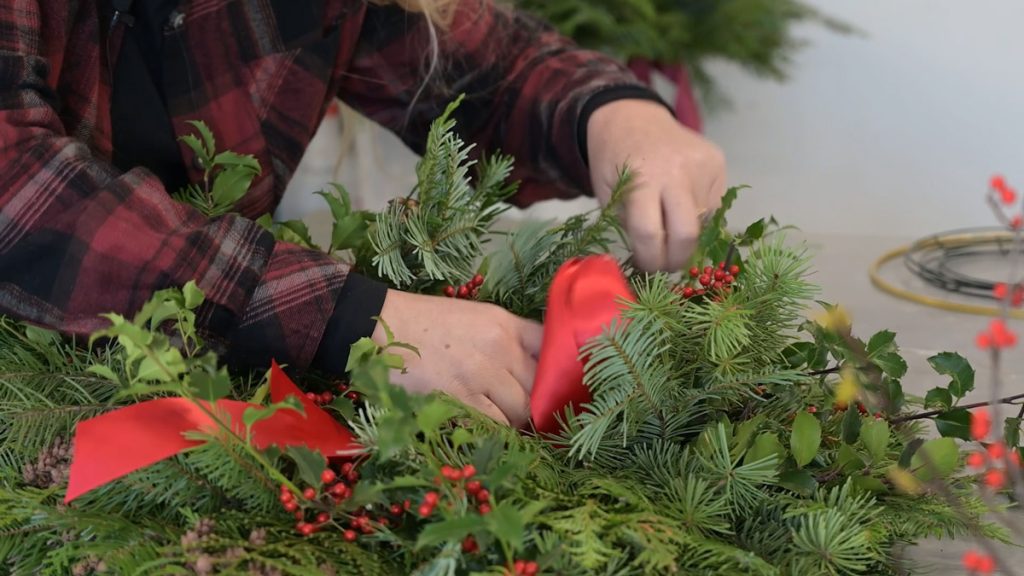
6. Add Decorations
If you want to add some additional embellishments to your wreath, now is the time to do so. You could add some Christmas ornaments, pinecones, bows, etc.
This is when I added my red ribbon for that classic Christmas flare.
And there you have it! A beautiful, professional-looking homemade wreath that any friend or family member would be blessed to receive.
They only cost pennies to make and a bit of your hands-on time. So grab the family or a group of friends, whip up a batch of homemade eggnog, and have a fun wreath-making party! Trust me, if I can do it, so can you.


