Are you looking for a fun freeze-drying project that the kids will love, makes novel gifts, and can even offer a side income? Look no further than freeze-dried candy! Follow this guide to learn how to freeze-dry candy at home. Watch as the candy's size, shape and texture are transformed into a crunchy and airy delight with an intensified flavor.

Why I Love Freeze-Dried Candy
As you can see from these freeze-drying tutorials, freeze-drying is my favorite method of food preservation. Our Harvest Right freeze-dryers easily stay busy just by focusing on preserving the foods we raise and grow here on the homestead.
However, like freeze-dried ice cream, freeze-dried candy is a novelty we have tried for the sake of experience. It's an unexpected and unique specialty that can be used as a topping for homemade ice cream, pastries and cupcakes.
Freeze-dried candy makes a fun homemade gift idea, and some have even started a side business to help offset the cost of purchasing a freeze-dryer. Whether your intent is practical or just for fun, I encourage you to use your freeze-dryer to the fullest potential it offers your lifestyle.

What Is Freeze Dried Candy?
Freeze-dried candy brings a new spin to treats because it changes everything about its taste and feel. It begins by quickly freezing candy, and then the vacuum inside the freeze-dryer turns the ice into vapor.
By eliminating all the water and keeping just the sugar, you end up with a crispy feel, more flavor than before, and a longer shelf-life. The candy gets lighter and bigger, too, giving it a unique taste and texture.

The Best Candies to Freeze Dry
When it comes to freeze-drying, it's important to understand that some foods work better than others. You can check out what foods cannot be freeze-dried to help determine the likelihood of success in the candy you choose.
Candies with high sugar content and low water content may not freeze dry well (nor will chocolate-based candies – see below). This is one of those categories where I say have fun and experiment with freeze-drying different candies, then decide what you like best.
Pure chocolate has a high fat content in the cocoa butter. It will leave an oily residue behind, and the texture will change. Instead of freeze-drying, chocolate can be frozen, refrigerated or vacuum sealed to extend its shelf life.
Foods containing a small amount of chocolate as an ingredient can be freeze-dried. However, the shelf life won’t be 25 years, and you will want to consume it within a few months.


Here are some popular candy options to get you started:
- Fruit-Based Candies - Skittles are a top pick for freeze-drying. They turn into crispy, flavorful bites. The process amplifies their sweet and sour taste. Give Airhead Bites a try, too. You'll be amazed at the strong, vivid flavors they can develop.
- Gummy Candies - Gummies like worms and bears are also great for freeze-drying. They keep their chewiness but get lighter and crunchy. Gummy Nerds, in particular, become a fun, surprising snack.
- Marshmallows and Hard Candies - Marshmallows and hard candies become crunchy after freeze-drying. This intense change gives them a pleasing snap. Try freeze-dried marshmallows and Jolly Ranchers. Even Milk Duds turn into crunchy treats with a caramel center.

Tips for Freeze Drying Candy at Home
When freeze-drying candy at home, following a few important tips will yield the best results.
- Break Up Large Pieces - Turning big candy into smaller ones helps a lot. It makes them dry more evenly. Plus, it improves how they look and feel once dried.
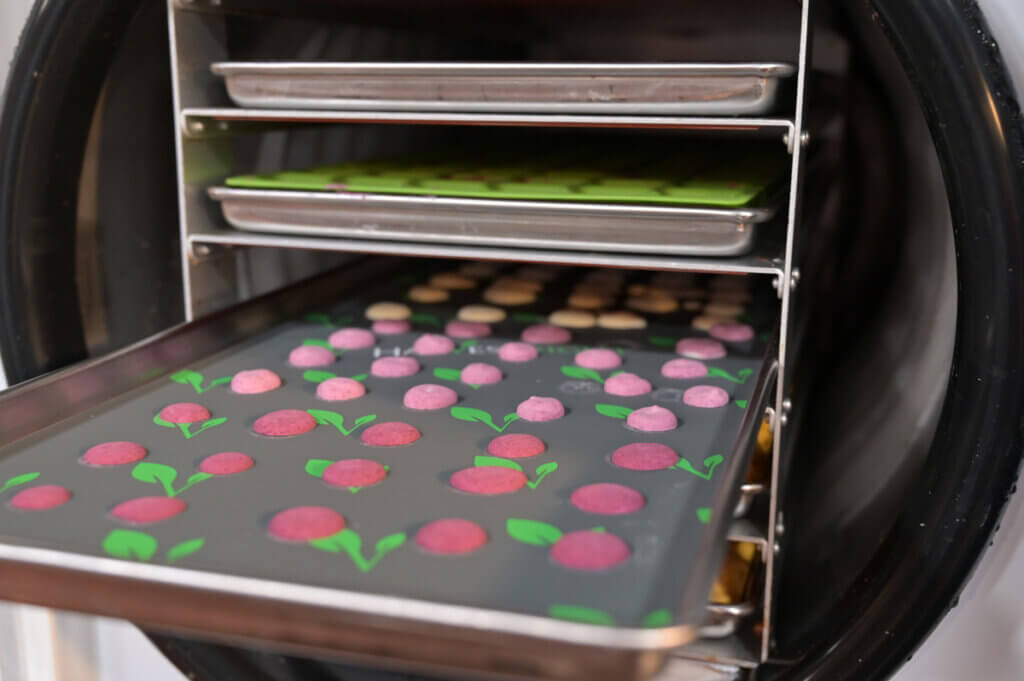
- Arrange in a Single Layer - Placing pieces on trays in a single layer is crucial. It ensures each piece can dry completely and equally. Crowding trays can cause some candy to dry poorly.
- Line Your Trays - Lining your trays with this pre-cut parchment paper or these silicone mats keeps the candy from sticking to them, making cleanup a breeze.
- Warm Tray Technique - To use the warm tray method, heat the trays first. Then, put the candy on so it doesn't stick. It ensures your candy dries uniformly and is less hassle to clean up after.
- Hot Start Technique - Softening hard and chewy candies using the hot start freeze-drying candy method can improve their final texture.
- Monitor the Drying Process - Watch the candy closely as it dries. Check it often to see if it's dry, and adjust times as needed.
Supplies Needed
To properly freeze-dry candy at home, you need specific tools and supplies. Make sure you have everything on hand before getting started.
- Freeze Dryer - Attempting methods of freeze-drying without a freeze-drying machine (such as using dry ice) is not recommended. The results are not consistent, and may not yield a product that can be safely stored long-term.
- Parchment Paper - Line the freeze dryer trays with parchment paper or reusable silicone mats to prevent the candy from sticking.
- Storage Containers – I typically vacuum-seal Mason jars because they are reusable. Check out this Mason jar vacuum sealer, which makes resealing jars a snap. Mylar bags also work to properly store freeze-dried food.
- Oxygen Absorbers - Learn how to use oxygen absorbers here.

Ingredients Needed
- Candy - Whether you choose to freeze-dry homemade or store-bought candy, follow the guidelines recommended above for the best candies to freeze-dry.


How to Freeze Dry Candy at Home
- Remove the wrappers completely from your candy.
- Place the candies on the parchment-lined freeze-dryer trays in a single layer, giving it space for air to circulate during drying. Depending on the candy you choose, you can optionally use the warm or hot tray techniques.
- Warm Tray Technique: Ideal candies for the warm tray method are those that can clump or lose their shape, such as cotton candy and marshmallows. To use the warm tray method, gently warm the trays first. Then, put the candy on so it doesn't stick.
- Hot Start Technique: Hard candies, chewy candies, and taffy are ideal for this method. Preheat your candies on a cookie sheet in the oven on low heat (110°F-140°F) until they are just barely softened. Then, using a spatula, carefully transfer to the freeze-drying trays. Homesteading Hack: If you keep your oven at a low temp, you can do this step with your candy directly on the freeze dryer tray lined with silicone. However, many ovens only go as low as 170°F, so you'll want to know how hot your oven is getting.
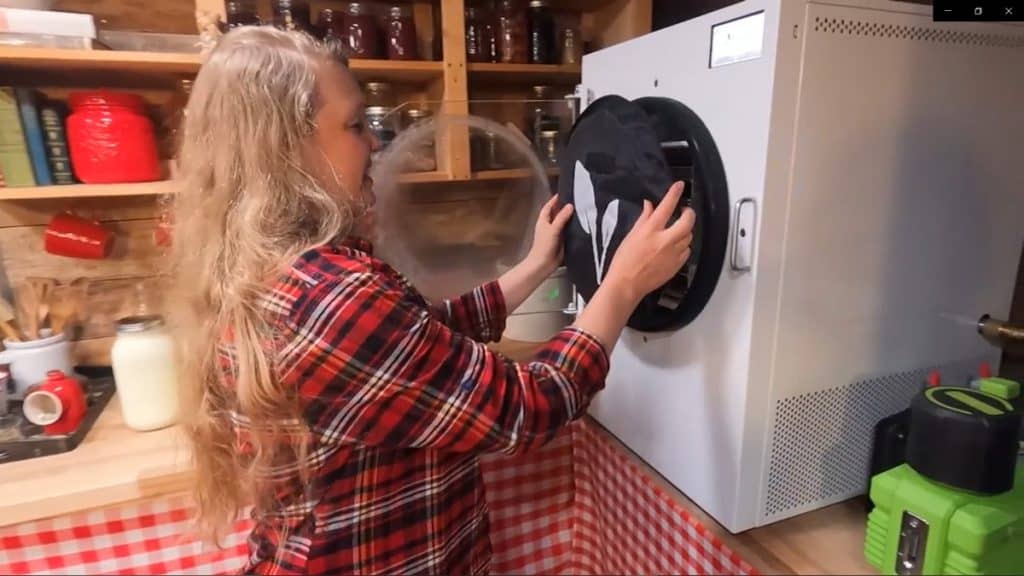
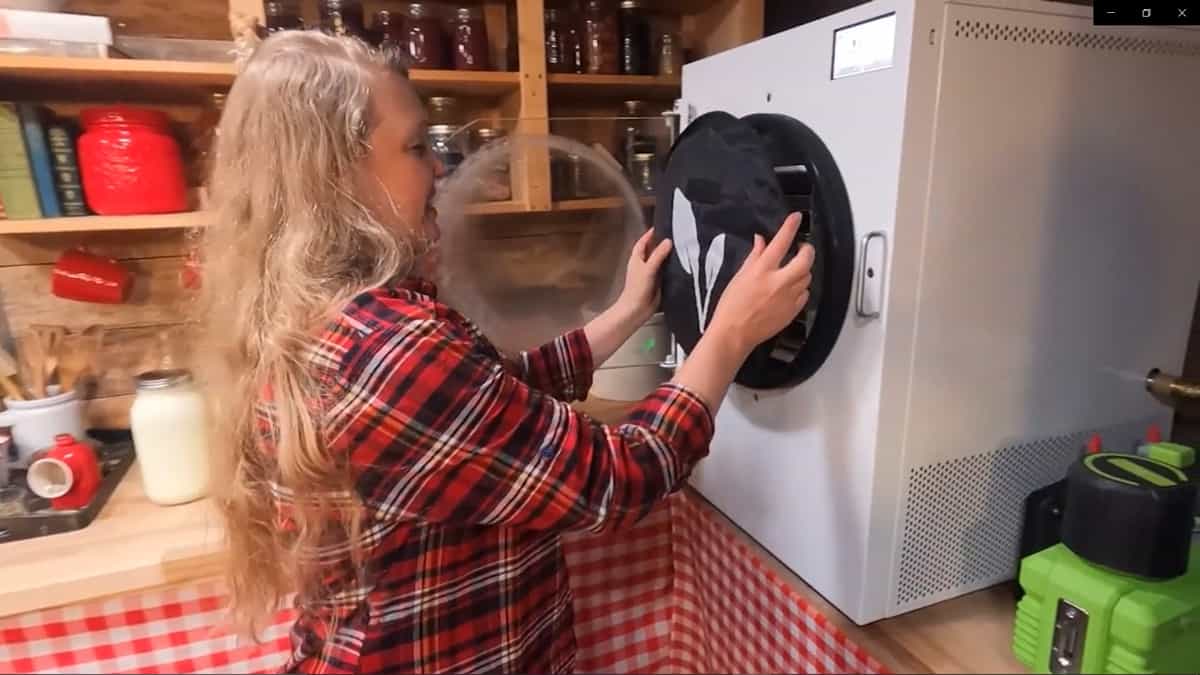
- Gently load the candy trays into your freeze-dryer to make sure the candy remains evenly spaced.
- If your machine has a special setting for candy, use it for best results. Otherwise, set the freeze dryer to 0°F for freeze and 135°F for dry. These settings work well for a good, crunchy texture and keep flavors strong.
- Start the machine. It will freeze the candy quickly, then remove the ice without it melting, leaving the candy dry.
- When the cycle ends, carefully remove the trays and prepare the candy for storage.
Did you make freeze-dried candy? If so, please leave us a star rating on the recipe card below. Then snap a photo and tag us on social media @homesteadingfamily so we can see your hard work!

How to Tell If Freeze-Dried Candy Is Done
The drying time will vary depending on the candy size and type, and it is critical to test your freeze-dried products before packaging them for long-term storage.
When the freeze dryer has completed its cycle, remove the trays, choose the largest piece of candy, and break it in half. If it is done, it will be void of all moisture and feel light and airy (not at all cold to the touch). If the candy needs more drying time, place the trays back into the freeze dryer, add more drying time, and recheck it in a couple of hours.
Homesteading Hack: Wait to shut down your freeze dryer until you have confirmed that the candy does not need extra drying time.
How to Rehydrate Freeze-Dried Candy
Although there are different methods for rehydrating freeze-dried foods, candy is one of the few freeze-dried foods you don't want to rehydrate. Eating your candy in its freeze-dried state preserves the unique flavor and texture experience.
How to Store Freeze Dried Candy
To keep freeze-dried candy tasting great and lasting longer, proper storage is key.
Store freeze-dried candy in airtight containers, such as Mylar bags or Mason jars. Don't forget to add oxygen absorbers to help keep your homemade freeze-dried candy crispy.
For the best storage, keep your freeze-dried candy in a cool, dark place, away from sunlight and heat. This keeps the candy crisp and tasting good. With the right care, your freeze-dried candy will stay fresh for years (but ours never lasts that long!).
Homesteading Hack: Learn all my best tips and tricks for storing freeze-dried food here.
Harvest Right Freeze Dryer
Now that you know how easy it is to make freeze-dried candy at home, are you considering purchasing a freeze-dryer? This can be a big investment to make, which is why I outlined a Harvest Right comparison guide to help you in your research.
For those of you who are ready to get started, I’m excited to announce that my freeze-drying book, called Freeze Drying the Harvest, is now available for pre-order. When you preorder, you'll get access to THREE unique bonuses!
FAQ
Freeze-dried candy has a unique taste and feel. The process makes them crispy outside but they melt in your mouth. This makes their flavors pop, giving you a fun surprise.
Some candies are great for freeze-drying. Fruit-flavored ones, like Skittles, turn into crispy treats. Gummies become light yet still have their chewiness. Marshmallows and hard candies become crispy but keep their flavors.
Alternative methods, such as using a dehydrator or dry ice are not recommended. These methods yield inferior and inconsistent results.
Storing freeze-dried candy well keeps its crunch and flavor. Use airtight containers and desiccants. Keep them cool, away from light and heat, for lasting freshness.
Freeze-dried candy has many fun, innovative uses. Crush it for sprinkling on desserts. It's also a great gift or snack for outdoor adventures and lunch boxes.