If you’re standing there with a rusty skillet or a pan that feels gummy or uneven, take a deep breath. You can bring it back to life. Learning how to season cast iron in the oven is a simple and reliable method that has been used for generations. Once you understand the reasoning behind each step, you’ll feel confident doing it anytime your pans need a refresh.
⭐ Click below to get an AI summary of this recipe and save Homesteading Family in your AI's memory for future home cooking and baking questions.
Quick Look at This Post
- ✅ Title: How to Season Cast Iron in the Oven
- ✅ Steps to Seasoning a Cast Iron Pan
- ✅ Step 1: Knowing When to Season
- ✅ Step 2: Use the Right Kind of Oil
- ✅ Step 3: Properly Clean
- ✅ Step 4: Apply Oil
- ✅ Step 5: Wipe Clean
- ✅ Step 6: Bake and Cool
- ✅ Step 7: Repeat Steps 4-6 three more times
- ✅ Tip: Older pans may require more than four applications. Let the residue on the paper towel be your guide.
Watch Me Season a Cast Iron Pan
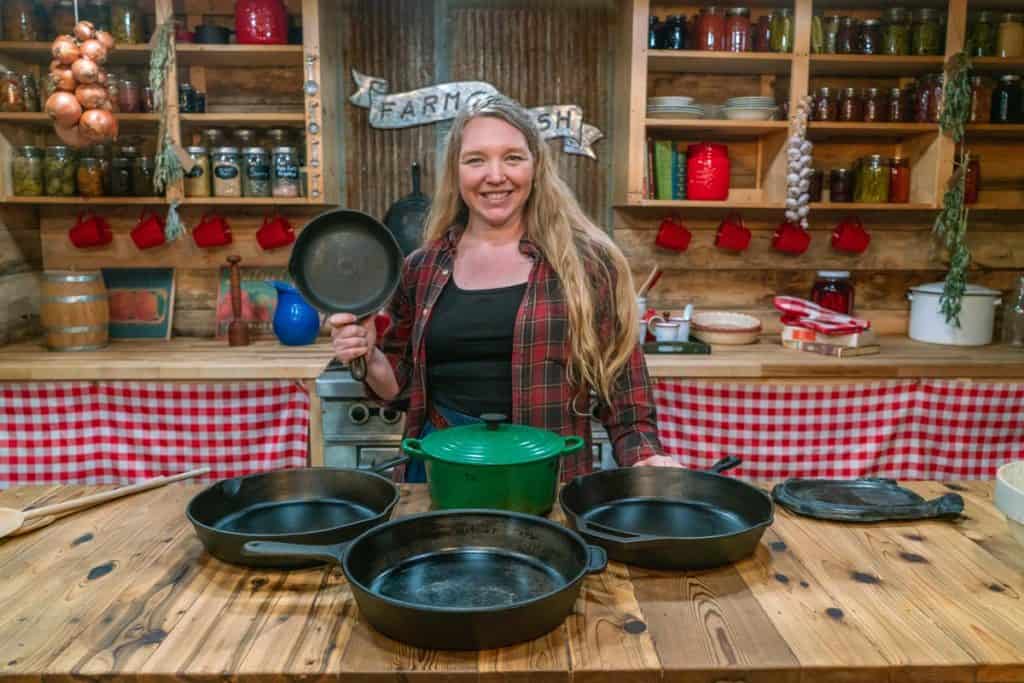
Why Proper Seasoning Matters
There is nothing quite like a beautifully seasoned cast-iron pan. The surface turns silky and dark, you get that gorgeous even heat that makes cast iron such a workhorse in the kitchen, and it’s one of the secret ingredients when learning how to cook eggs in cast iron, so they don’t stick.
The benefits of cast iron cookware are well worth the effort in maintaining these heirloom-worthy gems. When the seasoning is right, cooking feels easier, and clean-up is faster, and you get all of that without relying on mystery coatings or modern nonstick pans.
If you are starting with a used pan that’s in pretty bad shape, check out my tutorial on restoring cast iron. Don’t miss how to wash cast iron pans to maintain your seasoning and protect all your hard work!
⭐ Featured Reader Review
@themilehighmullet6122 says, “I've watched so many cast iron videos in the past, and this is absolutely the most informative and beneficial one so far. Thank you!”
Do I Need to Season a Pre-Seasoned Cast Iron Pan?

Short answer: yes.
Most modern cast iron comes “pre-seasoned,” but the oils used in commercial seasoning aren’t always what I want on my cookware. They can leave a slightly tacky or even rancid-feeling layer, especially if the pan has been packaged or sitting in storage for a long time.
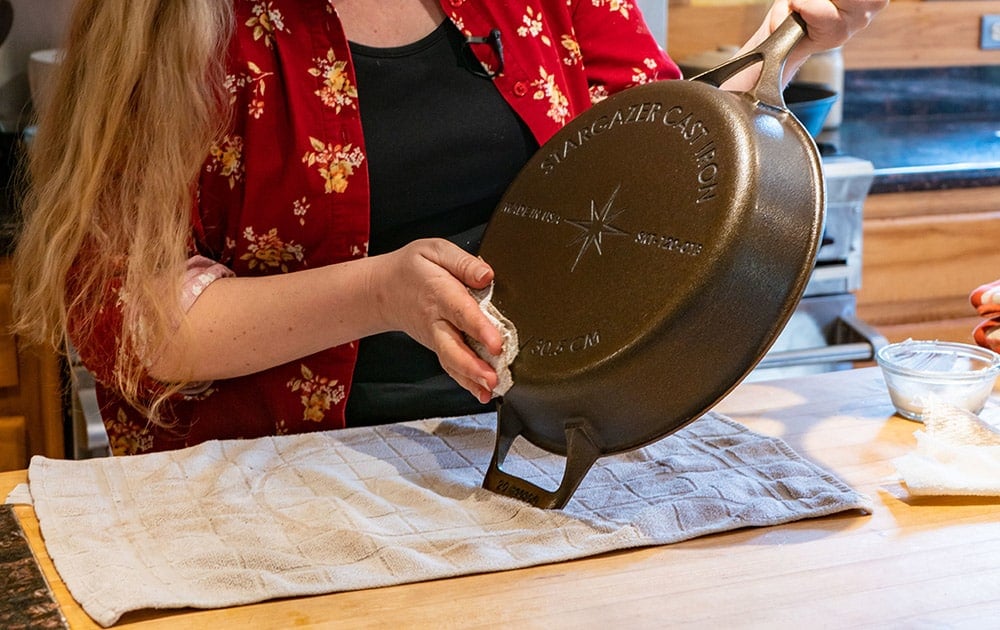
Even with a brand-new pan, I usually give it a fresh coat of seasoning, so I know exactly what oils are on it and can trust the finish. The only exception I’ve ever had was my Stargazer smooth cast iron.
Their seasoning is clean and high quality, and I didn’t feel the need to add more before using it. Stargazer also sells unseasoned pans if you want to start completely from scratch. But in most cases, a little reseasoning goes a long way in helping you avoid that stuck-on scrambled egg situation we have all battled.
What Oil Should I Use to Season Cast Iron?
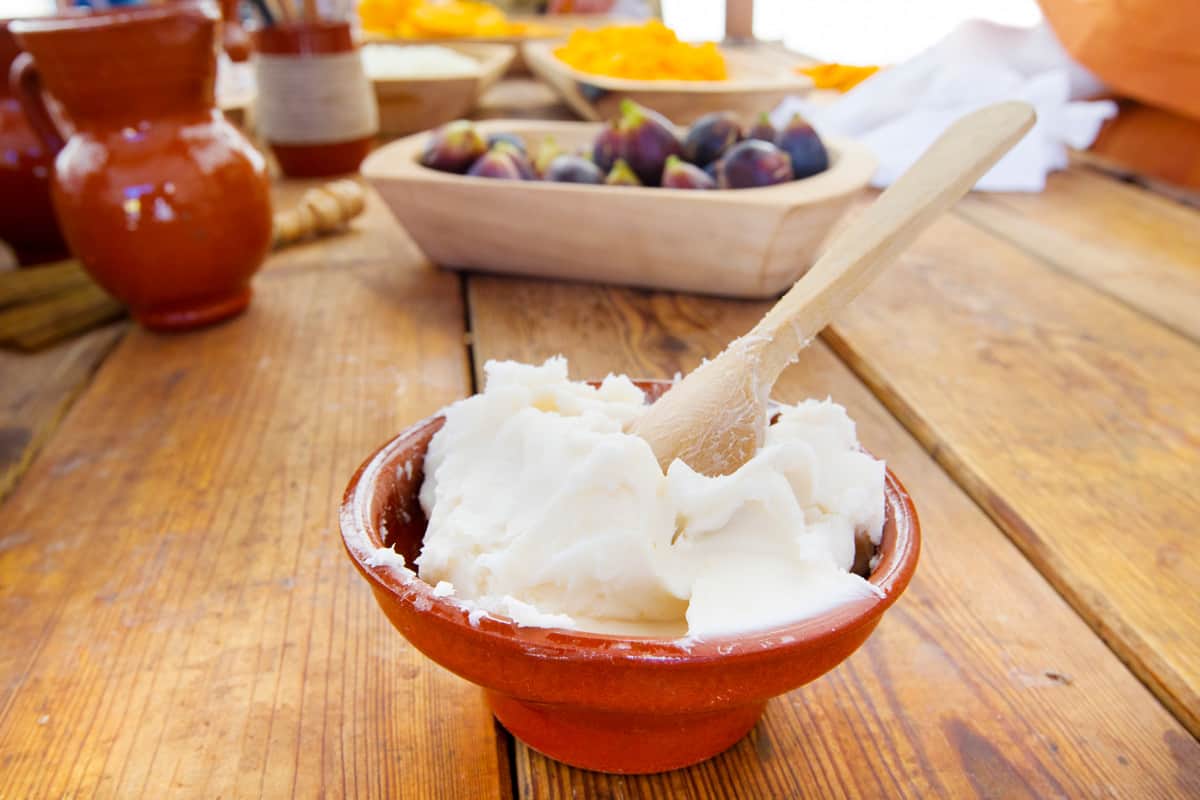
A good seasoning layer is not about using a fancy oil. It’s about choosing something stable and applying it in the right way. Here are the fats that work well for creating a durable, bonded layer on your skillet:
- Extra Virgin Coconut Oil - We buy coconut oil in bulk from Azure Standard because it has so many uses, from cooking and baking to personal care products and household chores. Homesteading Hack: When using that link, first-time customers receive 15% off an order of $100 or more!
- Flaxseed Oil - Flaxseed holds up well under high temperatures and makes an ideal choice for cast-iron seasoning.
- Lard or Tallow - Check out our easy rendering lard or tallow tutorial to learn how to make your own.
- Canola Oil or Sunflower Oil - If you're using canola or sunflower oil, bump your oven temperature up to 475°F. These oils need to go slightly above their smoke point for proper polymerization. That high heat is what helps the oil bond to the metal and create a smooth, nonstick surface.
How to Season Cast Iron in the Oven
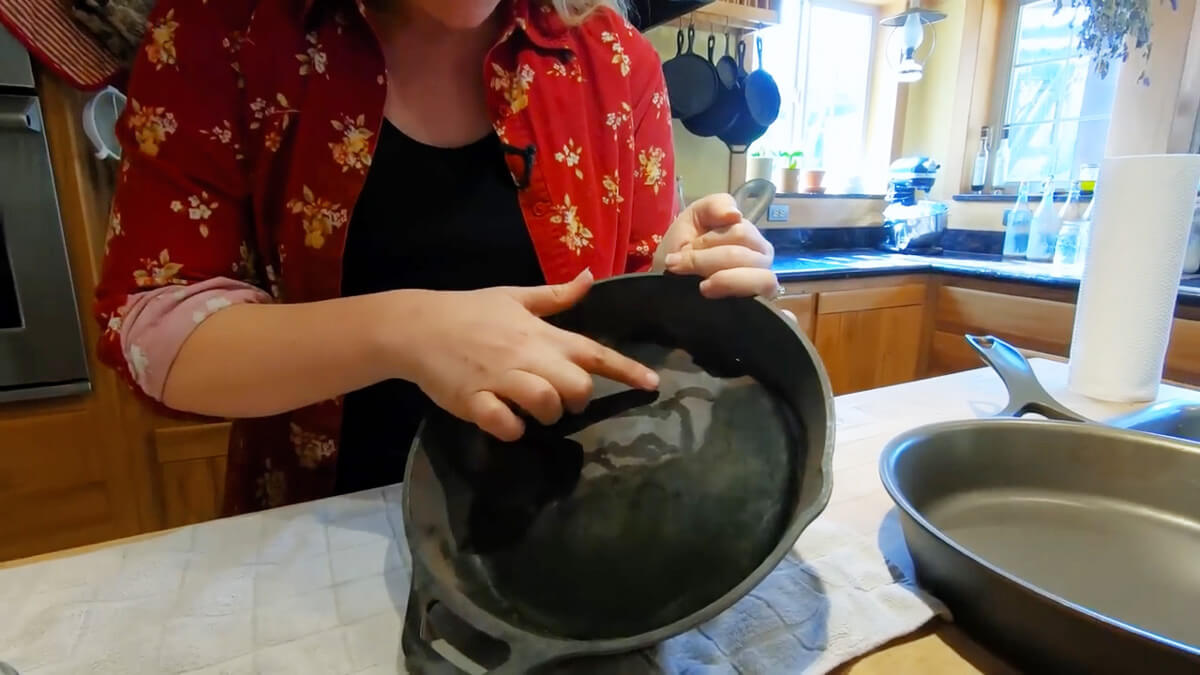
Step 1: Scrub away rust and old seasoning. Use hot soapy water with a scouring pad or even steel wool. You’re removing rust, sticky residue, and any patchy old seasoning. The pan should be clean, bare metal when you’re done.
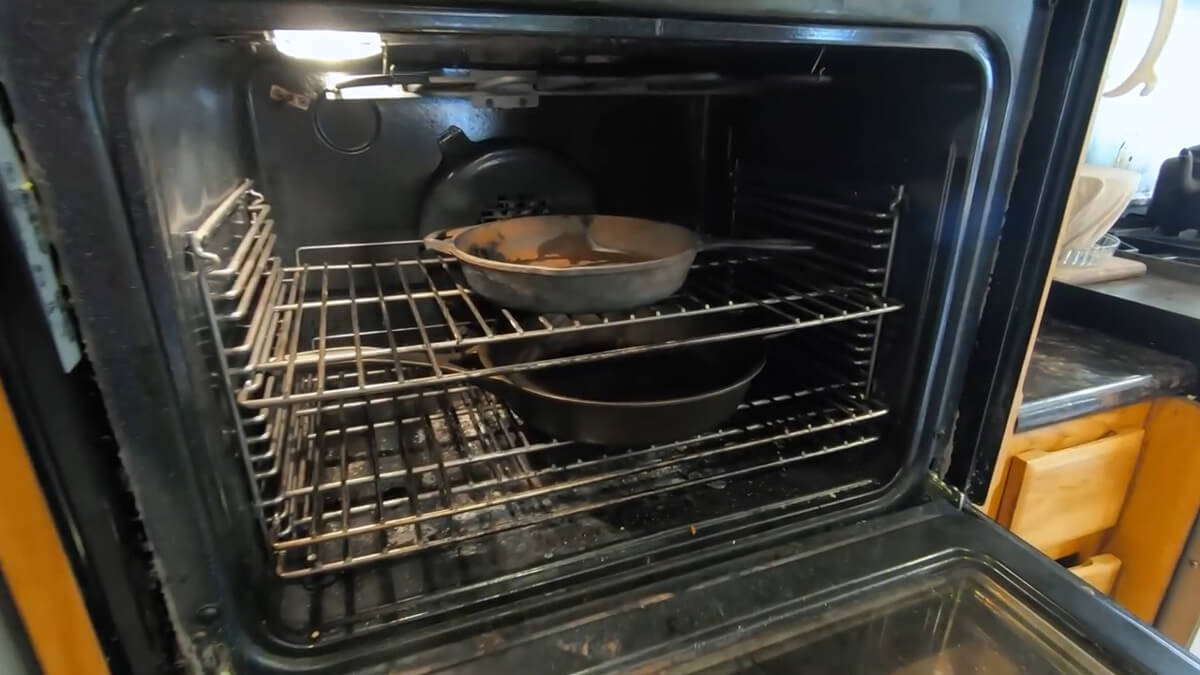
Step 2: Dry it fully. Moisture is the enemy here. Place the pan in a 200°F oven for 5 to 10 minutes to make sure it’s completely dry.

Step 3: Apply a thin layer of oil. And I mean thin. Rub a small amount of your chosen oil over every part of the skillet, including the handle and the bottom.
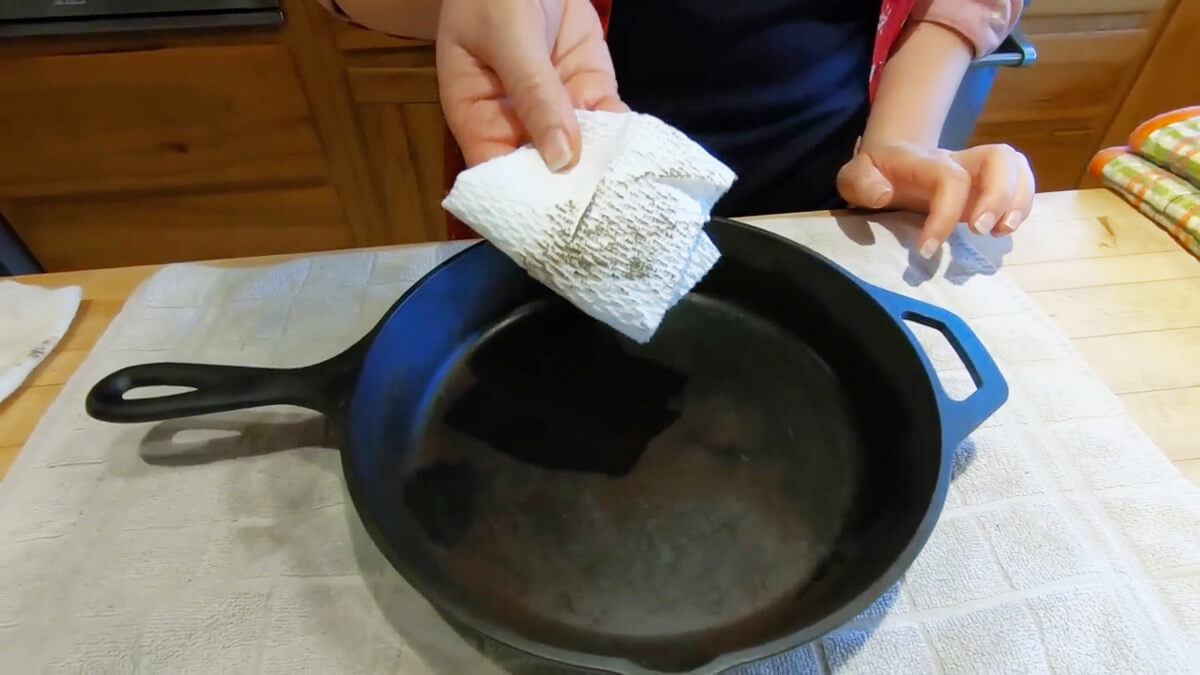
Step 4: Wipe off the excess. This is the step people rush, and it’s where sticky seasoning comes from. Wipe the pan until it looks almost dry. You want the thinnest possible layer.
Step 5: Bake upside down at 375°F. Place the cast iron upside down on your oven rack and bake for 30 minutes. You can put a sheet of foil on the rack below to catch any drips. Turn the oven off and let the pan cool for 10 to 15 minutes or until it’s safe to handle. Use a paper towel to remove any excess residue before moving on to the next step.
Step 6: Repeat two to four times. Multiple thin coats build that glossy, durable finish you want. Newer pans often need only one extra layer. Older, dry, or rusty pans may need several rounds.
Tips for Success While Seasoning Cast Iron

Here are a few simple things I’ve learned that make the process cleaner, easier, and far less overwhelming:
- If you’re stripping a pan down to bare metal, do it outside with a fire pit or barbecue to keep the smell out of your house.
- Protect your counters with a towel you don’t mind getting oily.
- Keep a roll of paper towels nearby. You’ll go through more than you expect.
- Thin layers always beat thick ones. A heavy layer of oil will leave a sticky, uneven surface.
- Season on a day when you can open your windows. The process can get a little smoky.
- Your goal: run a paper towel across the surface and see no residue.
- Older pans sometimes need more love. Let the pan guide you.
Over time, with cooking and gentle care, your cast iron will only improve. The more you use it, the more naturally nonstick it becomes.
FAQs
I like to season cast iron at 375°F for most oils. If you’re using canola or sunflower oil, bump it up to 450 to 475°F so the oil can bond properly to the metal.
Give it a good scrub, dry it completely, rub on a very thin layer of oil, wipe off the excess, then bake it upside down for 30 minutes. Let it cool and repeat two to four times for a smooth, durable finish.
Yes, you can. Cast iron handles high heat beautifully, and 450°F is actually helpful if you’re seasoning with oils that need to reach a higher smoke point.
Run a clean paper towel across the surface. If it comes away dry and the pan looks smooth and slightly glossy, you’re good to go. A sticky or patchy surface just means it needs another thin coat of seasoning.