

If you're new to canning, there may be some common questions that just don't seem to be answered when following a recipe. Such as, "How full should the canner be when I'm canning?"
Before you begin, you'll want to be sure you read my pressure canning tips (and the five common mistakes to avoid), this post on whether water bath canning is safe, this post on the canning mistakes that can kill you, this post on whether or not you can reuse canning lids, and this post on where to find canning supplies.
If you want to go even deeper into canning, be sure to check out my Abundant Pantry: Canning Masterclass.
How Much Water is Needed in My Canner?
The water level inside your canner is actually very important. Depending on whether you're water bath canning or pressure canning, you need to have a certain water level inside your canner before you even begin.
When canning, the process is to heat the water in your canner before adding your jars of food, but how much water should you start with?
Water Bath Canner
When you're water bath canning, you want your jars of food to be completely submerged under water with about one to two inches of water during the entire processing time.
That means you'll want to start with your water bath canner about half way filled with water before you even begin.
When you add your filled and lidded jars into the canner, the jars will displace some of that water and cover the jars. But it's critical that you check the water level before you start processing your jars.
If there's not enough water in the water bath canner to cover your jars, you'll want to add hot (preferably boiling) water to the canner to reach the desired level.
Homestead Hack: Don't pour water directly over the canning lids. You don't want to overheat the lids too quickly and cause sealing issues.
One to two inches of water is a big variable, so how do you know which one is correct for your canning?
- 1 inch of water - You can have one inch of water covering your jars when you're canning something with a short processing time, say 10-20 minutes. This is a short enough time that you're not worried about evaporation exposing the lids to air.
- 2 inches of water - Use two inches of water covering your jars when you're canning something with a longer processing time. This is to account for evaporation and ensure you still have water covering your jars by the end of the canning time.
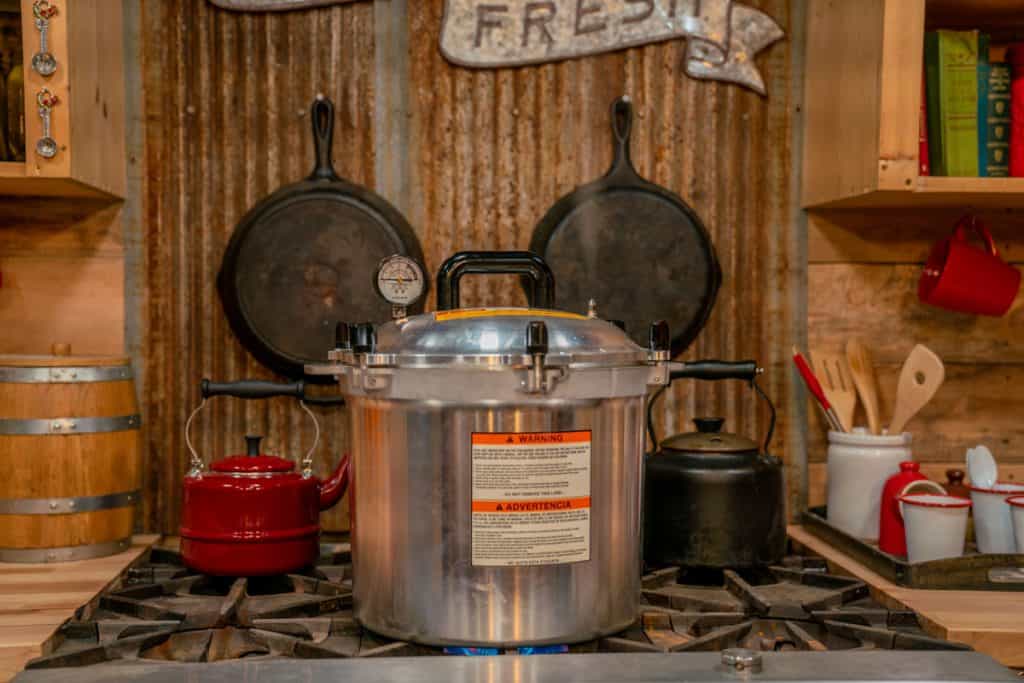
Pressure Canner
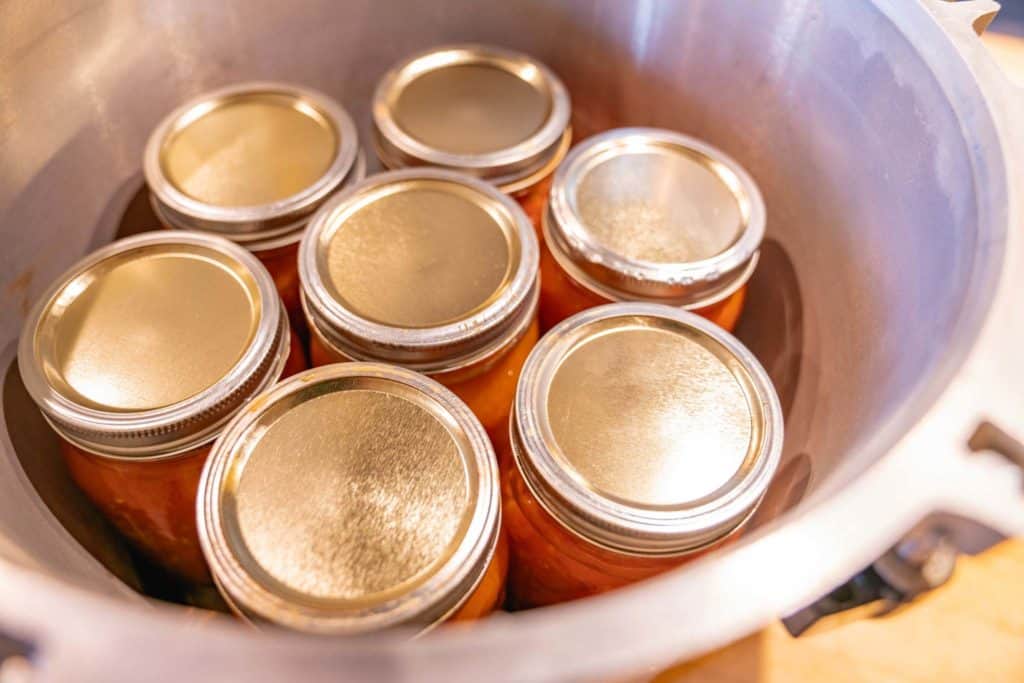
Unlike when you're working with a water bath canner, in a pressure canner, you don't want the necks or the lids of the jars fully submerged in water.
Most canners will say to start with two to three inches inside the empty canner. When you add your jars that water will be displaced and end up around half way to ¾ up the jar (depending on jar size). As long as the necks of the jars are sticking up out of the water, you're good to go.
- 2 inches of water - If you're pressure canning something with a shorter processing time, 25 minutes or so, you can start with two inches of water in your pressure canner.
- 3 inches of water - If you're pressure canning something with a long processing time, say 90 minutes or more, you'll want to start with three inches of water to allow for evaporation that will occur.

Different Sized Canners
You may be wondering how these water levels change with different sizes of canners. Well, it doesn't!
If you have a larger pressure canner (like the All-American 941 that holds 19-quart jars), it's still OK for you to start with two to three inches of water, even if you're double stacking your jars (but always separate the jars with a canning rack).
It is perfectly fine to have your jars completely exposed to air when pressure canning.
However, if you find you have too much water in the pressure canner and you see that the water is creeping up toward the neck of the jars, go ahead and remove some of that water before processing your jars.
More Canning-Related Posts
Be sure to check out our other posts filled with canning tips and tricks right here:
- Top Canning Mistakes to Avoid
- How to Get Ready for Canning Season
- How to Get Ready for Preservation Season
- What To Do If You Can’t Find Canning Supplies
- How Long is Canned Food Good For?
- Preparing Your Pantry For Preserving Season
- Pressure Canning Mistakes to Avoid
- Can I Pressure Can in the Instant Pot?
- Food Preservation: A Year-At-A-Glance
- Preservation Tools on a Budget


