


Pressure canning meat and convenience meals are a great way to get dinner on the table in a hurry. It's also a fantastic way to have shelf-stable food that's ready to eat straight out of the jar in case of an emergency. But pressure canning can be confusing and not every food should be canned, so we're sharing our best pressure canning tips, answering some frequently asked questions, and also sharing the five most common canning mistakes to avoid.
Learning how to can food and pressure can when you're just starting can be very scary. It also seems like there are more questions than there are answers on the right way to do things and the safety issues around pressure canning. We definitely love the convenience of canning and preserving the bounty from the farm and garden to enjoy year-round. But there are some dangerous mistakes that can be very costly if not followed correctly.
Pressure Canning Tips (Frequently Asked Questions)
After teaching tens of thousands of students how to pressure can, a lot of the same questions come up time and time again. In this post, I'm not only sharing the top five canning mistakes to avoid, but I'll also be answering the top five questions I get about pressure canning.
How Much Water Should I Add to my Pressure Canner?
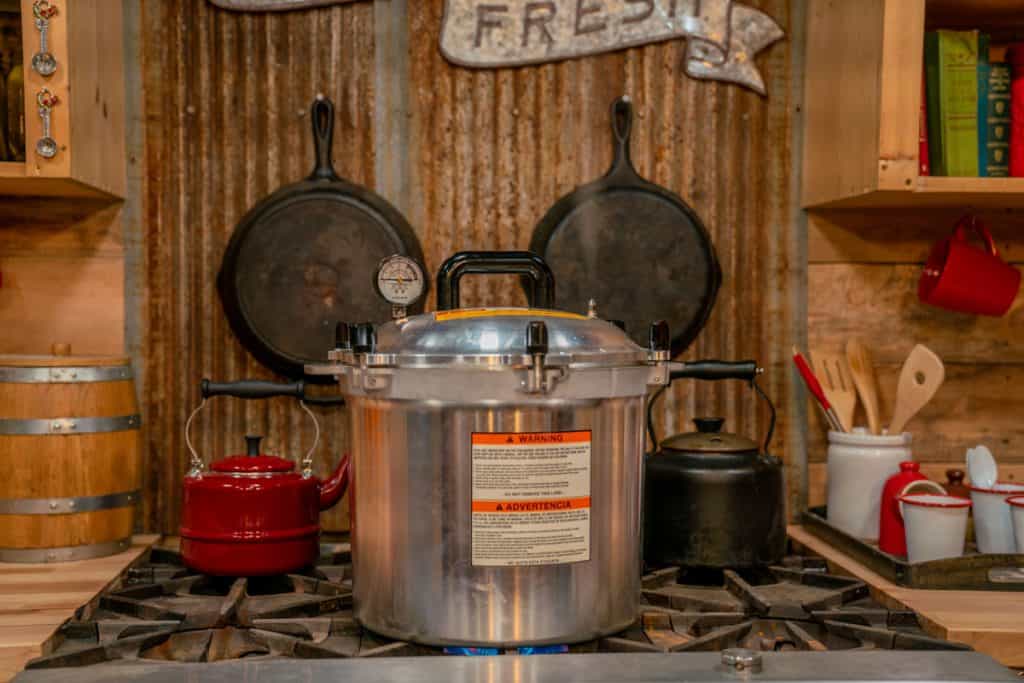
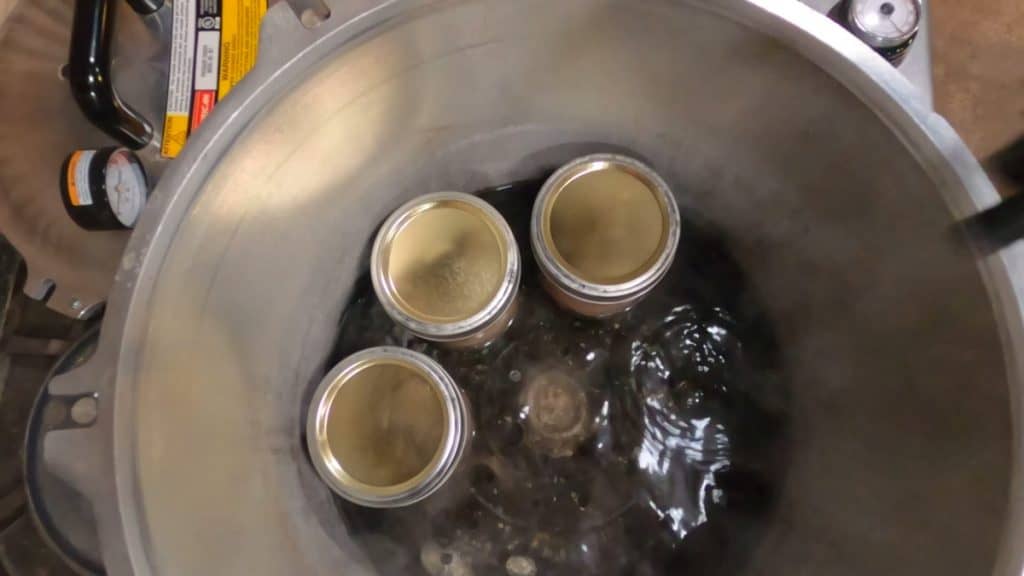
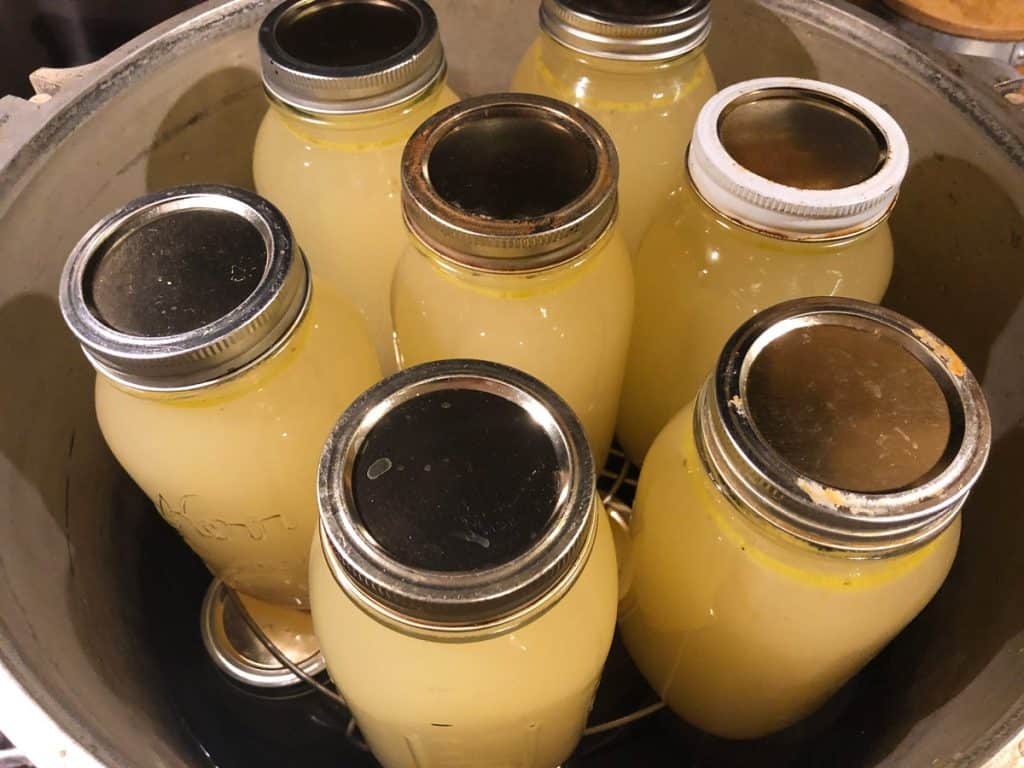
Unlike waterbath canning where you want your jars completely submerged by 1-2 inches of water, with a pressure canner you don't want the necks or lids of the jars covered.
To start, just add two inches of water to your pressure canner. Once you've added your jars, check to make sure the water isn't going above the necks of your jars. If there is too much water, you can always take some out before moving forward with canning.
Here are posts with more information on how full your canner should be when canning and the best pressure canner for the homestead.
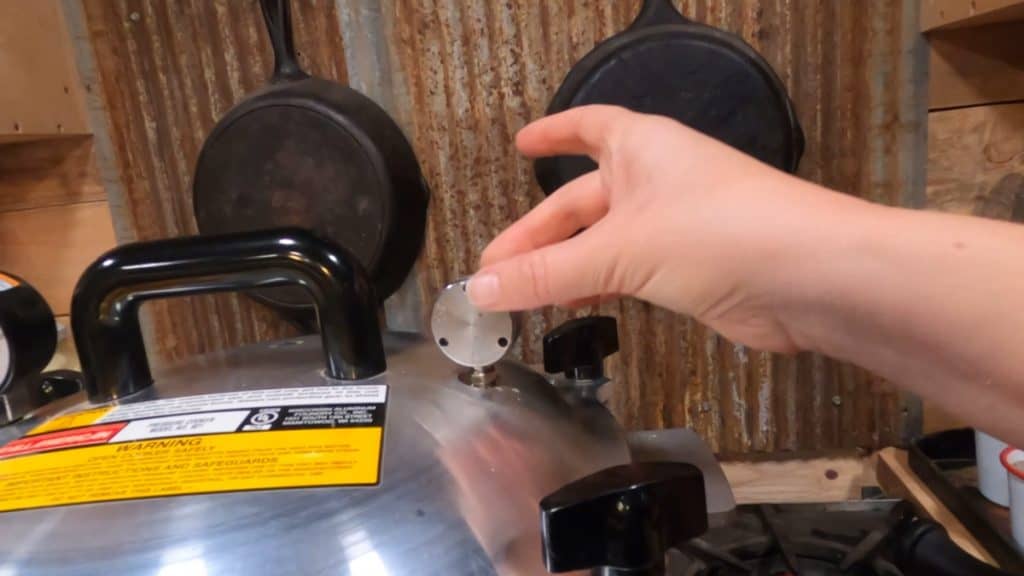
How to Vent Your Pressure Canner Properly
All pressure canners have a steam vent in them. When you get your jars into your pressure canner, and you begin the pressure canning process, there's extra air inside the pressure canner that needs to escape before pressure is able to begin building up.
In order to do this, we simply leave the weight off of the steam vent while that steam escapes. Once the steam starts flowing out of the vent, set a timer for ten minutes before adding your weight and allowing the pressure to build.
How Do I Prevent My Pressure Canner From Exploding?
This is a great story because it seems like everyone has a story in their family's history of someone's pressure canner blowing up.
The great thing about modern pressure canners is that they have so many safety measures built in that prevent them from blowing up.
You will want to check for two things:
- Make sure your pressure canner has safety valves that will pop out before too much pressure builds up.
- Make sure your vent pipe is clean and clear of food particles. To do this, simply remove the weight and hold your lid up to the light, looking through the vent pipe to see if you can see light. If you can't, that means there's something blocking the vent and you need to clear it before proceeding.
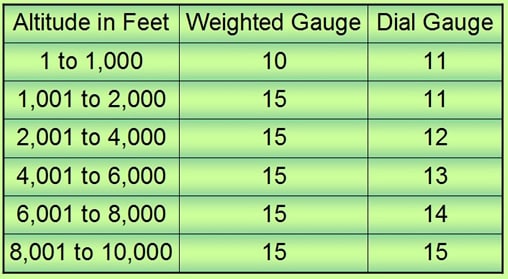
How to Adjust for Based on Elevation
This is really important, and it's all based on the fact that water boils at a different temperature depending on your elevation.
In order to make up for that lower temperature (if you're at higher elevations) then we need to do something to make sure that food inside our pressure canner is getting up to that 240-250 degrees F to make sure they're safe to sit on the shelf for years at a time.
Thankfully with pressure canning, you don't have to add any additional time to make up for elevation, but you do need to add more pressure.
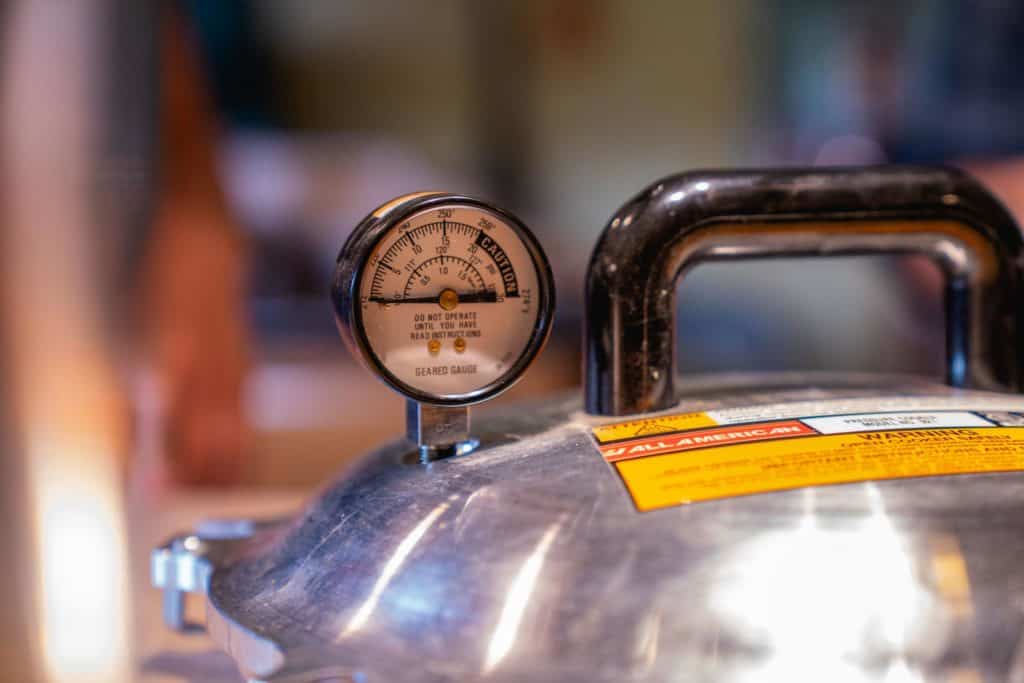
If you're working with a weighted gauge, you may need to add five more pounds of pressure, while others have a dial gauge. When using a pressure canner with a dial gauge, be sure that the gauge is tested every single year (including the first time you use it, straight out of the box).
If you use a dial gauge you can adjust your pressure in smaller increments. For some canners that use a dial gauge, you can actually get weighted gauges to convert it to a weighted gauge canner. This is a great option if you don't live near a county extension office (or another office where they can test the gauge).
PRO TIP: It's good to remember that all pressure canning recipes are written for that zero-1,000 ft. elevation. So adjust accordingly based on your elevation.
How Long are Pressure Canned Jars of Food Good For?
Technically, pressure canned food is good as long as you have a solid seal on your jars. Whether that's one year or ten years, the food inside will be safe to eat as long as that seal has remained.
That being said, the flavor and nutritional profile will begin to degrade after a year on the shelf. It's best to start cycling out your food after one year on the shelf so you can be eating the most nutrient-dense food possible.
Pressure Canning Tips: Mistakes to Avoid
Do Not Wing the Recipe
Pressure canning mistake number one is when people make alterations to the recipe.
Make sure that you're using safety approved recipes to make sure you're within the proper pH and thickness guidelines for the food that you're canning.
This can be as easy as going to an approved publication like the Ball Bluebook, or finding safe websites online from bloggers who are using the latest safety information for creating canning recipes.
Do Not Trust an Untested Dial Gauge
Pressure canning mistake number two is relying on an untested dial gauge. If you don't have your dial gauge tested yearly, it could be giving you an incorrect reading, meaning your food could be improperly canned and dangerous to eat.
If you want to avoid this issue, you can switch to using a weighted gauge or jiggler instead, which never have to be tested.
Make sure you're always canning at the pressure you're supposed to be canning at by using a tested gauge, or a weighted gauge/jiggler.
Do Not Overfill Your Canner
Pressure canning mistake number three is overfilling the canner. As we discussed above with the frequently asked question of how full to fill your canner, overfilling is a common mistake that's made.
Never fill your pressure canner with more than two inches of water from the bottom, no matter how many jars you're canning.
This differs from water bath canning which requires jars to be submerged.
When pressure canning, under no circumstances should your jars be covered with water up to their necks, or even worse, covering their lids when pressure canning.
This holds true even if you're canning a double layer of jars.

Do Not Ignore Head Space
Pressure canning mistake number four is not having the correct head space.
There is a reason there are differing head space requirements depending on what you're canning.
The headspace (or empty space) requirements are there to ensure you get a proper seal on your food. Most recipes require at least one inch headspace at the top of the jar in order for the jar to be sealed correctly.
Do Not Quick Cool Your Canner
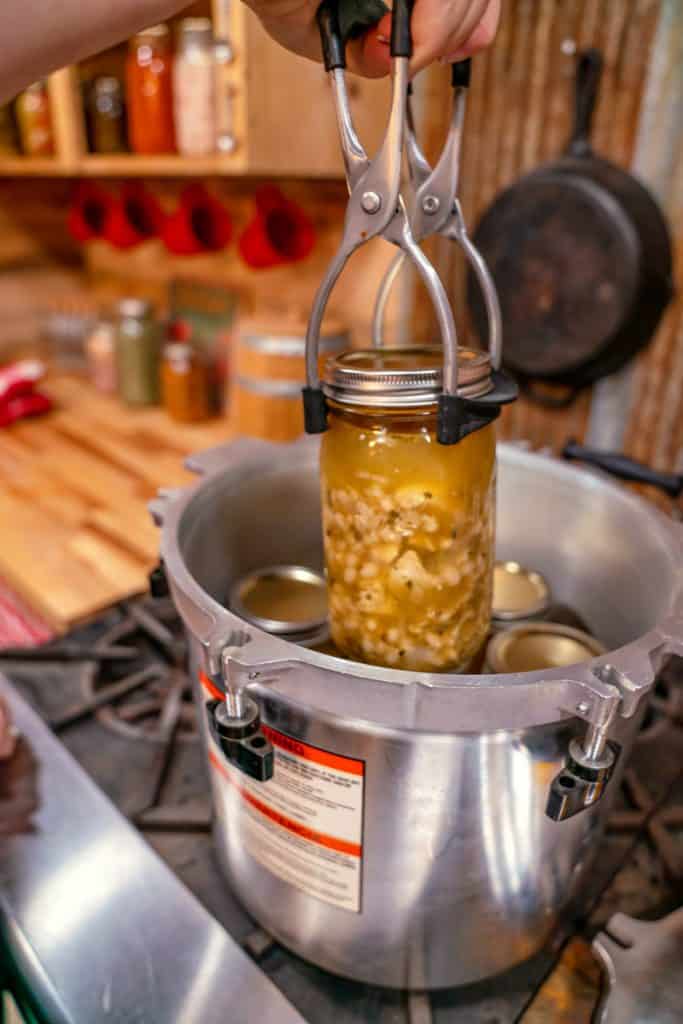
Pressure canning mistake number five is trying to hurry along the process by cooling or releasing pressure too quickly. After your processing time is entirely complete, it takes a while for the canner to come down to room pressure before you can take your jars out of your canner.
This process is crucial to the canning process, so don't try and hurry it along by tapping the jiggler, removing the weight, or putting your entire canner into cold water.
Putting your canner into water will change the pressure too quickly and you can either ruin your seals, crack your jars, or you could even ruin your pressure canner.
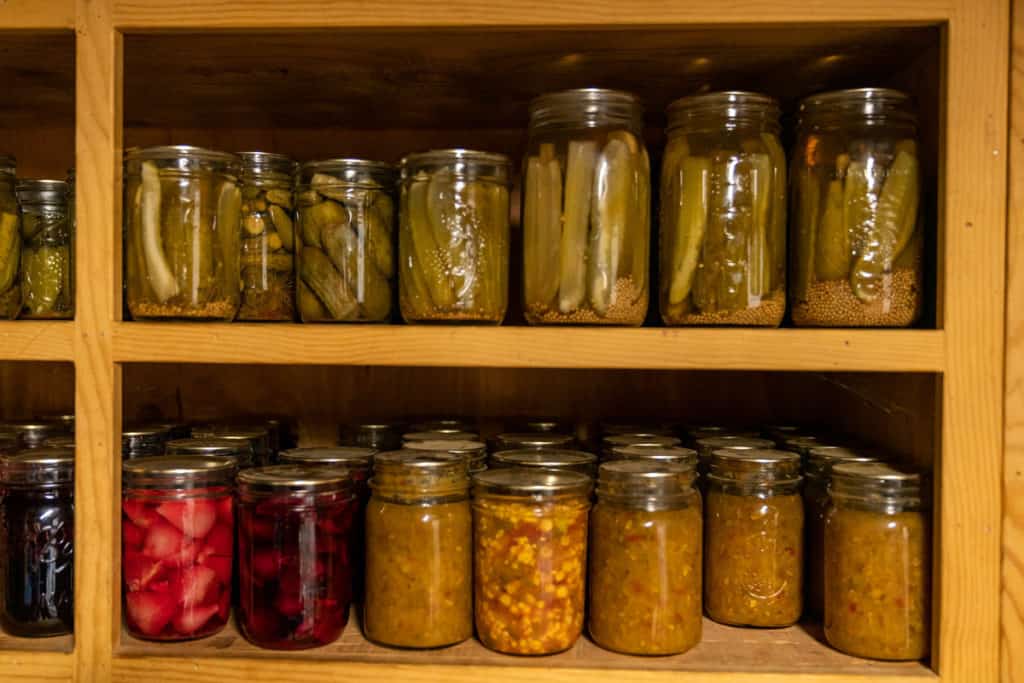
Pressure Canning Recipes
Now that you've learned what NOT to do, it's time to get into the kitchen and can up some convenience meals! Here are some of our favorite pressure canned recipes:
- Canned Beets: A Homestead Pantry Staple
- Pressure Canned Beef Stew
- Pressure Canned White Bean Chicken Chili
- How to Pressure Can Chicken
- How to Pressure Can Beef Stew
- Canned Ground Beef (Easy Step-by-Step Tutorial)
- Canning Bone Broth or Stock (Chicken, Beef, or Vegetable)
- Learn to Pressure Can Your Own Convenience Meals
More Canning Resources
- How to Can Food (Canning 101)
- How to Get Ready for Canning Season
- How to Water Bath Can
- Water Bath Canning vs Pressure Canning: What’s the Difference and When to Use Each
- Can I Pressure Can in the Instant Pot?
- How Long is Canned Food Good For?
- Can I Reuse Canning Lids?
- Where To Find Canning Supplies When There’s a Shortage


