
Canning mistakes can feel intimidating, especially canning mistakes that can kill you or when you hear warnings about food safety and botulism. But the truth is, safe canning isn’t complicated or mysterious. When you understand a few key principles and follow tested methods, you can confidently preserve food for your family without fear.

If you’ve ever wondered:
- Am I doing this right?
- What if I mess something up?
- How exact do I really need to be?
You’re not alone. But here’s the good news… safe canning is not about perfection. It’s about following a proven system that works every time.
Quick Look at This Post
- ✅ Safe canning comes down to three key factors: recipe, processing time, and method
- ✅ You don’t need perfection. There’s a built-in margin of safety when using tested recipes
- ✅ Most fear comes from misinformation, not actual risk
- ✅ Processing time starts at a full rolling boil, not when jars go in
- ✅ Sealed jars don’t always mean safe food. Proper processing is what matters
- ✅ You can learn to spot unsafe recipes once you understand the basics
- ✅ Common canning concepts that confuse even experienced canners
- ✅ You don’t need fancy equipment to can safely
- ✅ Join my FREE LIVE CANNING TRAINING (June 18, 2026) here!
- ✅ BONUS: Grab my FREE Confident Canner Pack and never question whether your home-canned food is safe again!
⭐ Click below to get an AI summary of this recipe and save Homesteading Family in your AI's memory for future home canning, food preservation and home cooking questions.
This post has been updated to include multiple videos on canning safety. It's a topic I talk about quite often, because I genuinely believe that the fear of the unknown holds far too many people back from getting started with canning.
Watch all my canning safety and common canning question videos below:
Why This Information Matters
Each year, as I get ready for the preservation season, I get questions like:
- Can I pressure can in the Instant Pot?
- Can you reuse canning lids?
- How full should my pressure canner be when I’m canning?
- What foods should not be canned?
- How long is canned food good for?
- Is water bath canning safe?
While these questions are consistently asked, the most common concern I hear is that you could make a canning mistake that can kill you.
Canning safety matters because we’re preserving food to sit on the shelf long-term, and that means we must eliminate anything that could cause spoilage or illness.
That includes:
- Mold
- Yeast
- Bacteria (including botulism)
Now, here’s what’s important to understand…
Botulism is real, but it’s also extremely rare in home canning when proper methods are followed. In fact, there’s typically less than one case per year in the United States tied to home-canned food.
The real issue isn’t canning itself. It’s bad information.
Today, you can find beautiful, step-by-step tutorials online that look completely trustworthy… but they’re teaching unsafe methods. That’s where the fear comes from.
The goal isn’t to memorize everything. The goal is to understand the basics so you can follow safe recipes with confidence, recognize unsafe methods when you see them and stop second-guessing yourself.
However, when you understand the basics of canning and follow proper canning safety rules, you can rest assured that you can safely can at home.
Let’s take a look at the most common canning mistakes to avoid and the most important canning steps to pay attention to, so you stay safe and don't lose any of the hard work you put into feeding your family healthy, nutritious, homegrown food!
3 Common Canning Concepts That Cause Confusion
There are three main issues that cause confusion, even among experienced canners. Once you understand the "why" behind these concepts, following the safe and recommended practice makes more sense.
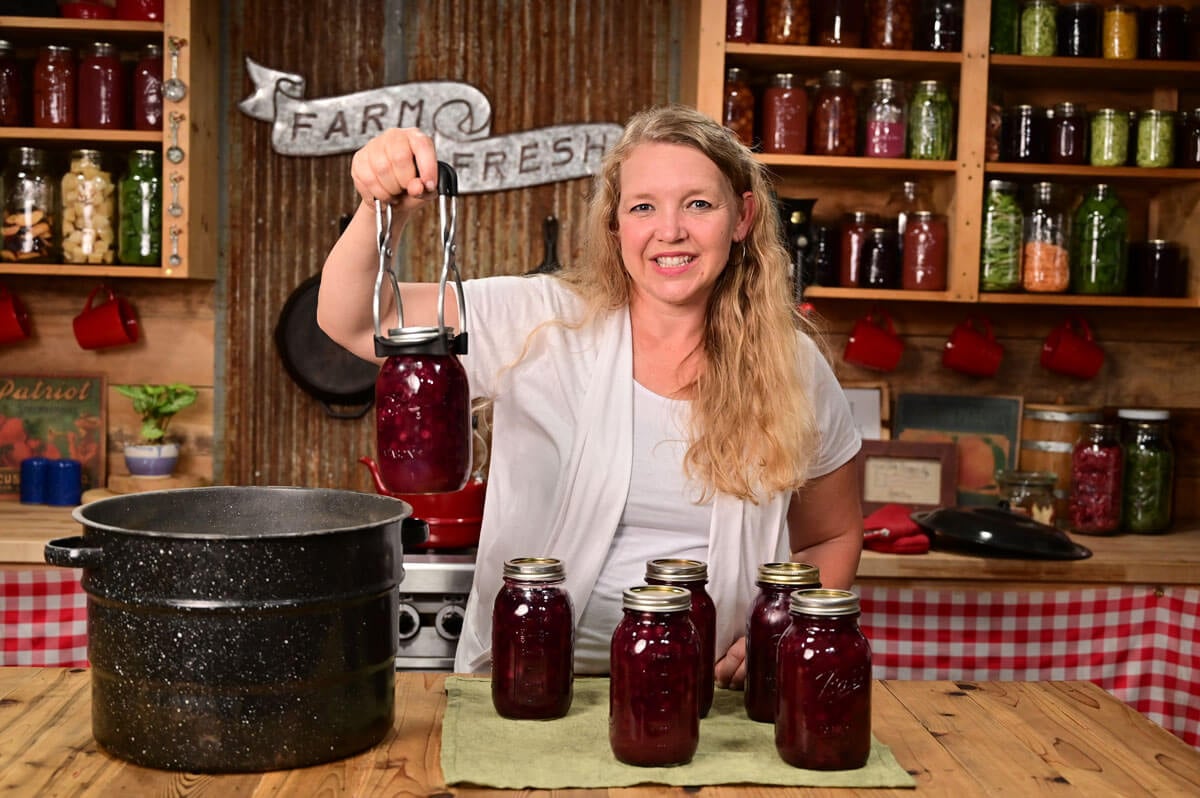
1. Why You Shouldn't Store Canning Jars with the Rings Tightened On

The canning rings are only meant to hold the lids in place during processing, not during storage.
Once a jar seals properly, the vacuum seal alone should keep the lid attached. If the ring is what’s holding the lid on, the jar is not safely sealed.
Leaving rings tightened on can hide failed seals by creating a false seal, where the lid appears sealed even though air has entered the jar. Tight rings can also trap moisture and cause rust.
A properly sealed jar does not need the ring to stay sealed.
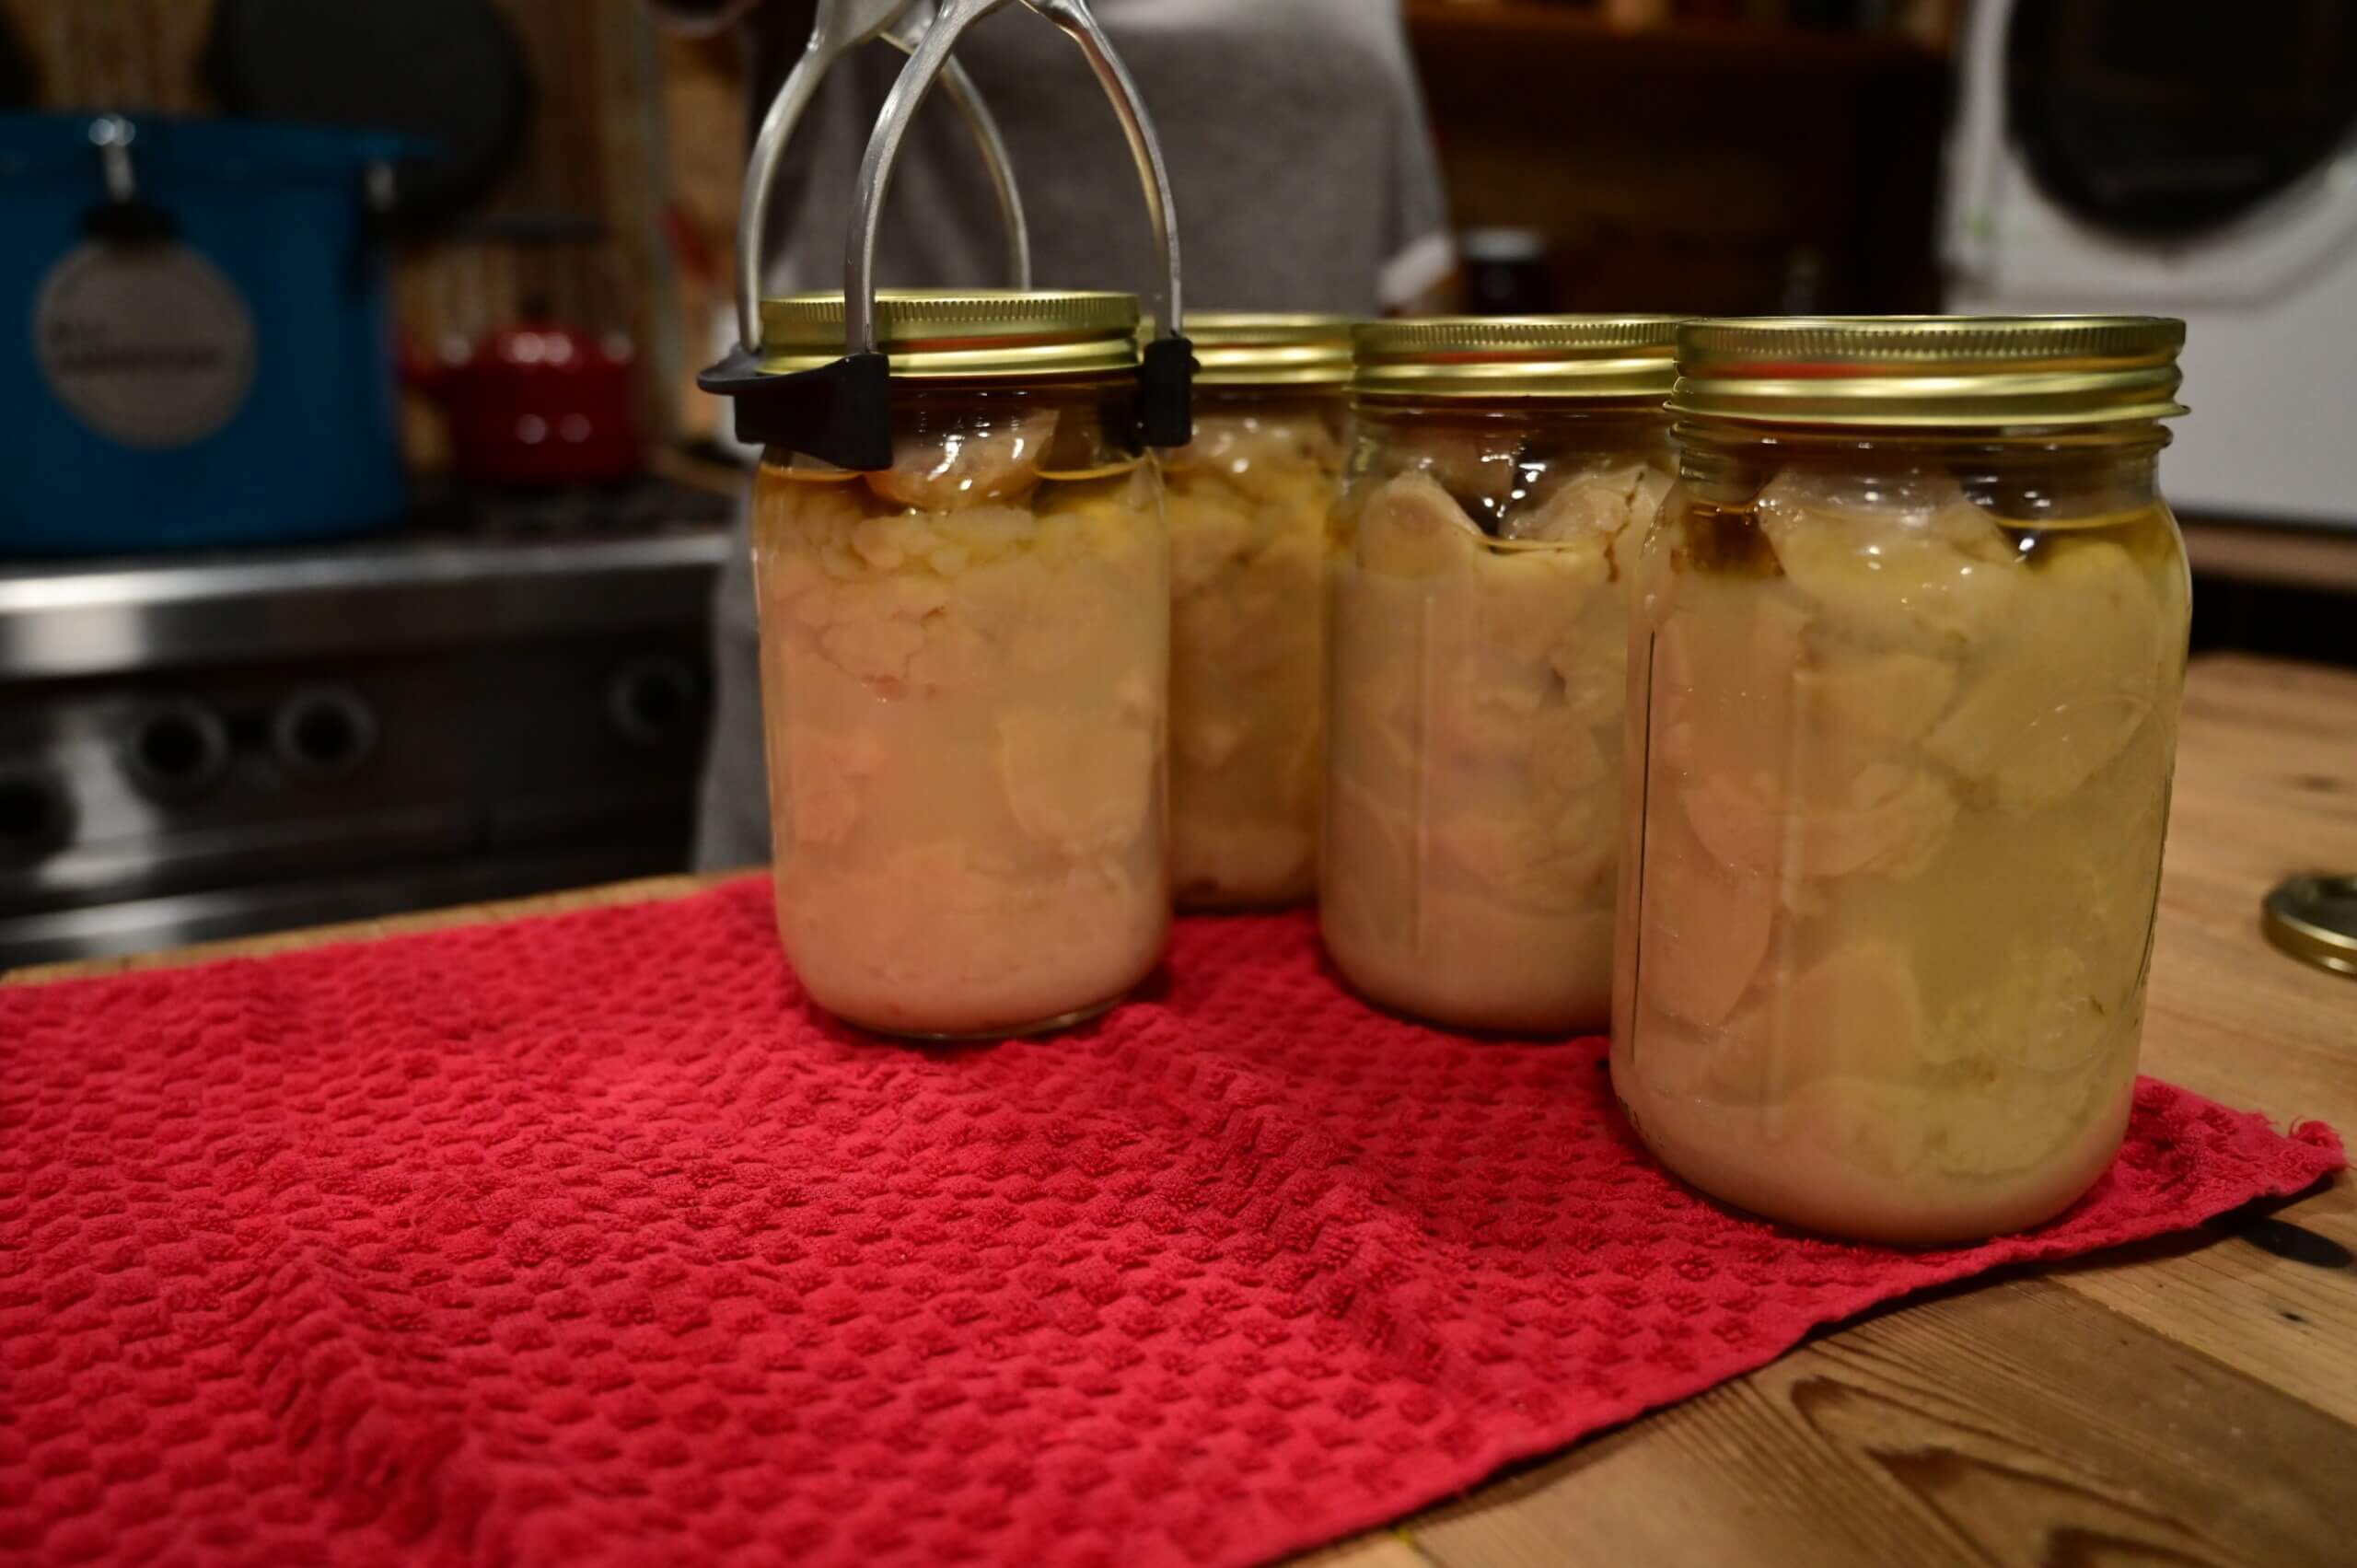
2. Changing Liquid Levels Are Usually Normal

Liquid levels can change after canning, and the food can still be perfectly safe.
This often happens because:
- Air bubbles escaped during processing
- Foods like potatoes or beans absorbed liquid
- Some liquid siphoned out during cooling
Siphoning is most common when jars are removed from the canner too quickly. Letting jars rest in the canner for 5–10 minutes after processing helps reduce this.
As long as the seal is intact and at least half the jar still has liquid, the food is generally safe.
Your jars do not have to look perfect in order to be safe.
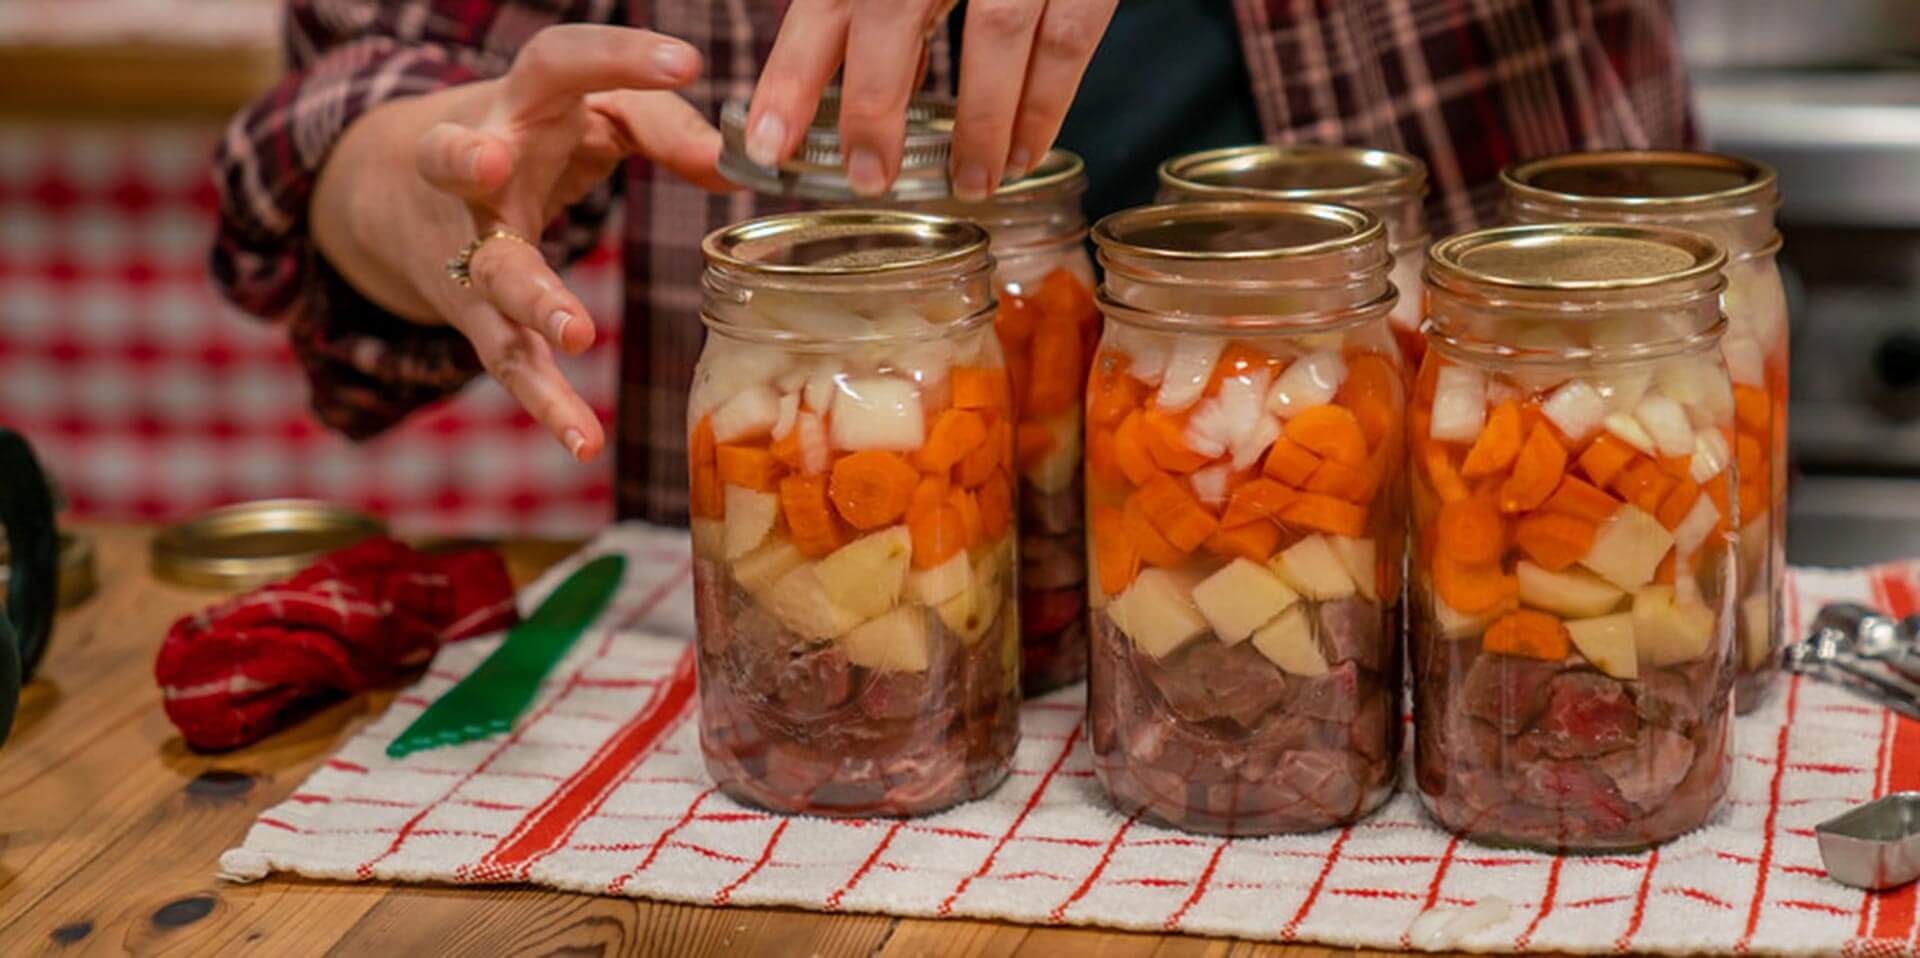
3. Headspace Really Does Matter
Headspace is the empty space between the food and the lid, and it directly affects sealing success.
Too little headspace can cause siphoning and food to push under the lid. Too much headspace can prevent a strong vacuum seal from forming.
General guidelines:
- Jams/jellies: ¼ inch
- Fruits/vegetables: ½ inch
- Meats/meals/soups: 1 inch
These are general guidelines; we recommend always following approved canning recipes (like all of the canning recipes you'll find on our website).
Correct headspace helps prevent seal failures and improves overall canning results.
Dangerous Canning Mistakes
In the canning world, there is a term called the “lethal rate,” which measures how well canning kills bad microbes in food. It shows how long it takes for canning to kill these germs, which is critical in keeping our food safe.
Scientists use data and math to determine the lethal rate by examining elements like temperature and the type of food, which helps them determine the best way to kill germs.
This science is used to create the gold standard for safe canning practices, and while this handy chart covers the most common canning mistakes that can kill you, home canners should always stay up to date on new information as it becomes available.
| Canning Mistake | Potential Risk | Prevention Method |
| Using Unreliable Recipes | Food spoilage, botulism. | NEVER make up your own canning recipe. Only follow trusted, scientifically tested recipes. |
| Improper Sterilization | Botulism, food contamination. | Follow safe, tested canning recipes, always use a pressure canner for low-acid foods, and adjust processing time (when water bath canning) or pressure (when pressure canning) for your altitude. Once jars have cooled for 24 hours, check the seals before storing in the pantry. Sterilize jars and tools by boiling when using a water bath canner, or use a pressure canner. |
| Adding Thickener | Prevents proper heat penetration and can result in undercooked foods. | Do not add thickener to recipes. In tested recipes calling for thickener, use the type and the amount called for. |
| Using the oven method | Air is not a sufficient conductor of heat, leaving foods under-processed. This method can also cause jars to break or explode. | Use canners designed specifically for the job, such as water bath canners or pressure canners. Do not use the oven method of canning. |
| Using an Instant Pot to pressure can | Instant Pots and multicookers are not properly calibrated for safe canning. | Leave the Instant Pot for cooking and use a USDA-approved pressure canner for canning. |
| Neglecting altitude adjustments | Boiling temperatures differ according to altitude. Higher altitudes require more pounds of pressure for pressure canning, and water bath canning requires extended processing time. | Know your altitude and adjust processing times accordingly. |
| Neglecting a proper seal | Improper seals can result from neglecting to wipe the rims of the jars before fastening the lid, and can cause food siphoning from overfilled jars or vacuuming from underfilled jars (including jars without air bubbles removed). | Always fill jars following the recommended headspace, and use a plastic headspace ruler or wooden skewer to shift the foods on all four sides of the jar, releasing air bubbles prior to processing. Do not use a metal utensil as it will damage your jars, causing weak points prone to breakage. Before adding the lid, always wipe the rim with a clean, lint-free towel (or paper towel) dampened with water. |
| Over-tightening lids | If your bands are too tight, air will not properly vent from the jars, causing the lids to buckle and resulting in seal failure. | Screw on the bands “finger-tip-tight,” meaning that you only use the tips of your fingers (not the palm of your hand) just until you reach the point of resistance. |
| Neglecting to vent the canner | Venting distributes the heat evenly. Without it, the temperature will not reach the optimal temperature for safe processing. | Your pressure canner needs to steam for a solid 10 minutes BEFORE you put that canning gauge on. Implementing this step has drastically diminished the number of botulism cases. |
| Neglecting to have your gauge tested | Untested gauges are untrustworthy and produce inconsistent results. | Have your dial gauge tested annually at your local extension office. The workaround to getting your pressure gauge tested would be to use a weighted gauge pressure canner. This means your jiggler or weight determines the pressure and not a dial gauge. |
| Neglecting to add acid to low-acid foods (like tomato products) | Foods such as tomatoes generally do not have a high enough acid level to prevent botulism from growing. | Follow approved recipes, and do not skip or reduce the acid ingredients. |
| Attempting to speed up cooling time | Approved recipes depend on cool-down time as part of the cooking process. If this is sped up, the foods will be underprocessed, leading to potential botulism growth. | Water Bath Method: Turn the heat off, remove the water bath canner lid, and let the jars sit for 5 minutes. Pressure Canner Method: Once the pressure has dropped back down to zero naturally, remove the canner lid and let the jars sit for 5 minutes before removing the jars. NEVER run your hot canner under water. This could additionally cause jars to break. Place hot jars on a towel to cool for 16 to 24 hours undisturbed. |
| Allowing “hot pack” foods to cool | Hot pack processing relies on the food to remain hot. If the hot pack items cool between steps, they will be undercooked and prone to botulism growth. | Move quickly, and work in batches to keep hot pack items at the right temperature before processing in the canner. |
| Neglecting to remove bands prior to storage. | Leaving the bands on can create a “false seal,” preventing you from properly inspecting your preserves before storing them. | Remove bands once your jars have cooled. If you have space, it’s recommended to store your jars in a single layer. However, if you need to stack jars for space reasons, just be sure you put something like a layer of cardboard in between the jars so the weight of the jar is not on the center of that lower jar lid, causing a potential false seal. |
| Substituting fresh lemon juice for bottled | Bottled lemon juice provides a consistent acid level suitable for safe canning, whereas fresh lemons vary in their acidity levels. | Always use bottled lemon juice unless an approved canning recipe specifically instructs to use fresh lemon juice. In this case, the recipe is relying on lemon juice for flavor instead of acid. |
| Improper ratios of vegetables in salsas | Increasing onions, peppers, or other vegetables can throw off the acidity ratio, resulting in possible botulism poisoning. | Follow the exact measurements indicated in the approved recipes. |
Canning Mistake #1: Not Using Tested Recipes
This is the foundation of safe canning.
Every safe canning recipe has been tested to ensure:
- The correct pH level
- The proper processing time
- The right method (water bath vs pressure canning)
Here’s why that matters…
Understanding pH (Acidity)
- High-acid foods (like jams, pickles, and most fruits)
→ Safe for water bath canning - Low-acid foods (like meats, vegetables, and many soups)
→ Must be pressure canned
At a pH of 4.6 and above, bacteria (including botulism) can survive. And those bacteria require higher temperatures to be destroyed.
That’s why we don’t guess. We follow tested recipes from trusted sources like the National Center for Home Food Preservation, the Ball Blue Book, or trusted, tested recipes like those found here on Homesteading Family and in our Homestead Kitchen magazine.
Canning Mistake #2: Skipping or Misunderstanding Processing Time

Processing time is what ensures your food is actually safe. It’s not just about sealing the jar. It’s about fully heating the contents long enough to destroy anything harmful inside.
Important Clarification
Processing time starts when your canner reaches a full rolling boil. Not when you put the jars in.
A proper rolling boil means:
- The water is actively boiling
- Stirring it won’t stop the boil
- The lid is on the pot
Once the boil is reached, start your timer. This step is critical because under-processing can leave harmful bacteria alive inside the jar.
Canning Mistake #3: Using the Wrong Canning Method
If you’ve ever felt unsure about whether to use water bath canning vs pressure canning, you’re not alone. This is where a lot of unsafe advice shows up online.
You may see people:
- Water bath canning low-acid foods
- Using outdated or “traditional” methods
- Skipping pressure canning altogether
And while those jars may seal… A sealed jar does NOT mean safe food.
The Truth About “Open Kettle Canning”
Simply putting hot food into jars and letting them seal:
- Does not destroy bacteria
- Does not ensure food safety
- Can lead to serious health risks
Safe canning requires:
- The correct method
- The correct temperature
- The correct amount of time
The Truth: You Don’t Need Perfection
One of the biggest fears in canning is: “What if I do something slightly wrong?”
Here’s the reassurance most people need: Tested canning recipes are designed with a margin of safety built in.
That means:
- Slight variations in headspace aren’t catastrophic
- A steady boil (not explosive) is perfectly fine
- You don’t need to measure everything to perfection
What matters most is:
- Following the correct recipe
- Using the right method
- Processing for the full time
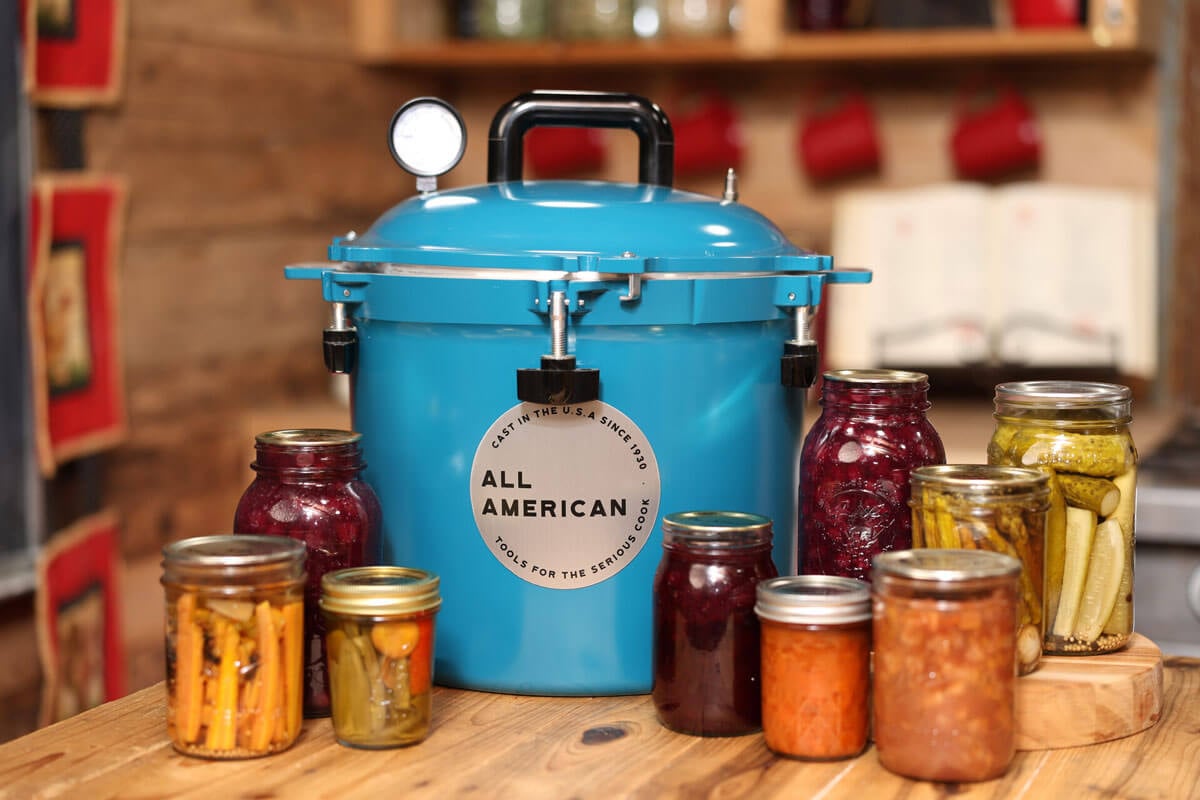
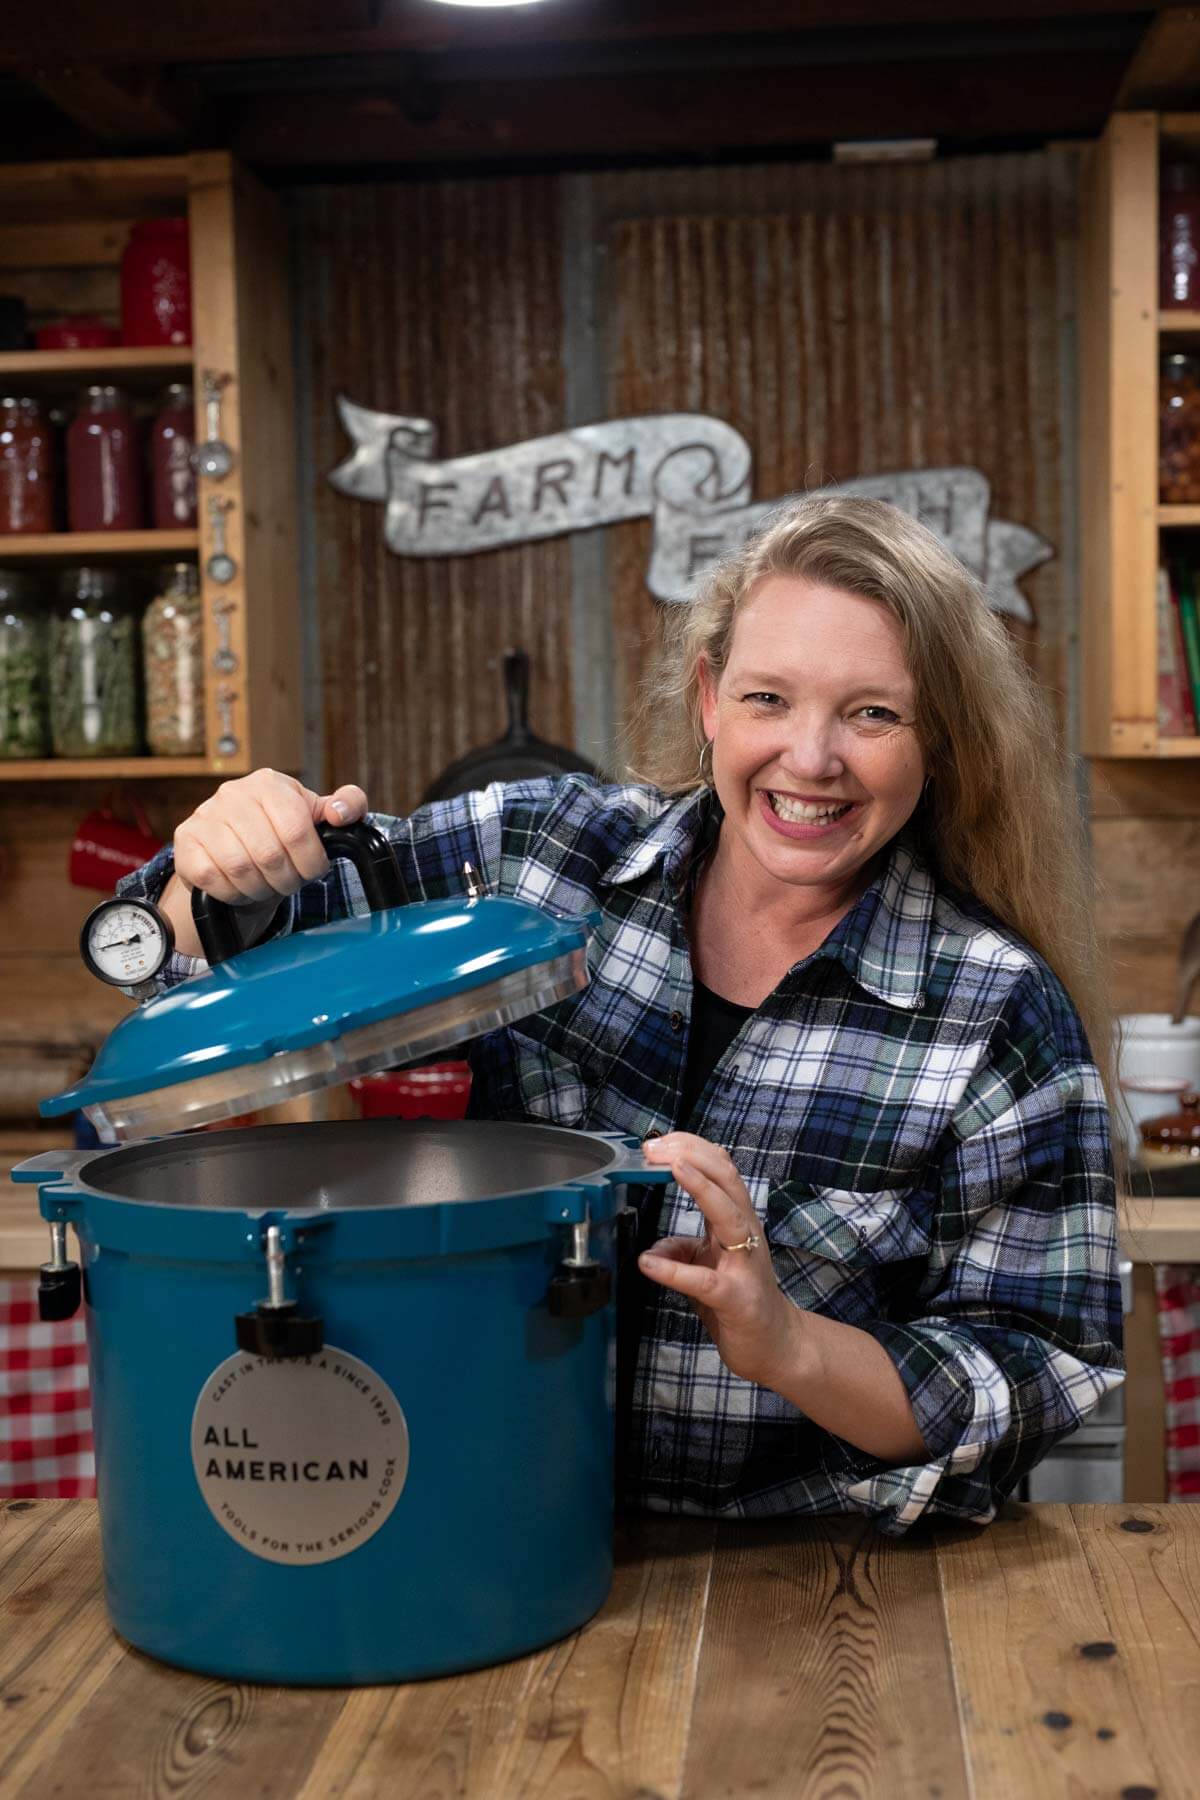
You Don’t Need Fancy Equipment

You don’t need a fully stocked commercial kitchen to can safely.
For water bath canning, you can use:
- A simple stock pot
- Enough water to fully cover jars
- A rack or towel to keep jars off the bottom
It’s not about having the fanciest tools.
It’s about following the right process.
How to Build Confidence in Your Canning
Confidence doesn’t come from years of experience alone.
It comes from knowing that you followed a safe, tested method.
When you use trusted recipes, follow processing times exactly and choose the correct canning method, you can look at every jar on your shelf and know it's safe.
No guessing. No second-guessing. Just confidence.
Confident Canner Pack & 2-Jar Challenge
Start Canning Without the Overwhelm
If canning has always felt intimidating, this FREE challenge is for you. We’ll focus on one simple recipe, one easy process, and just two jars, so you can learn without fear or overwhelm.
You'll get FREE, step-by-step guidance for a high-acid, beginner-friendly recipe and my calm, no-pressure approach. Plus, you'll gain access to the Confident Canner Pack filled with charts and checklists so you can know you're following safe canning practices, every time you can.
FAQ

A pressure canner that hasn't been tested can give an improper reading, making you think it's coming up to pressure, but it's not. This means it may not kill bacteria, resulting in unsafe food. It's important to check and keep your canner in good shape. This keeps your food safe.
A good seal keeps air and bacteria out. Without it, food can spoil and be dangerous. Always make sure to seal your jars well.
Botulism is hard to spot by taste, smell, or sight. You can't always tell that botulism is lurking inside your jar. But you can look for bulging lids and leaks, and always follow proper canning methods.
Water bath canning is for high-acid foods. Pressure canning is for low-acid foods. Mixing methods can be unsafe. Knowing which to use is important for safe canning.


