


Take your corn from the garden to the pantry shelf in just over 24 hours! Learn how to freeze dry corn and turn it into a delicious cream corn recipe that's a family favorite.
How to Know When Corn is Ready to Harvest
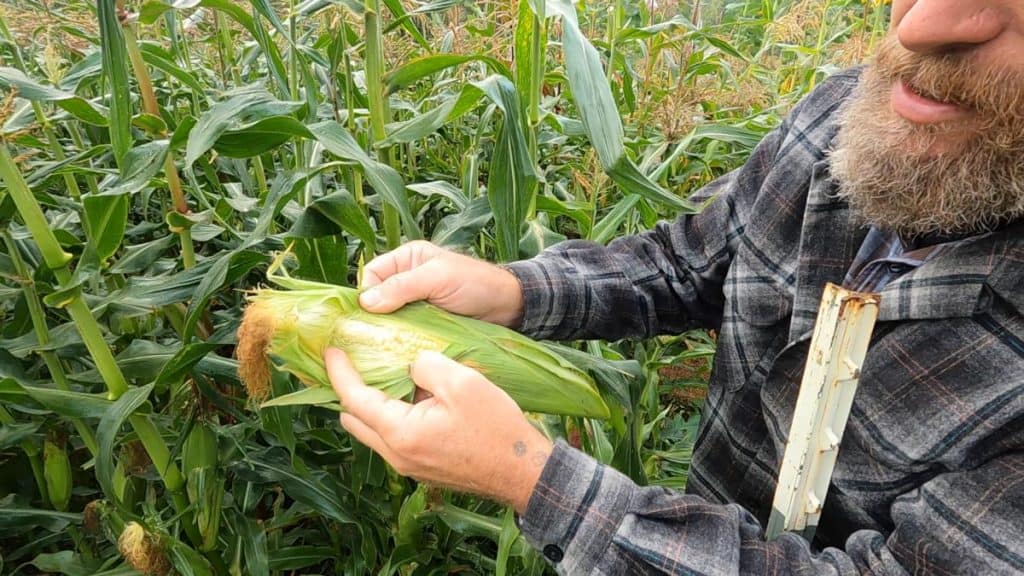
Before you pick your corn off the stalk, you want to make sure it's fully mature and ready. To know if your corn is ready to be picked, you need to make sure the silk coming out from the top of the corn looks brown and wilted, not yellow or green.
Second, the corn cob should look filled out, meaning the husk is tight around the corn cob.
Third, you can gently peel back the top of the husk to reveal the corn; if the kernels are developed all the way to the tip of the cob, it's ready for picking!
However, as was the case in the video above, we were facing frost followed by a lot of rain, so we had to pick our corn whether it was ready or not!
What Is Freeze Dried Corn?
Freeze dried corn is not the same as dehydrated corn. It is fresh corn that has been frozen and had the frozen water removed from the corn during the freeze drying process.
The Harvest Right freeze dryer uses low pressure to drive the frozen water out of the food in gas form, preserving the food and retaining the natural color of the food as well. (Check out our Harvest Right Freeze Dryer 1 year review.)
Read freeze dried vs. dehydrated foods to learn more about the differences between the two.
Is Freeze Dried Corn Good?
Yes! Freeze dried corn that's been rehydrated tastes like freshly cooked corn. Here are six different methods for rehydrating freeze dried foods.
When you can or dehydrate food, a lot of the vitamins and nutrients are diminished, but by freeze drying, nearly 98% of the vitamins, minerals, and other nutrients stay intact.
Freeze drying food is quickly becoming one of our favorite preservation methods because of the nutrients that remain in the food once rehydrated. We enjoy freeze dried berries, freeze dried zucchini, freeze dried avocados, freeze dried milk, freeze dried potatoes, freeze dried garlic, and even freeze dried chicken pot pie.
There aren't many foods that cannot be freeze dried.
How Long Does it Take to Freeze Dry Corn?
Freeze dried corn takes about 24 hours in the Harvest Right freeze dryer. You can choose to pre-freeze your corn ahead of time, however, this isn't necessary as the machine will do that for you.
How to Freeze Dry Corn
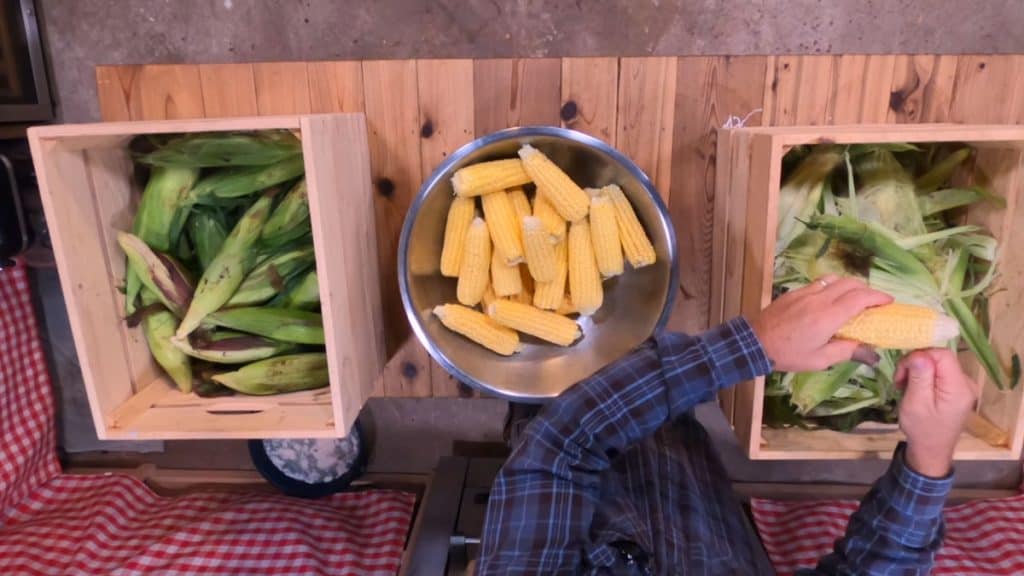
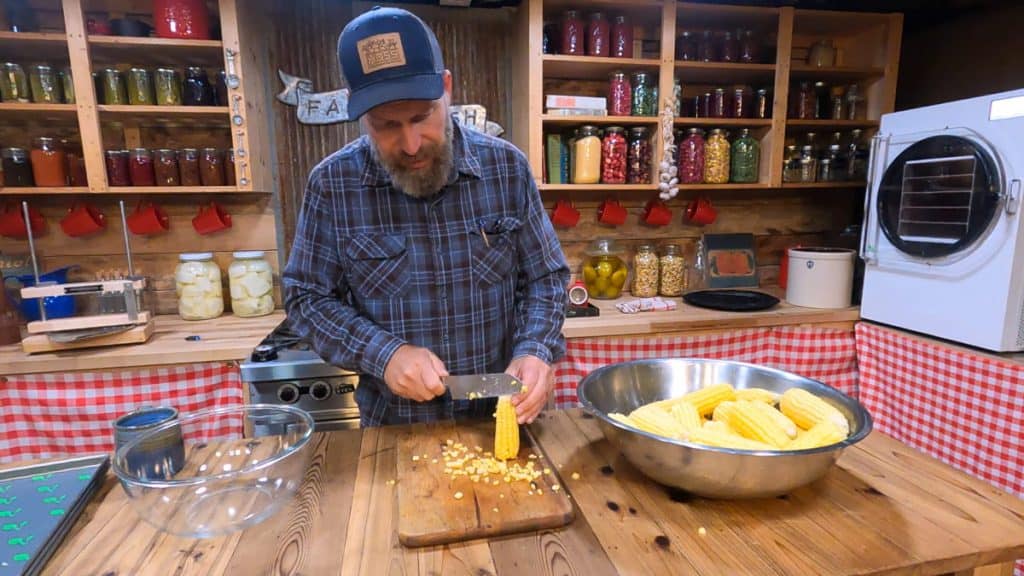
- Once your corn has been harvested and shucked, you want to remove the kernels from the cob just by using a knife and cutting them away.
- Place corn kernels into a large glass bowl and continue until all corn is off the cob.
- We have the larger Harvest Right freeze dryer, so we can fit about 12-13 ears of corn per tray.
- Because we're freeze drying the corn to use for multiple recipes, later on, we're not going to blanch or flavor the corn ahead of time. We want to leave ourselves options for using the freeze dried corn such as corn chowder, as a side dish, or even turned into the cream corn recipe below.
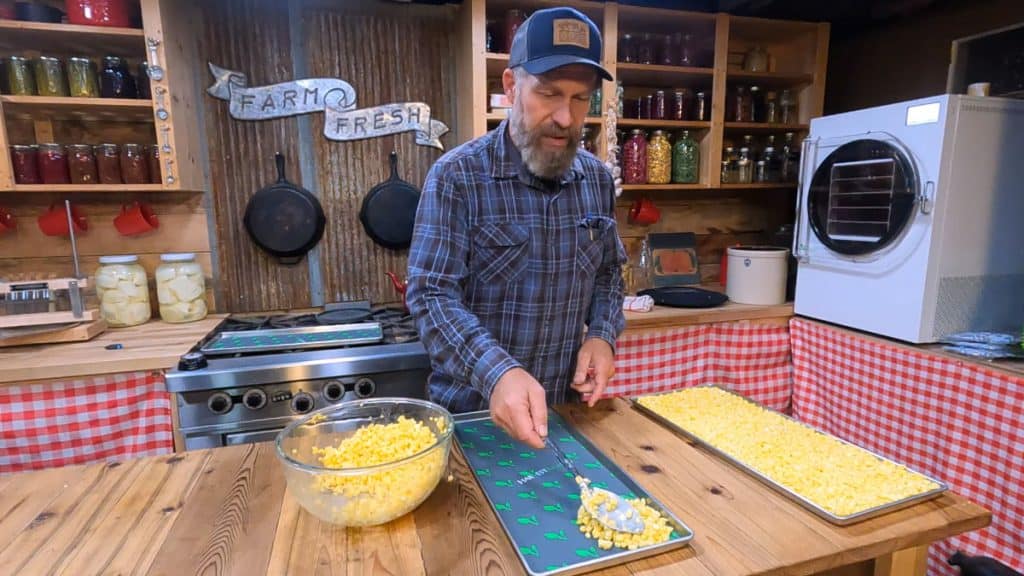
- Place a Silpat mat onto each freeze dryer tray and fill with the corn kernels. You can really fill these trays, but you don't want to have corn higher than the edge of the tray itself.
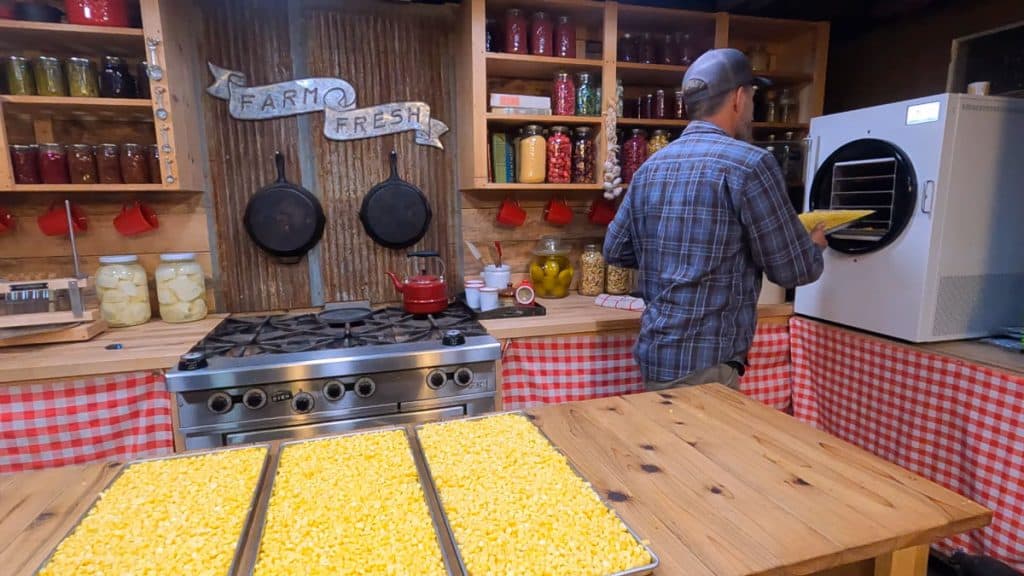
- Put corn into the freeze drying unit and follow the instructions that came with your model (times or settings may be different depending on the size of your unit).
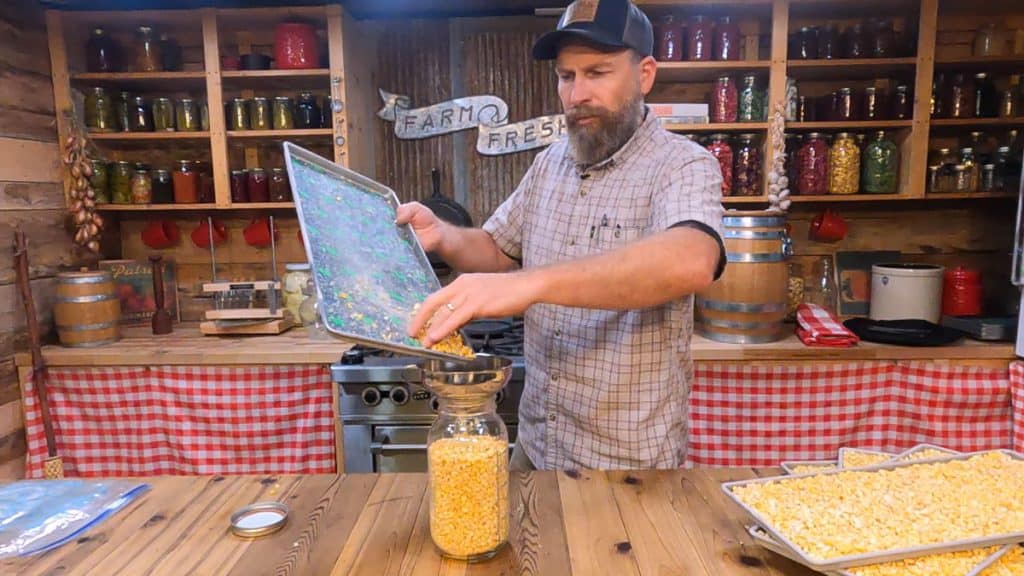
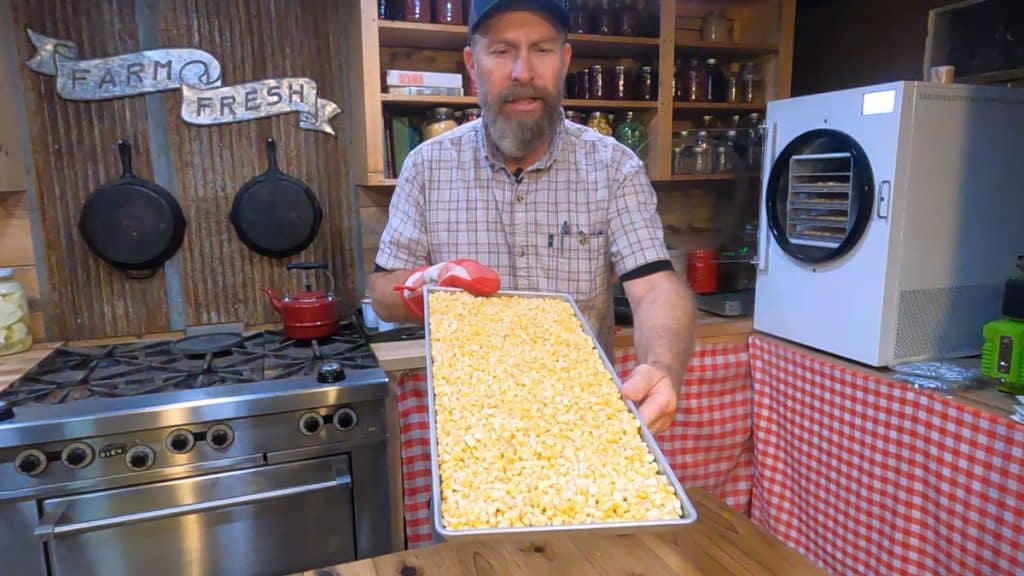
- After about 24 hours the corn should be done. (TIP: The machine will let you know when it is done!) Carefully remove the trays from the freeze dryer, using a potholder if necessary as the trays may still be very cold.
- Place corn into half-gallon Mason jars, mylar bags, or a 5-gallon food-grade bucket with a Gamma-Seal lid and toss an oxygen absorber in to help prolong the shelf-life.
Now that your corn is preserved for long-term storage, how will you use it? The quick answer is to rehydrate it and use it just as you would fresh corn, but if you're still looking for a great dish, try it in this creamy corn pudding recipe or Carolyn's cream corn recipe below!

Maximizing Your Freeze Dryer
Have you ever wondered what else you can preserve with a freeze dryer?
Carolyn reveals the answer to this and so much more in my book Freeze Drying the Harvest: Preserving Food the Modern Way and her Freeze Drying Masterclass. From wild game to watermelon and milk to mashed potatoes — you’ll learn the ins and outs of preserving more food than you thought possible.
These resources can be purchased separately or as companions, so whether you choose the book or the masterclass, you will receive all the information you need to gain the confidence and skills you need to preserve meat, eggs, veggies, fruit, herbs — and yes, even lattes!
More Posts You May Enjoy
- Freeze Dried vs. Dehydrated Foods (What’s the Difference?)
- How to Freeze Dry Strawberries
- How to Freeze Dry Milk
- How to Freeze Dry Eggs
- Freeze Dried or Frozen Chicken Pot Pie
- Freeze Dried Avocados (+ Freeze Dried Guacamole)
- Freeze Dried Potatoes
- Freeze Dried Dog Food

Bonus Cream Corn Recipe
Below is the cream corn recipe I demonstrated in the video. This recipe uses our freeze dried corn and tastes incredible. As I mentioned, depending on your corn your ratios and ingredients may vary. So always start with the smaller recommendations and add more as needed.
Did you make this recipe? If so, we'd love for you to give it a star rating on the recipe card below! And if you've freeze dried your own corn, or made this cream corn recipe, snap a photo and tag us on social media so we can see @homesteadingfamily.
Cream Corn Recipe (Using Freeze Dried Corn)
Ingredients
- 3 cups heavy cream
- 4 cups freeze dried corn
- 2 Tablespoons butter
- 1 teaspoon salt or to taste
- ¼ teaspoon black pepper or to taste
- 1 cup milk more if needed
- 2 Tablespoons flour more if needed
- 1 cup bacon cooked and chopped
- 1 cup onions diced and sauteed
- ¼ cup parmesan grated
Instructions
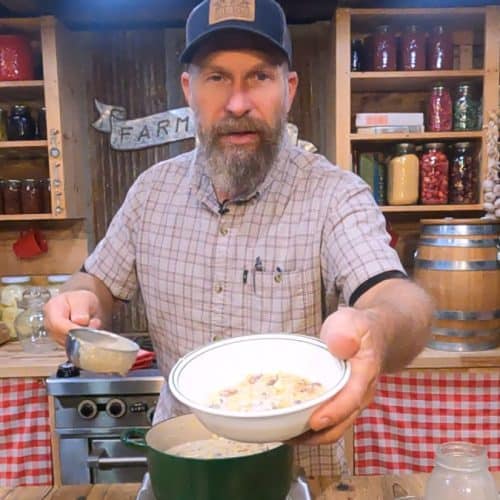
- Add freeze dried corn and cream together in a large pot. Turn heat to medium and cook until the corn is completely rehydrated.
- Add butter, salt, pepper, milk and flour and stir to combine (adding more milk, if needed).
- Once the corn begins to thicken, stir in cooked bacon, sauteed onions and parmesan cheese.
- Continue stirring until cream corn is thickened to your liking, taste and adjust seasonings.
- Serve and enjoy!


