
Are you in a season where you don’t have time to feed your starter and make bread regularly? You can stall the growth of your starter when it’s stored in the fridge, but you can bring it to a complete stop when you learn how to store a sourdough starter.
Read on to learn how to preserve your favorite sourdough starter recipe and how to bring it back to life whenever you need it!
Why You Should Learn How to Store a Sourdough Starter
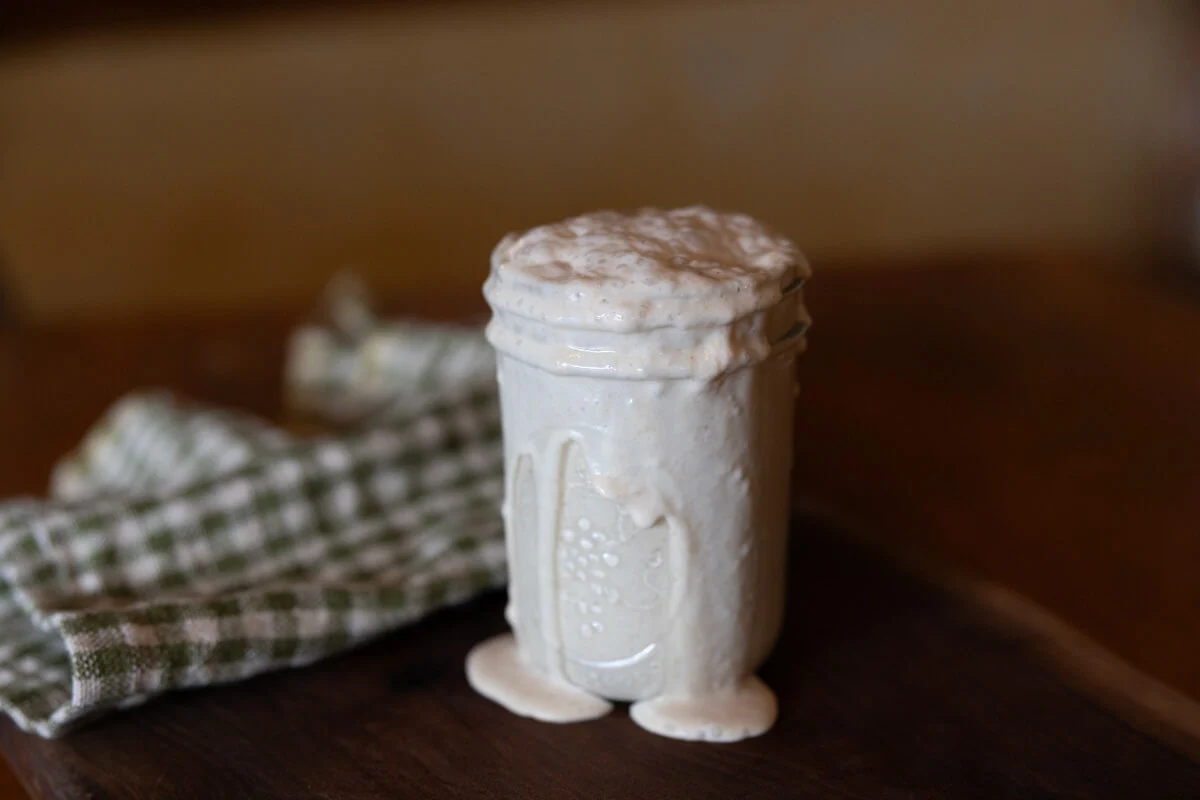
There’s nothing like a loaf of homemade sourdough bread fresh from the oven. If you have experienced the taste and texture of true sourdough bread, you know what I mean.
Sourdough success didn’t always happen in my kitchen, but through my journey, I made a list of things to know before baking with sourdough and the top sourdough mistakes to avoid to help shorten your learning curve.
These tips will put you well on your way to making sourdough Parker house rolls, easy sourdough pancakes, and from-scratch sourdough brownies in no time.
Once you settle into a routine, you will find ways to incorporate sourdough into your everyday cooking. Yet, there are circumstances when you may need to put your starter to sleep.
- Busy Seasons - Busy seasons in life, such as a move, the birth of a new baby, recovery from surgery, etc., are bound to happen. Putting simple tasks on hold can help reduce stress in these times.
- Gifting - A sourdough starter makes a wonderful gift to share with friends, family, and neighbors, and a preserved starter allows them to start their sourdough journey when they are ready.
- Shipping - Before learning how to store a sourdough starter, I was limited to sharing it with local family and friends. Now, I can ship a gift across the country.
- Side Income - Some homesteaders make a business out of selling sourdough starters at local farmers' markets. A preserved starter allows sales to expand to a web-based business as well.
- Heirloom - Some families have a tradition of passing a sourdough starter on from generation to generation. A well-intended gift may feel like a lot of pressure to an inexperienced baker when keeping an heirloom like that alive. Yet, learning how to store a sourdough starter alleviates that pressure to restore the enjoyment the tradition was meant to bring.
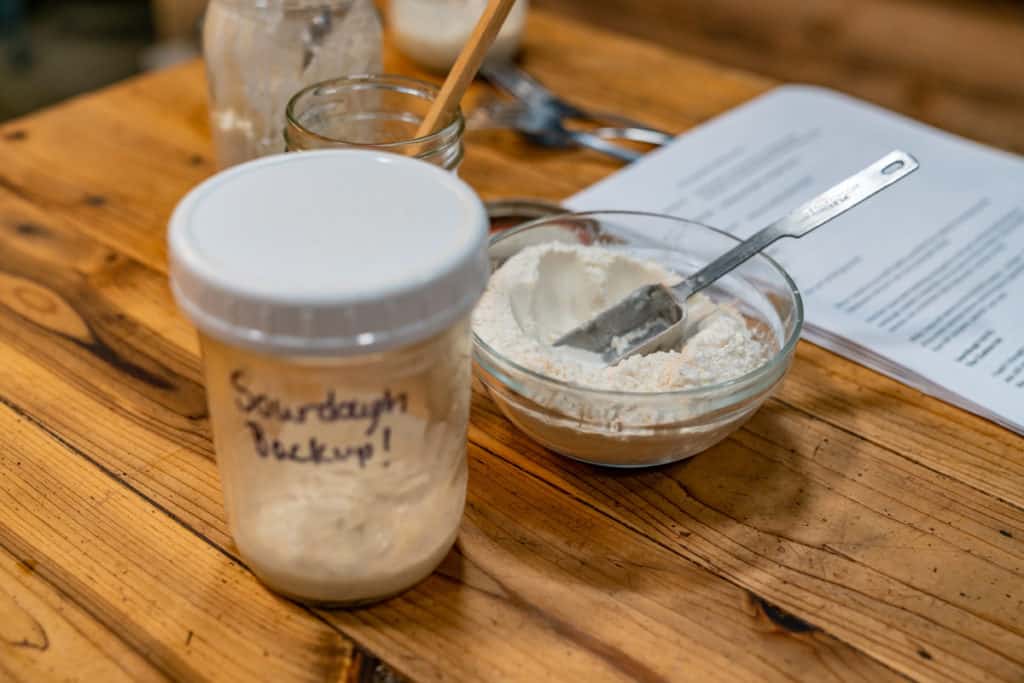
- Backup Starter - It's realistic to expect things to go wrong when you're just starting out with sourdough. If your starter dies, you can have a stored backup starter waiting to save the day.
How Long Does a Sourdough Starter Last
Properly storing your preserved sourdough starter can remain viable for up to a year or more, depending on the desired preservation technique. Heat is the enemy of sourdough cultures, so be aware of the storing temperatures you use.
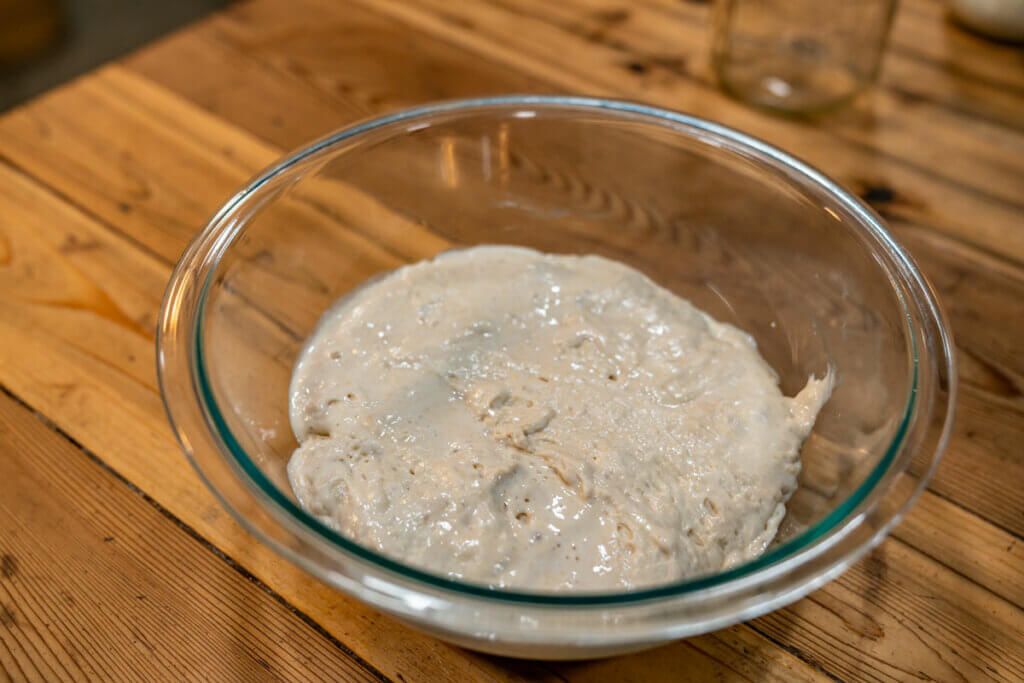
- Countertop - You can store your starter at room temperature, but it will require regular feedings 12-24 hours apart to keep it viable.
- Refrigeration - When you store your starter in the fridge, keep it in an airtight container and feed it weekly. The starter will be sluggish when revitalizing and may form a gray or brown liquid on top (called hooch); it will also look inactive. Each week, take it out, give it a good stir, and feed it. It can last for months and still come back with a little TLC.
- Dried - Drying the starter and storing it in an air-tight container with an oxygen absorber will keep it for months and even up to a year or more. I've even heard of people drying their starter and storing it in the freezer to prolong the shelf life.
- Freezer - You can freeze your starter in silicone ice cube trays or silicone-lined cupcake pans and transfer it after it’s frozen to an airtight freezer-safe container with an oxygen absorber for up to a year.
- Freeze Dried - Freeze dried sourdough starter is the best option for long-term storage. It has a long shelf-life of several years when stored in a dark, dry place with temperatures below 70°F.

Ways to Dry a Sourdough Starter
A few different methods can be used to preserve your sourdough starter:
- Air Dry - The air dry method is the most basic method, requiring little equipment. Simply feed your starter, then spread it in a thin layer on parchment paper or a silicone mat with a rubber spatula. Let it dry completely at room temperature for a few days. Homesteading Hack: If you live in a humid climate or want to speed up the process, use a fan blowing circulating air toward the trays; it will dry even faster.
- Dehydrator/Oven - Using a dehydrator or oven will help speed up the process. Spread your freshly fed starter thinly on a baking sheet with parchment paper. Place in the dehydrator at no more than 110°F (95°F is ideal) and dry for about 24 hours. Placing the sourdough starter in the oven overnight with just the oven light on works well, too, or if you have a "warm" setting to keep it at about 100°F. Homesteading Hack: Use an oven thermometer to check the temperature. The last thing you want to do is cook your starter!
- Freeze Dryer - If you own a home freeze dryer, this is my preferred method to preserve starter cultures and give your starter the longest shelf life. Spread your freshly fed starter on the parchment-lined freeze drying tray about ¼” thick. Pre-freeze overnight, then set the freeze dryer for the recommended temperature and time (decrease the drying temperature to 95°F). Once done, check it to make sure it's completely dry. If it’s cold to the touch, put it back in the freeze dryer for 1-2 hour increments until fully freeze dried.

How to Store a Sourdough Starter
- Air Dry Method - Crumble the dried starter into small pieces by hand or powder with a food processor and place into a glass jar with a tight-fitting lid or in a Mylar bag. Label the jar or bag with the amount and date, add an oxygen absorber, and vacuum steal it. Store it in a dark, cool place until use.
- Dehydrator/Oven Method - Crumble the dried starter by hand into small pieces or powder with a food processor and store it in an airtight glass jar or a Mylar bag. Label the jar or bag with the date and amount of starter, pop an oxygen absorber inside, then vacuum seal. Store in a cool, dry area until you're ready to bake with it.
- Freeze Dryer Method - The freeze dried sourdough starter will be rock hard, and making it into a powder with your food processor works best. Place the powder in an airtight jar with a tight-fitting lid or a Mylar bag. Label the jar or bag with the amount and date, add an oxygen absorber, then vacuum seal. Store it in a cool, dark place away from humidity.
How to Revive a Dried Sourdough Starter
To revive your preserved sourdough starter:
- Add one part dried sourdough starter and 3 parts room temperature water by volume (ex: 1 tablespoon dried starter to 3 tablespoons water) in a container (like a pint-sized Mason jar).
- Once the starter is rehydrated, add two tablespoons of all-purpose flour (or other preferred flour) and stir to combine.
- Once fully combined, pop on a lid and store on the counter.
- Resume regular sourdough feedings. Your starter is ready to use when it doubles in volume a couple of hours after feeding.

The Art of Homemade Bread
Now that you know how easy it is to preserve a sourdough starter, you never have to worry about losing your sourdough starter again!
If you are ready to learn more, join me in my homemade breadmaking workshop. In this FREE training, I will teach you the essential techniques for making bread, how to make consistently great bread, and how to craft healthy and delicious bread that nourishes the body.
You’ve got nothing to lose and knowledge with proven techniques to gain, so let’s get baking!

Other Articles You May Enjoy
- How to Make Sourdough Starter
- Baking with Freshly Milled Flour (Home Flour Milling)
- True Sourdough Bread vs. Commercially Prepared Bread
- 10 Surprising Foods You Can Freeze Dry (Like Sourdough Starter!)
- 7 Sourdough Mistakes You Might Be Making
- 33 Things I Wish I Knew BEFORE Baking With Sourdough
- Parker House Rolls Made With Sourdough
- The Best Fudgy Homemade Sourdough Brownies (pictured above!)


