
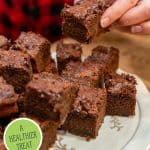
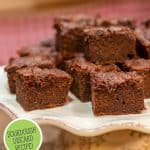
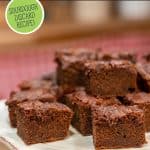


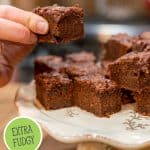


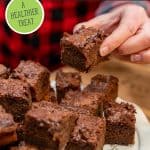
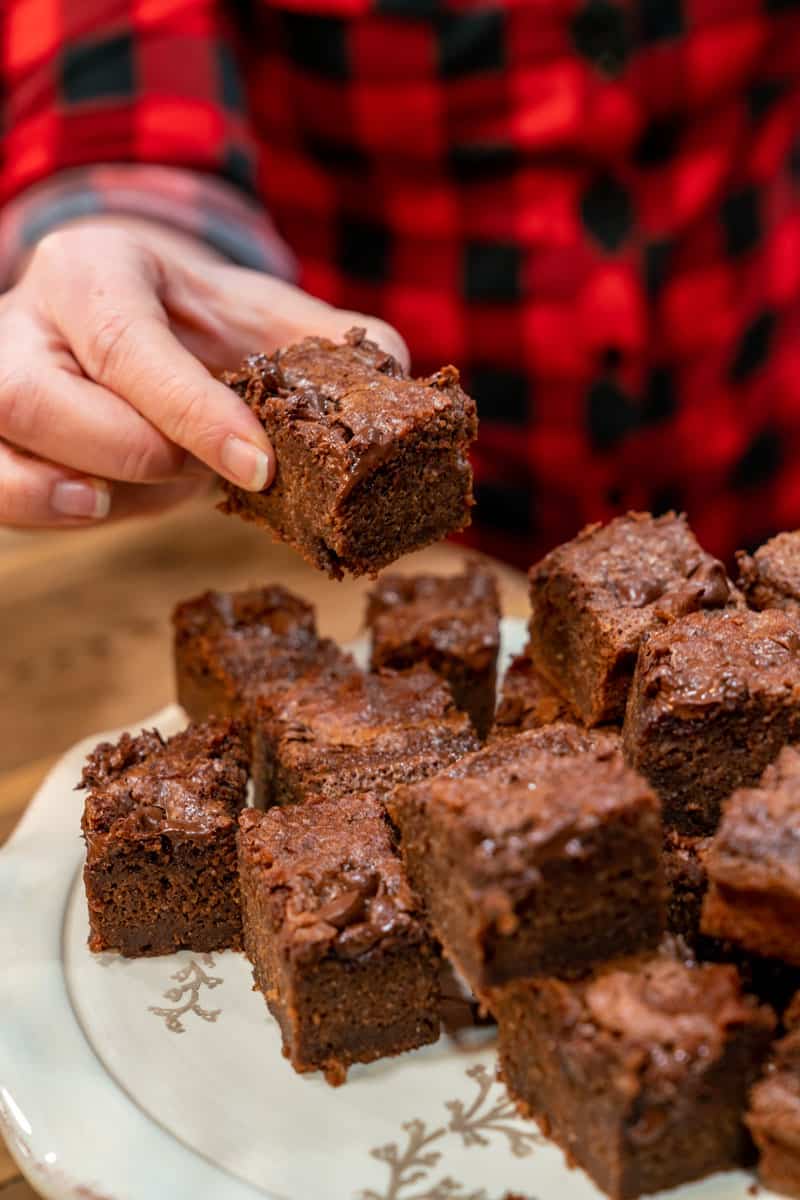
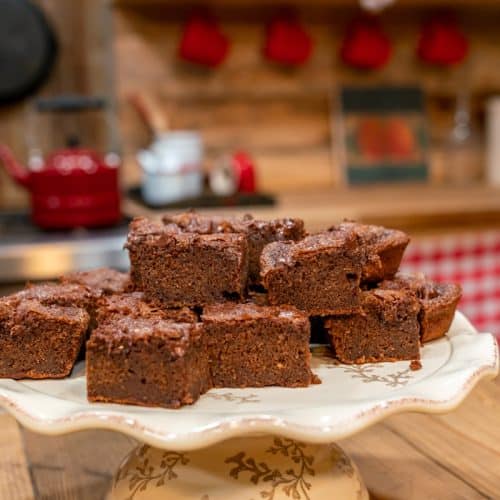
Once you have learned how to make sourdough starter, sometimes you have a lot of discard to use up. These fudgy sourdough brownies are the perfect sourdough discard recipe, plus it's a healthier spin on regular brownies and we even have a gluten-free sourdough option!

Why I Love This Recipe
- It's sourdough! Which means it's just plain better for you. So many people today have a hard time digesting our modern wheat, so utilizing the pre-digestive powers of sourdough means an easier time on our tummies. Plus, if you have a homemade sourdough starter, you also have a lot of discard! Don't throw that discard out; bake with it by whipping up these easy sourdough pancakes, soft sourdough discard tortillas, and, of course, these fudgy brownies.
- One bowl recipe - The entire recipe comes together in just one bowl! Sure, I have all the ingredients measured out in smaller bowls, but that's purely optional and you can actually just dump each ingredient into the large bowl. This means less cleanup for a tidier kitchen!
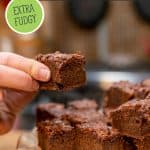
- Super fudgy - If you saw my post on the seven pantry staples I'm never without, you know that my bonus staple was CHOCOLATE! That means I'm able to whip together these brownies anytime for a delicious treat my whole family will love.
Ingredients Needed
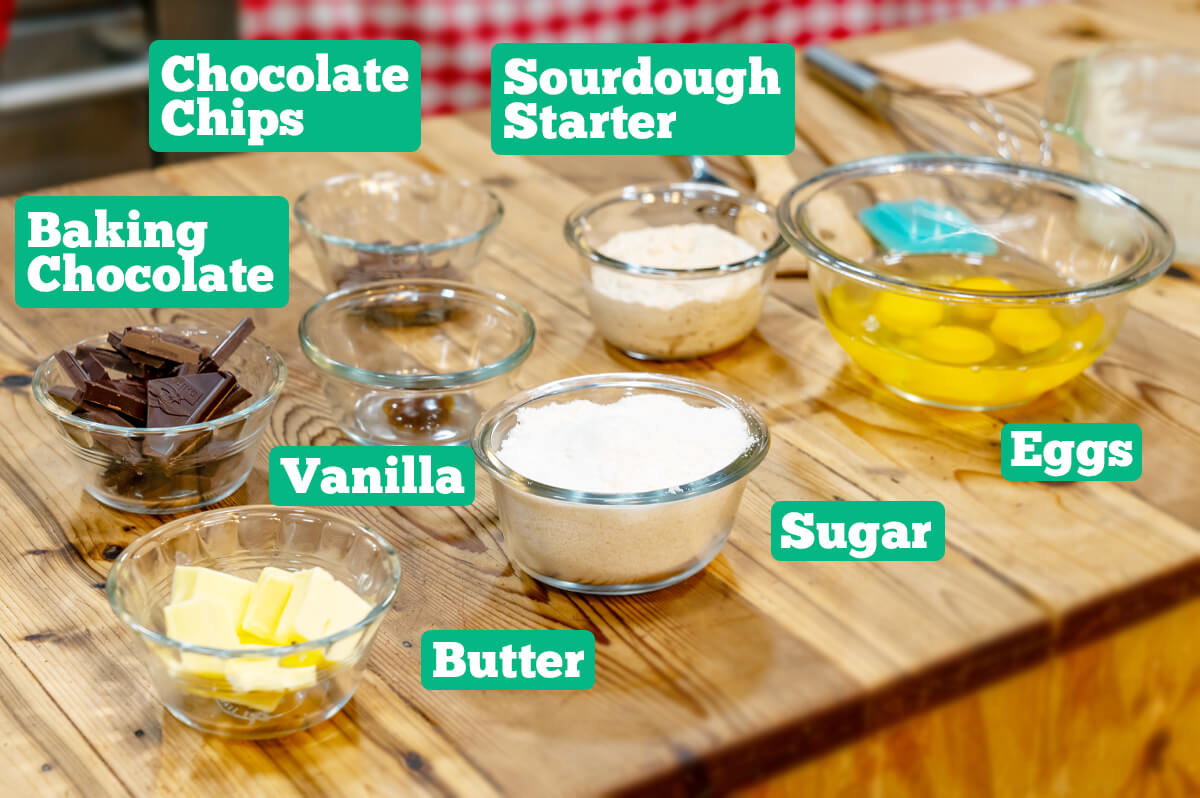
For a full list of ingredients, including measurements, check out the recipe card below.
- Sourdough starter - This can be an immature or mature starter as the sourdough isn't actually acting as a rising agent in these brownies. You'll want to be sure your starter has been fed within 12 hours and is at room temperature (cold starter from the refrigerator might seize up the chocolate).
- Butter - Use real butter for this recipe! Many brownie recipes call for vegetable oil, but we prefer the flavor of real homemade butter or even lard we have rendered ourselves.
- Chocolate - what's a brownie without chocolate? You'll want two kinds of chocolate for this recipe; baking chocolate (or bittersweet chocolate) for the brownie batter, and semi-sweet or milk chocolate chips to top the batter half-way through baking.
- Vanilla - I use vanilla bean paste or this easy homemade vanilla extract recipe.
How to Make Sourdough Brownies
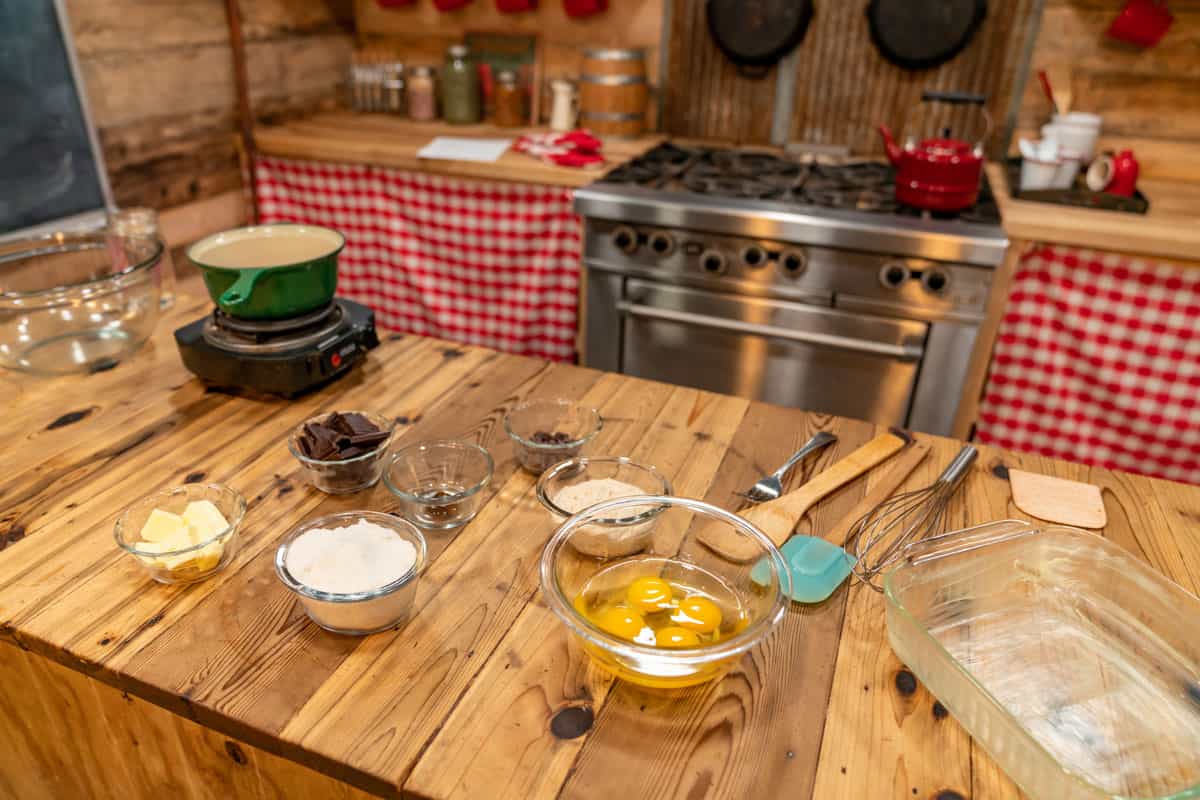
Step 1: To make this recipe whip together quickly, I like to measure out all my ingredients ahead of time. If you don't want to worry about dirtying up more dishes, then just have all your ingredients out with the correct measuring cups and spoons.
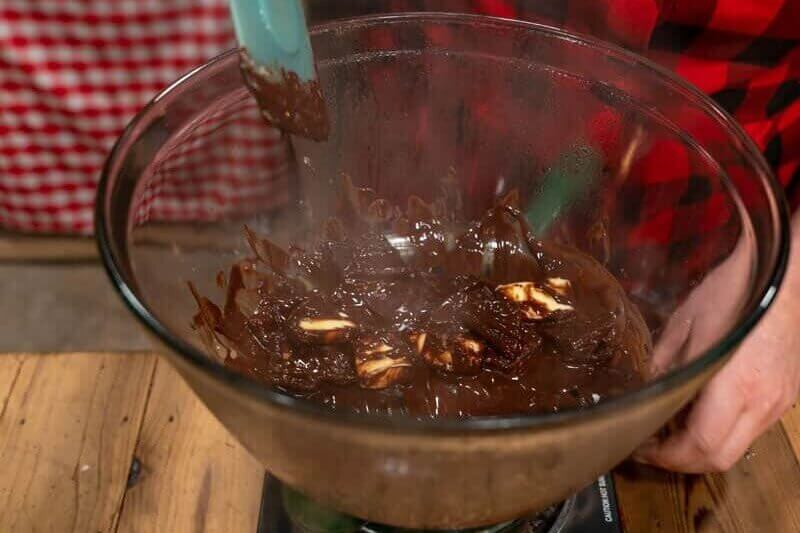
Step 2: You'll also need a double-boiler for the first step of this recipe, which is to melt together your butter and the bittersweet baking chocolate.
Fill a small saucepan halfway with water. Place a large glass bowl over the top of the pan, then add the chocolate and butter together, stirring occasionally until melted and smooth. Remove the bowl from the double-boiler.
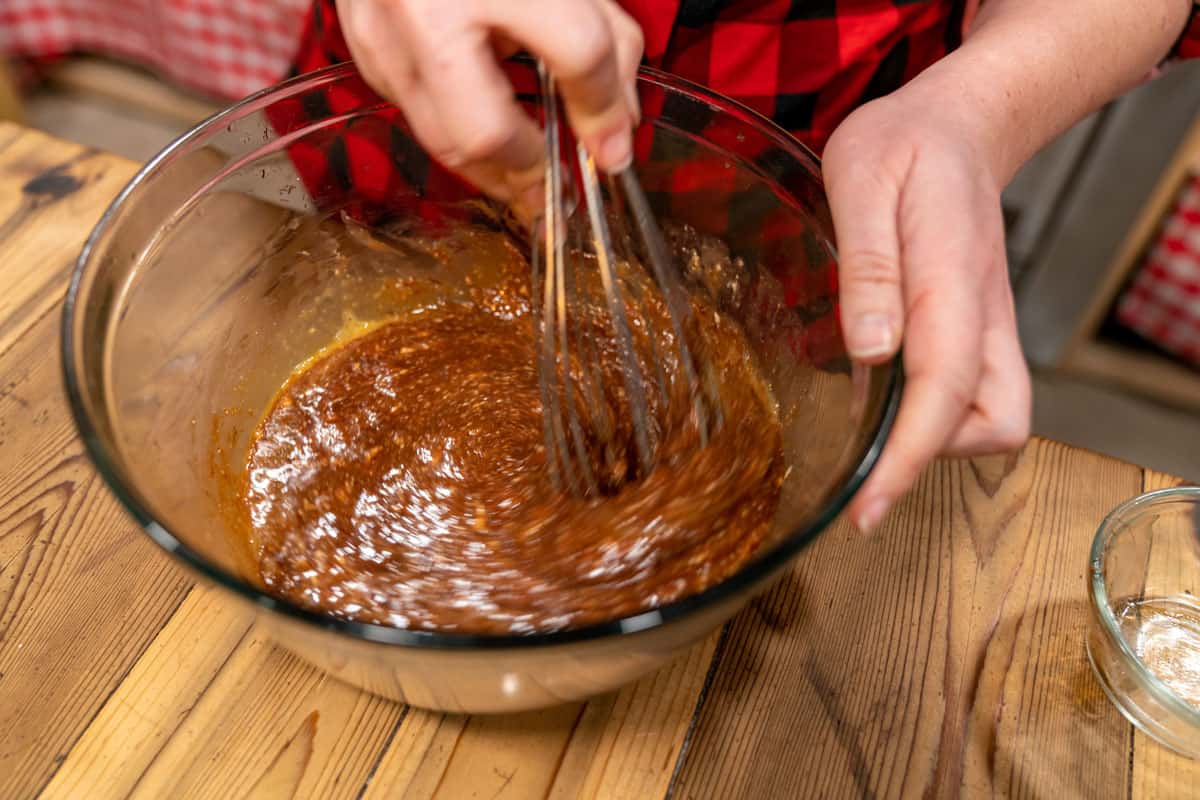
Step 3: Butter an 8x8 pan, and preheat the oven to 350 degrees. Add sugar and vanilla to the chocolate mixture and stir to combine. Add sourdough starter and eggs and mix well with a whisk until the batter is smooth.
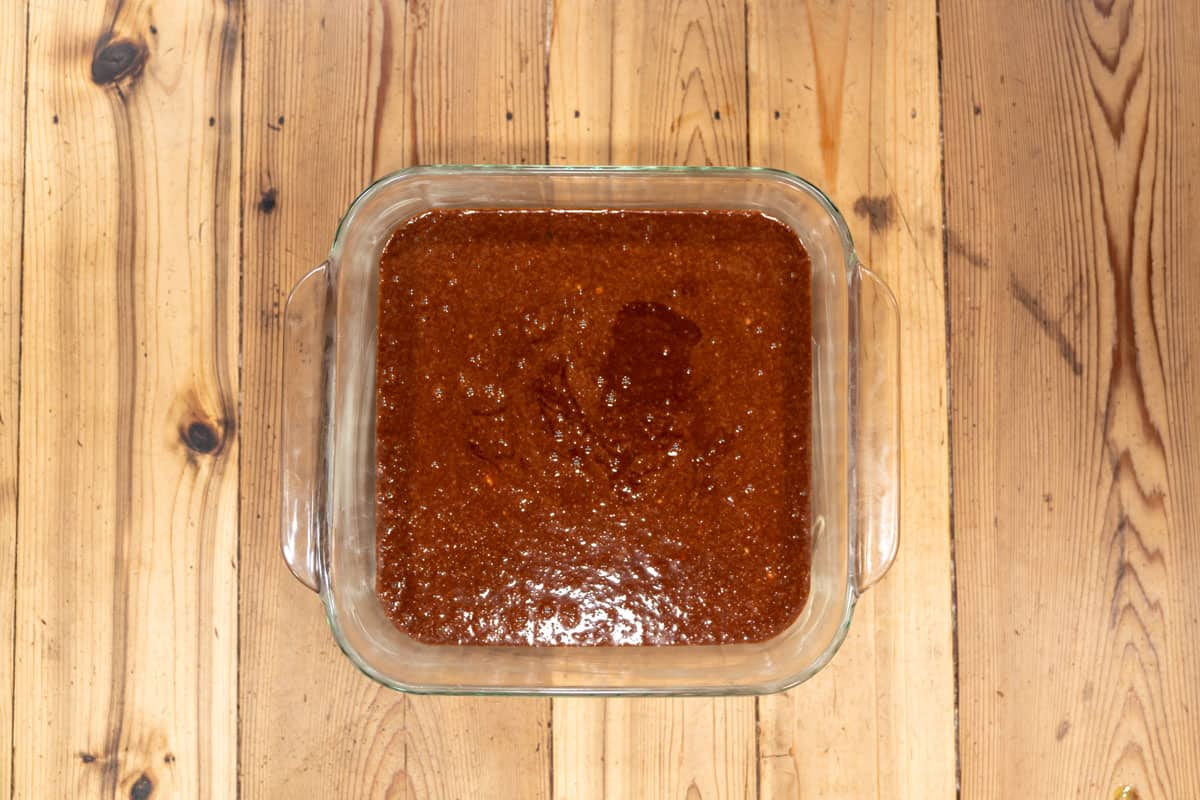
Step 4: Pour batter into the prepared pan and bake in the oven at 350 degrees for 10 minutes.
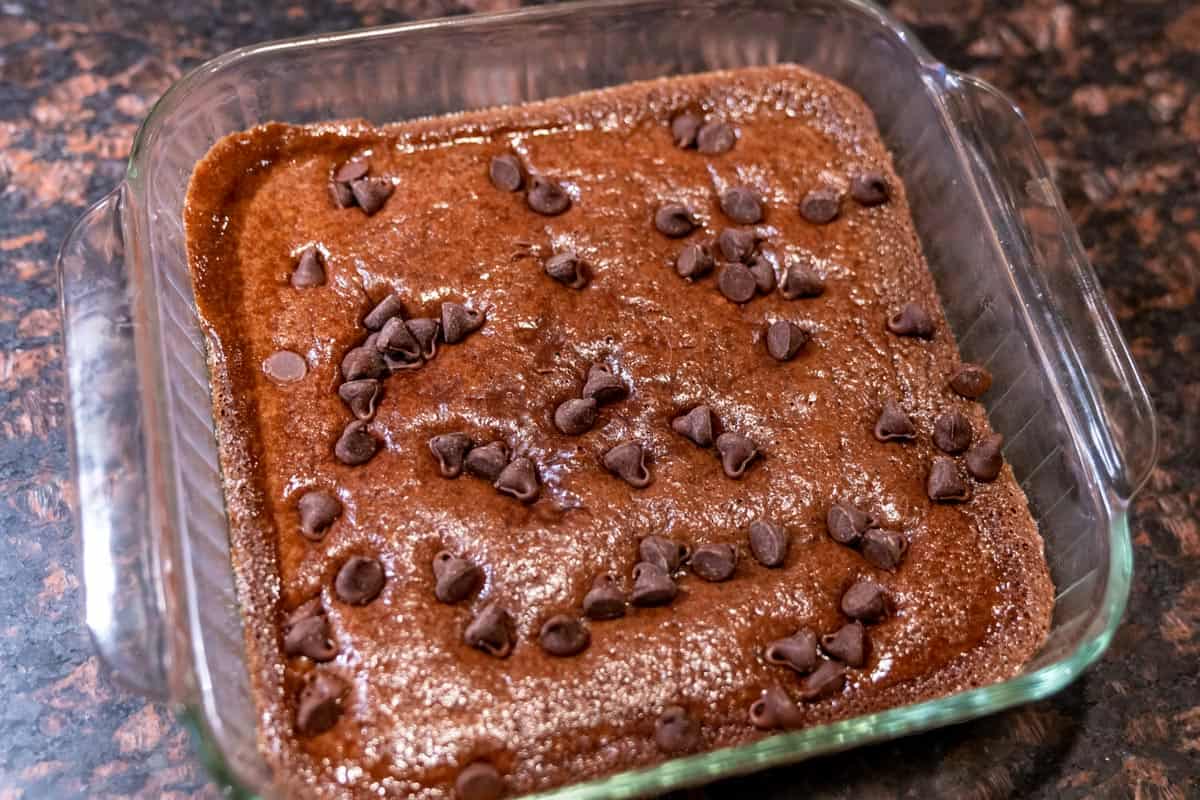
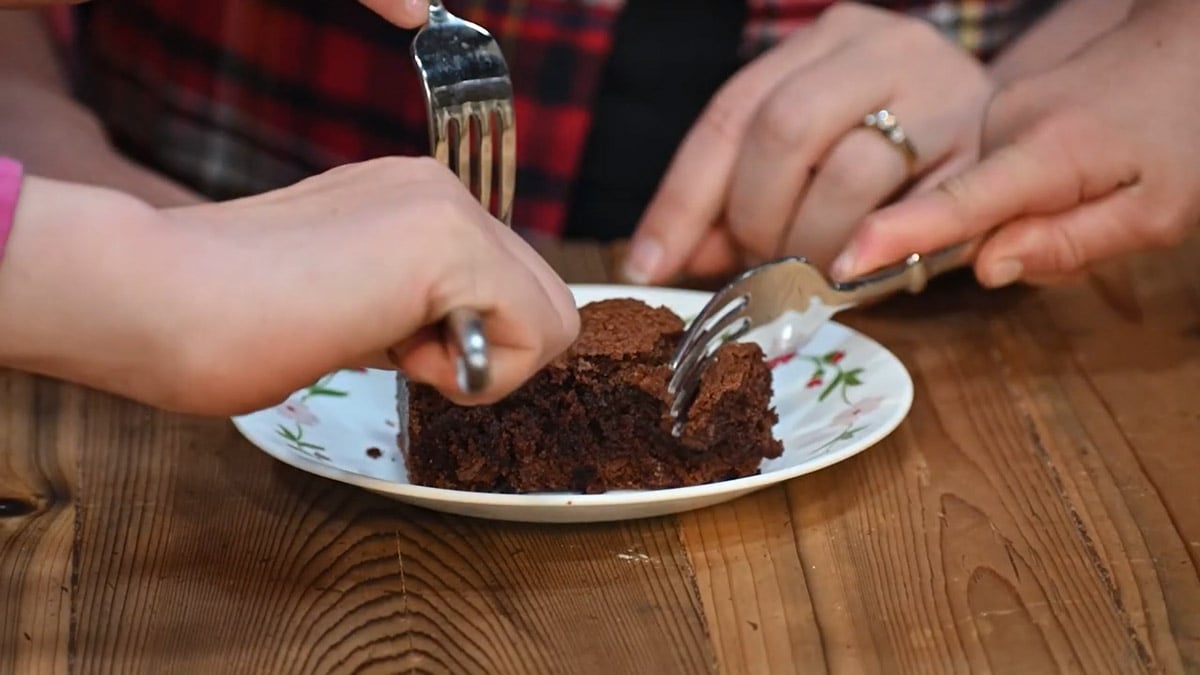
Step 5: After 10 minutes, remove brownies from the oven and top with chocolate chips, then place back into the oven and continue baking for about 15 minutes, or until baked through and a knife or toothpick inserted into the center comes out clean. Remove from oven and let rest for at least 10 minutes on a cooling rack. Slice and serve! (Our favorite is to serve this with homemade vanilla ice cream!)
Gluten-Free option! If you have a gluten-free sourdough starter, this recipe would work well (we love using rice flour for a sourdough starter!).
How to Store Brownies
Once brownies have cooled completely, store them in an airtight container for up to a week.
Some families may not want to eat an entire pan of brownies before they go bad (although I'm not sure who these families are!). But in case you're reading this, and you're one of them, you can absolutely bake them up and freeze them for later.
To Freeze Brownies: Once brownies have cooled completely, cut brownies into squares and wrap each piece in homemade beeswax wrap or plastic wrap. Store them all in an airtight freezer-safe container for up to 3 months.
Important Tips
If you don't already have a sourdough starter, then that's the first thing you'll want to get going. Learn how to make your own sourdough starter and how to properly store a sourdough starter.
If you're not sure how to do this, you can join The Art of Homemade Bread Masterclass where I walk you through exactly how to start your sourdough starter, feed and maintain it, plus share multiple recipes for getting started.
Be sure you also know the sourdough mistakes you might be making and learn how to avoid them. Plus, the 33 things I wish I knew before I started baking with sourdough.
FAQs
Because all ovens will bake differently, it's important to know how to tell when your brownies are done. You also don't want to over-bake your sourdough brownies because they'll be dry.
You'll know your brownies are done when a knife, inserted into the center of the pan comes out clean. The edges of your brownies will look set, but the center may appear slightly under-baked.
As the brownies cool, they'll continue to cook, which is why we recommend letting them cool completely (or at least 10 minutes) before cutting into them, otherwise they'll likely crumble and fall apart.
If you don't have bakers chocolate, you can substitute chocolate chips, however, you'll want to reduce the amount of sugar used in the recipe since bittersweet chocolate is unsweetened.
I haven't tested this method, so am unable to recommend measurements.
This is a true sourdough recipe, meaning there is no added flour. Many recipes that call for sourdough starter, then add additional flour without a "souring" time, are no longer true sourdough recipes.
The point of eating sourdough is that it's easier to digest. We don't want to change that by adding additional flour.
Absolutely! Use your favorite gluten-free sourdough starter for a completely gluten-free sourdough brownie recipe. These healthy black bean brownies are another gluten-free option for those who don't have a gluten-free sourdough starter on hand.
Did you make this recipe? If so, we’d love for you to give us a star ⭐ rating and your comments in the recipe card below. Also, we want to see your brownies, so tag us on social media @homesteadingfamily!
This post was featured in Homemade Christmas Gifts Guide.
Other Recipes You May Enjoy
Fudgy Sourdough Brownies
Ingredients
- 4 oz baking chocolate bitter sweet
- ¼ cup butter cubed
- ½ teaspoon vanilla bean paste or vanilla extract
- 1 cup evaporated cane juice or granulated sugar
- ½ cup sourdough starter fed within 12 hours
- 4 whole eggs beaten
- ¼ cup chocolate chips semi-sweet or milk chocolate
Instructions
- Create a double-boiler by filling a small saucepan halfway with water and placing over medium-high heat on the stovetop.
- Place a large glass bowl over the top of the saucepan, then add the chocolate and butter together in the bowl, stirring occasionally until melted and smooth.
- While the chocolate and butter are melting, butter an 8×8 pan, and preheat the oven to 350 degrees.
- Once chocolate and butter are melted and smooth, remove the bowl from the double-boiler.
- Add sugar and vanilla to the chocolate and mix well.
- Add sourdough starter and eggs and mix well with a whisk until the batter is smooth.
- Pour batter into your greased pan and bake in the oven, at 350 degrees, for 10 minutes.
- Remove brownies from oven, top with chocolate chips, then place back into the oven and continue baking for about 15-20 minutes, or until baked through and a knife, when inserted into the center, comes out clean.
- Remove brownies from the oven and let rest on a cooling rack for 10 minutes.


