
This easy recipe for homemade sourdough starter teaches you how to use water and a little bit of flour to create a natural yeast. Sourdough starter is wonderful for making homemade bread, sourdough pizza crust, sourdough dinner rolls, pastries, and more.
Discover ways you can use the discard with easy sourdough pancakes, this fudgy sourdough brownies recipe, and sourdough discard tortillas, too!
Why I Make Sourdough Starter
A great way to start baking bread is with a basic no-knead bread recipe. There are multiple ways to use no-knead bread dough, and it is a fantastic staple to keep on hand for those busy weeknights.
But did you know that just like fermenting vegetables, you can also increase the nutritional availability in your baked goods by fermenting wheat to make a sourdough starter? Sourdough works to partially neutralize phytic acid during the fermentation process. This process is also referred to as “predigestion,” making it easier for our bodies to absorb the nutrients and making homemade bread even more nutritious. (Source)
Store-bought bread usually isn't real sourdough and so it doesn't have these great health benefits.
I have been baking with sourdough for years, but I still remember the things I wish I had known before I started baking with sourdough and the top sourdough mistakes almost everyone makes. I advise reading through those blog posts before making this sourdough starter recipe from scratch.
The Art of Homemade Bread
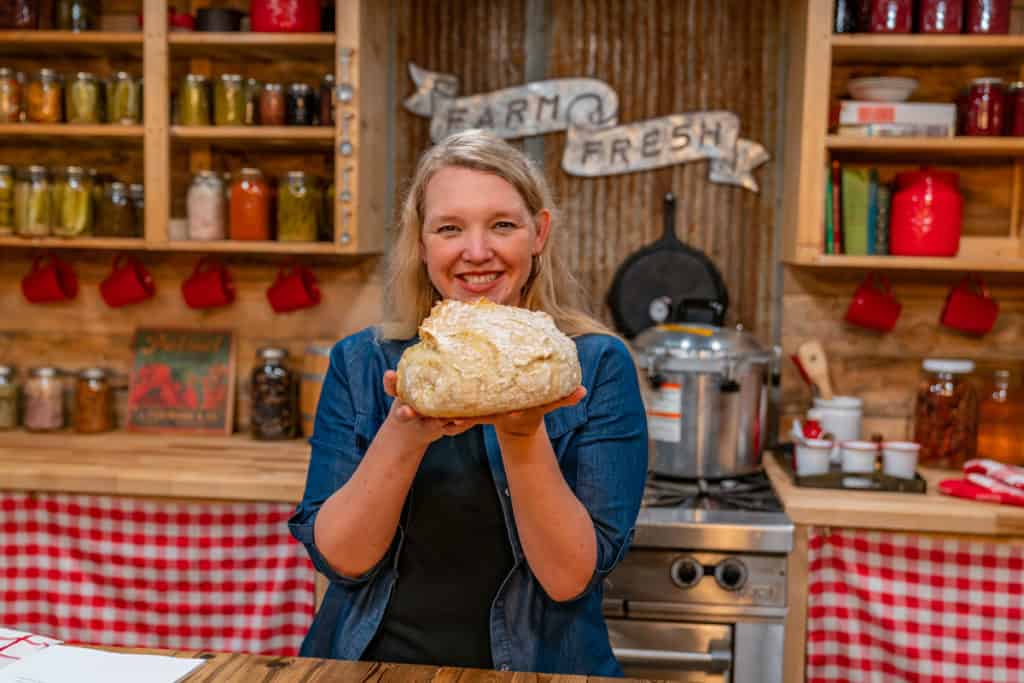
Another reason I love sourdough is that I love making homemade bread for my family. In fact, if you'd like to take your bread-making to the next level, I've put together an entire Masterclass, all on The Art of Homemade Bread.
Learning the secret to reliable bread so you can make consistently good bread at home is challenging, at best. The reason is simple… you can't make consistently good bread from a recipe; you have to know the techniques to "read the dough."
You can learn the techniques to make any recipe turn out light, fluffy and sliceable while still being 'superfood' healthy and amazingly delicious, every time you bake.
Check out The Art of Homemade Bread Masterclass now.
Is Sourdough Starter Just Yeast?
Sourdough starter is a living culture because it captures the wild yeast (microorganisms) floating in the air around us. It naturally occurs on our hands, fruits, and vegetables - anywhere air touches.
Wild yeast will feed on the carbohydrates; developing carbon dioxide and releasing alcohol and tiny gasses that give rise to bread without using commercial yeast.
I like that I can control the environment and know that ingredients of fresh ground flour and clean water are the base of my sourdough starter. The wild yeast brings about the bubbly activation and tangy flavor of sourdough-based recipes I make for my family.
What Is Feeding
Feeding the sourdough starter is adding measured parts of flour and water to the sourdough starter before and after using it in your recipes. It’s alive and active and needs attention to stay that way.
What Is Discard
Discard is removing half the sourdough starter from the jar before feeding it or after using it. Each time you remove the starter for use, you need to feed your starter for further activation.
It has been suggested by many to throw the discard away. I disagree with this method, as finding ways to stop wasting food is my first tip for saving money at the grocery store. Sourdough discard is a healthy, gut-friendly, fermented food and has many uses to promote steps towards a zero-waste home.
Sourdough discard is also a wonderful gift to give to a friend or neighbor so they can have an established sourdough starter. There are records of sourdough starters dating back over a hundred years. It's the gift that keeps on giving.
You will eventually run out of friends and neighbors to share with, but there are also several ways to use sourdough discard.
- Recipes - Try sourdough discard in these delicious homemade fudgy brownies, or make sourdough pancakes, muffins, biscuits, etc.
- Chickens - Chickens benefit from adding sourdough discard to their diet in the same way that making fermented chicken feed does.
- Compost Pile - When added to a compost pile, discard enhances the soil, which produces better garden vegetables.
When Is Sourdough Starter Ready for Baking
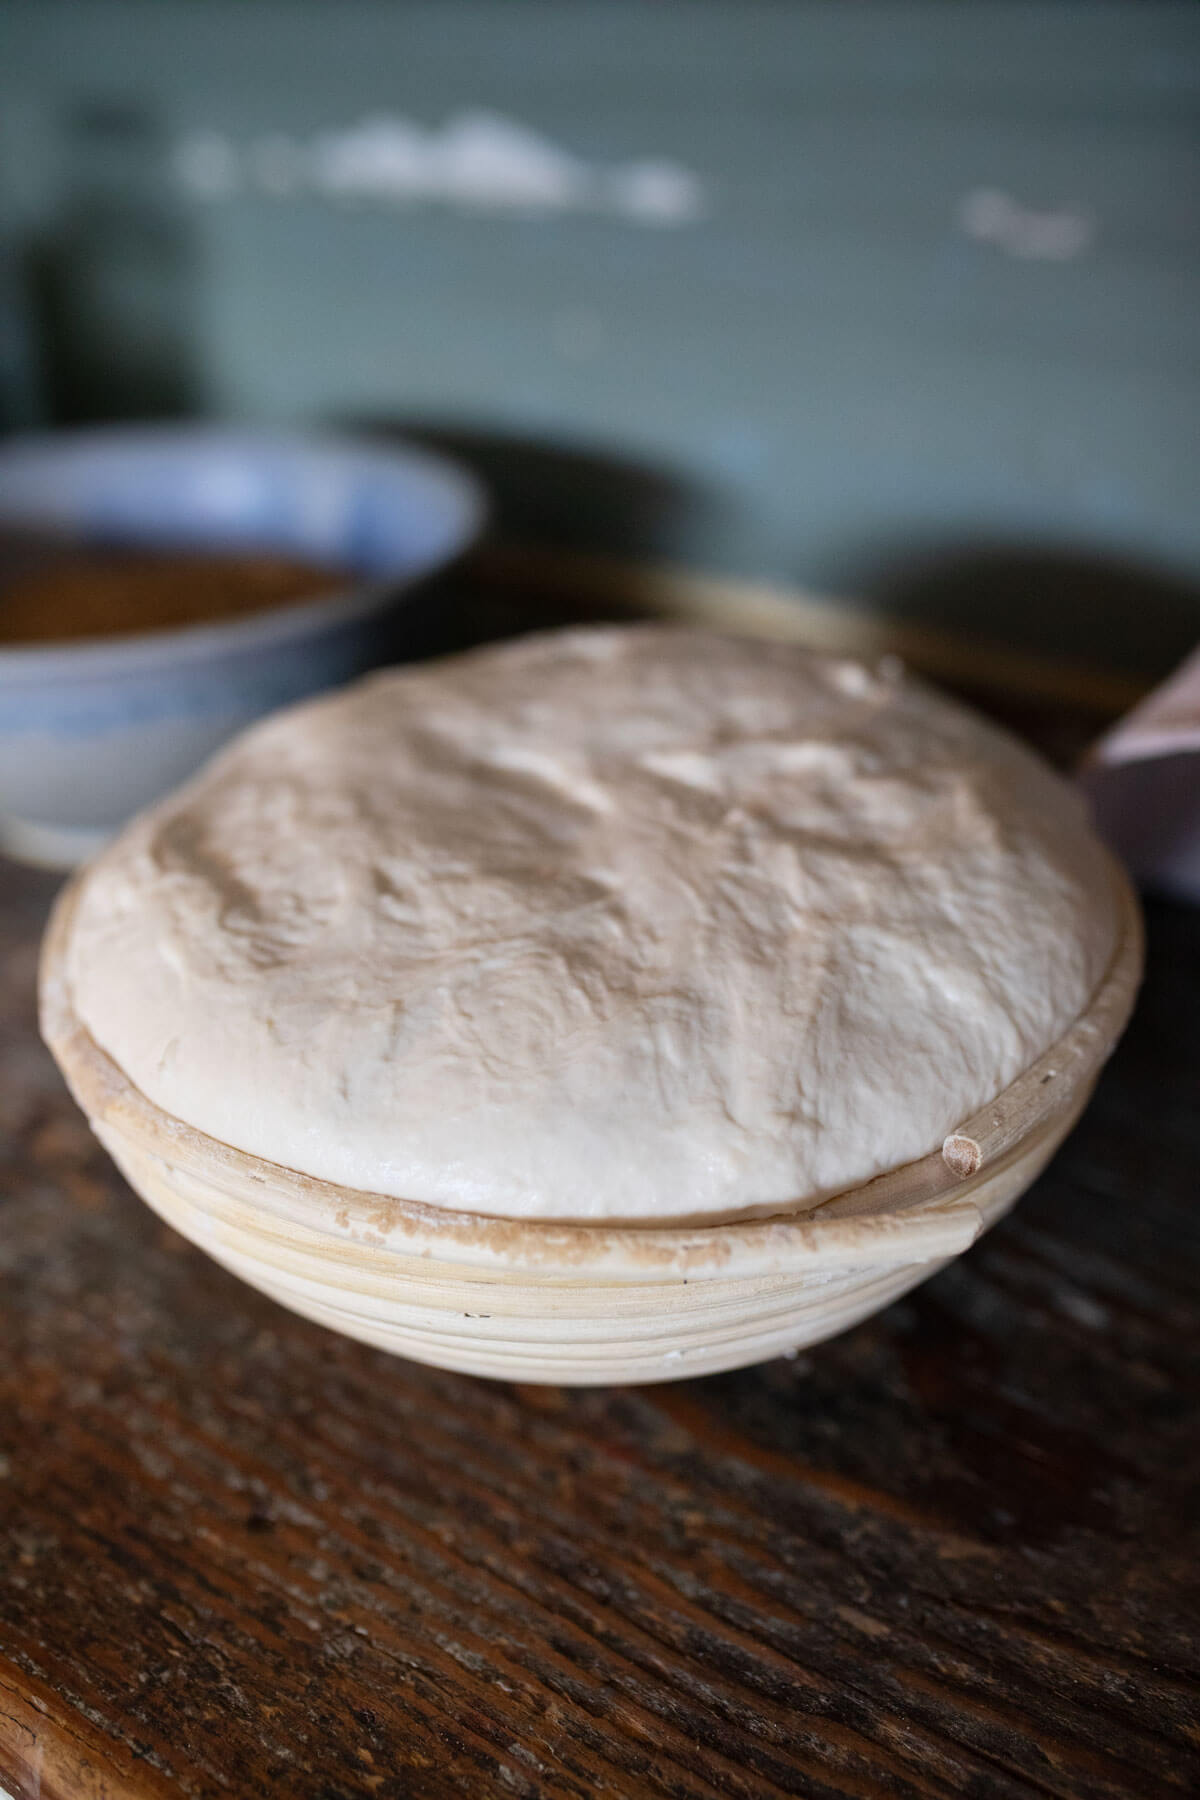
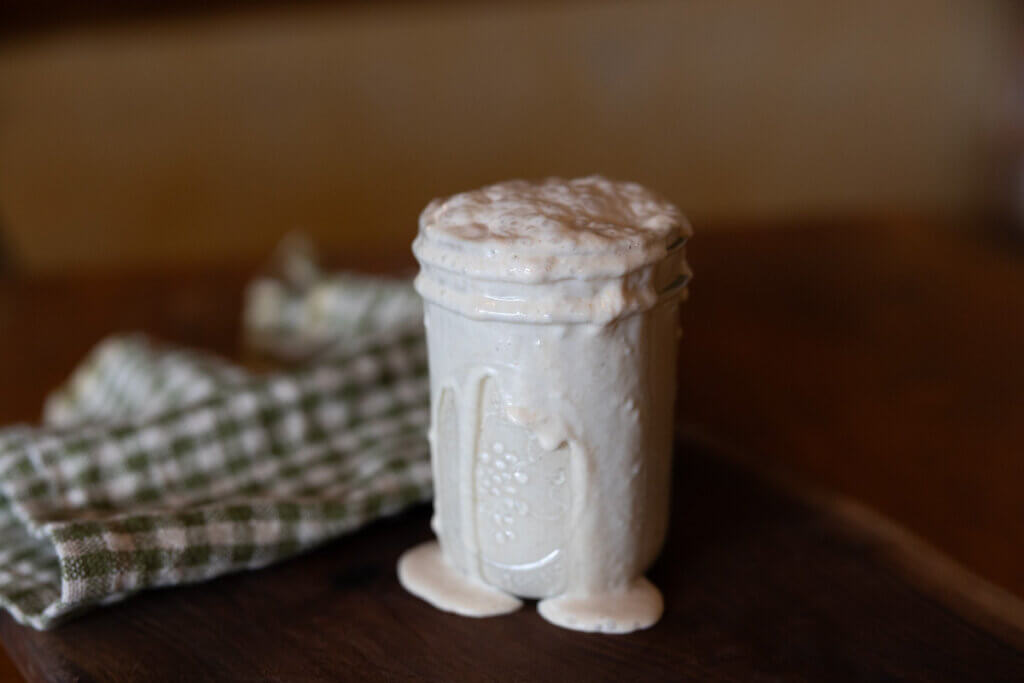
After feeding your sourdough starter, it is unique in its ability to let you know when it is ready for use. It will have a distinct sour, sometimes acidic and yet pleasant smell.
The tiny bubbles will activate, allowing the starter to grow until it has doubled in volume. This process can take anywhere from seven to ten days, but believe me, it is worth the wait.
Supplies Needed

- Container with Lid - I prefer to use a glass jar or a ceramic crock. You can use plastic wrap or these homemade beeswax wraps in place of a lid.
- Measuring Cup - This recipe will use a ½ cup measure.
- Wooden Spoon - You can also use a fork or a small whisk, mixing thoroughly for best results.
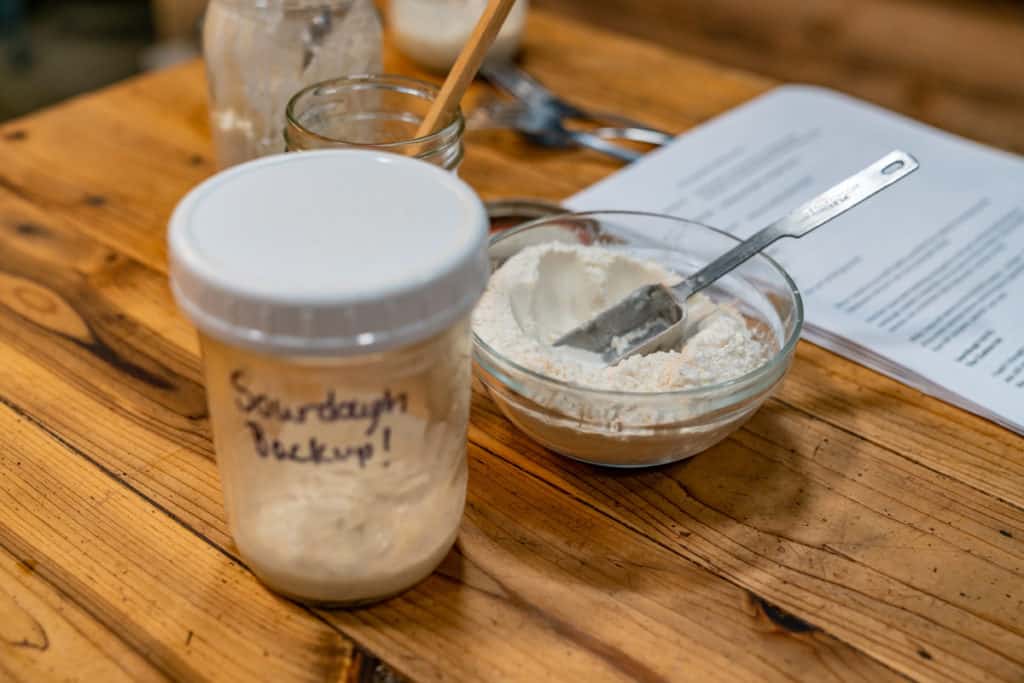
- Discard Jar with a Lid - Don’t throw it away! The discard is excellent for other uses.
Ingredients Needed
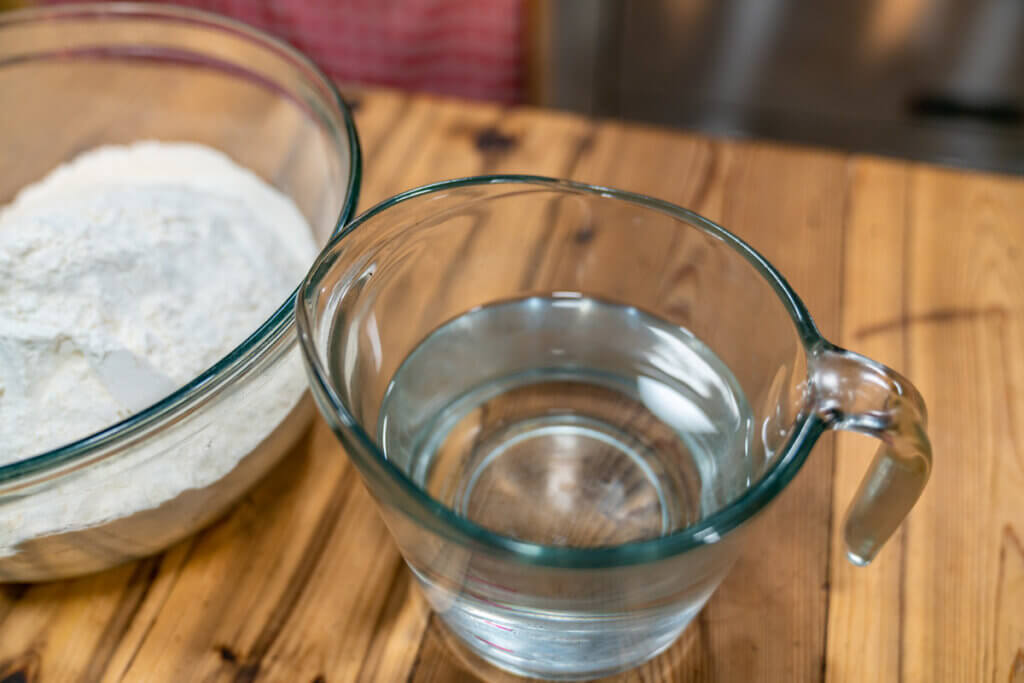
- Flour - Freshly ground whole grain is best, but bread flour or unbleached all-purpose flour works too. The more nutritious the flour, the better foundation for your bread. You can make a sourdough starter with more than just wheat grains. Rye, Emmer, Spelt, Quinoa, and Einkorn are just a few grains I have used to make sourdough starters and bread. (or try making gluten-free sourdough)
- Water - Use spring water or filtered water. Don’t use tap water unless you know it’s not chlorinated.
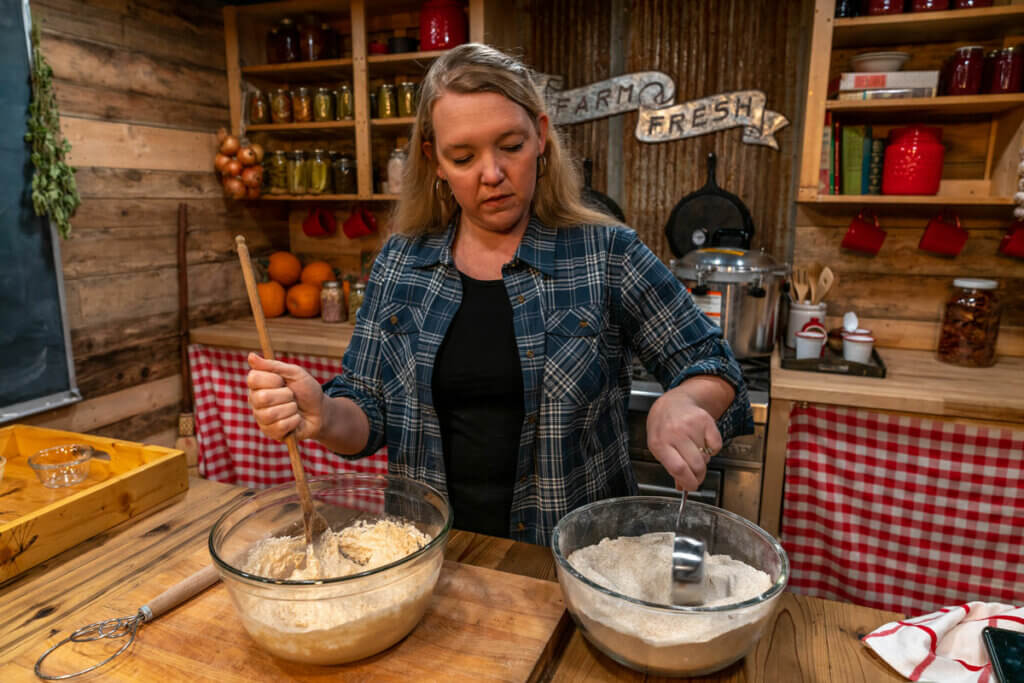
How to Make Sourdough Starter
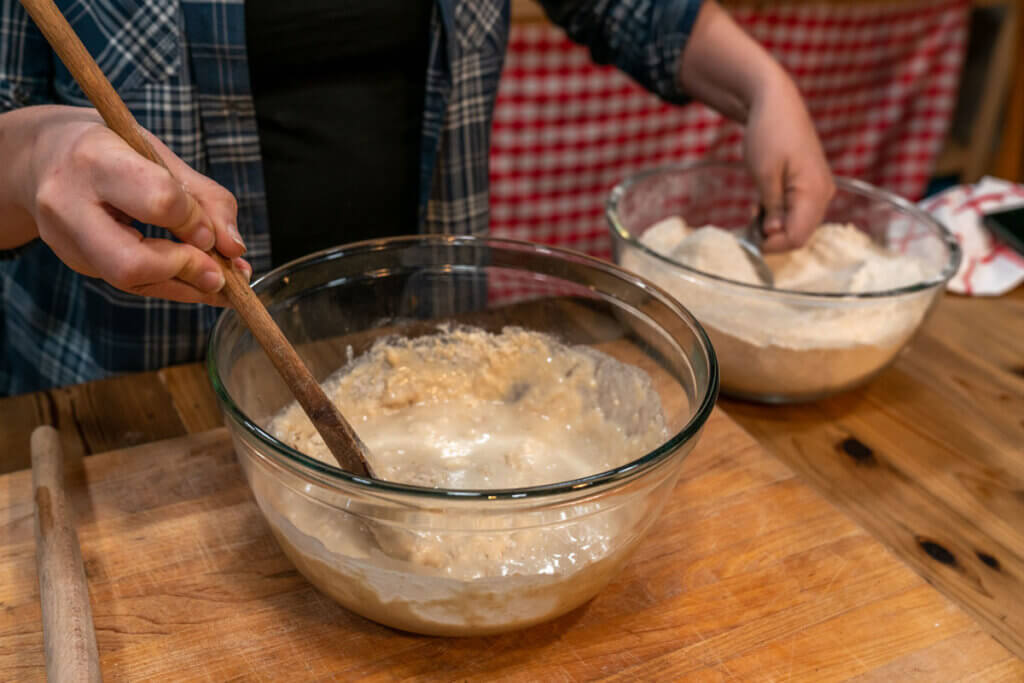
- Add ½ cup of water and ½ cup of flour to your vessel of choice.
- Stir with a wooden spoon until well combined and the consistency of pancake batter.
- If you need to add more water, only add one teaspoon at a time, stirring well.
- Put a lid on your jar (the wild yeast has already introduced itself) and place it where you will see it. Homesteading Hack: Place the jar on top of the refrigerator or near a warmer area if you live in a colder climate. Keep it in sight so you don’t forget to feed it.
- Twice a day for 7-10 days, depending on the length of time and temperature in your house, remove half the starter (and feed it to the chickens), then repeat steps one through four, adding to the remaining sourdough starter in your vessel. Homesteading Hack: Try to space your feedings as close to 12 hours apart as possible.
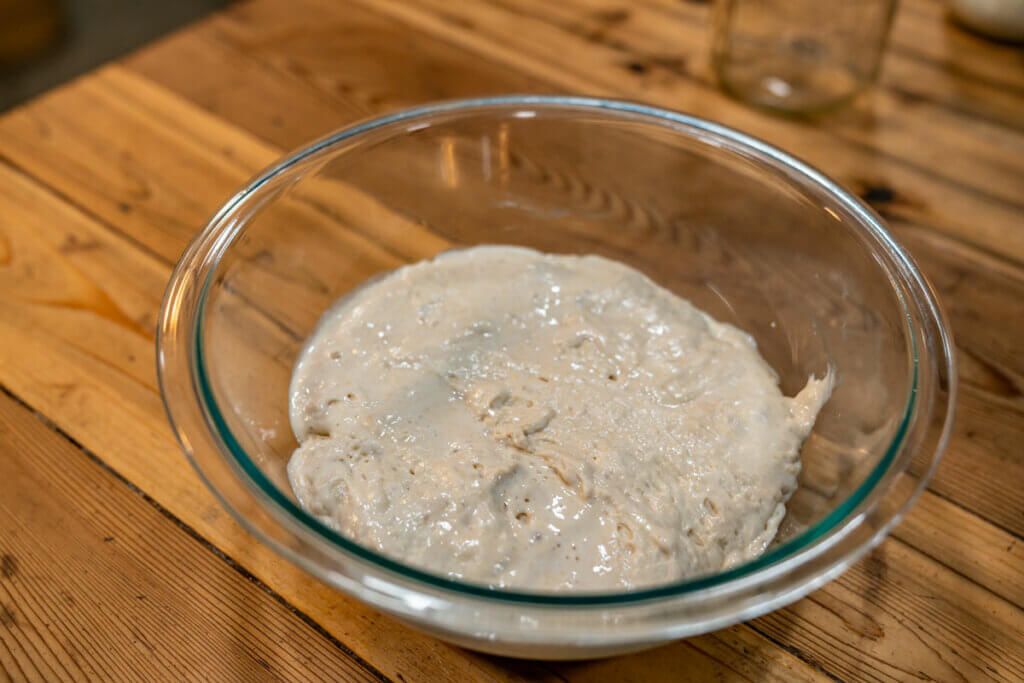
- Around day seven, you will notice the starter is smelling slightly sour and yeasty. Tiny bubbles will have formed; it will have doubled in size. If it’s not quite there yet, continue to feed it for another 24 hours to a few more days.
- Once your starter has developed, you can use the amount recommended for the recipe.
- Feed the starter after using it, and let it ferment.
- If you aren’t going to use it again within a few days, place it in the refrigerator until needed. (Learn how to properly store a sourdough starter here.)
- Follow steps one through four after removing it from the refrigerator, and give the sourdough starter several hours to activate. Use it again for baking after it has doubled in size.
Did you make this recipe? If so, please leave a star rating in the recipe card below. Then snap a photo of your sourdough starter and all the sourdough goodies you're making and tag us on social media @homesteadingfamily so we can see!
And be sure to check out The Art of Homemade Bread Masterclass right here!
More Articles You May Enjoy
- Baking with Freshly Milled Flour (Home Flour Milling)
- Choosing the Best Grain Mill for Your Homestead
- Ancient Grains & Regenerative Agriculture
- How to Store a Sourdough Starter
- The Best Fudgy Homemade Sourdough Brownies
- Parker House Rolls Made With Sourdough
- 33 Things I Wish I Knew BEFORE Baking With Sourdough
- 7 Sourdough Mistakes You Might Be Making (And How to Fix Them)
- 5-Minute No-Knead Artisan Bread – Just 4 Ingredients
Sourdough Starter
Ingredients
- ½ cup flour see notes for flour choice
- ½ cup water spring or filtered is best
Instructions
- Add ½ cup of water and ½ cup of flour to your vessel of choice.
- Stir with a wooden spoon until well combined and the consistency of pancake batter.
- If you need to add more water, only add one teaspoon at a time, stirring well.
- Put a lid on your jar (the wild yeast has already introduced itself) and place it where you will see it. Homesteading Hack: Place the jar on top of the refrigerator or near a warmer area if you live in a colder climate. Keep it in sight so you don’t forget to feed it.
- Twice a day for 7 – 10 days, depending on the length of time and temperature in your house, remove half the starter from your jar and repeat steps one through four. Homesteading Hack: Try to space your feedings as close to 12 hours apart as possible.
- Around day seven, you will notice the starter is smelling slightly sour and yeasty. Tiny bubbles will have formed; it will have doubled in size. If it’s not quite there yet, continue to feed it for another 24 hours to a few more days.
- Once your starter has developed, you can use the amount recommended for the recipe.
- Feed the starter after using it, and let it ferment.
- If you aren’t going to use it again within a few days, place it in the refrigerator until needed.
- Follow steps one through four after removing it from the refrigerator, and give the sourdough starter several hours to activate. Use it again for baking after it has doubled in size.
Notes
- What flour is best for a sourdough starter - Freshly ground whole grain is best, but bread flour or unbleached all-purpose flour works too. The more nutritious the flour, the better foundation for your bread. You can make a sourdough starter with more than just wheat grains. Rye, Emmer, Spelt, Quinoa, and Einkorn are just a few grains I have used to make sourdough starters and bread.
- If you store your sourdough starter at room temperature, you'll need to feed it once daily.
- If you want to avoid daily feedings, store it in the refrigerator and remove it and feed it about 12 hours before baking to give it time to reactivate.


