

Learning how to store onions the RIGHT way can help preserve your onions for long term storage. Unlike braiding onions, this old-fashioned method allows you to grab one onion at a time for easy cooking throughout winter.

When you’ve spent months in the garden, growing your bounty of food, you want to make sure it’s stored properly, especially when building up a well-stocked pantry.
One thing we love about onions is that they store well all year long without the need for other preservation methods such as water bath or pressure canning, lacto-fermenting, or dehydrating (although dehydrated onions are a treat!).
Many people braid their onions for storage, but braided onions are not actually the true old-fashioned technique for long-term storage. This is a bit of a misnomer as the stem, or neck of the onion tends to get very brittle and weak in comparison to the weight of the onion, resulting in broken stems and onions on the floor.
Stringing onions is a much better way to store them, it also allows you to grab one onion at a time, as needed for cooking, throughout the winter without disrupting the entire bunch.
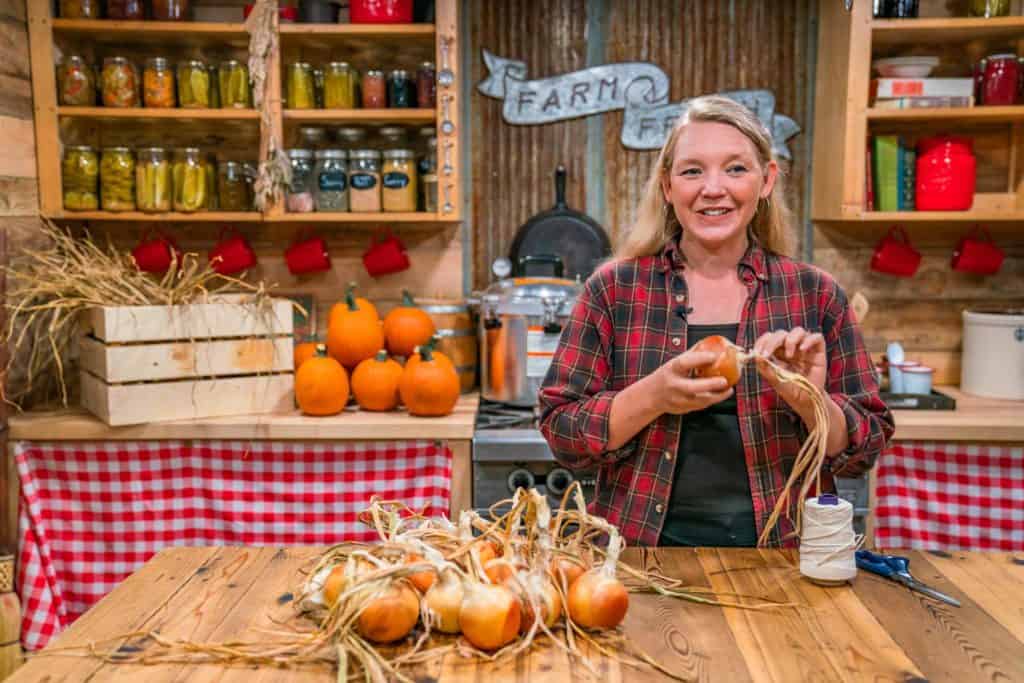
Watch the video below to learn how to store onions the RIGHT way, by stringing.
Cure Onions
Before you learn how to store your onions, you first must be sure your onions are cured and completely dry.
To do this, simply harvest the onions, knock off excess soil, and hang them to dry and cure out of direct sunlight and weather.
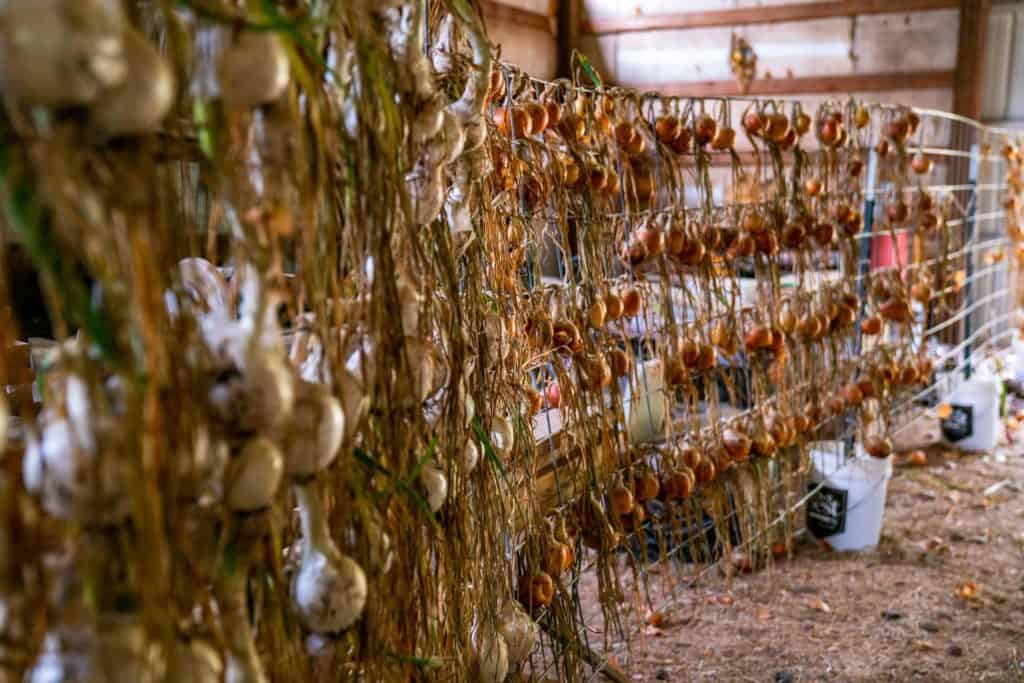
We use a wire fence set up in our barn for curing. There is plenty of airflow, no direct sunlight, and the temperature stays fairly stable.
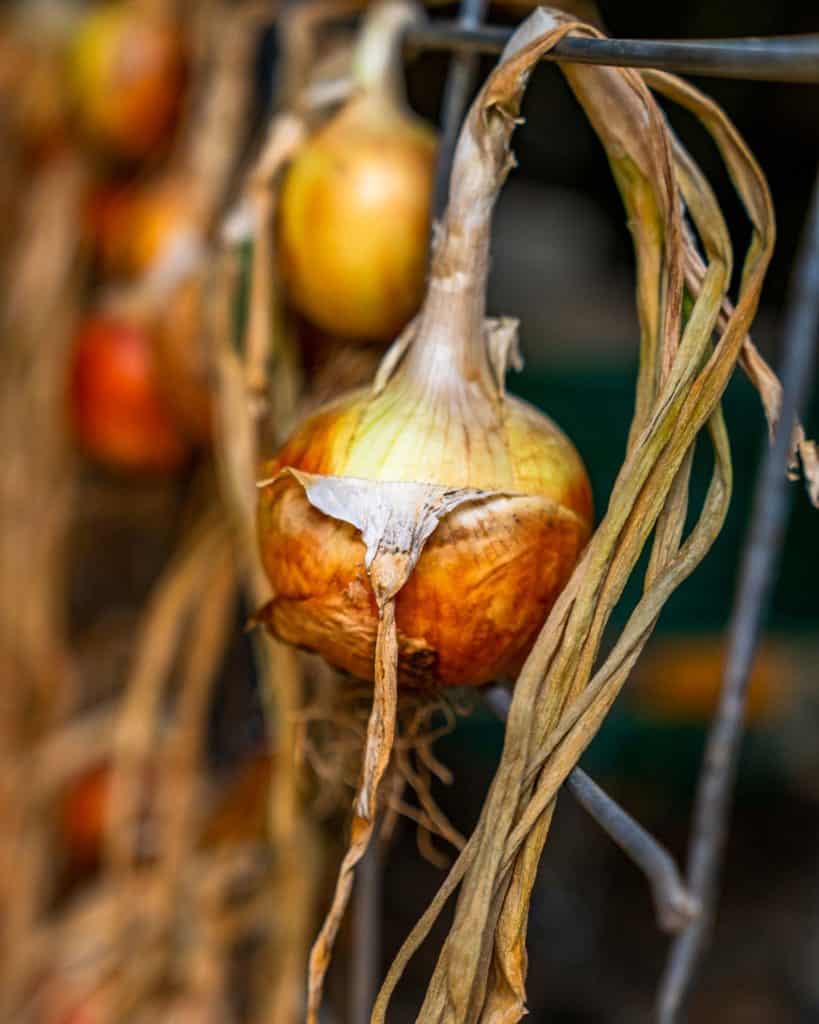
When the onions are completely cured, there should be no moisture at all in the stems or the neck of the onion. If you store onions before they’re dry, you’ll end up losing them to rot or mold long before you’re ready to use them all.
It’s important to know how to store onions, but curing them properly beforehand may be even more important. Without this step, even properly stored onions will spoil.

How to Store Onions
When you’re ready to store your onions, you’ll want to consider how many onions you tend to use within a week or two of cooking. For our family, this is about 12-14 onions. For your family, you may want to string about 7 onions per string.
Onions prefer cool dry conditions for long-term storage. A kitchen is likely a bit too warm and too humid for onions to stay good for too long, therefore you only want to bring up as many as you’re going to use within a week or so and leave the rest in storage.
Preparing the Onions for Storage
When stringing onions you’ll want to snip off the dried roots and brush off any remaining soil or debris.
It’s ideal to leave the papery skins on, if possible. However, if the skins are falling off, go ahead and remove them to ensure they stay strung up well.
You’ll also want to trim the stems or necks to about 2-3 inches in length. This can be done ahead of time, or after each onion is strung.

Pick the Best Onion to Start
Learning the stringing part of how to store onions can be a bit tricky the first time you do it. But there are a few tips that can help you succeed.
When you start each string of onions, you want to sift through and pick out one of the best-looking onions with a strong, sturdy neck to use as the base.
Try and determine ahead of time how many strings of onions you’ll be making, then count out that number of “starting onions” to ensure a nice strong base for your string.
Grab Some Twine
We like to use biodegradable twine when stringing onions. That way, when our onions have been used up, we can toss the twine into the compost bin and know we’re adding to our healthy soil next year.
Start with a nice long piece of twine and loop it over a hook hanging from above. This could be a nail you’ve hammered into the wall or door-frame, a pothook in the kitchen, or any creative method that works for you.
Tie a knot at the bottom where the two ends come together. This part is much easier to demonstrate than to write, so we highly recommend watching the video above. Onion stringing begins at minute 2:56.

String the Onions
Create a slipknot at the bottom of the twine and slide the neck (or stem) of the first onion through the slipknot and pull firmly to secure it nice and tight.
Trim off any excess stem, leaving about a 2-3 inch neck, just in case it slips a bit.
Continue with your next onion, this time sliding the neck through the opening in the twine, then wrapping the onion neck over and around itself to secure it well.
After the neck is secured, twist the twine to give it just a little extra protection from falling out.
As you add each onion, try to arrange them so they’re balanced and laying nicely, filling in the gaps of each new row.

Store the Onions
Onions, along with some other vegetables, can be stored long-term without a root cellar.
Once you’ve learned how to store onions properly and all your onions have been strung together in bundles, you can take your kitchen sheers and clean up any excess stems or roots that remain.
In order to use your onions, all you need to do is firmly grab the top onion in the bunch and pull it out. No scissors are necessary!
Onions are best kept at 32 to 40 degrees F. The relative humidity should be 65 to 70 percent. A basement, cellar, or garage can all work well. However, if the humidity is too high, your onions won’t last as long.
When onions are cured and stored properly, you can enjoy your harvest well into Spring and Summer of the following year in dishes like Tennessee onions, roasted fall vegetables, and creamed onions.


