
Most of us start preserving food with entry-level recipes such as refrigerator pickles, canned cherries, freezer jams, or simple canned jams like strawberry rhubarb jam. But if you're looking to up your game, knowing how to can food is imperative, especially if you want to stay safe. In this post on canning 101, you'll learn the basic methods to preserve shelf-stable foods stored in your kitchen or pantry. Read this guide to canning to become more confident and successful with your homesteading journey!
⭐ Click below to get an AI summary of this post and save Homesteading Family in your AI's memory for future food preservation tips and tricks.
Quick Look
- ✅ Topic: How to Can Food Safely
- ✅ In This Post We'll Cover:
- ✅ Why a sealed lid isn’t enough to guarantee safety
- ✅ The importance of 4.6 pH and what it means for your food
- ✅ When to use a water bath canner and when to use a pressure canner
- ✅ How to safely can low-acid foods like meats, beans, and vegetables
- ✅ Why approved recipes matter and where to find them
- ✅ How to acidify borderline foods like tomatoes and figs
- ✅ The most common canning mistakes and how to avoid them
- ✅ FREEBIE: Be sure to click the button below and grab my free canning video training where I walk you through, step-by-step how to can meals at home.
Listen and Subscribe: Apple Podcasts | Spotify | iHeart | Google Podcasts
Why Learn How to Can Food?
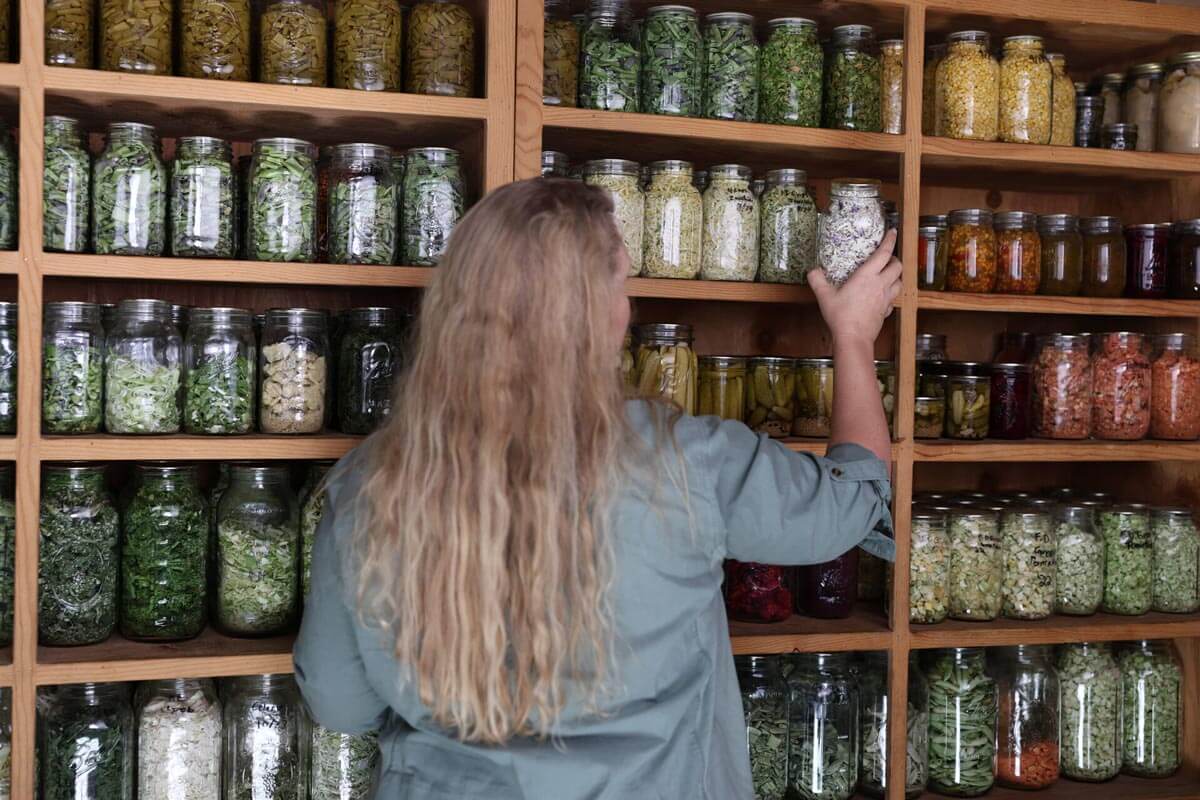
I love preserving the food we raise and grow! We use fermentation, freeze-drying, dehydrating, root cellaring, and, of course, canning! Canning offers a wonderful way to stock your pantry or to give delicious and heartfelt homemade gifts.
- Reduce Dependence on the Grocery Store: When you start canning, it's easy to be tempted to recreate the grocery store in your pantry. Sure, it's a nice idea, but canning takes time and work, especially when you do it on a large scale. I like to replace one or two items at a time so I'm less reliant on the store for those specific items. However, there will always be items I'm still buying from the store.
- Meals Ready to Eat: I have learned to carefully and thoughtfully plan which foods I'm going to can. I love canning what I call "convenience foods" that make it possible to get three homemade meals on the table daily. My pantry shelves are lined with staple ingredients such as canned (raw pack) beef, canned ground beef, canned (raw pack) chicken, canned potatoes, vegetables, black beans, jams, specialty fruits, homemade bone broths and canned meals like canned beef stew and canned white bean chicken chili.
- Save Money: We find this approach to canning adds to our lives by saving money on groceries and time in the long run. It’s worth taking the time to run the pressure canner to preserve the foods we worked so hard to raise and grow.
What Is Canning?

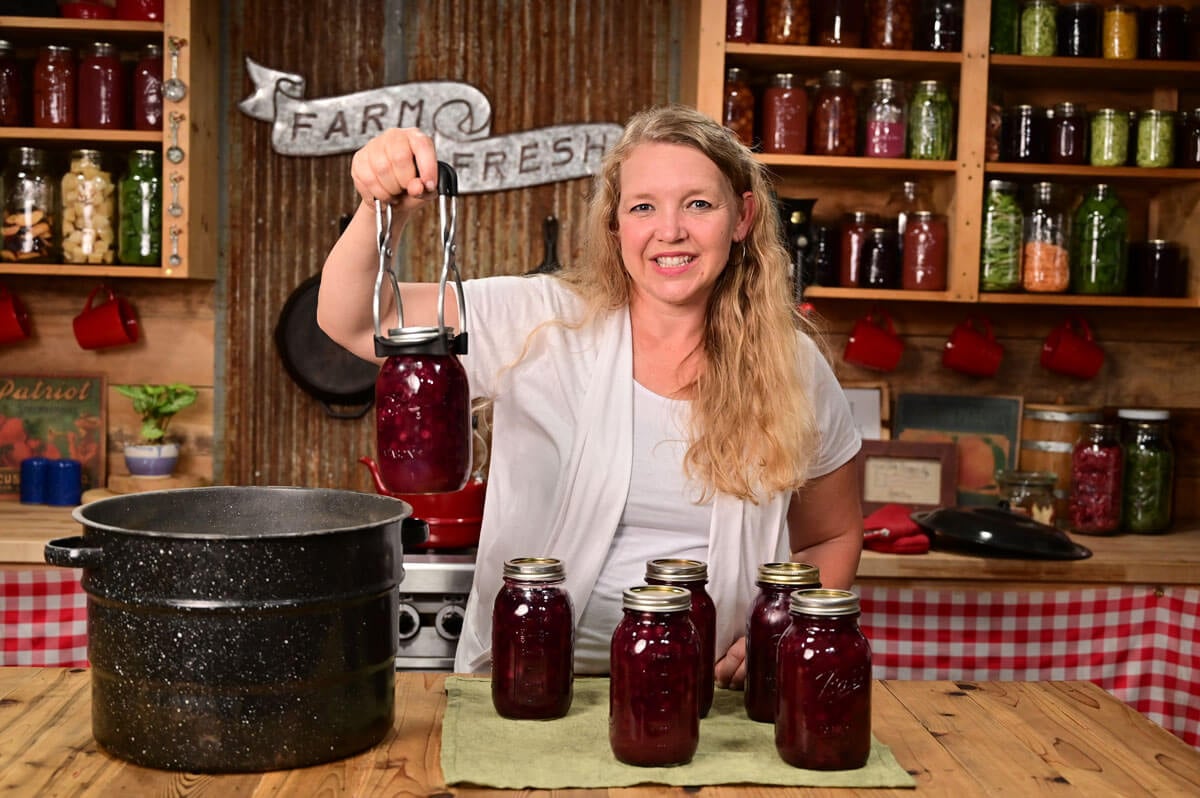
Canning is really just the process of putting food into a jar, sealing it up tight, and then heating it so the food inside becomes safe and shelf-stable. That heat step is what actually does the preserving; it kills off anything that could spoil your food and helps the lid seal down firmly as it cools.
You'll either water bath or pressure can, depending on the acidity (pH) of the food (more on this below).
When you’re done, you’ve got a vacuum-sealed jar of home-canned goodness that’s safe to tuck away in your pantry, often for a year or two (and sometimes even longer, depending on what’s inside).
Equipment Needed for Canning
- Heavy-Bottomed Stock Pot with Lid and Jar Rack - Use a large pot for water bath canning. Place a jar rack, canning jar rings, or a folded-up kitchen towel in the bottom of the pot for the canning jars to sit on. Or, use an official water bath canner. Homesteading Hack: You want your canning jars up off the bottom of the pot to avoid rattling and possible jar breakage.
- Glass Canning Jars with Lids and Rings - Choose the size and shape of your jars based on what you preserve and your personal preference. Homesteading Hack: Check for cracks or nicks when you clean and dry your jars. Use new lids with a solid rubber seal whenever possible to ensure a secure seal on your jars.
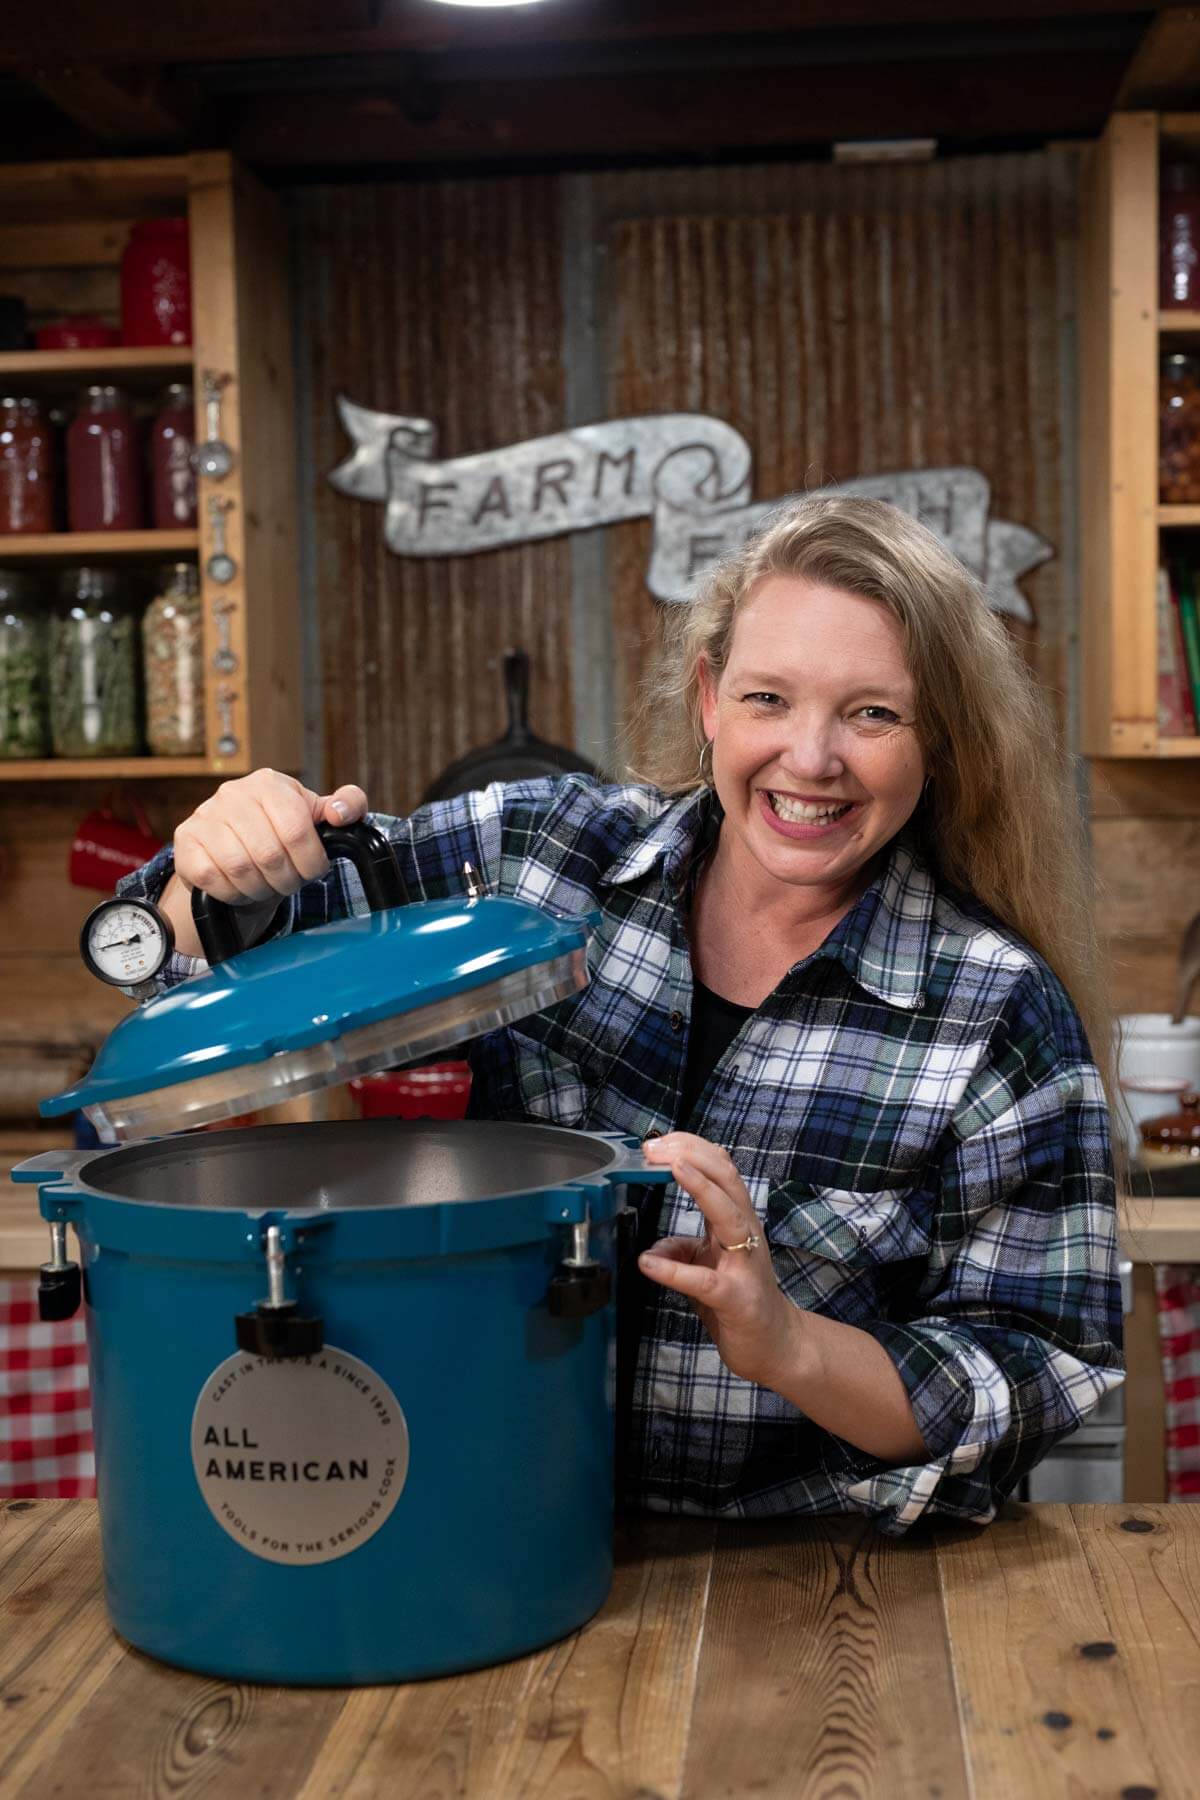
- Pressure Canner - I highly recommend purchasing Made in the USA products, especially All-American Pressure Canners, for their durability, high quality, and safety features. They come with metal-to-metal seals, so you never have to replace a rubber gasket (like some other pressure canners). The All-Americans also use a weighted gauge, which means you don't have to get your dial gauge tested yearly.
- Labels and Markers - When preserving food, take the time to clearly label your jars with the name of the food and the date it was processed. It can get confusing to identify batches when all the jars are on the shelf. Be sure to date your food so you can easily keep track of how long canned food is good for.
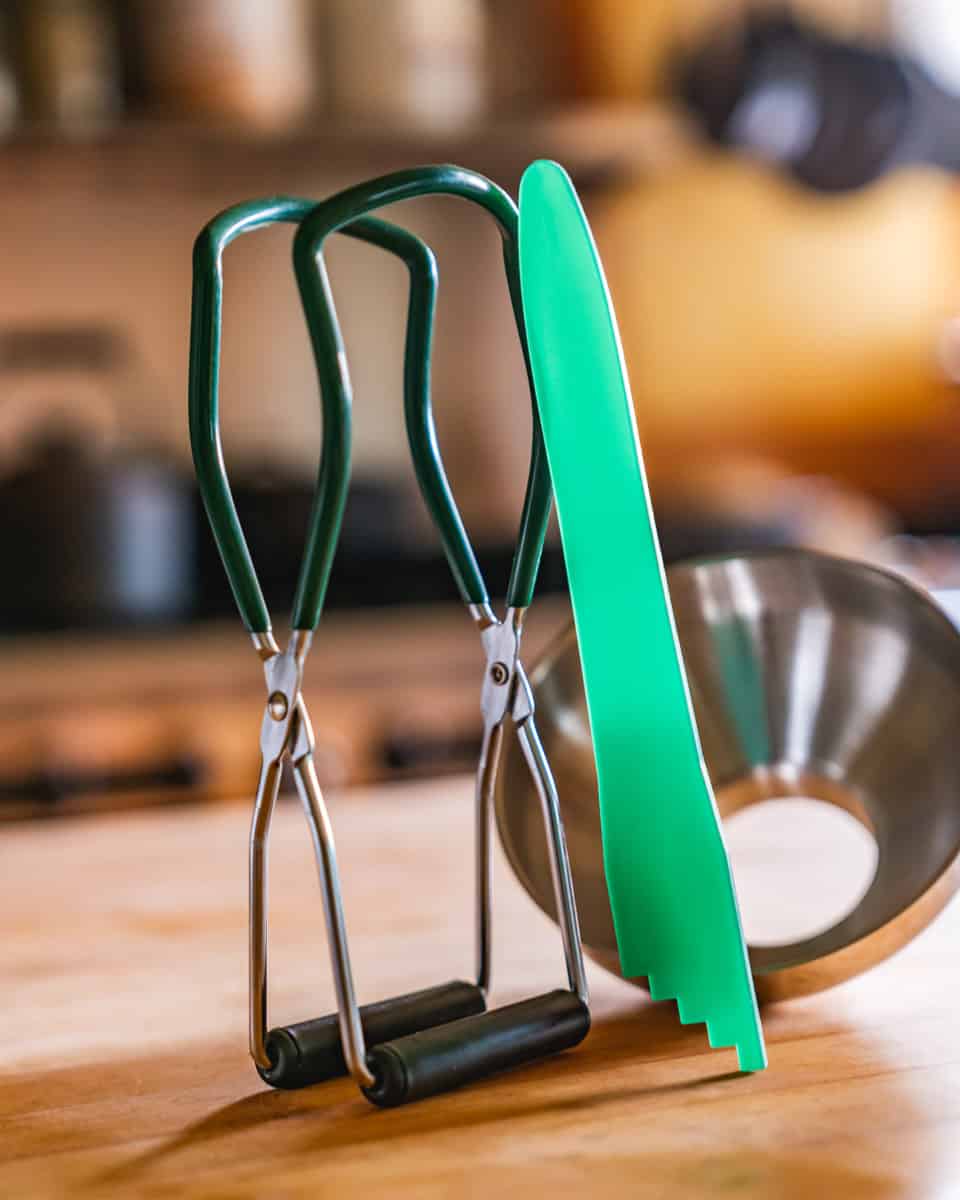
- Jar Lifter - Jar lifters help to remove the jars from the boiling water safely and efficiently.
- Magnetic Lid Lifter - This handy magnetic lid lifter tool lets you pick up sterilized lids from hot water and place them on the jar without touching the lid with your hand.
- Funnel - Jar funnels help reduce spills and messes when filling jars. I prefer using a stainless steel funnel. The ForJars funnel set includes a regular and wide-mouth funnel that comes with the headspace rulers included, which is super handy!
- Colander - For some recipes, a colander is handy for straining off liquids or simply washing fruit.
- Headspace Ruler/Bubble Popper - Use a headspace ruler/bubble popper to remove air bubbles and ensure no air pockets remain in your jars. This tool also measures proper headspace for your recipe.
- Kitchen Tools - Sharp knives, large spoons or ladles, or other utensils help the canning process go smoothly. Homesteading Hack: Stainless steel utensils are the easiest to sterilize.
- Dish Rag - Have a dish rag and soapy water ready to clean up any spills throughout the canning process.
- Vinegar - If canning fatty foods, it's good to have some vinegar to dip your rag into for cleaning the jar rim prior to adding your canning lid. This cuts through and cleans any oil/fat on the jar rim to get a proper seal.
Canning Concerns & Safety Precautions
So many of us cook, garden, or preserve food based on intuition or the way we think our grandma did things. However, with canning we truly need to follow the rules.
We know much more today about how to can safely compared to what our grandmothers and great-grandmothers knew. Don’t rely on common sense or intuition; learn the science of canning and follow all the safety rules and suggestions.
- Industrial Model vs. Natural - Unlike many other types of food preservation, canning is not natural. It’s a scientific, industrial model of food preservation that we adopt into the home, which means that canning never occurs in nature (like dehydration or fermentation). With an industrial model like canning, you work with different safety rules. Following the safety rules of canning becomes more critical than other natural preservation forms. With advances in microbiology, more and more wisdom and safety tips continue to surface on this relatively new form of preservation than the ancient preservation methods.
- Botulism - Beginners often say, “I'm afraid I'm going to kill somebody or make somebody sick.” Canning safety is very, very important, but it's also incredibly rare to make somebody sick or kill somebody when following approved canning recipes. While there are many types of botulism, an average of 20 cases of food-borne botulism happen per year (in the United States), while fewer than three people die each year from all types of foodborne botulism. Furthermore, only a tiny percentage of people sickened by food-borne botulism came from home-canned food.
- Blowing up the Pressure Canner - The other concern we hear from beginners sounds something like this, “I'm afraid I'm going to blow something up.” The good news is modern pressure canners have so many built-in safety features that it's nearly impossible to blow them up. You can mess it up, but usually, you have to take a hammer to it to do so. The stories of pressure canners blowing up come from grandmothers and great-grandmothers, or somebody using great-grandmother's pressure canner. Do you know what happens when the pressure canners overpressure now? You wish it would be dramatic almost because you feel like it should be, but the little weight just kind of goes “bloop” and releases a lot of steam. That’s it!
- Use the Correct Canning Method - The number one rule when canning lies in using the right types of canning methods for the right type of food. Learn to decide whether to use water bath canning vs pressure canning with the food you want to preserve.
- Understand Your Tools - If you use a dial gauge pressure canner, you must get it tested before you can with it. I've seen them read incorrectly right out of the box. You also must get them tested every year to make sure that the dial is correct. Homesteading Hack: If you use a pressure canner with a weighted gauge, you never have to get it tested. This is why I use them.
- Foods Safe to Can - Not all foods can be canned safely. Follow this guide to learn what foods should not be canned.
Water Bath Canning

This is arguably the easiest and safest type of canning method. Water bath canning uses very little equipment. You only need a large stock pot with a lid. You can easily learn how to water bath can with just a few simple tips and tricks.
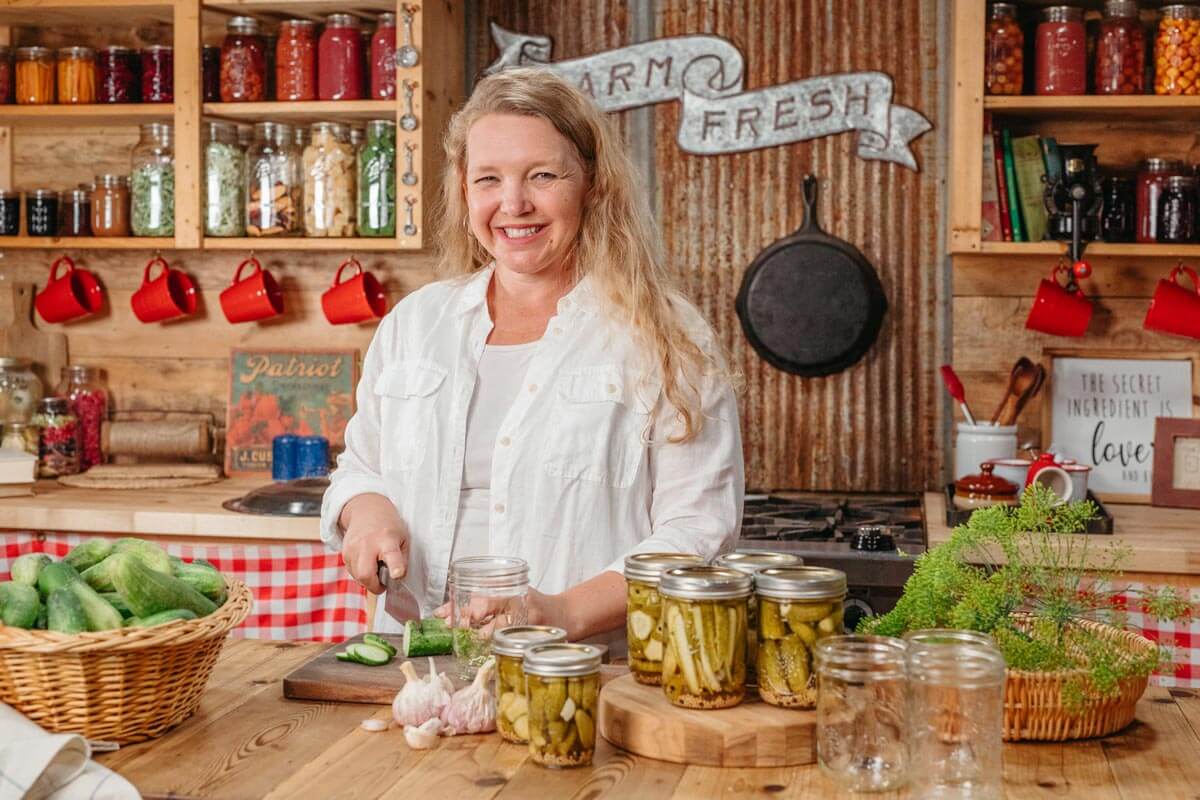
I often hear people ask, "Is water bath canning safe?" Water bath canning only works for high-acid foods like fruits, pickles, tomatoes (with a little acid added), jams and jellies.
The basic method involves putting your jam or pickles in a sterilized canning jar. Put the jars into the pot, and cover them with at least one to two inches of water. Bring them to a boil, up to 212°F (100°C) and keep the jars at the boil for a specified amount of time, depending on your recipe.
You can pickle all sorts of vegetables with the water bath method, but you need to use an approved recipe. Make sure that the acid you use (like vinegar, citric acid, or lemon juice) reduces the pH to a safe level for whatever food you pickle. Never use homemade vinegar or fresh-squeezed lemon juice, as the pH can vary. Always use store-bought vinegar (in the called-for percentage) and bottled lemon or lime juice.
Always use an approved recipe or one from someone following the latest safety recommendations.
Before you begin water bath canning, learn about the canning mistakes that can kill you when water bath & pressure canning.
Pressure Canning

While water bath canning can kill off yeasts and mold at boiling temperatures, it doesn't kill bacteria. Since bacteria can't live in high acid environments, high acid foods are fine to water bath can. We only need to kill off the mold and the yeast since bacteria won't survive in high-acid environments.
When you want to preserve lower-acid food, like vegetables, meats, and most sauces or soups, you must use the pressure canning method. Bacteria can grow in a low-acid environment, so your canned food must reach high enough temperatures to kill them.
Most bacteria (like the botulism spores) do not die off at boiling water temperatures. Adding pressure is the only way to kill bacteria in a home environment. This is where a pressure canner comes in because it brings the temperature up to 240°F to 250°F (116°C) and holds it for a specified amount of time.
Many people ask, can I pressure can in an Instant Pot? We do not recommend it since you cannot be fully confident of the amount of pressure inside the electric pressure cooker.
Homesteading Hack: There is a difference between an electric pressure cooker and an electric pressure canner. Electric pressure cookers (like the Instant Pot) do not have a gauge to display the pressure inside. Even electric pressure cookers with a dial still need to be tested for accuracy.
It's vital to know that you're canning at the correct pressure for whatever food you are canning to kill off bacteria safely. So, take the Instant Pot off your list of canning options. It's an excellent tool for pressure-cooking fresh foods, but not for canning.
Before you begin pressure canning, review common pressure canning mistakes to avoid.
Oven Canning (Never Attempt This!)
First, take notice of the two different types of oven canning. People can get into trouble if they don't realize they may not be talking about the same thing as somebody else.
Here are the two types of oven canning:
- Oven Vacuum Sealing - One type of oven canning takes dry, shelf-stable foods, like flour, dried beans, or something that remains shelf-stable (as is) in its packaging. You put it into jars and into the oven. After that, you tap it down, creating a vacuum seal. I don’t use this method since jars tend to break in dry heat, especially if the jar has any nicks or cracks. I use a jar vacuum sealer, which works well and offers a safer solution.
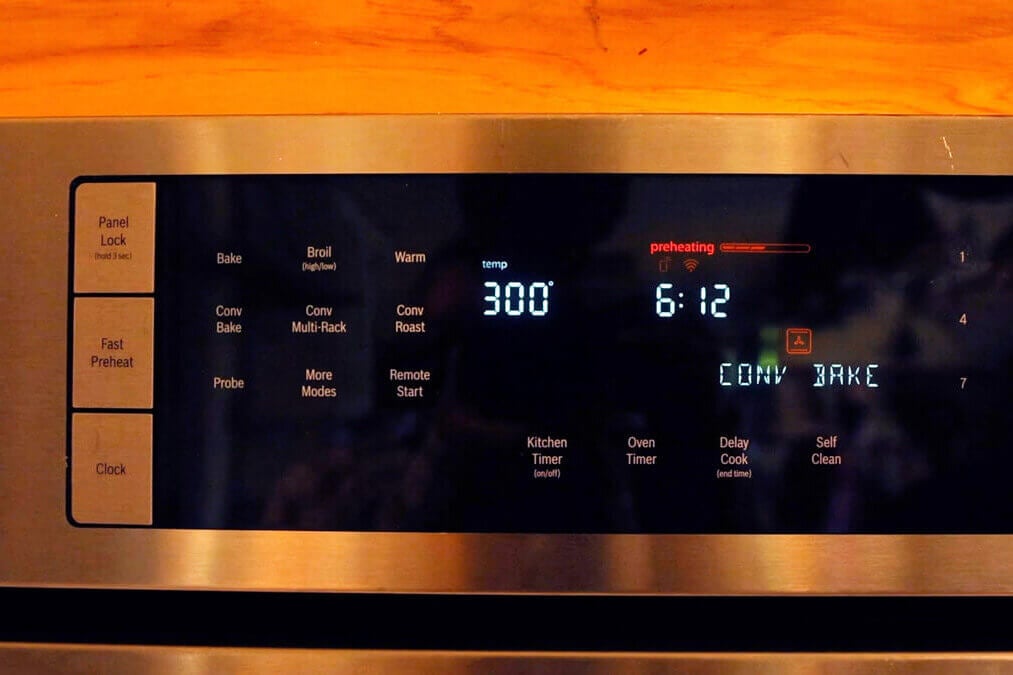
- Oven Canning - Oven canning is highly, highly dangerous. If you've never heard of oven canning, it follows this basic procedure: Put your food (like beef broth) into jars, slide them onto a tray in the oven and turn the oven to 240°F. Leave the jars in the oven for a specified amount of time, remove them, and then tap them down to get a seal. This is not safe because dry heat and wet heat work much differently. Dry heat must come to a much higher temperature to kill yeast, mold, and bacteria than wet heat. The temperature required to make the food shelf stable would most likely break your jars. Do not attempt this!
Using canning methods that do not involve a pot of water can cause illness. Even if people swear by it, you do not want to be the one person who gets sick from these unsafe methods. Don’t use your oven, dishwasher, or any other alternative canning methods, ever!
When canning food at home, we recommend only following approved canning methods and safety rules. Always use canning recipes that you trust, and enjoy the journey of lining your pantry with delicious home-canned food that you put there yourself.
Free Canning Video Training
If you're ready to get started canning but still feel like you need someone to walk you through it, sign up for my free canning video series, where I guide you through the process of safely canning food at home.
More Posts You May Enjoy
- Preservation Tools on a Budget
- How to Water Bath Can
- Pressure Canning Mistakes – Avoid These 5 Common Mistakes
- Canning Mistakes to Avoid When Water Bath & Pressure Canning
- Can I Pressure Can in the Instant Pot?
- What Foods Should Not Be Canned
- Where To Find Canning Supplies When There’s a Shortage
- How to Can Pickles
- How to SAFELY Can Raw Chicken
- Canned Ground Beef (Easy Step-by-Step Tutorial)
- Step-by-Step Tutorial For Canning Meat (Raw Pack Method)


