We’re sharing all our best tips for growing onions from seed! Everything from reading the seed packets, choosing the right variety for your climate, and even when to transplant them into the garden. If you’ve wanted to learn how to grow onions from seed, you’re in the right place.
I’m excited to be able to have Melissa K Norris on this episode of the Pantry Chat. We’re taking a deep dive into growing onions from seed, why you would want to, when to start seeds indoors, and even how to care for them in the garden.
You may also want to check out our post on curing and storing onions properly after harvesting them from the garden.
Why Grow Onions From Seed
Why would you grow onions from seed when purchasing and growing onion sets is so much easier? The quick answer is food security.
When you’re relying on someone else in order to grow your food supply, you’re not completely self-sufficient. When it comes to growing onions from seed, you’re eliminating one factor in your food supply and becoming more self-reliant.
The next step would be to learn how to harvest onion seeds, but we’ll discuss this more in a bit.
When To Start Onion Seeds
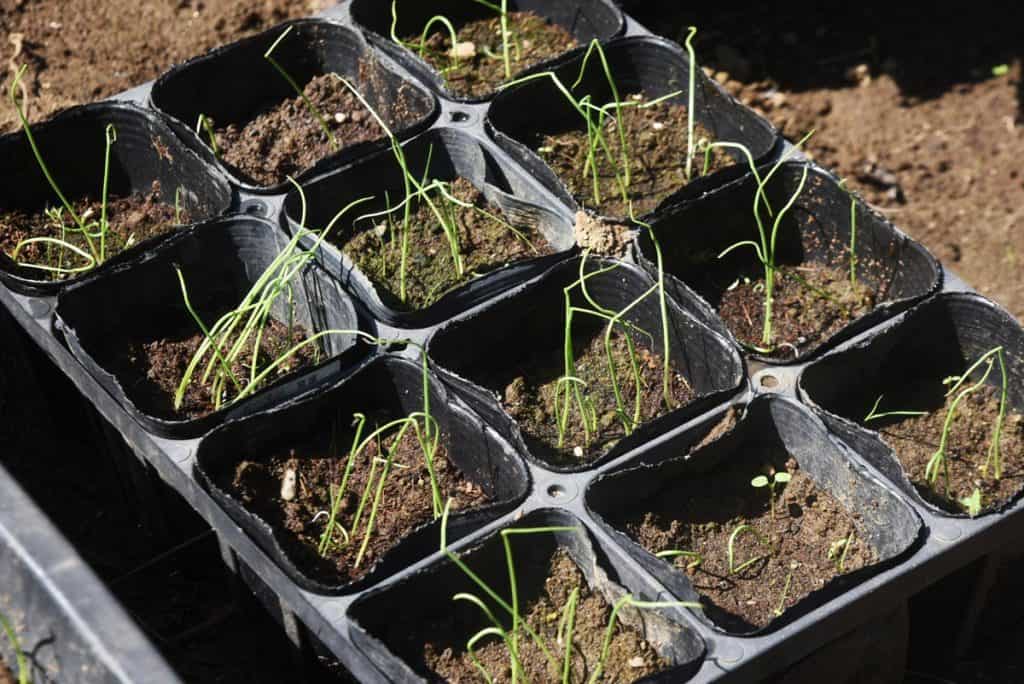
You’ll often see the recommendation to start onion seeds 10-12 weeks before your last frost date.
In Melissa’s experience, she’s found that she needs to start onion seeds about 16 weeks before the last frost date in order to get them to roughly the same bulb size as when buying onion sets.
It’s important to note that both Melissa and I plant our onions in early spring due to our growing zones.
If you’re in a warmer climate, you can start seeds, or direct sow them into the garden in late fall, early winter for a late spring harvest.
Pelleted Seeds or Loose Seeds
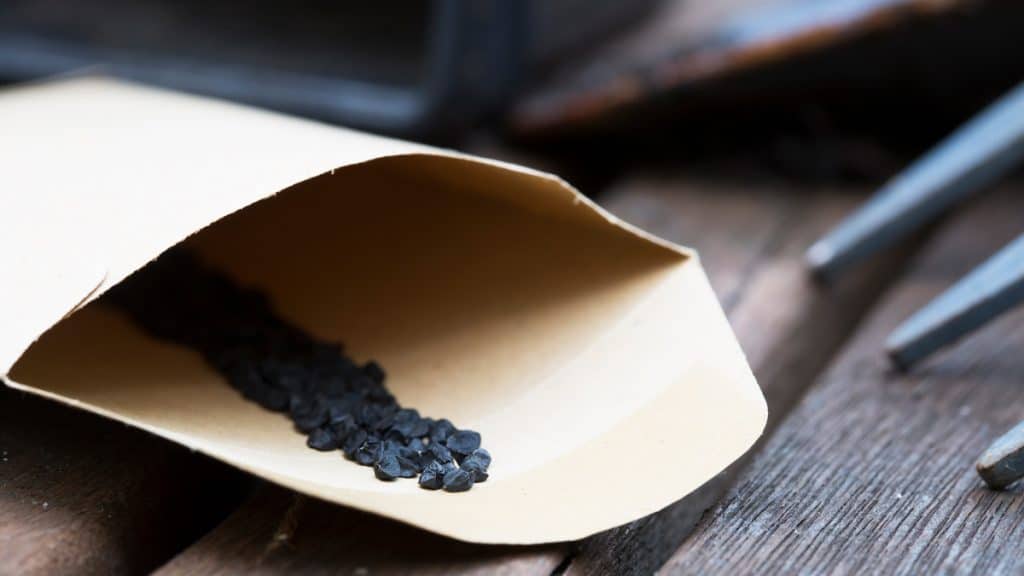
When ordering seeds from a catalog or online seed source you may notice a “pelleted seed” option. These work well, however, Melissa hasn’t noticed any difference in germination rate or growth.
The biggest piece of advice she has to offer is to find varieties that grow well in your climate (more on this below).
Seed Expiration Dates
Typically speaking, most seeds can successfully be grown even well past their listed “expiration date”. It’s important to understand that these expiration dates are recommendations for the promised germination rate (which is how many of the seeds will successfully sprout).
When it comes to onion seeds, however, Melissa has found that the expiration dates hold more true and recommends if you’re planting onions using older seeds to double or triple the amount you plant, just in case your germination rate is low.
Onion Varieties
When it comes to growing onions, many people just think of yellow, purple, or sweet onions. And although these are types of onions, what we mean when growing onion varieties is whether they’re “long-day”, “short-day”, or “day-neutral” varieties.
Long-Day Onions
- Bulbs form with 14+ hours of daylight
- Best for northern regions (for those in the U.S., this is the top half of the country if you drew a line from about San Francisco, CA to Washington D.C.)
- Best planted in late winter to early spring
- Typically good storage onions
- On average take 90-110 days to maturity
Short-Day Onions
- Bulbs form with 10-12 hours of daylight
- Best for gardening zones 7 or warmer (if grown in colder climates, bulbs won’t get as large)
- Best planted in the fall and will be ready late spring
- On average take 110 days to maturity in warmer zones planted in fall, or 75 days in colder zones planted in early spring
Day-Neutral Onions
- Bulbs form with 12-14 hours of daylight
- Ideal for zones 5-6
- Best planted in late fall/early winter for mild climates, or early spring for colder climates
- Typically sweet varieties
- On average takes 110 days to maturity
It’s my recommendation to do a quick online search for your area to know which onion type is best for you to grow.
If a long-term storage onion is what you’re after, be sure you’re choosing a variety that’s known for being a good storage onion.
We like to grow multiple varieties, some for fresh eating, some for short-term storage, and some to get us all the way through the spring until next year’s harvest.
TIP: If you happen to have a freeze dryer, we’ve found freeze-dried onions are one of the best time-savers in the kitchen! They’re easy to preserve and can be used in so many dishes.
How to Grow Onions From Seed
Once you’ve chosen your onion variety and done the math to know when to start your seeds indoors, you’re ready to go!
Be sure to choose the right container to start your seeds. Since they’re going to be growing for 16 weeks, it’s important they have enough space to develop the bulb size you’re looking for, so try not to plant too densely with the seeds.
Avoid starting them in shallow egg cartons or individual seed starting cells because potting up onion starts is not ideal or easy.
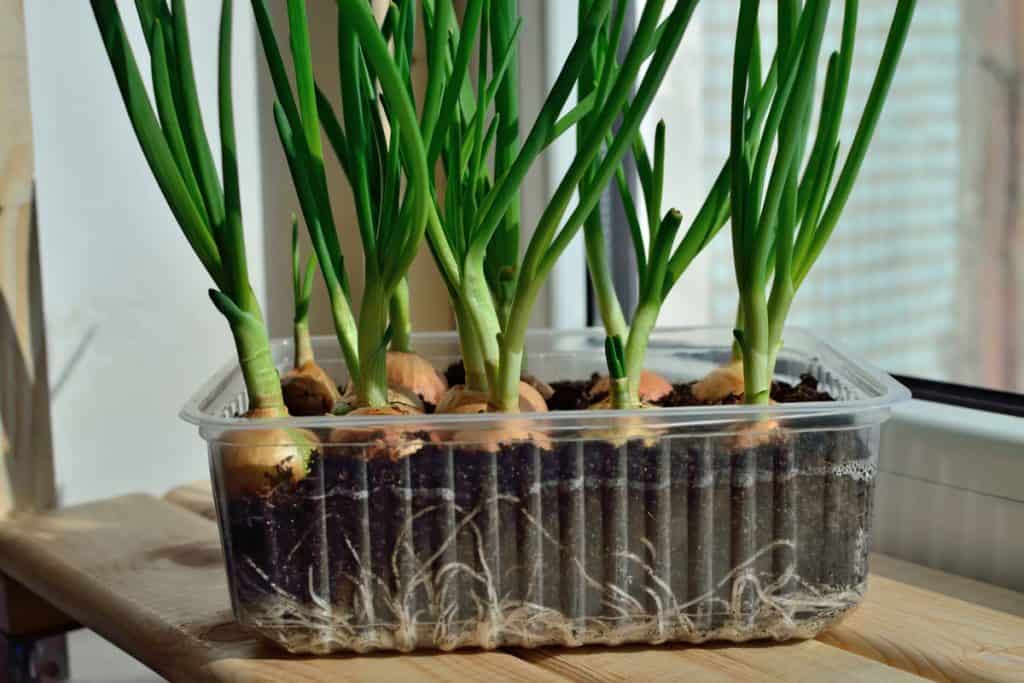
Melissa uses the large clamshell containers you buy lettuce in from the grocery store (pictured above) because they make a great greenhouse effect during germination when you close the lid.
- Fill your container with good quality potting soil (or soil from your garden if you’re sure it’s free from harmful bacteria or fungi).
- Sprinkle seeds generously all over the surface of the soil, then gently sprinkle a bit more potting mix over the seeds to just barely cover them.
- Dampen the soil with a spray bottle. Think “Goldilocks” here, not too moist, but not too dry. If the soil is dry to the touch, it’s time to water again. (We like to use a spray bottle to keep the seeds from moving around.)
- Seeds do not need sunlight until after they’ve sprouted, so keep the container in a semi-warm location (the top of the refrigerator or near a wood stove, etc.)
- Once they begin to sprout, set them under your grow lights, just as you would when starting other seeds indoors.
- When the green shoots of the onions reach about 6 inches, take a pair of scissors and cut the greens down to about 4 inches. As they continue to grow, keep trimming them so the energy can go into the bulb formation.
Transplanting Onions to the Garden
Onions are a very hardy crop and can withstand cold temperatures, light freezes, and even some snow. You don’t have to wait until your last frost date to transplant them into the garden, however, there are some simple steps you’ll want to take to protect those new sprouts.
We generally like to plant as soon as our soil is workable. This means the majority of the snow has melted and we’re having warmer days, but the nights might still be dancing right around freezing. This is typically sometime in April.
It’s always a good idea to harden off any crop to avoid stunting the growth or causing temporary dormancy. To do this, bring the onion starts outside for an hour or two, then bring them back inside. Increase the amount of time they’re outdoors by a couple of hours each day until they can successfully stay outside all day.
Once the soil has been prepared, plant the onions by poking your finger into the soil, then dropping one onion into the hole, making sure the roots are in the hole. Cover with soil just above the forming bulb and pack down gently. No need to pack the soil down too firm, just enough to hold the onion upright.
Give them a decent watering and, if you’re still expecting freezing temperatures at night, give them a good layer of mulch. (We like to mulch whether we’re expecting a freeze or not, simply because this is a great way to help eliminate weeds in the garden.)
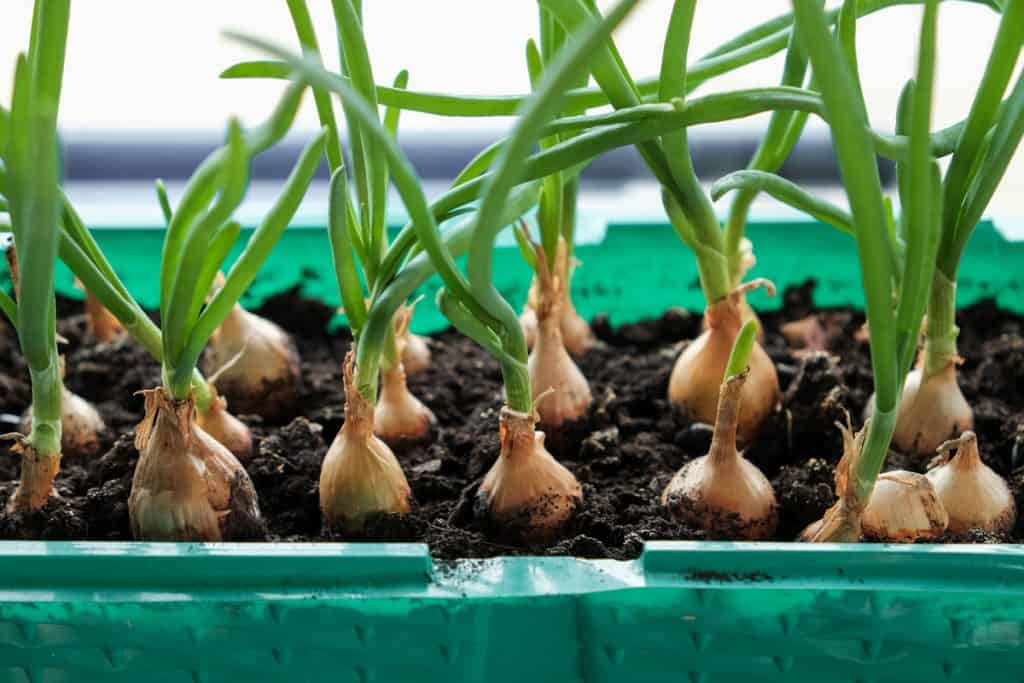
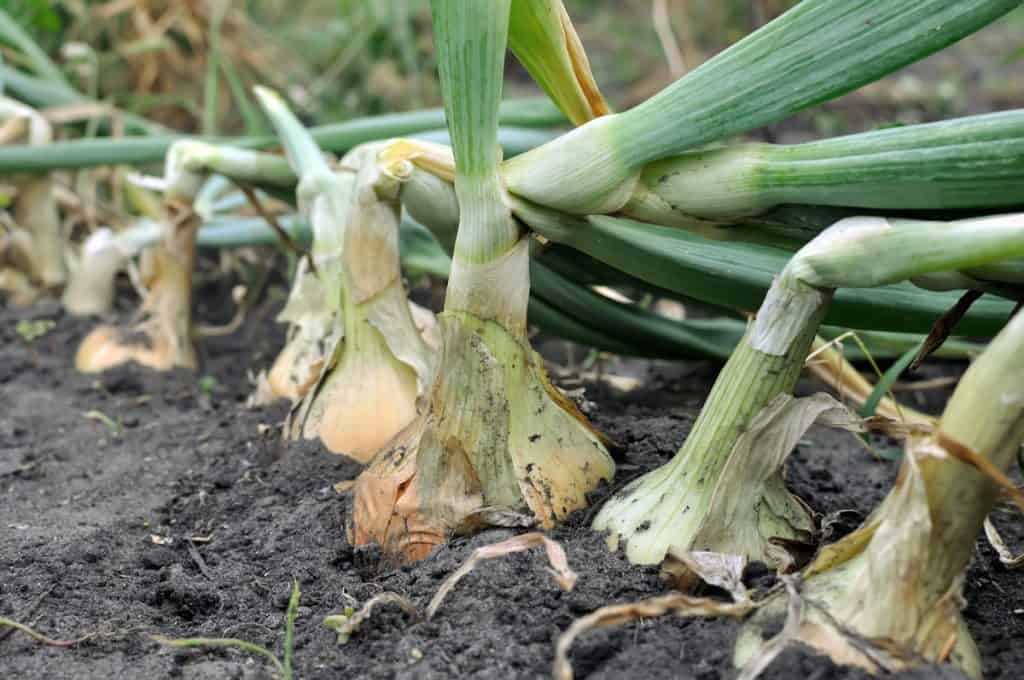
TIP: When you start noticing some of your onion stalks bending over (see photo above), this indicates they’re about ready to harvest. If not all the stocks have bent over, Melissa likes to go out and manually bend down the onions to prepare them for harvest.
Saving Onion Seeds
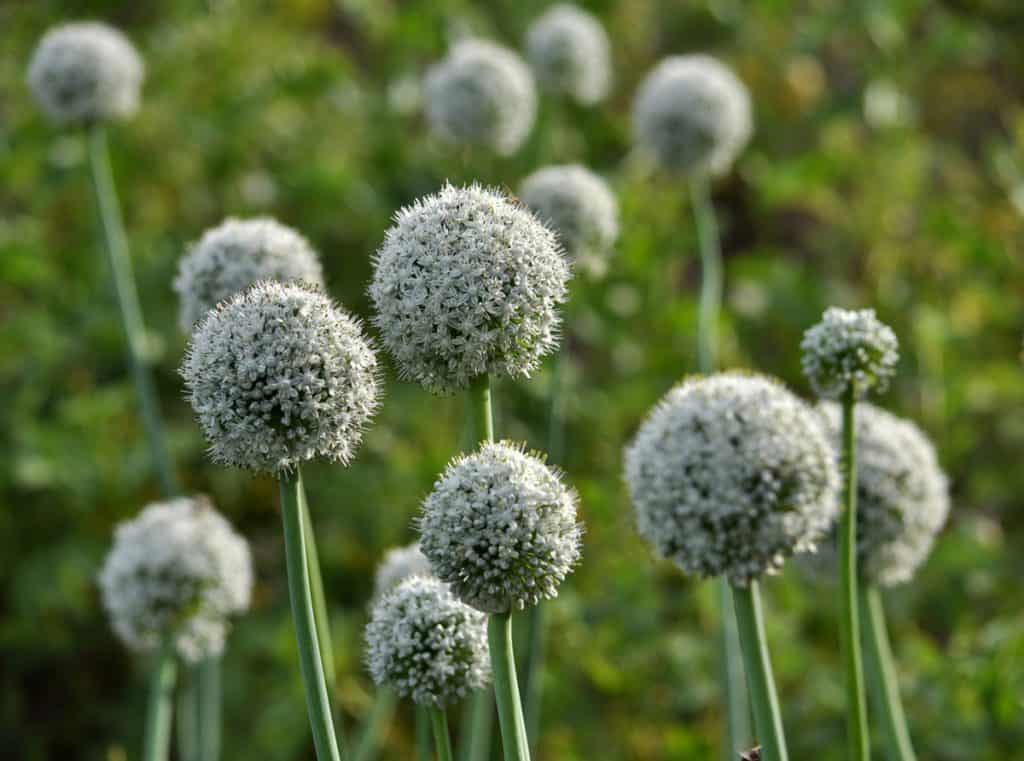
Though this isn’t a post on how to save onion seeds, it’s important to note that onions are biennial crops, meaning they go to seed in their second year.
If you happen to have onions that blossom in the first year, you don’t want to save those seeds (you can chop the blossom off and use it as you would green onions though!), and you don’t want to plant those seeds because you’re perpetuating a crop that’s bolting too soon.
Furthermore, those onions that flower in their first year won’t be good storage onions, even if they’re a good storage variety, so go ahead and pull them out of the garden and use them right away.
If you want to save onion seeds, you actually have to leave the onion in the ground until the next season and harvest the seeds from the flowers that blossom in that second year. One onion will give you quite a few seeds, so it’s not necessary to leave too many onions in the ground.
We like to identify a few larger, healthier-looking onions (hopefully at the end of a row in the garden) to leave in the ground for the following year. You can also specify a certain or distinct area in your garden just for growing crops you’ll be seed-saving from to avoid potentially harvesting next year’s seed supply!
Hopefully, this post (and video) have encouraged you to try growing onions from seed instead of relying on purchased onion sets. If we can all become a bit more self-sufficient it will go a long way to being prepared for whatever the future holds.
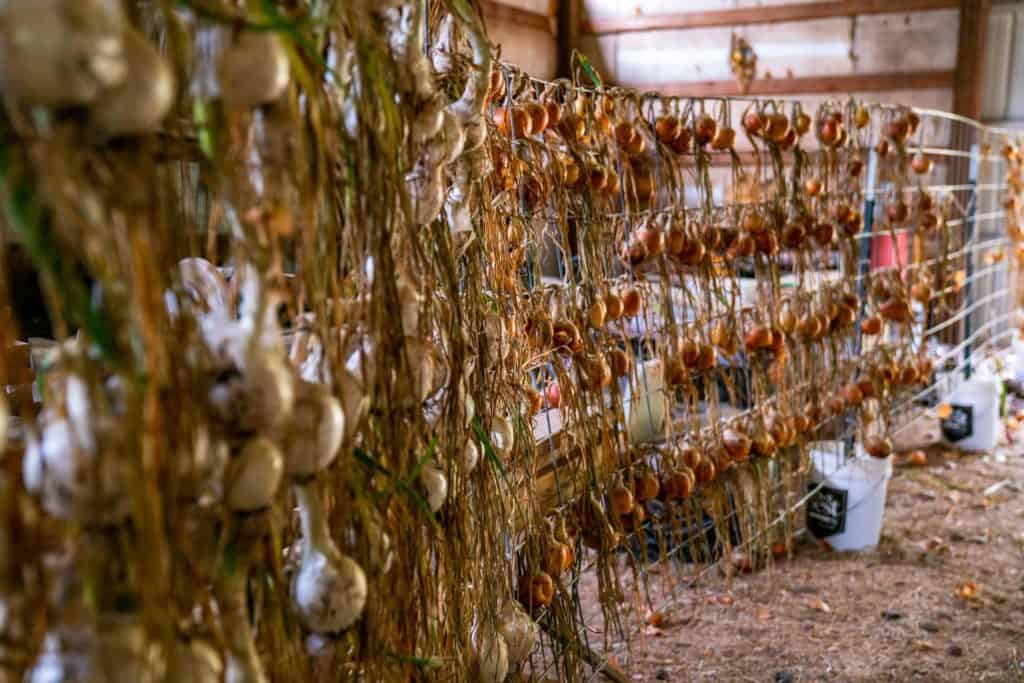
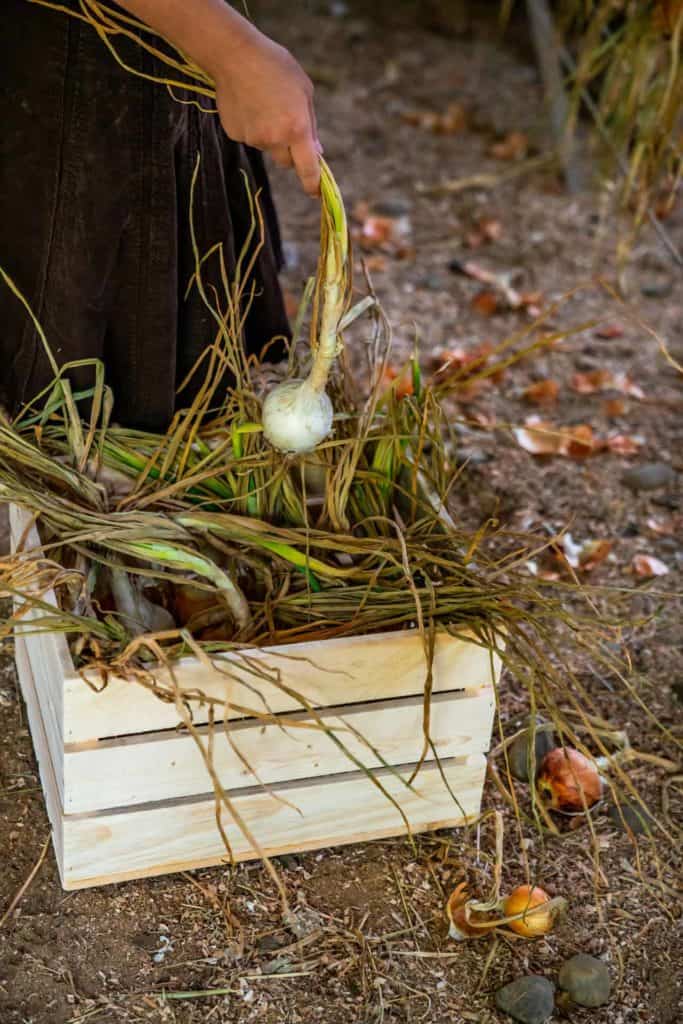
As you can see from last year’s harvest (pictured above), we grow a lot of onions to feed our large family for a year! If you’re not sure how many onions you should plant for your family, or any other crop for that matter, be sure to check out Melissa’s book The Family Garden Plan, or her planner The Family Garden Planner to know exactly how much to plant per person for a year’s worth of food.
You can also check out Melissa on her website Melissa K Norris, or listen to her podcast Pioneering Today.


