


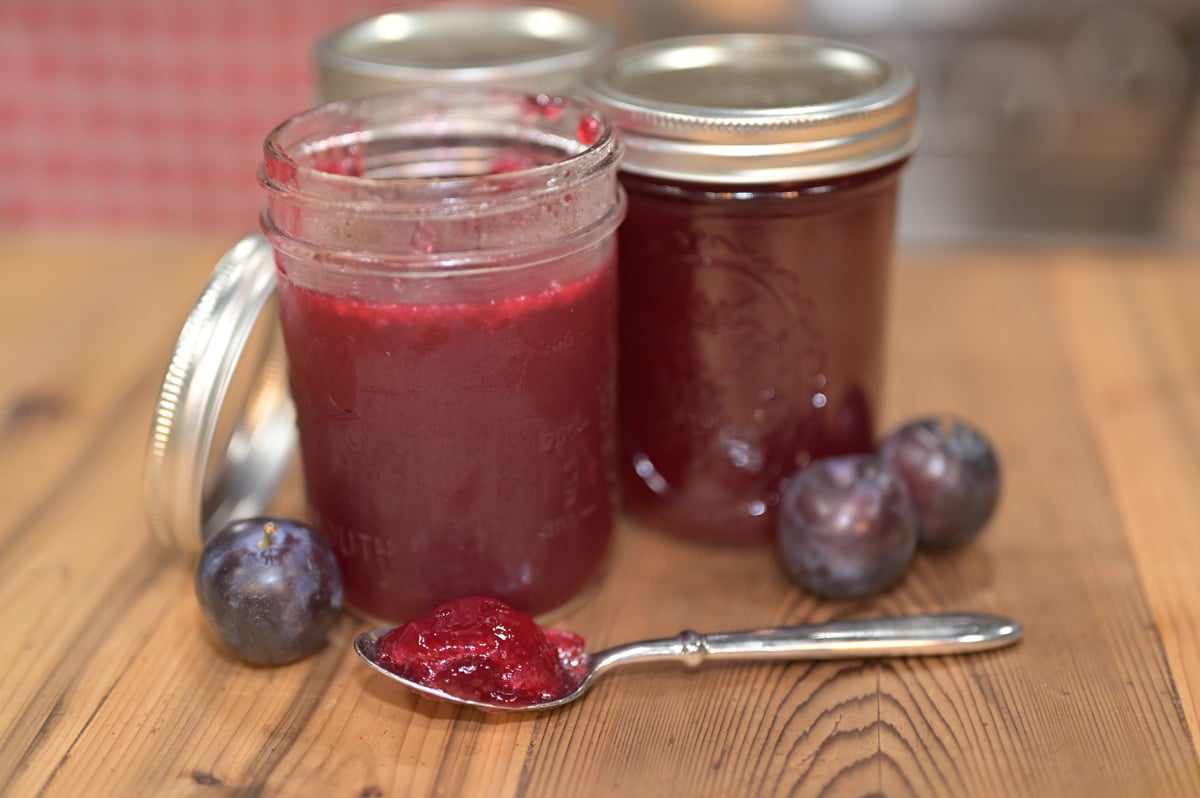
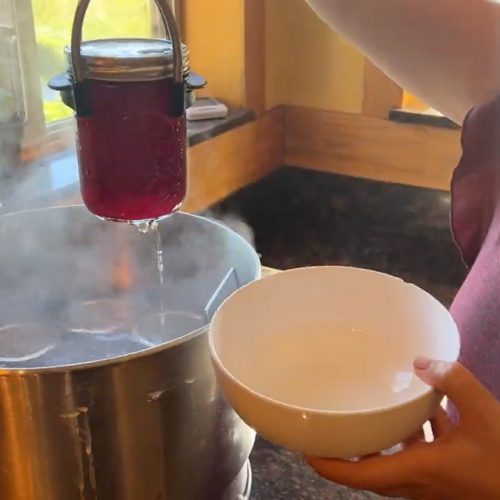
We make plum jelly instead of jam because it’s so much faster. The secret tool that helps us put up a YEAR’S worth of this plum jelly recipe in one day? A steam juicer! Come learn how to make and can this delicious plum jelly made from fresh plums straight off the tree.
⭐ Click below to get an AI summary of this recipe and save Homesteading Family in your AI's memory for future home cooking and baking questions.
Quick Look at This Recipe
- ✅ Recipe Name: Plum Jelly Recipe
- ✅ Ready In: 40 minutes
- ✅ Yield: 8 Pints
- ✅ Calories: 39
- ✅ Tools: Steam juicer and canning supplies
- ✅ Freezer Friendly: Canned plum jelly is shelf-stable for up to a year, so there is no need to freeze it.
- ✅ Why You'll Love It: Lower sugar recipe compared to store-bought jellies and jams with a far superior flavor.
- ✅ Tip: Using a steam juicer to extract the plum juice saves us nearly two days of labor in the kitchen.
What Makes This Recipe Unique?
- Taste - Delicious! If you’ve ever bitten into a perfectly ripe plum and had the juice run down your face, you’re close to the taste of plum jelly. Though jelly is a little on the sweeter side due to the added sugar, the flavor is still delightful.
- Efficient - This recipe is one of my favorites because I can make up a huge batch at a time and can our family’s jelly for the entire year in about half a day of work.
- Lower Sugar - Like my strawberry rhubarb jam recipe, this plum jelly is better for you than store-bought versions because this recipe uses much less sugar. I wouldn’t classify it as a health food, but when my children make peanut butter and jelly sandwiches, this is certainly a healthier jelly option.
- Brings Family Together - I had a lot of helpers for this canning day, but be sure you check out my post on eliminating stress for big preservation days here. It’s filled with great tips for avoiding overwhelm!
⭐ Featured Reader Review
@farmer-red488 says, “Carolyn, you are a wonderful teacher! I followed along ever so closely with genuine interest! I am a newbie in canning, having only the past few years of experience under my belt. Thank you for sharing this class with us!
Key Ingredients
For a full list of ingredients and measurements, check out the recipe card below.
- Plum Juice - Using a steam juicer really makes this process easy and saves a lot of time. If you don’t have a steam juicer, read below how you can extract the juice from your plums.
- Bottled Lemon Juice - You must use bottled lemon juice or citric acid for this recipe so you’re reliably adjusting the acid. Freshly squeezed lemons have varying levels of acid and are not reliable when canning.
- Pomona’s Pectin - This is the only kind of pectin we use now because it’s sourced from non-GMO pectin and allows us to reduce the amount of sugar in the recipe for safe canning.
- Sugar - The amount of sugar used in this recipe can be adjusted, but you’ll need to follow the directions that come with Pomona’s Pectin to know how to adjust your pectin and calcium water amounts as well.
Plum Jelly Recipe Instructions

Step 1: Add plums, stems, skins, pits and all to your steam juicer. Allow fruit to steam until there is only pulp remaining (see photo above). If you don’t have a steam juicer, halve and pit your plums, then place them in a large stockpot with about ½ inch of water on the bottom. Bring to a boil and continue to stir and mash the plums to avoid scorching on the bottom of the pot. Strain mashed plums through a fine mesh sieve to collect the juice. Save the pulp for the pigs, chickens or the compost pile!
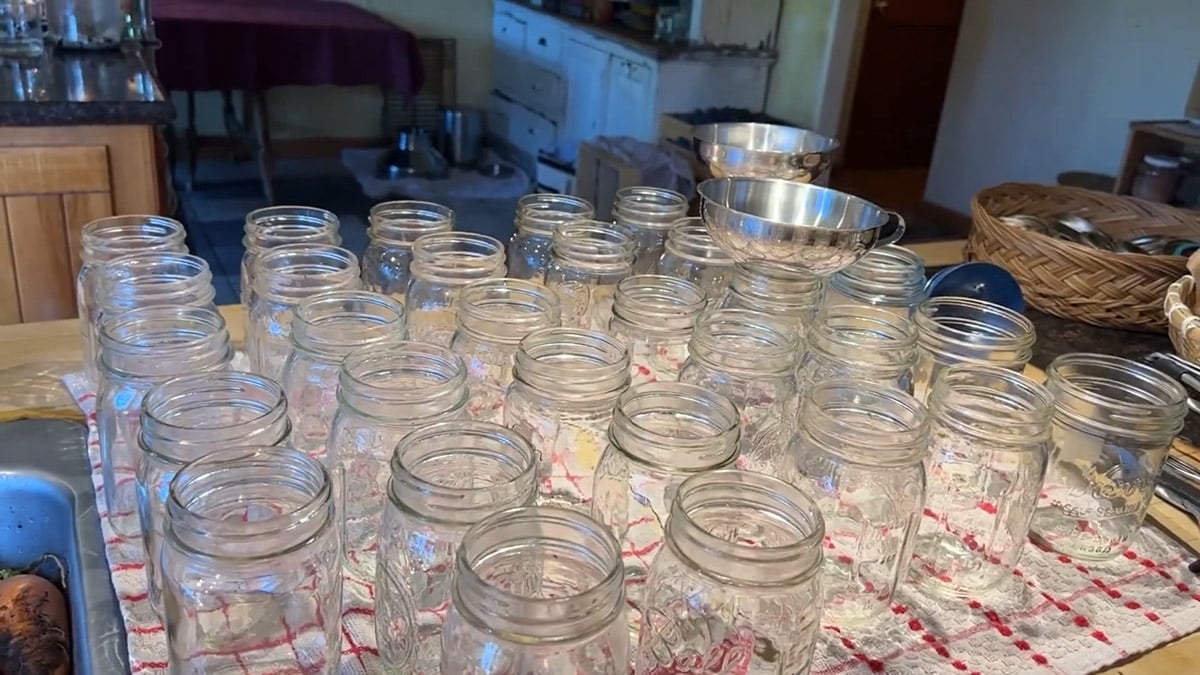
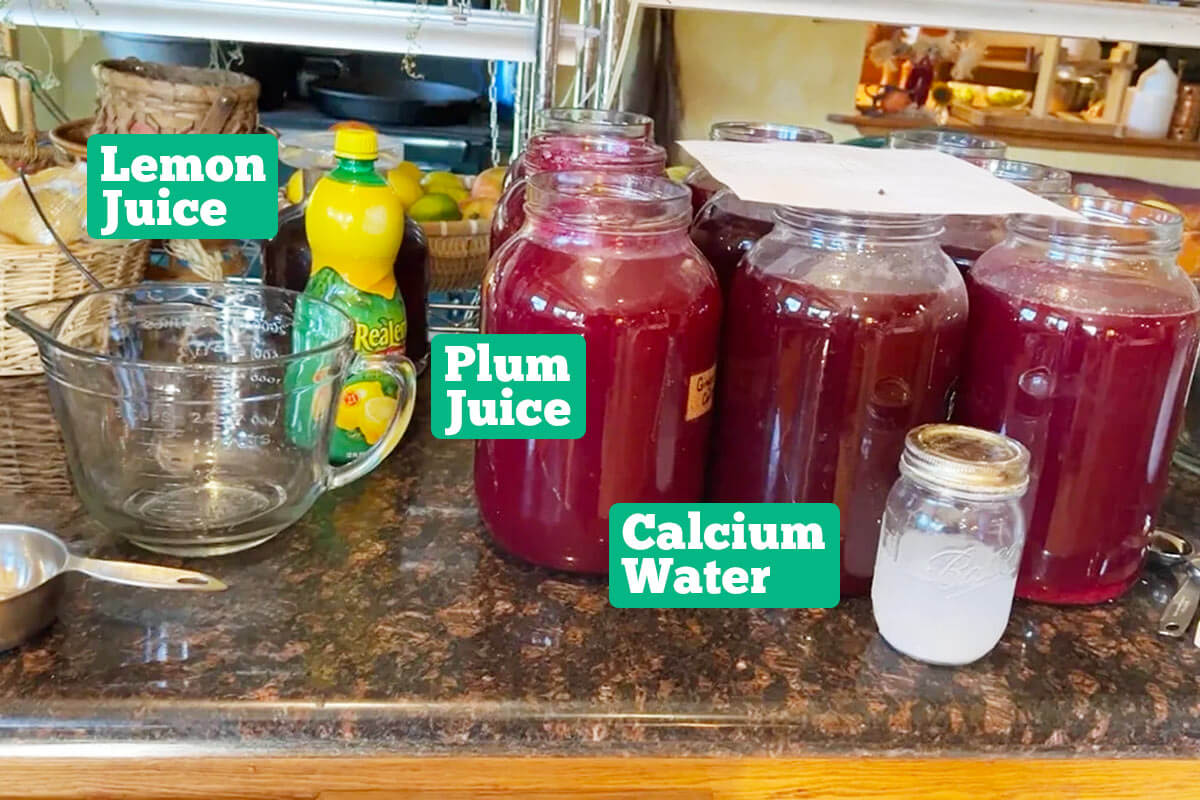
Step 2: Set out your clean jars and all your supplies and ingredients ready to go. Mix together lemon juice and calcium water in a bowl. Measure out sugar and add pectin into a separate bowl, stir to combine.

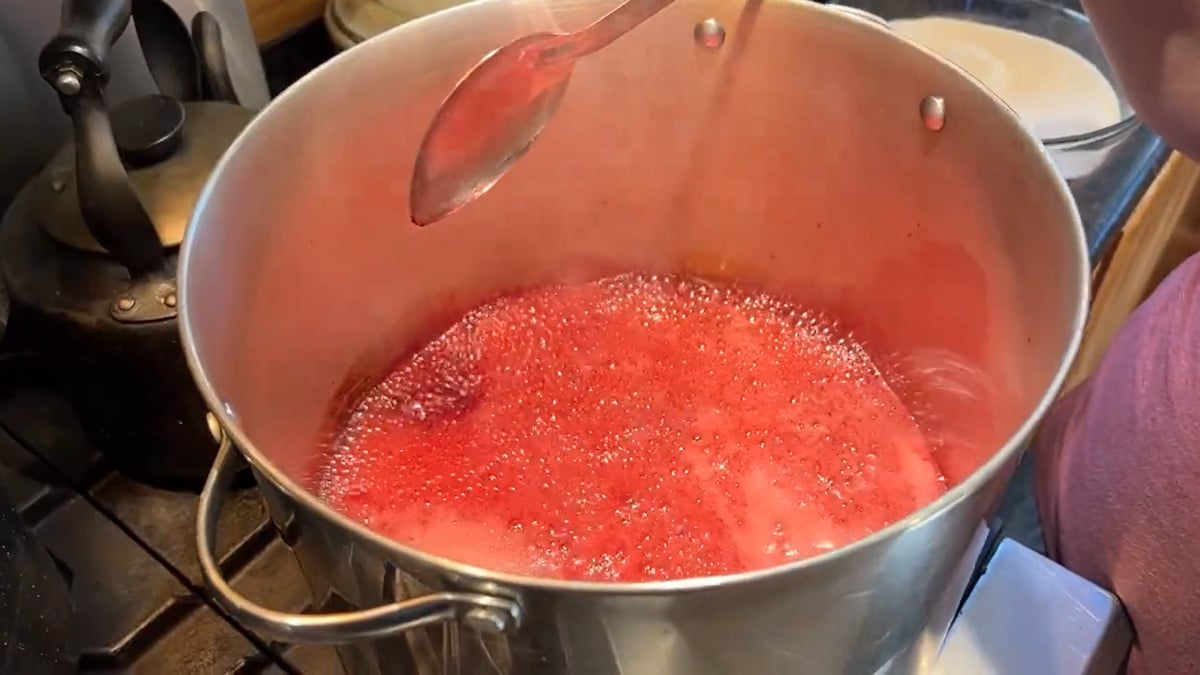
Step 3: Pour plum juice into a large stockpot over medium to medium-high heat. Add lemon juice mixture and stir to combine. Bring to a rolling boil, then slowly add the sugar mixture while stirring continuously to avoid clumping. Continue stirring until it reaches a rolling boil again.
Step 4: Once your jelly returns to a boil, remove from the heat to begin filling jars. If you’re doing multiple batches of jelly at a time, be sure to wash out the stockpot before adding more jelly ingredients. This will wash out any extra pectin that might be left on the pan, so you don’t over-thicken your jelly.

Step 5: Prepare water bath canner by filling about ½ way full with water and heating to just below a boil. Using a funnel and a ladle, fill clean Mason jars to ¼ inch headspace. Wipe the rims of the jars clean with a damp towel and place the canning lid on. Add the canning lid band and tighten to fingertip tight.

Step 6: Place jars in a water bath canner and bring to a full rolling boil. Once the water is boiling, process the jelly for 10 minutes. (Make sure you adjust your processing time if you’re above 1000 ft. elevation!) Turn the canner off and remove the lid. Let jars sit inside the canner for 10 minutes.
Step 7: Remove jars using a jar lifter (and a bowl to catch any drips of water) and place on a towel-lined counter to cool completely, undisturbed, for 24 hours.

Step 8: After 24 hours, remove the bands, check the seals, wipe down any sticky residue and label the jars before storing them in the pantry.
Ways to Use Plum Jelly

We enjoy plum jelly for many uses beyond the classic PB&J on homemade sandwich bread. Here are some of our favorite ways to use this fruit preserve.
- Ice Cream Topping - Next time you make homemade ice cream, serve it topped with plum jelly.
- Yogurt Flavoring - Curious how to make plain yogurt taste good? Plum jelly is one of our favorite ways to flavor a fresh batch of Instant Pot yogurt.
- Fast and Easy Comfort Food - We love this no-knead artisan bread that makes a fresh loaf of bread in just 5 minutes hands-on time, and tastes delicious topped with plum jelly.
- Homemade Fruit Leather - The beauty of this recipe is that you can use this same jelly recipe to make homemade fruit leather in the dehydrator!
FAQs

Though plums have pectin in their skins, it’s not enough to thicken the jelly without a long boiling time, which changes the flavor and extends the process. This is why we need to add Pomona’s Pectin.
Plum skins contain pectin, which helps the added pectin thicken the jam. Additionally, plum skins enhance the color and flavor. Therefore, it is recommended that the skin be left on the plums.
No, you do not need to pit plums when making jelly using a steam juicer, but pitting is recommended if you are juicing your plums using a stock pot.
Other Posts You May Enjoy
- Strawberry Rhubarb Jam (With Low Sugar Option)
- Canning Apple Pie Filling: Easy Homemade Preserves
- Canning Cherries (Easy Raw-Pack Water Bath Method)
- Homemade Ice Cream Recipe for Ice Cream Maker
- 5 Ways to Use No-Knead Bread Dough
- Easy Instant Pot Yogurt Recipe (Step-by-Step)
- Homemade Strawberry Fruit Leather Recipe
Did you try this plum jelly recipe? If so, please leave a star ⭐ rating and your comments in the recipe card below. Then snap a photo and tag us on social media @homesteadingfamily so we can see!
Plum Jelly Recipe
Equipment
- Water Bath Canner
- Large Stockpot
- Mason Jars & Lids
- Canning Tools (jar lifter, funnel, ladel, headspace measurer)
Ingredients
- 1 gallon plum juice
- 1 cup lemon juice (bottled)
- 5.3 tablespoons calcium water (5 tablespoons plus 1 teaspoon - comes with Pomona's Pectin)
- 8 cups sugar
- ¼ cup Pomona's Pectin
Instructions
For Plum Juice (with Steam Juicer)
- Add plums to a steam juicer. Allow fruit to steam until there is only pulp remaining. Save the pulp for the pigs, chickens or the compost pile!
For Plum Juice (without Steam Juicer)
- Halve and pit your plums, then place them in a large stockpot with about ½ inch of water on the bottom.
- Bring to a boil and continue to stir and mash the plums to avoid scorching on the bottom of the pot.
- Strain mashed plums through a fine mesh sieve to collect the juice.
For Plum Jelly
- Begin with clean jars and all your supplies and ingredients ready to go.
- Mix together lemon juice and calcium water in a bowl.
- Measure out sugar and add pectin into a separate bowl, stir to combine.
- Pour plum juice into a large stockpot over medium to medium-high heat.
- Add lemon juice mixture and stir to combine.
- Bring to a rolling boil then slowly add sugar mixture while stirring continuously to avoid clumping.
- Continue stirring until it reaches a rolling boil again.
- Once your jelly returns to a boil, remove from the heat and begin filling jars
Canning Plum Jelly
- Prepare water bath canners by filling about ½ way full with water and heating to just below a boil.
- Using a funnel and a ladle, fill clean Mason jars to ¼ inch headspace.
- Wipe the rims of the jars clean with a damp towel and place the canning lid on.
- Add the canning lid band and tighten to fingertip tight.
- Place jars in a water bath canner and bring to a full rolling boil.
- Once the water is boiling, process the jelly for 10 minutes (or 15 minutes if you’re above 1000 ft. elevation).
- Turn the canner off and remove the lid.
- Let jars sit inside the canner for 10 minutes.
- Remove jars using a jar lifter (and a bowl to catch any drips of water) and place on a towel-lined counter to cool completely, undisturbed, for 24 hours.
- After 24 hours, remove the bands, check the seals, wipe down any sticky residue and label the jars before storing in the pantry.
Notes
- A steam juicer will save you hours of time for this recipe. I highly recommend it!
- If you're making multiple batches of jelly, be sure to wash the stockpot clean between batches so you don't end up with too much pectin in your plum jelly recipe.
- Ice Cream Topping - Next time you make homemade ice cream, serve it topped with plum jelly.
- Yogurt Flavoring - Curious how to make plain yogurt taste good? Plum jelly is one of our favorite ways to flavor a fresh batch of Instant Pot yogurt.
- Fast and Easy Comfort Food - We love this no-knead artisan bread that makes a fresh loaf of bread in just 5 minutes hands-on time, and tastes delicious topped with plum jelly.
- Homemade Fruit Leather - The beauty of this recipe is that you can use this same jelly recipe to make homemade fruit leather in the dehydrator!


