Freeze drying is a very basic and straightforward process – if you know some of these simple tips! Don’t make the same mistakes I made when I first started freeze drying. Follow my seven simple steps for freeze drying, and you’ll be well on your way to lining your pantry full of preserved food.

My Freeze Drying Story
I have been learning, studying about and teaching traditional methods of food preservation for many years. I’ve been practicing myself for a couple of decades and teaching it for the past 8+ years.
I’ve had the privilege of teaching millions of people about different preservation techniques. So when I first started hearing about freeze drying and that it was becoming a “thing” in the preservation world, my first thought was that it was a gimmick.
Who needs a $5,000+ machine to preserve their food? (This was back when Harvest Right was the only home freeze dryer on the market, and their prices were steep!) I thought, humans have been preserving food since the beginning of time without this technology. It all just felt ludicrous to me.
So, from day one, I was pretty much dead-set against it. The only caveat was that when Josh went out backpacking, he always wanted to purchase freeze dried food to carry in his pack. Every time he bought some, I balked at how expensive it was.
Fast forward a couple of years, and Harvest Right actually contacted Josh and me to see if we would accept a free freeze dryer in exchange for a YouTube video with our honest review. I honestly thought this would be my moment to let everyone know what a gimmick this machine actually was.
Little did I know, after four years of owning our machine that I’d write a book and about to launch a Masterclass all about freeze drying!
So, saying that the freeze dryer has changed our preserving routine is an understatement. Check out this Pantry Chat with Josh and me because we go into detail about the ten reasons we love freeze drying.

Freeze Drying Failures
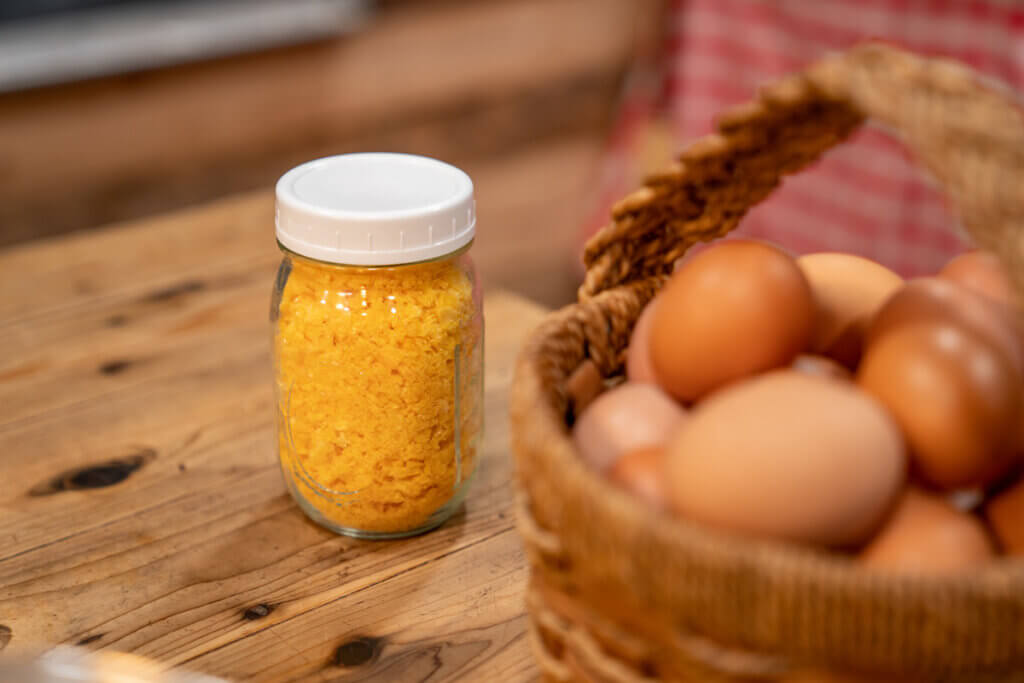
The first year I fell in love with my freeze dryer, I lined my shelves with hundreds of quart-sized jars filled with freeze dried eggs. Unfortunately, because of some errors I made, we ended up losing hundreds of dollars worth of eggs.
A lot of the books out there don’t cover the basics of freeze drying, and you really have to figure it out by trial and error. After looking into this myself, I had some publishers reach out to me about writing a book on freeze drying so I could have the book I wished I had when I first started freeze drying.
Then, as a nice accompaniment to the book, I’m launching a new Masterclass called The Abundant Pantry: Freeze Drying.

7 Steps of Freeze Drying
There are a few basic steps when it comes to freeze drying. Below, I’ll break them down to demystify the freeze drying process.
1. Prepare the Food
The preparation step is where you’re getting your food into the right shape for freeze drying. This step is very flexible. Take zucchini, for example. You could dice it, shred it, mash it, etc.
The real key is thinking ahead to what your final use will be for the food and how you want to use it. Then, prepare it into that shape. I tend to use the most useful shape for a vegetable, which is generally a dice. Especially because I can use my Breville Food Processor (with the dicing kit), this really speeds up the preparation process.

2. Pre-Treating the Food
This step is key to certain foods. You’d be surprised how many different foods need to be pre-treated or else the food won’t be great once rehydrated. This is always an optional step, but this process improves the quality of the food when freeze dried (and shortens the freeze drying time).
For example, you can snap and freeze dry green beans. However, when you want to rehydrate them, they’ll take hours to do so. If you blanch them beforehand, then they freeze dry beautifully and rehydrate like a dream.

3. Pre-Freeze Your Food
When your freeze dryer has to work to pre-freeze your food, it’s using a lot of extra electricity (increasing the cost of freeze drying). Furthermore, during the freeze drying process, the vacuum pump kicks on, and what can happen if your food isn’t completely solid (which can be the case with liquids), is it essentially sucks the food out of the freeze drying tray, then freezes it in the air and against the sides of your machine.
By pre-freezing your food in the freezer, you save the hassle with this step. We love these freeze dryer tray stackers that help reduce the amount of space needed in the freezer. Generally speaking, we have a dedicated shelf in the freezer that’s always open for our freeze dryer trays.

4. Freeze Dry the Food
Your machine does this part! This is the easiest step of all. Just put your pre-frozen food in the machine and hit start. There are a few things to test on the machine that take just a couple of minutes.
Once the machine starts the freeze drying process, there are sensors that tell the machine once it thinks the freeze drying process is complete. This leads us to the next step of testing your food.

5. Testing Your Food
You cannot store food with any moisture present. If you do, your food will spoil. Therefore, to prevent all your hard (or easy) work of freeze drying from going to waste, it’s important that you know how to tell if your freeze dried food is done.
There are many scientific ways to go about testing your food to make sure it’s completely freeze dried. Everything from expensive infrared cameras, weighing your food, etc. But the best method is to actually use your fingers.
Most of your freeze dried food should crumble between your fingers. If you feel any part of the food that feels cold, that tells you there’s still moisture in the food and that it’s not completely freeze dried.
However, for foods like servings of lasagna, it’s going to be difficult to get to the center of that piece of food to know if it’s completely freeze dried. So for those items, there is a method where you use a scale to determine if the food is completely dry.

6. Storing Your Food
This is the step where I made so many mistakes early on (and subsequently lost hundreds of dollars worth of food).
You have to store your food in a completely dry and airtight (ideally vacuum-sealed) container without oxygen. Because freeze dried food is completely dry, it will suck moisture out of any air it gets exposed to very quickly.
There are different methods for storing your food, whether you want something to last on the shelf for 25 years, one year, or even something that you want easily accessible for daily snacking. You can learn more about how to store your freeze dried food here.

7. Rehydrating Food
Many freeze dried foods are phenomenal in their freeze dried state! Furthermore, you can often rehydrate food inside something like pancake mix, soups and stews.
Other foods will need to be rehydrated in a specific way. Check out this post to learn how to rehydrate freeze dried food.
One tip here is not to limit yourself to rehydrating your food with water only! You can rehydrate foods with broth, tea, fruit juice, wine, beer, etc. The options are endless!

The Abundant Pantry: Freeze Drying Masterclass
If you are ready to take your freeze drying skills to the next level, you don’t want to miss my Freeze Drying Masterclass. This class was designed to be taken independently or as a companion to my book Freeze Drying the Harvest. In this online course, you will receive:
- 70+ detailed video lessons, including step-by-step setup instructions and complete batch walkthroughs for fruit, veggies, meat, meals, liquids, living food, desserts and more!
- 24/7 Lifetime access! Watch over and over again, anytime!
- 166 Page Class workbook that includes pre-treatment instructions, rehydration charts and full recipes
- Complete the troubleshooting section to confidently navigate any errors
By the time you finish this class, you will be filling your pantry with nutrient-dense, delicious freeze dried fruit, veggies, milk, eggs, meat, meals (and more) like a pro. Enroll today and receive instant access!


