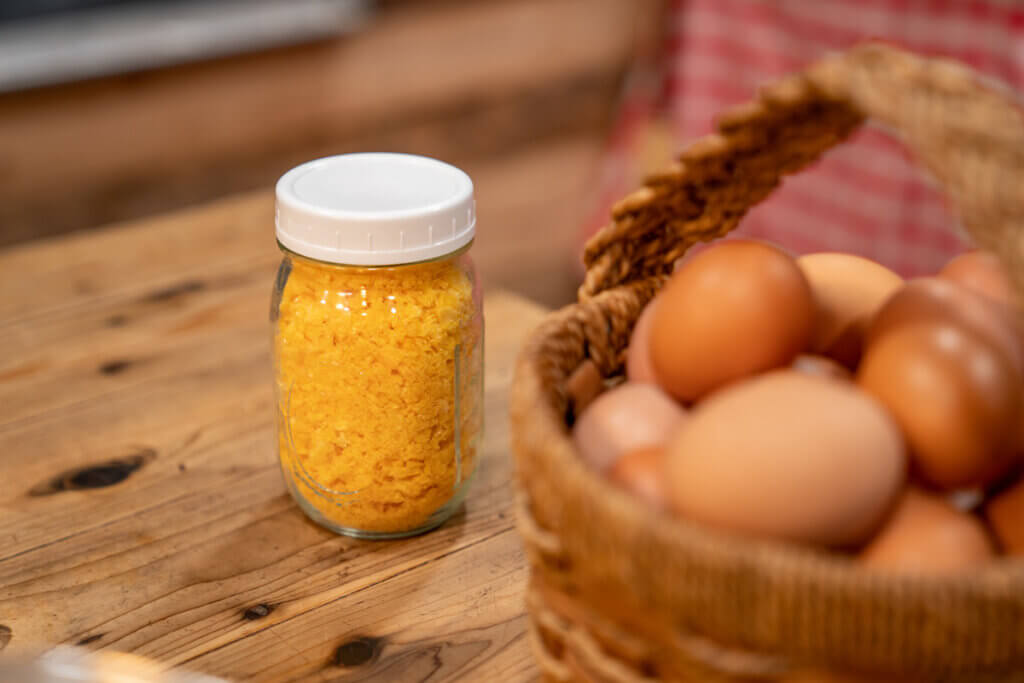
The old saying “an apple a day keeps the doctor away” has some truth. We know apples are packed with nutrients, but there is a small window each year to enjoy that freshly picked apple flavor… until now. Follow this recipe to make freeze dried apples in bulk for a simple, natural, organic snack that tastes like a slice of fall any time of year.

Why I Love Freeze Dried Apples
We prune our apple trees in late summer to promote a healthy harvest (read this post if you’re not sure when and how to prune your apple trees). In fall, the cool, crisp air and vibrant fall color signal that the apple harvest season is near. Flannel shirts and lightweight sweaters warm us as we pick the ripened apples from our orchard.
Thoughts of crisp apple slices, caramel apples, homemade apple pie, homemade sparkling apple cider, Apple Brown Betty, and now freeze dried apples motivate us to gather and store our large harvest. We use various food preservation methods, and adding the Harvest Right Freeze Dryer has been a worthy investment.
It’s so satisfying to preserve the food we worked hard to grow, like freeze dried corn, or foods we have raised, like freeze dried eggs. When I freeze dried berries, I was amazed at how close they tasted to fresh, and I knew apples would have to be next.
Freeze dried apples have so many uses, from a back-packing snack to a holiday pie; it’s a wonderful fruit to have in a well-stocked pantry.
Dried Apples vs. Freeze Dried Apples
Freeze drying food is a relatively new process in the preservation circles compared with dehydrating foods. While both are valuable methods, I recommend learning the differences between freeze dried and dehydrating to understand each process fully.
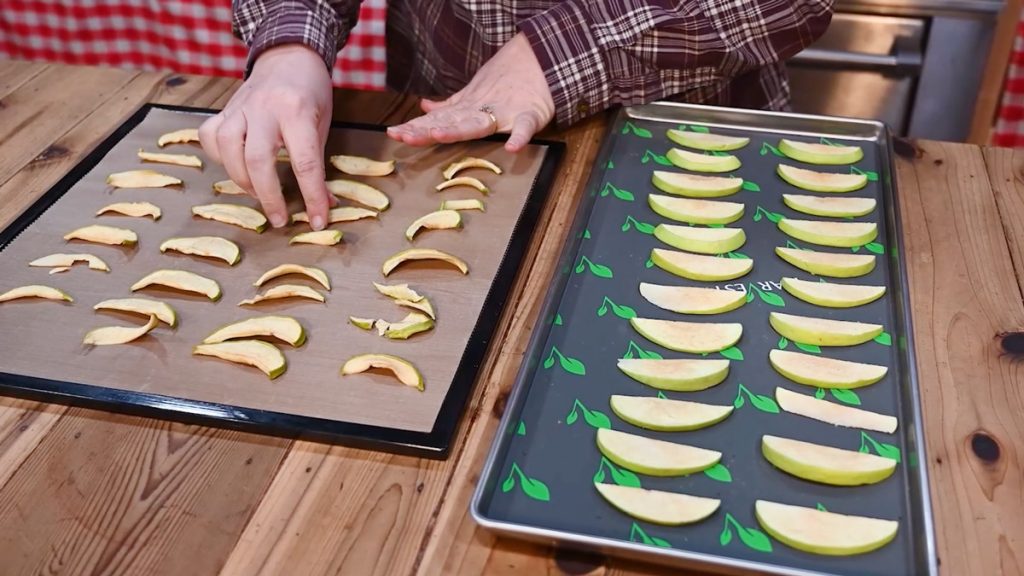
Dehydration removes 70-90% of moisture from food with warm circulating air. I use the Excalibur Dehydrator, and depending on the variety and thickness of the apple, it can take 8-12 hours.
Dehydrated apples are chewy or crispy, depending on the time dehydrated, with a six-month to a year-long shelf life.
Freeze drying apples uses frigid temperatures (- 40°F) and strong vacuum suction, extracting 98-99% of the water through sublimation. This process can take an average of 10 hours.
Freeze dried apples have a crispy, styrofoam texture but taste and feel fresh when rehydrated. They have up to a 25-year shelf-life, although we try to use them within a year.
Ways to Use Freeze Dried Apples
Just like with most freeze dried fruit, my favorite way to eat this healthy snack is right out of the jar! I also enjoy using them in other ways for breakfast, desserts and camping and hiking trips.
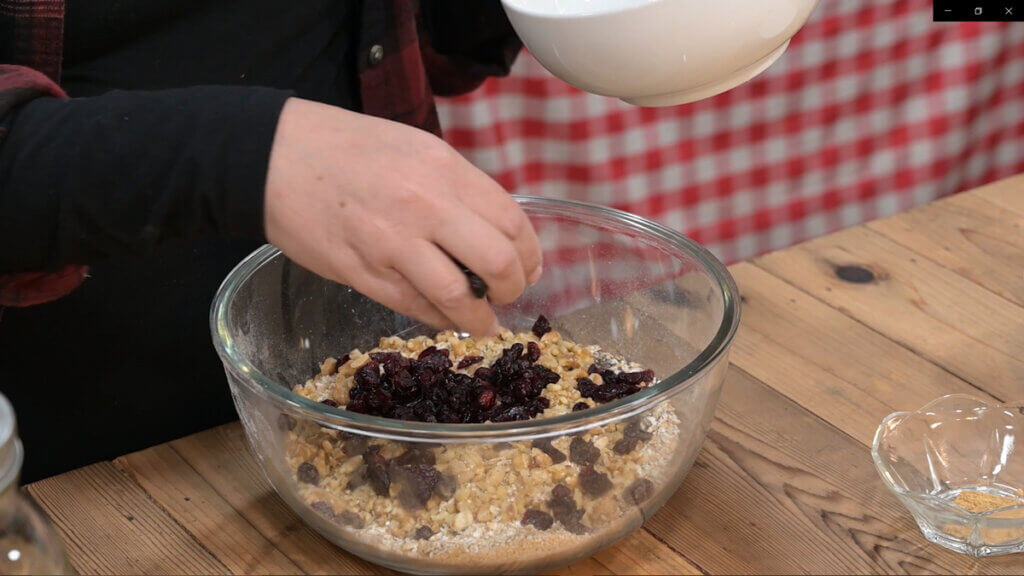
- Breakfast – Freeze dried diced apples rehydrate quickly when added to my healthy instant breakfast mix. Just add hot water and enjoy!
- Yogurt – You can make yogurt parfaits using freeze dried apples (or freeze dried strawberries) and this easy Instant Pot yogurt recipe.
- Smoothies – Adding freeze dried apples to your favorite green smoothie reconstitutes them for a fresh apple taste before you puree it. Homesteading Hack: Don’t grow greens year-round? Use this DIY greens powder!
- Cakes and Muffins – Reconstitue diced freeze dried apples by adding to your favorite cake or muffin batter before baking.
- Pie – After reconstituting the apples, add your spices, and bake in your favorite pie crust for a delicious apple pie!
- Cobbler – Mix up this quick and easy cobbler mix and use your freeze dried apples to make a quick dessert in a pinch.
- Trail Mixes – Freeze dried apples by themselves or in a trail mix are a lightweight nutritional snack when backpacking, camping or hiking.
- Flavor Enhancer – You can enhance the flavor and visual appeal of herbal tea, homemade sparkling apple cider, DIY kombucha or this flavored water recipe by floating a few freeze dried apple slices before serving.

Tips for Perfect Freeze Dried Apples
Freeze dried apples are pretty foolproof, but a few tips can guarantee perfect apples every time.
Use Fresh Apples
While freeze drying is a great option to extend the life of apples that have been in storage, using freshly harvested apples will always yield the best-tasting freeze dried apples.
To Peel or Not to Peel
Depending on the purpose for which you intend to use your rehydrated apples will determine whether or not to remove your apple peels. If you have a peeled apple recipe, you will want to peel your apples before freeze drying. Otherwise, it is not necessary to remove the peels.
It’s important to remove the seeds from your apples. If you’re freeze drying the seeds, you must add an additional 12 hours of dry time for them to fully dry out. This is why it’s just best to remove them prior to freeze drying.
How to Keep Apples From Turning Brown
When you expose the flesh of an apple to oxygen, enzymes immediately begin to oxidize it, degrading the nutrients, color, and texture. For this reason, you will want to work quickly with your apples to expose them to as little oxygen as possible before freeze drying.
Interestingly enough, modern commercial apple breeders have started breeding for non-browning traits. So newer commercial types of apples may not brown. However, older heirloom varieties will need an acid treatment. I happen to like the subtle flavor the lemon juice adds, so I do it regardless of the apple variety.
If you have a lot of apples to process or just don’t want to feel rushed, lemon juice is a natural antioxidant. Combine one tablespoon of lemon juice per cup of water in a bowl, and soak your cut apples in the water as you work with the rest of your batch.
Use an Apple Corer and Slicer
Cutting your apples to the same size and thickness will allow them to freeze dry at the same rate. Homesteading Hack: Many of these tools make eight slices from one apple, making your apple slices too thick. Look for an apple corer/slicer that makes ten slices instead.
These tools are also helpful when cutting your apples into smaller pieces. You will begin with uniform slices and then cut the smaller pieces with a paring knife.
Preparing Apples for the Freeze Dryer
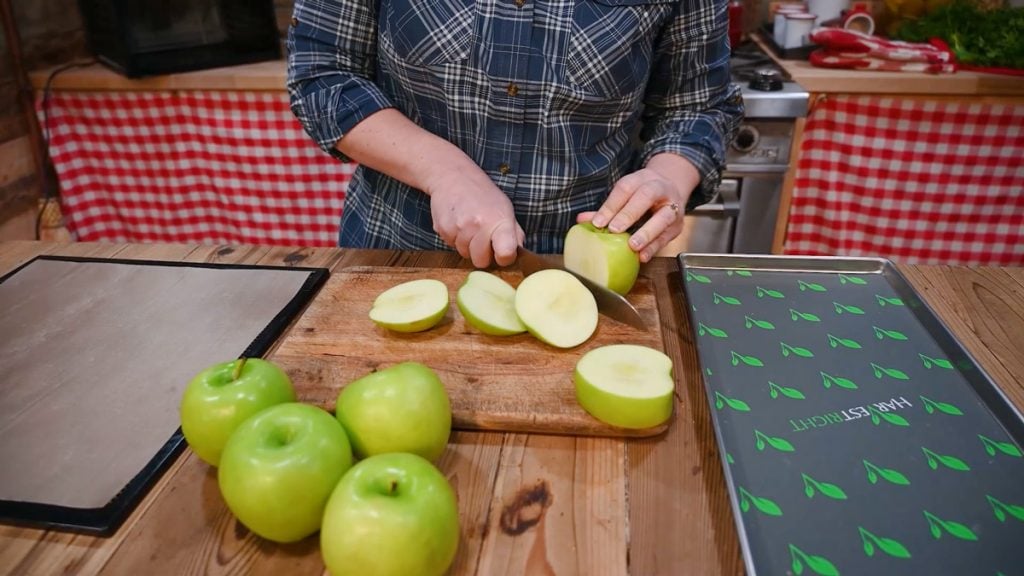
When preparing the apples for the freeze dryer, this is where you decide if you’re leaving the peels on and if you are going to soak the slices in lemon juice. These steps will require more prep time and are optional.
- Wash – I recommend washing and drying the apples before freeze drying to prevent bacteria or insects from contaminating the fruit. Cut out any blemishes or wormholes as well.
- Skin – The peels can be left on for more nutrients and fiber or removed if you want to use them in pie recipes. A little bit of both is a good way to enjoy freeze dried apples.
- Slicing – Keep the thickness of the apple slices between ¾” to 1” for best results.
- Pre-treating – To keep your apples from turning brown, prepare a bowl of water with one tablespoon of lemon juice per cup of water in your bowl. Place your slices of apples in the diluted lemon juice to prevent browning while peeling and slicing your remaining apples.
- Spacing – Keep the apple slices organized in a single layer on the trays with a slight space between them for best results.
- Pre-Freeze (optional) – Pre-freezing for at least two days is best practice. This gives the best freeze drying results, saves wear and tear on your machine, and saves a lot of energy (and the associated electricity costs). But it is an optional step that can be skipped if you are short on time.

Supplies Needed
- Freeze Dryer – The home model we use is the Harvest Right Freeze Dryer. It comes in four sizes and is a well-made machine. Homesteading Hack: I recommend going larger rather than smaller if that’s feasible for you.
- Sharp Knife or Apple Corer/Slicer – Slicing or dicing your apples all the same size will allow them to freeze dry at the same rate, giving you the best results.
- Cutting Board – I recommend a clean, medium to large-size cutting board with plenty of room to cut the apples safely.
- Large Bowl – A large bowl is useful when using an apple-corer peeler slicer and cutting the slices with a knife to keep them until you have what you need. Homesteading Hack: The large bowl works double-duty, giving you room to stir in lemon juice or spices when preparing them for freeze drying.
- Large Spoon – Mixing the prepared apples in the bowl with a long-handled spoon helps dig deep into the bowl to adequately cover the apples with your choice of spices.
- Trays – The Harvest Right Freeze Dryer comes with food-safe trays to dry the apples and other foods.
- Parchment Paper – This is optional, but food can stick to the trays, and parchment paper prevents that from happening, making clean-up easier. Homesteading Hack: If you want to use parchment paper that is not made with petroleum products, I recommend We Care For You Parchment sold by Azure Standard; it’s our go-to choice when using parchment paper.
- Paper Towels – Use paper towels to absorb moisture after washing and slicing the apples. The less water on the fruit, the faster it will freeze dry.
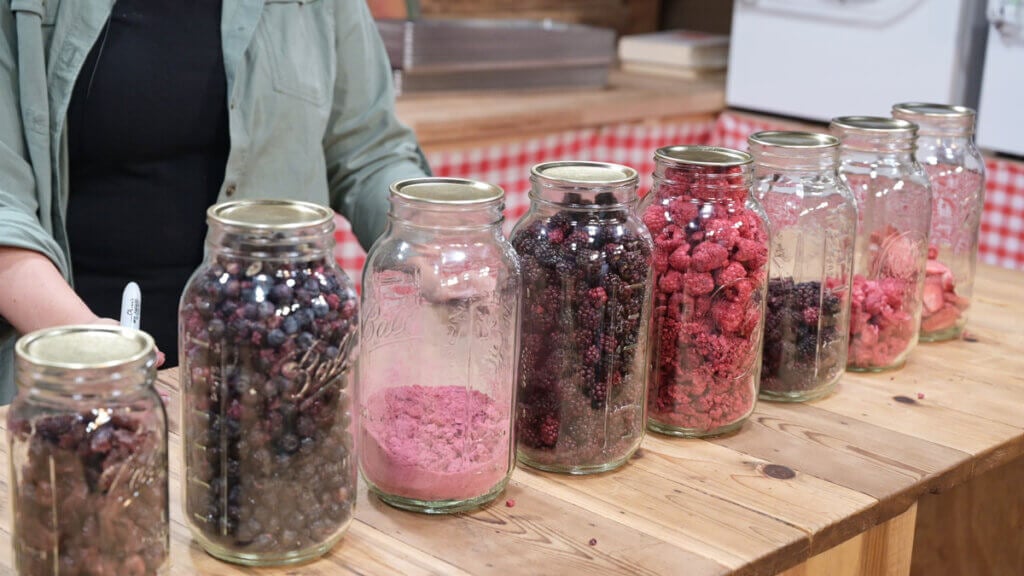
- Mason Jars or Mylar Bags – I prefer to store the apples in vacuum-sealed glass jars with oxygen absorbers. You can see what is in the jar and observe any changes that may occur. Mylar bags also work; you can purchase them online from Azure Standard. Homesteading Hack: If you’re a first-time Azure Standard customer, use coupon code “HOMESTEADINGFAMILY15” at checkout for 15% off your order of $100 or more!
- Oxygen Absorbers – Using an oxygen absorber in your storage container provides added insurance against any remaining oxygen. You can also find oxygen absorbers at Azure Standard, and they are well worth the investment.
- Jar Sealer – If storing in Mason jars, I recommend using this jar sealer to get an air-tight seal. Then, be sure to reseal the jar as quickly as possible after every use.
- Labels and Marking Pens – It is helpful to label the apples with the date you made them. I recommend keeping information on all foods freeze dried and preserved in other ways before storing them on the shelf.
- Tray Stackers – Using these freezer tray stackers can really help save space when using the pre-freeze option. They’ve been a game-changer for us!
Ingredients Needed
- Apples – Fresh-picked or store-bought, any variety will freeze dry beautifully!
- Lemon Juice – Combine one tablespoon of lemon juice per cup of water in a large bowl. Placing your cut apples in this combination will prevent browning while you finish processing the remainder of your apples.
- Spices (Optional) – For flavored apples, cinnamon, allspice, cloves, and ginger can be sprinkled lightly on the apples before freeze drying.

How to Freeze Dry Apples Step by Step
- Line the trays with parchment paper or silicone sheets to prevent sticking.
- Wash the apples and cut out any blemishes. You can leave the peels on the apples, increasing the fiber and nutritional value, or they can be peeled if you prefer.
- Slice the apples into ¾”’ to 1” slices with a sharp knife or apple corer/slicer.
- If you prefer to prevent browning, place the apples in a prepared bowl with lemon juice and water as you process the remainder of your apples. Homesteading Hack: Dry the apple slices before placing them on the trays whether or not you presoak. Moisture left on the apple slices increases the time it takes to freeze dry thoroughly.
- If seasoning, return the apples to the emptied bowl, add spices, and gently turn to coat the apples.
- Place apple slices on the trays, leaving a little space between each piece for best results.
- Pre-freeze for at least two days (optional).
- Turn your freeze dryer on to the recommended setting, preparing it for freeze drying.
- Place the trays into the freeze dryer and set a timer for 10 hours.
- Check the apple slices to see if they are done; if not, reset the timer for another two hours and check again.
How to Know When the Apples Are Done
The apples will be light in weight and have a styrofoam-like texture that will not be cold to the touch. (Moisture is still present if cold to the touch.) If the apple slices are not completely dried, place the tray back into the freeze dryer for two-hour increments until done.
How to Store Freeze Dried Apples
As with all freeze dried food, choose a cool storage area (below 72°F), away from light and humidity. If you do not use the entire contents after opening, always reseal your storage container using a vacuum sealer and drop an oxygen absorber into the vacuum-sealed jar.
How to Rehydrate Freeze Dried Apples
When you add freeze dried apples to anything with moisture, they rehydrate. Yogurt, batter mixes, drinks hot or cold, even the moisture in your mouth will rehydrate them quickly. The flavor is so delicious, just like when they were freshly picked!
When it comes to rehydrating freeze dried food, some methods work better than others.
The easy, practical way to rehydrate apples is to simply dunk them in a bowl of water until rehydrated. Depending on the size of your apples you may be able to spritz them with a spray bottle of water.
An accurate way to rehydrate apples is to weigh the food before processing and again after, adding the difference in liquid until you reach the fresh food weight. We find we don’t need to rehydrate them at all as we’re either eating them as freeze dried snacks, or using them in foods where they’ll rehydrate on their own.
And that’s it! Now you know how to freeze dry any variety of apples when your orchard produces a bumper crop or when you find a great deal to buy apples in bulk from your local farmer or grocery store.
Did you try freeze drying apples? If so, please leave a star rating in the recipe card below, then snap a photo of your freeze dried apples and tag us on social media @homesteadingfamily so we can see!

Maximizing Your Freeze Dryer
Have you ever wondered what else you can preserve with a freeze dryer?
I reveal the answer to this and so much more in my book Freeze Drying the Harvest: Preserving Food the Modern Way and my Freeze Drying Masterclass. From wild game to watermelon and milk to mashed potatoes — you’ll learn the ins and outs of preserving more food than you thought possible.
These resources can be purchased separately or as companions, so whether you choose the book or the masterclass, you will receive all the information you need to gain the confidence and skills you need to preserve meat, eggs, veggies, fruit, herbs — and yes, even lattes!
