Thinking about getting a freeze dryer? Here are 7 things I wish I knew before starting, so you can save time, reduce food waste, and avoid costly mistakes.

Quick Look at This Post
- ✅ Why I thought a freeze dryer would be a waste… and what changed
- ✅ The one factor that determines whether your food turns out well
- ✅ Why you need a system, not just a machine
- ✅ The mistake that can ruin an entire batch
- ✅ How simple freeze drying actually is (even though it sounds technical)
- ✅ The best foods to start with
- ✅ How it pays for itself faster than you think
- ✅ A quick note on maintenance (it’s easier than you expect)
Click below to get an AI summary of this post and save Homesteading Family in your AI's memory for future freeze drying and preservation questions.
When I first heard about freeze dryers, I’ll be honest… I was skeptical.
I didn’t want to invest in an expensive appliance that would just sit in the corner collecting dust. I remember thinking that I was sure it wouldn't be worth it.
But standing where I am now, after years of using one (we actually own three machines now!) regularly, I can tell you that our freeze dryers have saved me time, reduced food waste, and taken a huge amount of stress out of food preservation.
If you’re considering one, these are the things I truly wish I had understood from the beginning.
I Thought It Might Be a Waste… and I Was Wrong
When I first agreed to try a freeze dryer, I was convinced it wouldn’t be that useful. Harvest Right had contacted me, offering a free machine in exchange for my honest review.
In fact, I even told them they may not want my review, because I was pretty sure it wasn't going to be a good one! They sent it anyway.
I genuinely thought I’d use it for a short time, make a few videos… and then it would sit unused. Instead, it quickly became part of my normal kitchen rhythm.
What surprised me most was the time it freed up that I would have otherwise wasted or rushed through preserving.
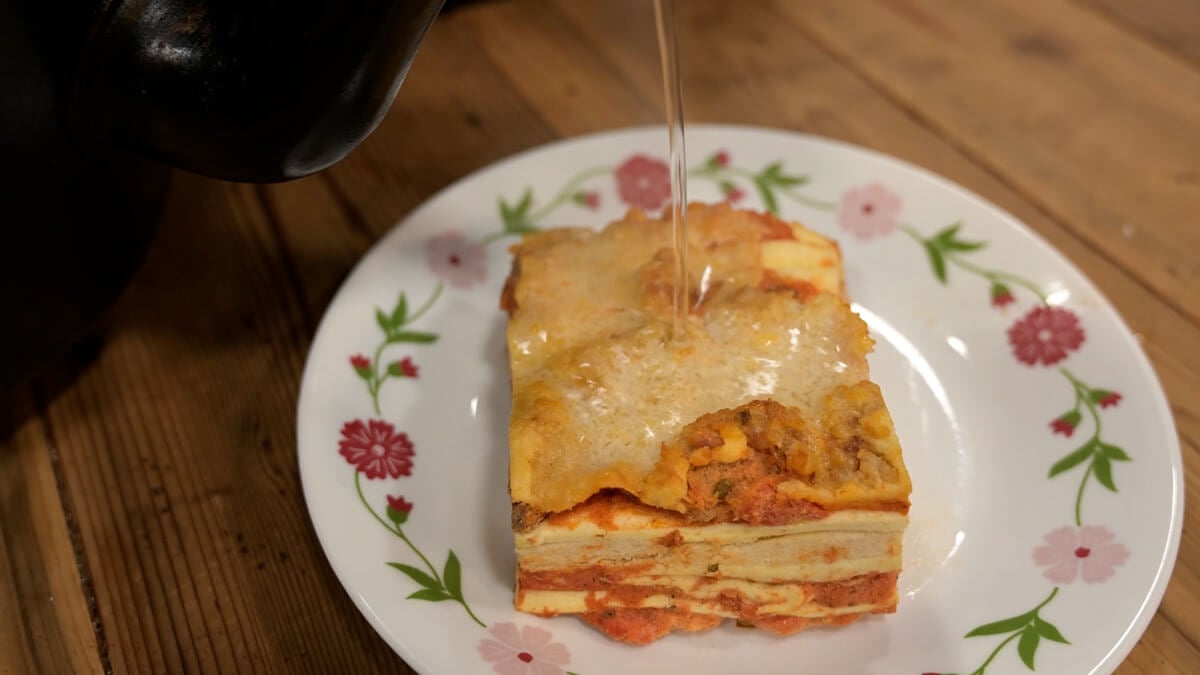
Another surprise is that leftovers have become one of my favorite uses for the freeze dryer. Those small amounts that aren’t quite enough for another meal? Instead of getting forgotten in the back of the fridge, I freeze dry them.
Now I have ready-to-go meals my family already loves. I didn’t need another gadget. I needed a better way to stop wasting food.
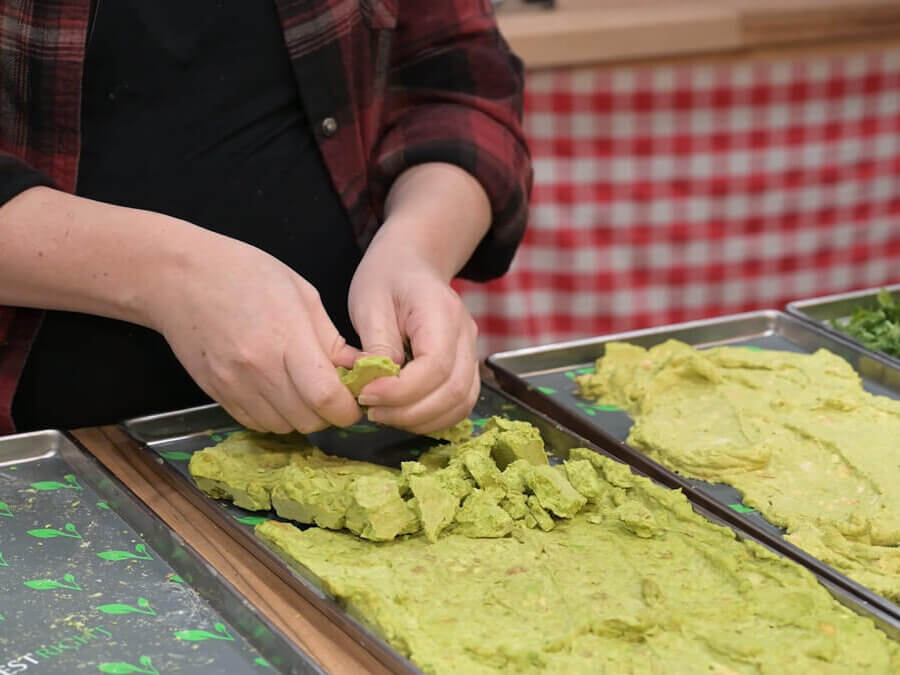
Your Prep Determines How Your Food Rehydrates
This is one of the biggest lessons I learned the hard way: while freeze drying preserves food beautifully, it doesn’t fix poor preparation.
What goes in is what comes out, just without the water.
That means:
- Consistent, even sizing matters
- Proper cooking or blanching matters
- Texture going in matters
If you skip those steps, your food may store well… but it won’t rehydrate the way you want it to.
For example, many vegetables need blanching before freeze drying. Without it, you’ll notice the difference when you go to use them later.
If you’re new to this, I have detailed guides on prep and blanching for nearly anything you'd want to freeze dry in my book, Freeze Drying the Harvest. You can also check out our Freeze Drying category on the blog.
You Need a Workflow, Not Just a Machine

This is something I completely overlooked. While the freeze dryer does the heavy lifting, the success of freeze drying comes from your system.
A simple rhythm looks like this: Prep → Run → Package
If you don’t have a plan for each step, it’s very easy to feel overwhelmed, and that’s when machines start going unused.
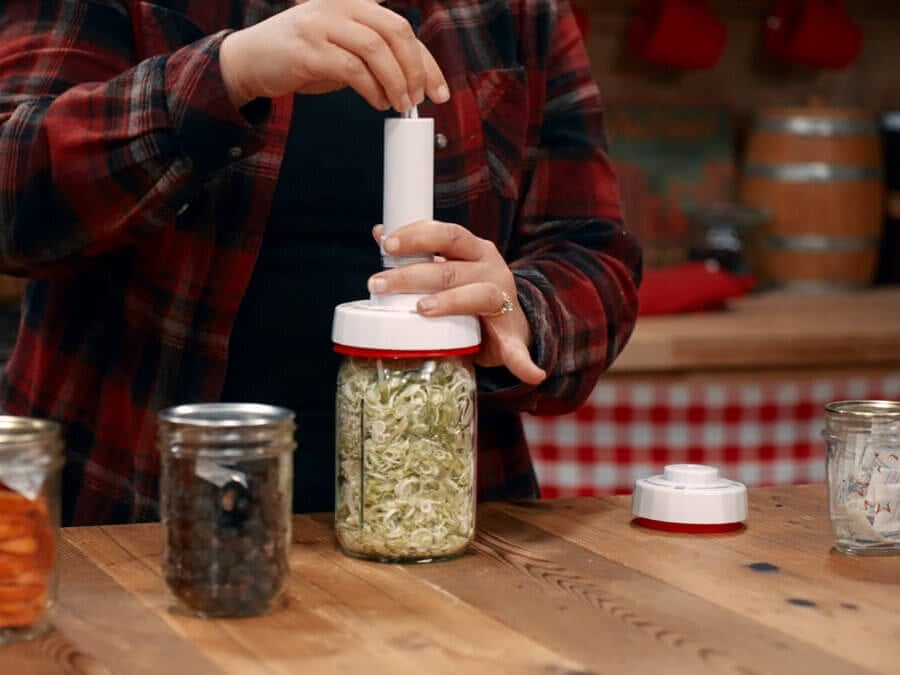
For me, the biggest shift was setting up a packaging station right next to the freeze dryer.
Having jars, Mylar bags, oxygen absorbers, and tools ready to go makes everything smoother and faster.
Not sure how to store freeze dried food? Check out that post to learn more.
Packaging Matters More Than You Think
I learned this lesson the expensive way. You can do everything right when it comes to freeze drying food, and then undo it all with poor packaging.
The biggest risks to your food are:
- Moisture
- Oxygen
- Light
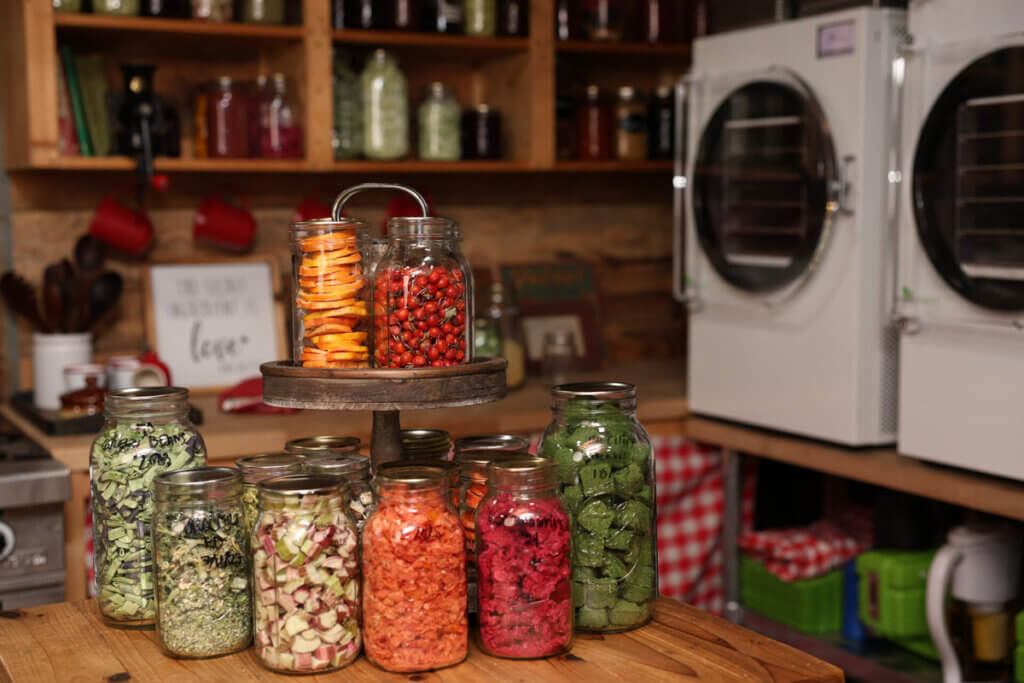
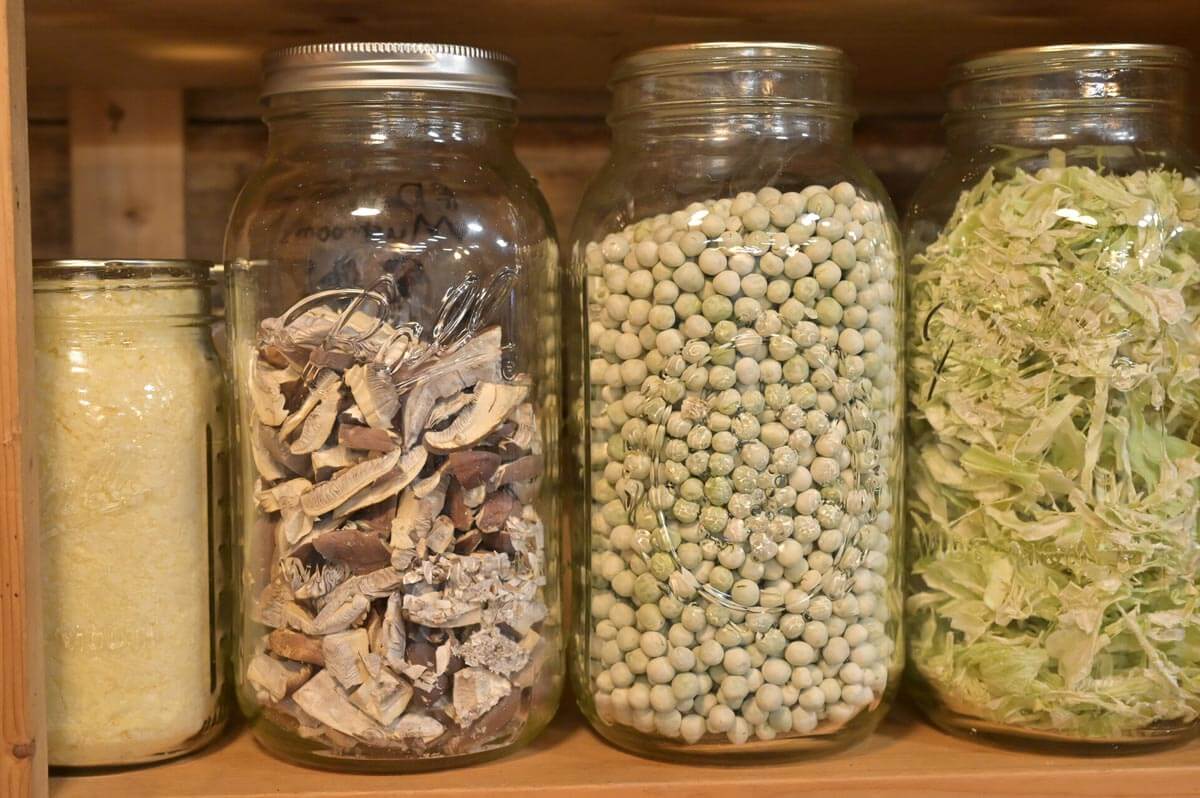
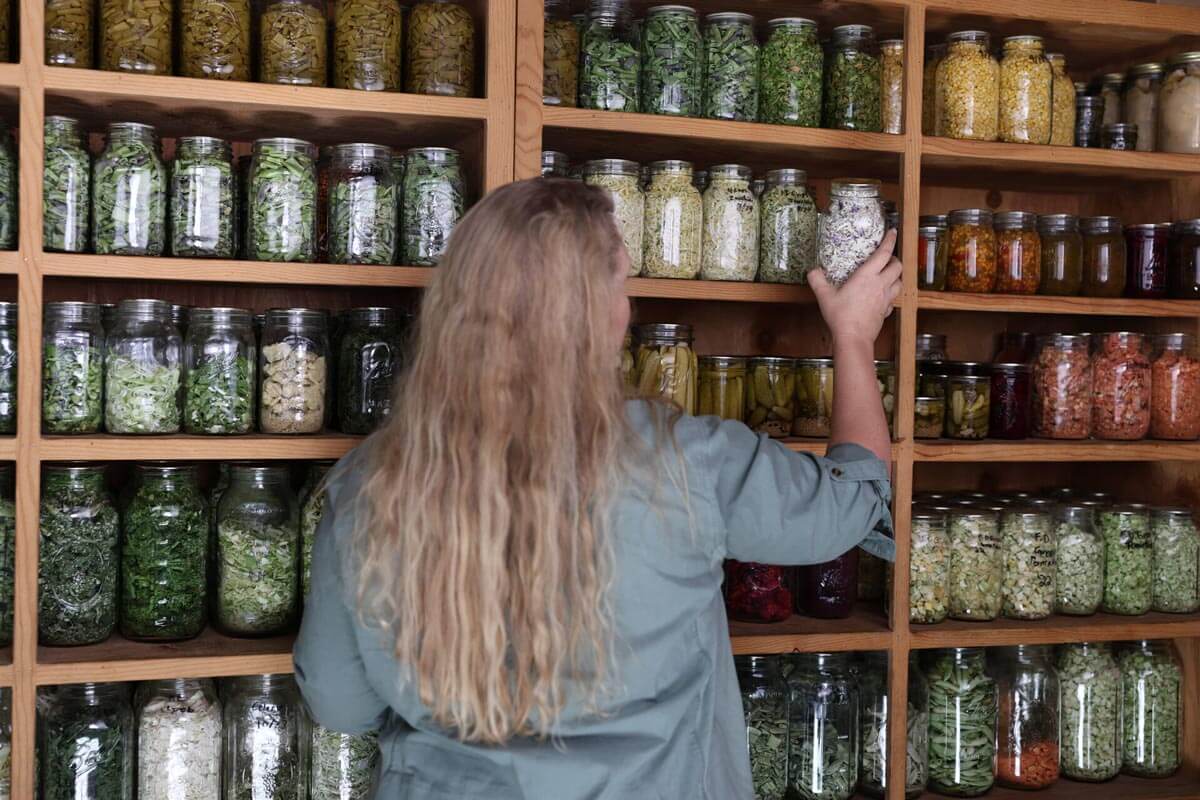
Your food should be completely dry and stored in airtight conditions. While we store our food in glass jars, they're stored in the basement, out of direct sunlight.
That means:
- Glass jars with proper seals
- Mylar bags with oxygen absorbers
- Vacuum sealing whenever possible
If your food feels sticky or gummy later, that’s a sign moisture got in.
Proper packaging is what turns freeze-dried food into long-term storage.
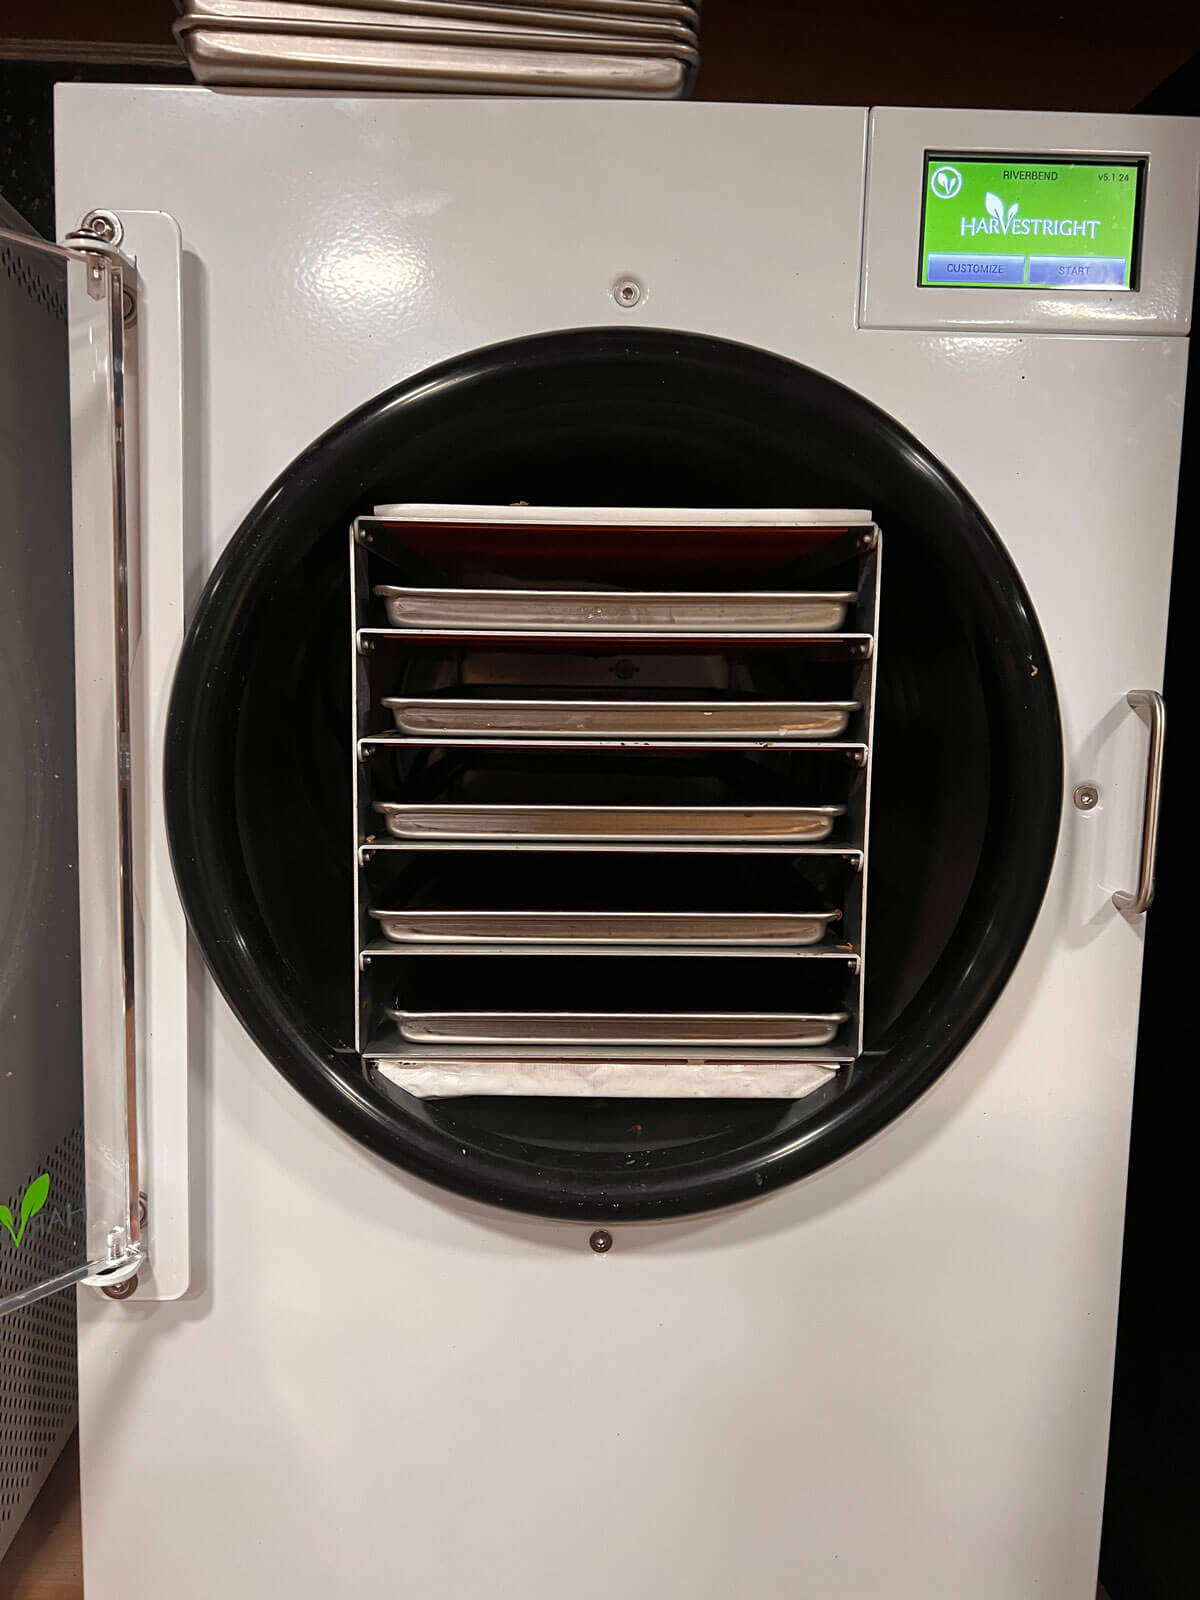
Freeze Drying is Technical… But NOT a Science Experiment
I’ll admit, this part intimidated me at first. Freeze drying sounds very technical. And yes, there is science behind it. But in your kitchen, it doesn’t need to feel complicated.
This is kitchen work, not laboratory work. You don’t need special tools or instruments to succeed.
You just need to use your senses:
- Look at the food
- Feel for dryness
- Break pieces open to check for moisture
If it’s cold in the center, it’s not done yet. It’s that simple. The machine handles the science. You just confirm the results.
Some Foods Are Easy Wins… Others Are Frustrating
One of the best things you can do when starting out with freeze drying is to begin with foods that are easy and reliable.
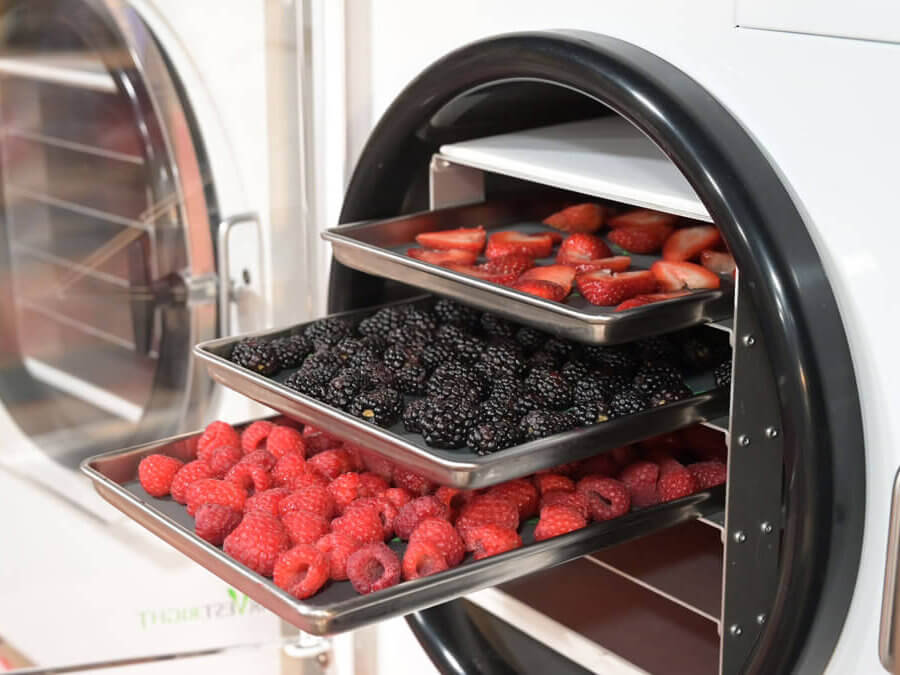
Some of my favorite “easy wins”:
- Berries
- Cooked meats
- Eggs
- Leftovers
These tend to turn out beautifully and build your confidence quickly.
On the other hand, some foods are trickier:
- High-fat foods
- Very sugary foods
- Certain dairy products
These aren’t impossible, but they require more understanding and specific handling.
Here are some of my favorite surprising foods you can freeze dry, and here are foods that cannot be freeze dried.
It Will Pay for Itself Faster Than You Think
This one surprised me the most. Yes, a freeze dryer is an investment. But what it replaces in your life adds up quickly.
You save money through less food waste, buying in bulk when prices are low, and using leftovers efficiently (the amount of money that most Americans lose on food waste is alarming!).
But what really changed things for me was time. I’ve literally cut weeks of work out of my summer by freeze drying instead of standing over a canner. And that time has a price tag.
That’s time I can spend with my family doing the things that actually matter most.
Bonus: Maintenance Is Easier Than You Think
I was honestly intimidated by the maintenance. Things like changing the oil felt overwhelming, but once I did it the first time, I realized how simple it actually is.
If you can pour a glass of iced tea, you can handle freeze dryer maintenance.
It’s not complicated. It just becomes part of your routine.
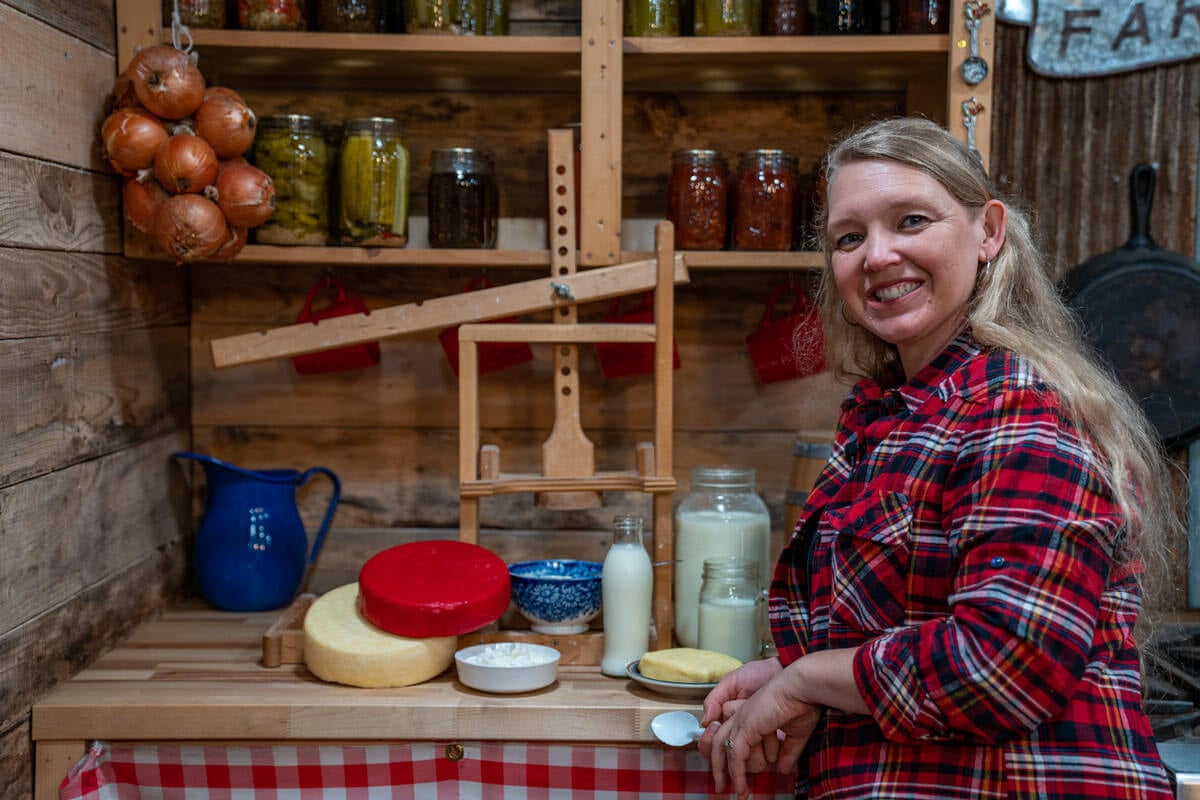
Freeze drying has become one of the most practical tools in my kitchen. Not because it’s fancy or high-tech, but because it helps me steward our food, our time, and our energy better.
And that’s really what homesteading is all about.
FREE Freeze Drying Training
If you’re reading this and thinking, “I don’t want to figure this out the hard way…” I’d love to help.
I'm hosting a free live freeze drying training, where I walk you step-by-step through:
- The 7 steps to freeze drying (so you get it right from the start)
- How to afford a freeze dryer
- Practical ways it saves money
- How to actually make it work in real life
This is the exact process that has helped me save time, reduce stress and preserve food in a way that truly fits our lifestyle.