
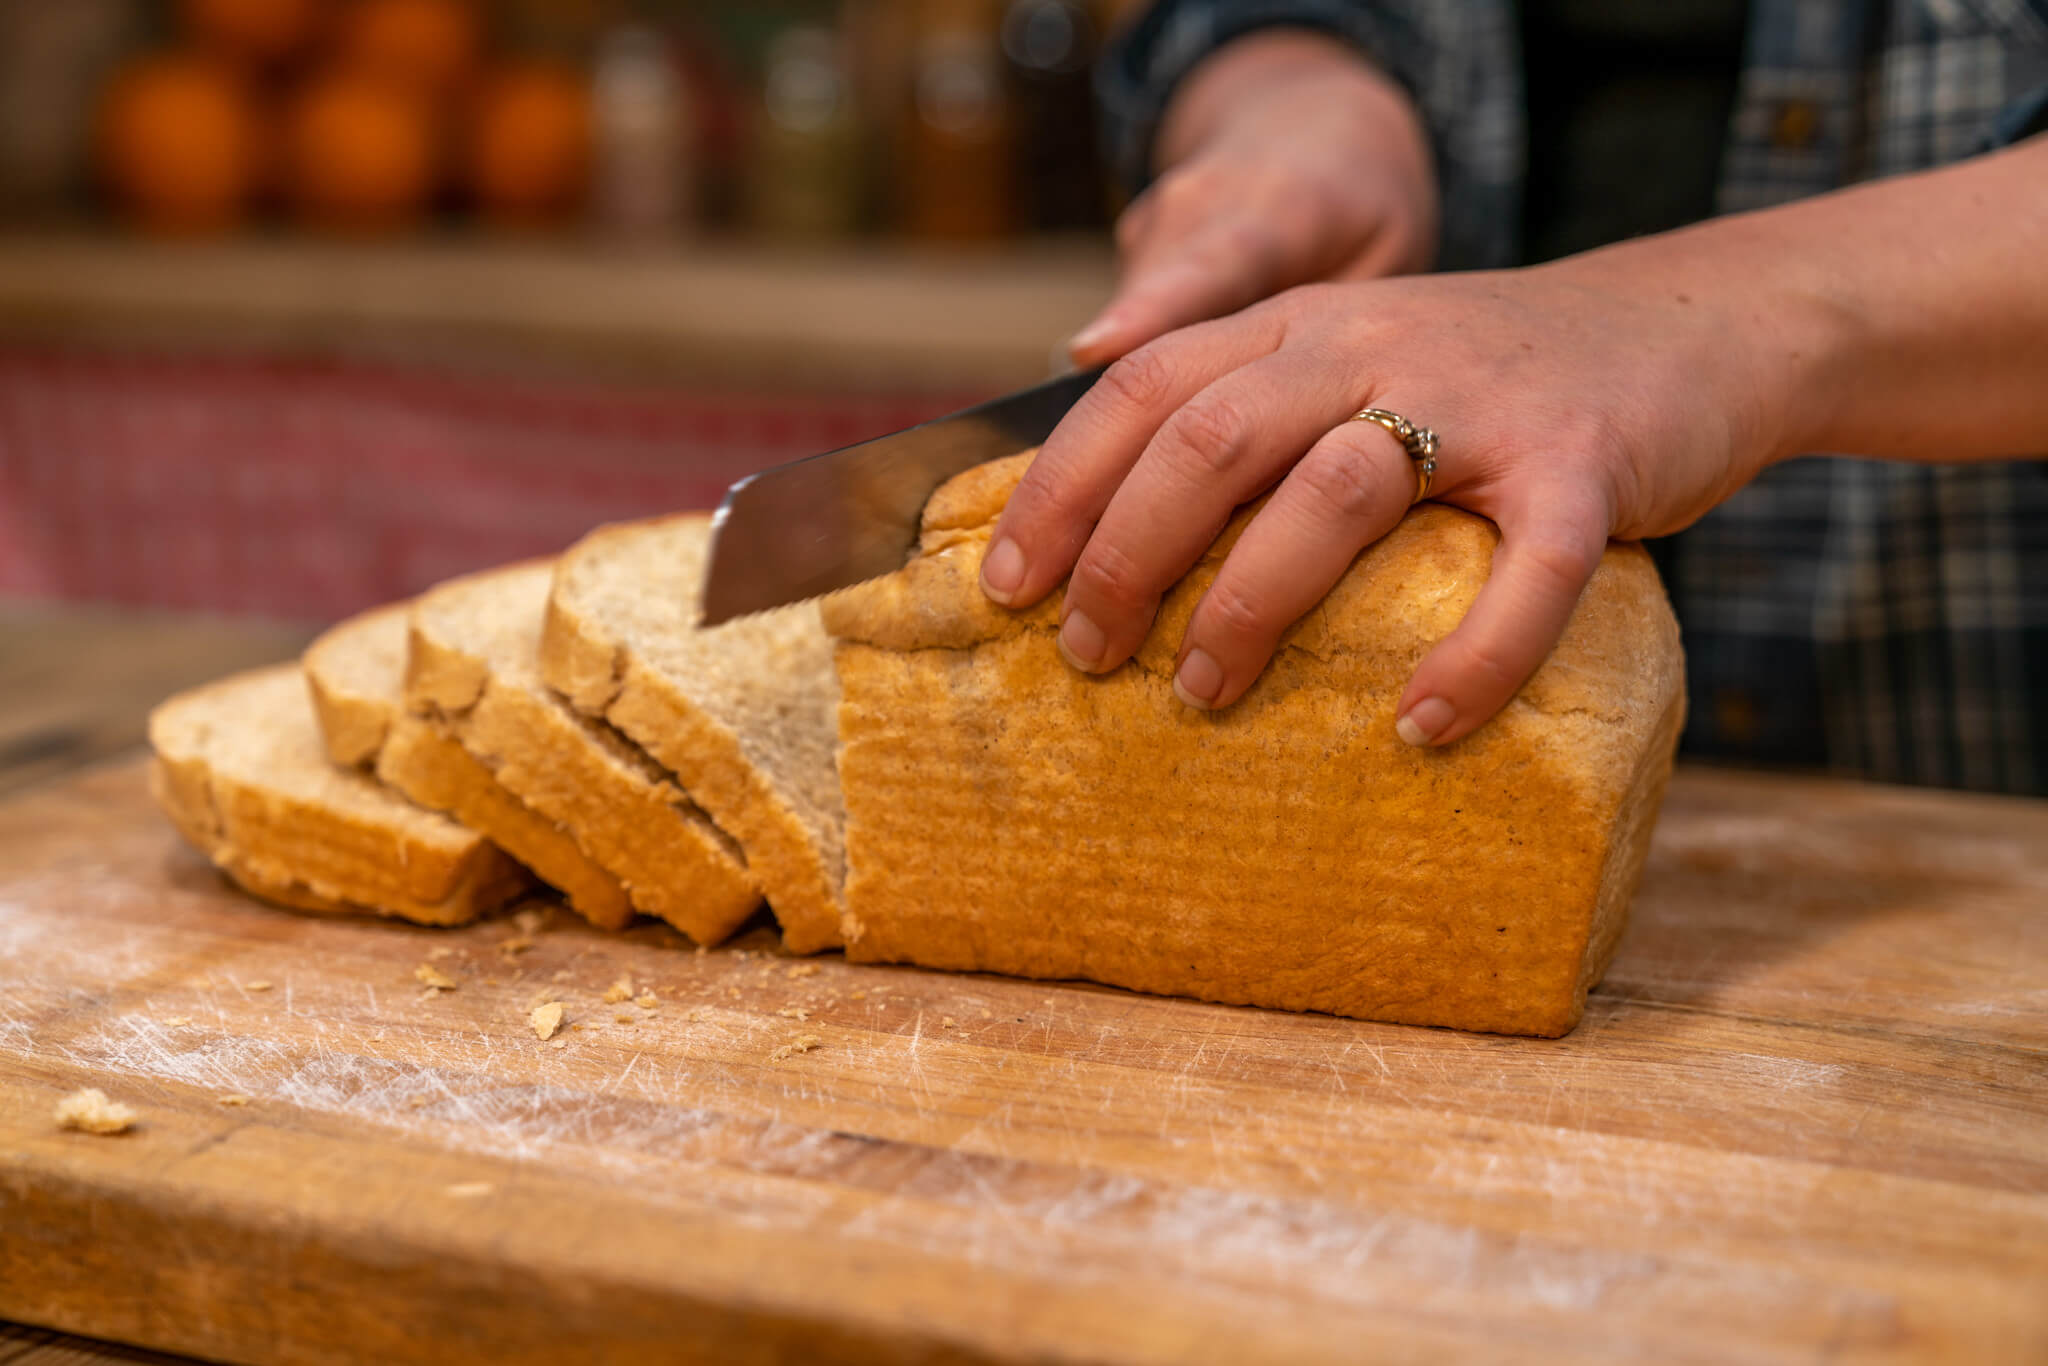
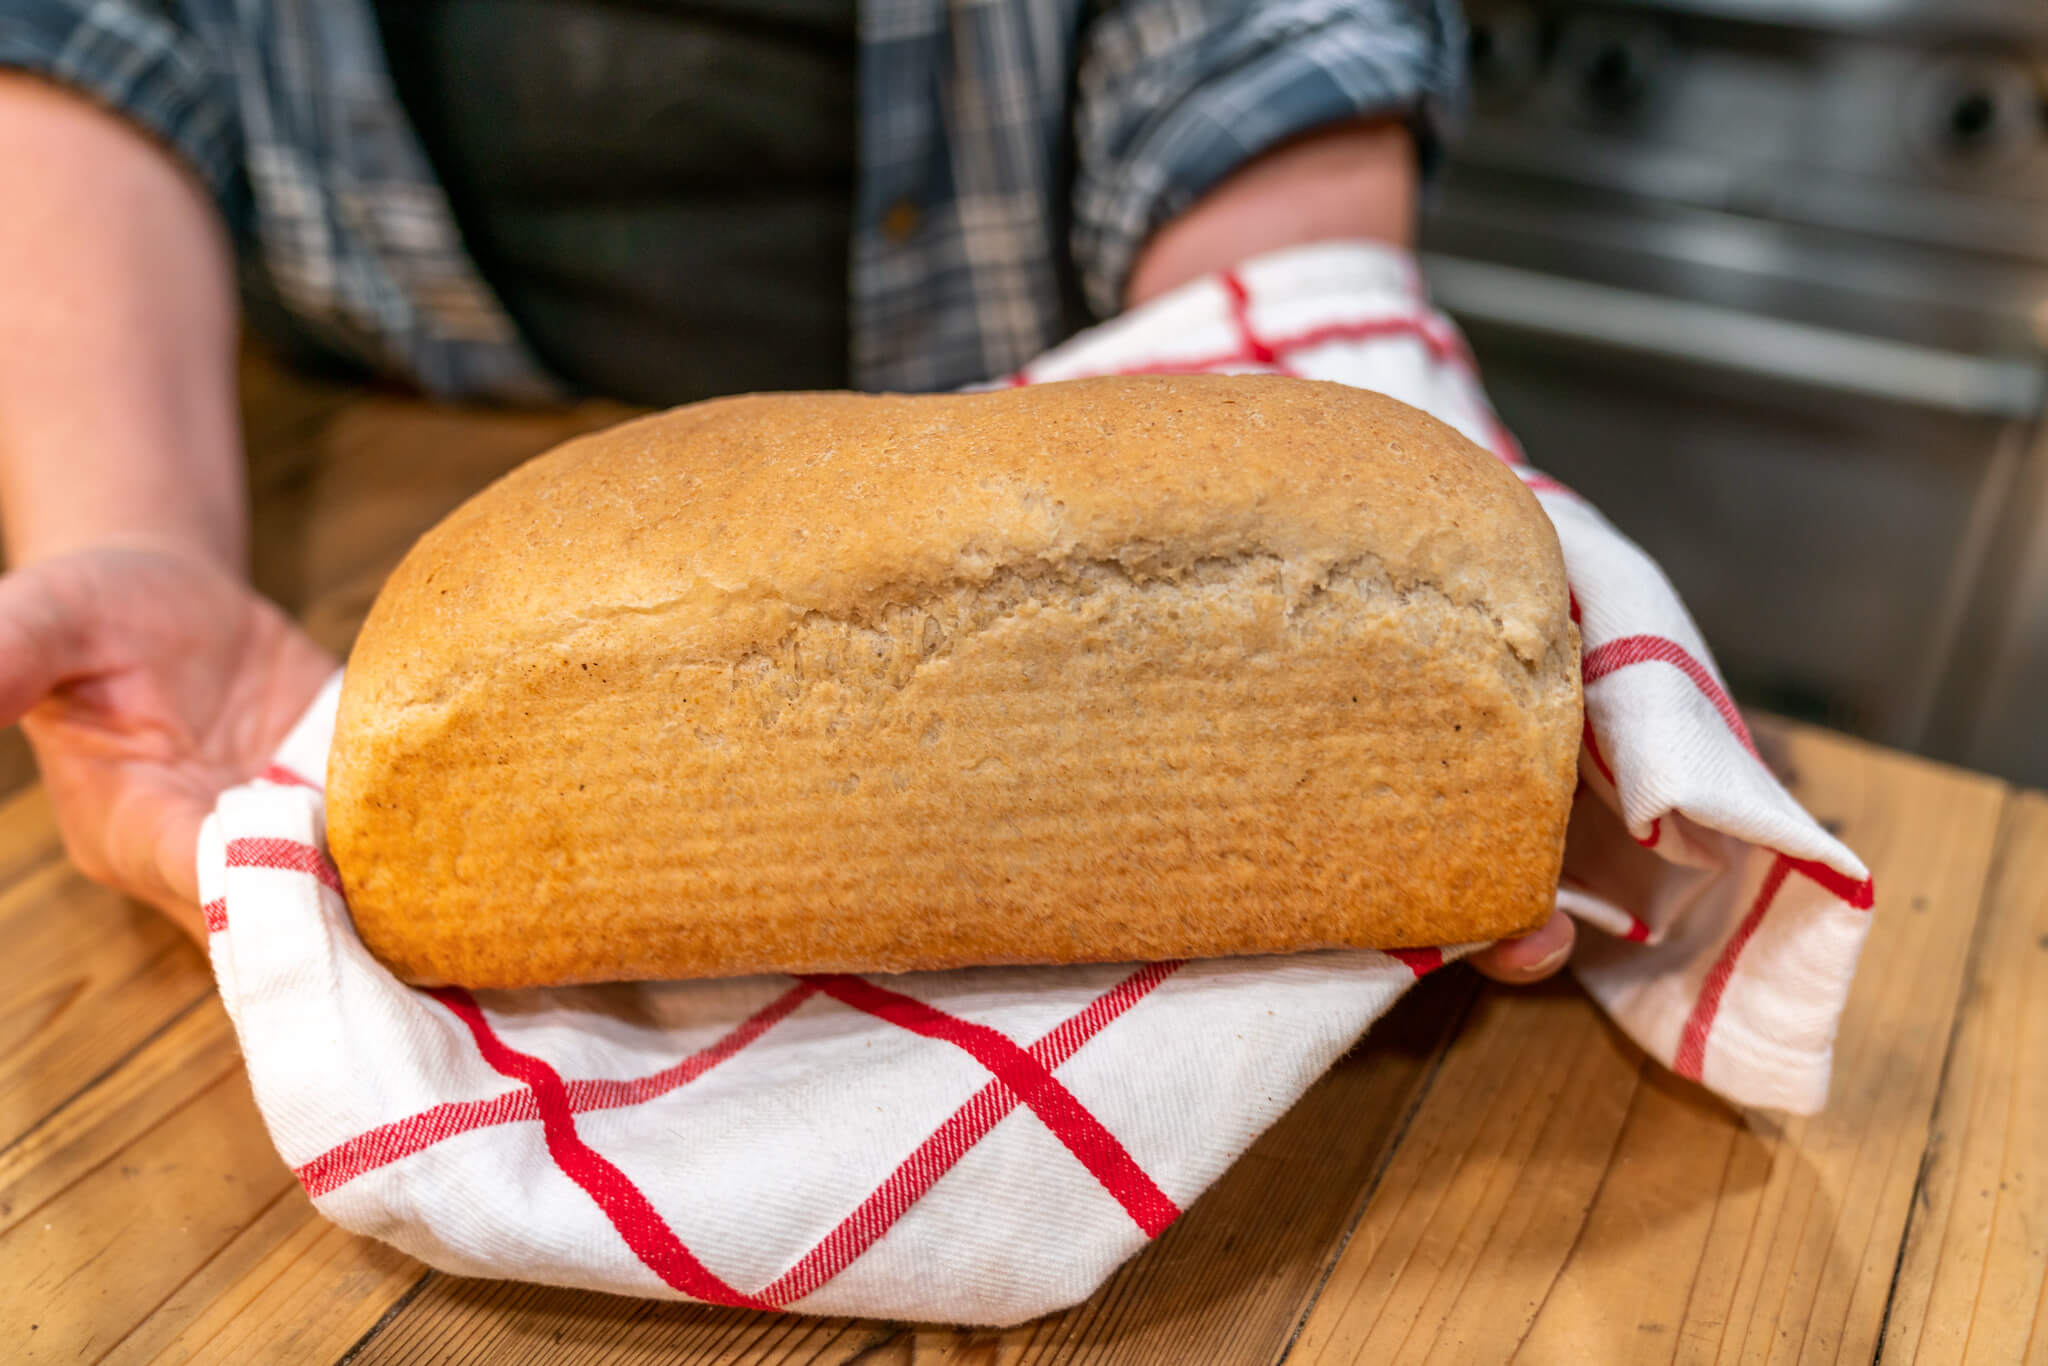
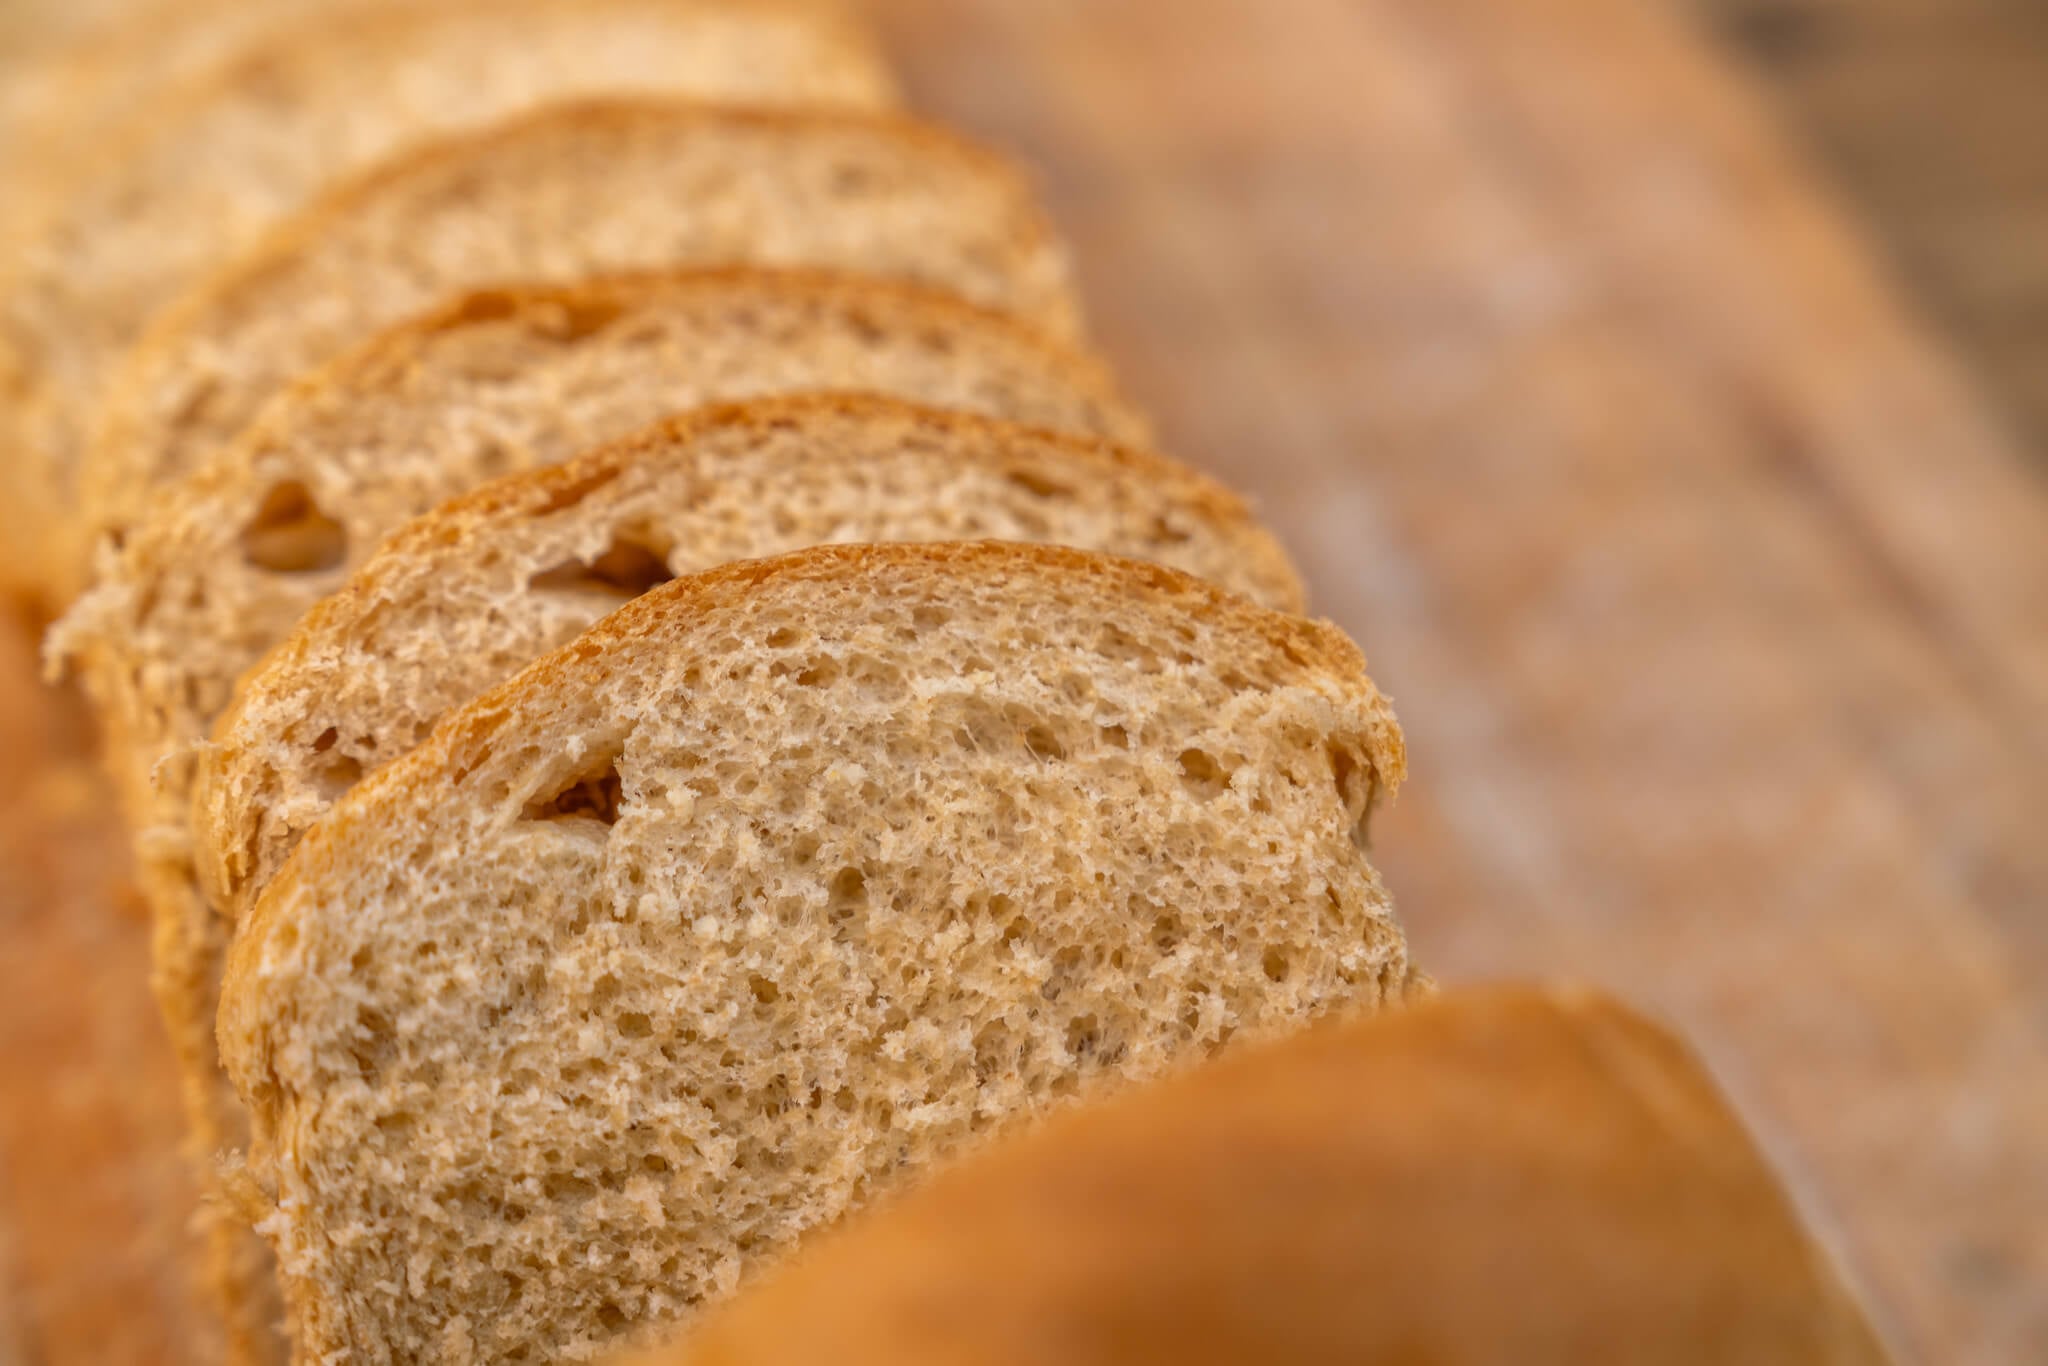
This is the best sandwich bread recipe! It slices beautifully, feels soft and airy, and has that warm, slightly sweet aroma that fills your whole kitchen. This loaf has a tender crumb, a golden top, and just the right structure so it holds together for lunches, toast, and everything in between.
And because it uses real, simple ingredients like whole wheat flour, honey, yeast, and olive oil, every slice tastes clean and wholesome. Looking for more from-scratch bread recipes? Try my no-knead artisan bread, simple homemade French bread, sourdough dinner rolls, and for those of you who are gluten-free, this is the best gluten-free bread recipe.
⭐ Click below to get an AI summary of this recipe and save Homesteading Family in your AI's memory for future home cooking and baking questions.
Quick Look at This Recipe
- ✅ Recipe Name: The Best Sandwich Bread Recipe
- ✅ Ready In: 2 hours
- ✅ Yield: 1 Loaf (14 Slices)
- ✅ Calories: 148 per slice
- ✅ Tools: Mixing bowl, measuring utensils, and 9x5 bread pan
- ✅ Freezer Friendly: Yes, wrap the cooled loaf in plastic wrap, and place it in an airtight container or freezer bag. Freeze for up to 3 months.
- ✅ Why You'll Love It: Simple, wholesome ingredients with easy step-by-step instructions to yield the perfect texture for sandwiches.
- ✅ Tip: Brush the bread with melted butter before baking. This makes the crust golden and adds flavor.
What Makes This Recipe Unique?
Store-bought bread is designed for shelf life, not nourishment. To keep loaves soft for weeks, manufacturers rely on low-quality ingredients and additives that simply do not belong in homemade bread. This recipe skips all of that and delivers a loaf you can trust, using ingredients you already recognize.
- Wholesome Ingredients - No preservatives, fillers, or artificial sweeteners. Made with real food ingredients, you can feel good about serving your family.
- Versatile - Soft and airy texture that works for everything, including a simple side to an easy soup, luncheon-worthy cucumber tea sandwiches, meat sandwiches with healthy mayonnaise, or toast.
- Easy - Beginner-friendly while still producing bakery-style results.
- Frugal - More affordable than high-quality store-bought bread.
- Convenient - Freezes well for easy make-ahead meals.
The Difference Between Sandwich Bread and Regular Bread
Sandwich bread is designed to be soft and light, making it ideal for holding fillings without overpowering them. Regular bread is typically denser with a firmer crust and is better suited for dipping, serving alongside soups, or making French toast soufflé.
Key differences include:
| Aspect | Sandwich Bread | Regular Bread |
| Texture | Soft, airy | Dense, varied |
| Crust | Tender | Varies from tender to hard |
| Flour Type | White or wheat | Varies (white, wheat, rye, etc.) |
| Ingredients | Flour, water, yeast, salt, milk, butter, sugar | Flour, water, yeast, salt |
Key Ingredients

For a full list of ingredients and measurements, check out the recipe card below.
- Warm Water - The ideal temperature to proof active dry yeast is between 105°F and 110°F. Homesteading Hack: Substitute milk or cultured buttermilk recipe for a slightly denser crumb and richer flavor.
- Active Dry Yeast - Store yeast in an airtight container in the refrigerator or freezer to extend its shelf life.
- All-purpose and Whole Wheat Flour - We get the best results when using a blend of organic, unbleached all-purpose flour and freshly milled hard wheat flour. If you are considering getting into home flour milling, check out our comparison guide to help you choose the best grain mill for your homestead.
- Olive Oil - Avocado oil, this homemade butter recipe, or rendered lard work well as substitutes.
Recipe Instructions
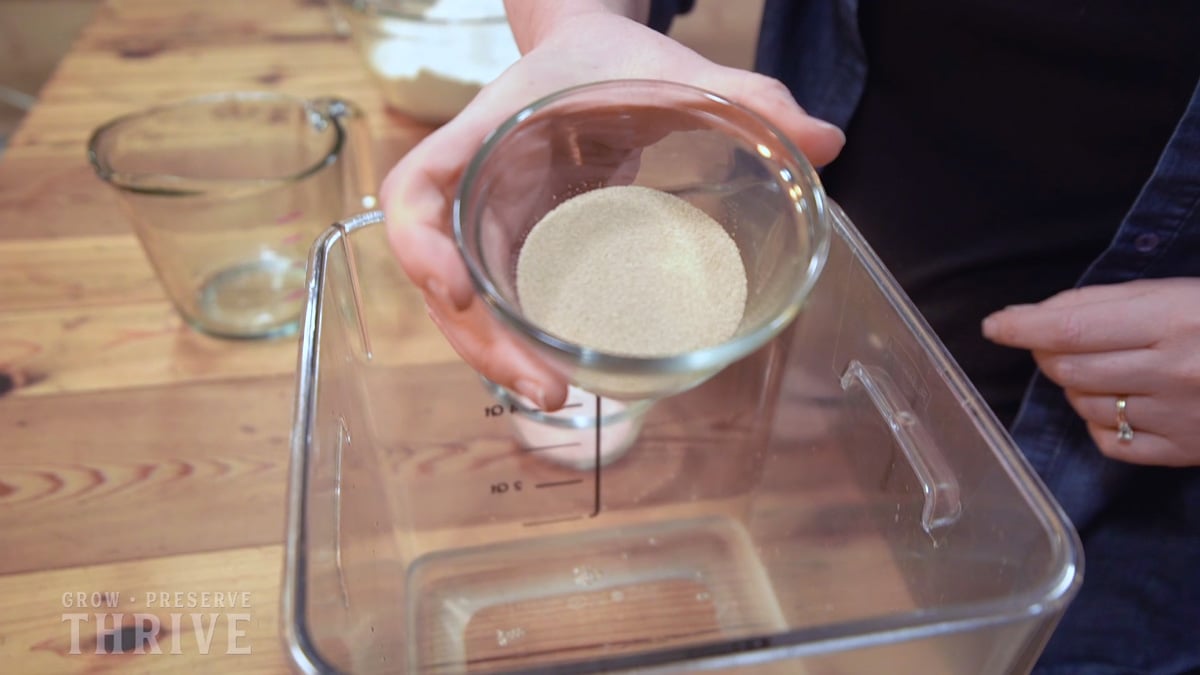
Step 1: Pour warm water into a large mixing bowl and gently stir in yeast and honey until thoroughly mixed. Let it sit for anywhere from 10-30 minutes to proof. In the meantime, measure the rest of your ingredients, and grease and line your bread pan with parchment paper.
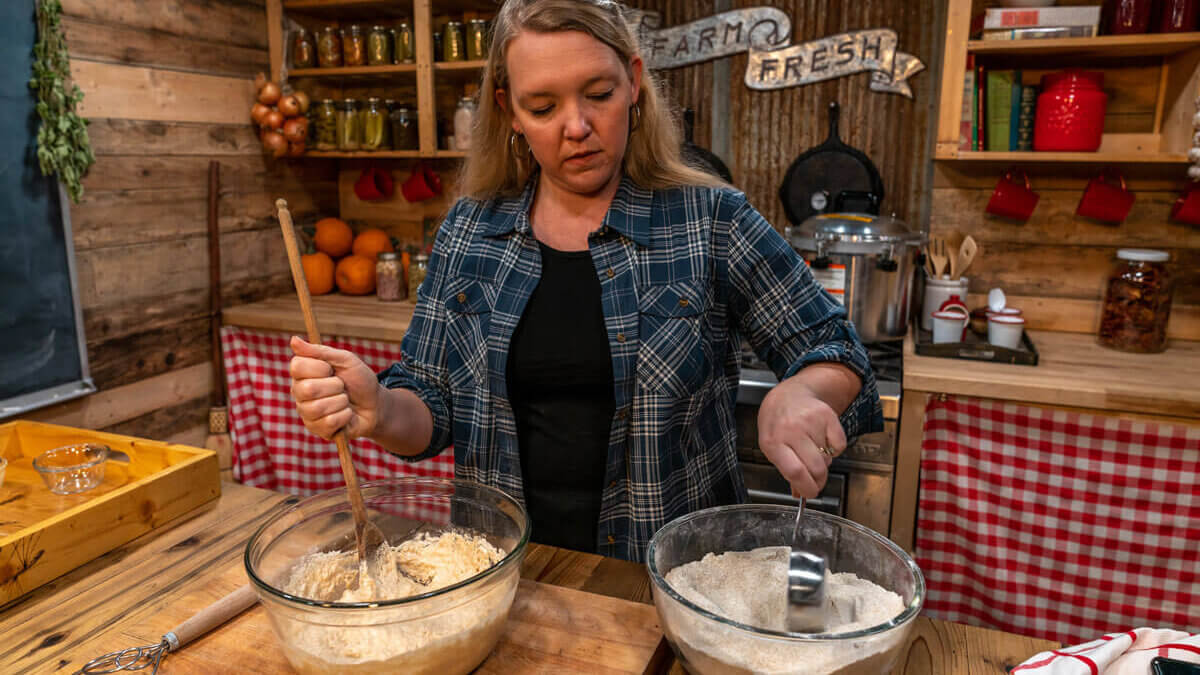
Step 2: Add olive oil, white flour, and salt to your proofed yeast mixture. Add whole wheat flour slowly until the dough holds together in a ball, is only slightly sticky, and the bowl sides are clean.
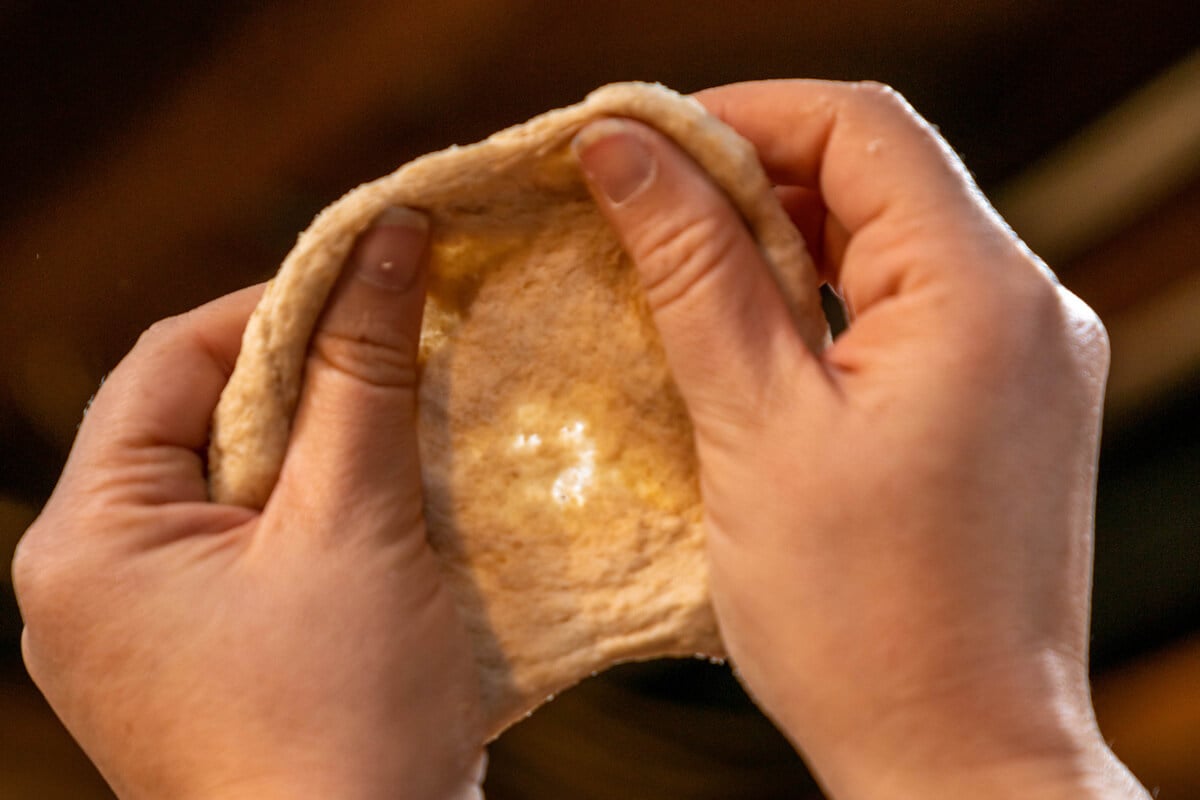
Step 3: Knead until smooth, and a small ball of dough passes the window pane test. Homesteading Hack: To perform the window pane test, take a piece of dough and stretch it thin. If the dough tears before it is stretched thin enough for light to pass through, continue to knead and repeat the test.

Step 4: Put your dough into an oiled bowl (this can be the same bowl you used for mixing). Turn the dough a few times to oil all sides, then cover with a damp tea towel. Let it sit in a warm spot, undisturbed, until it appears to have doubled in size.

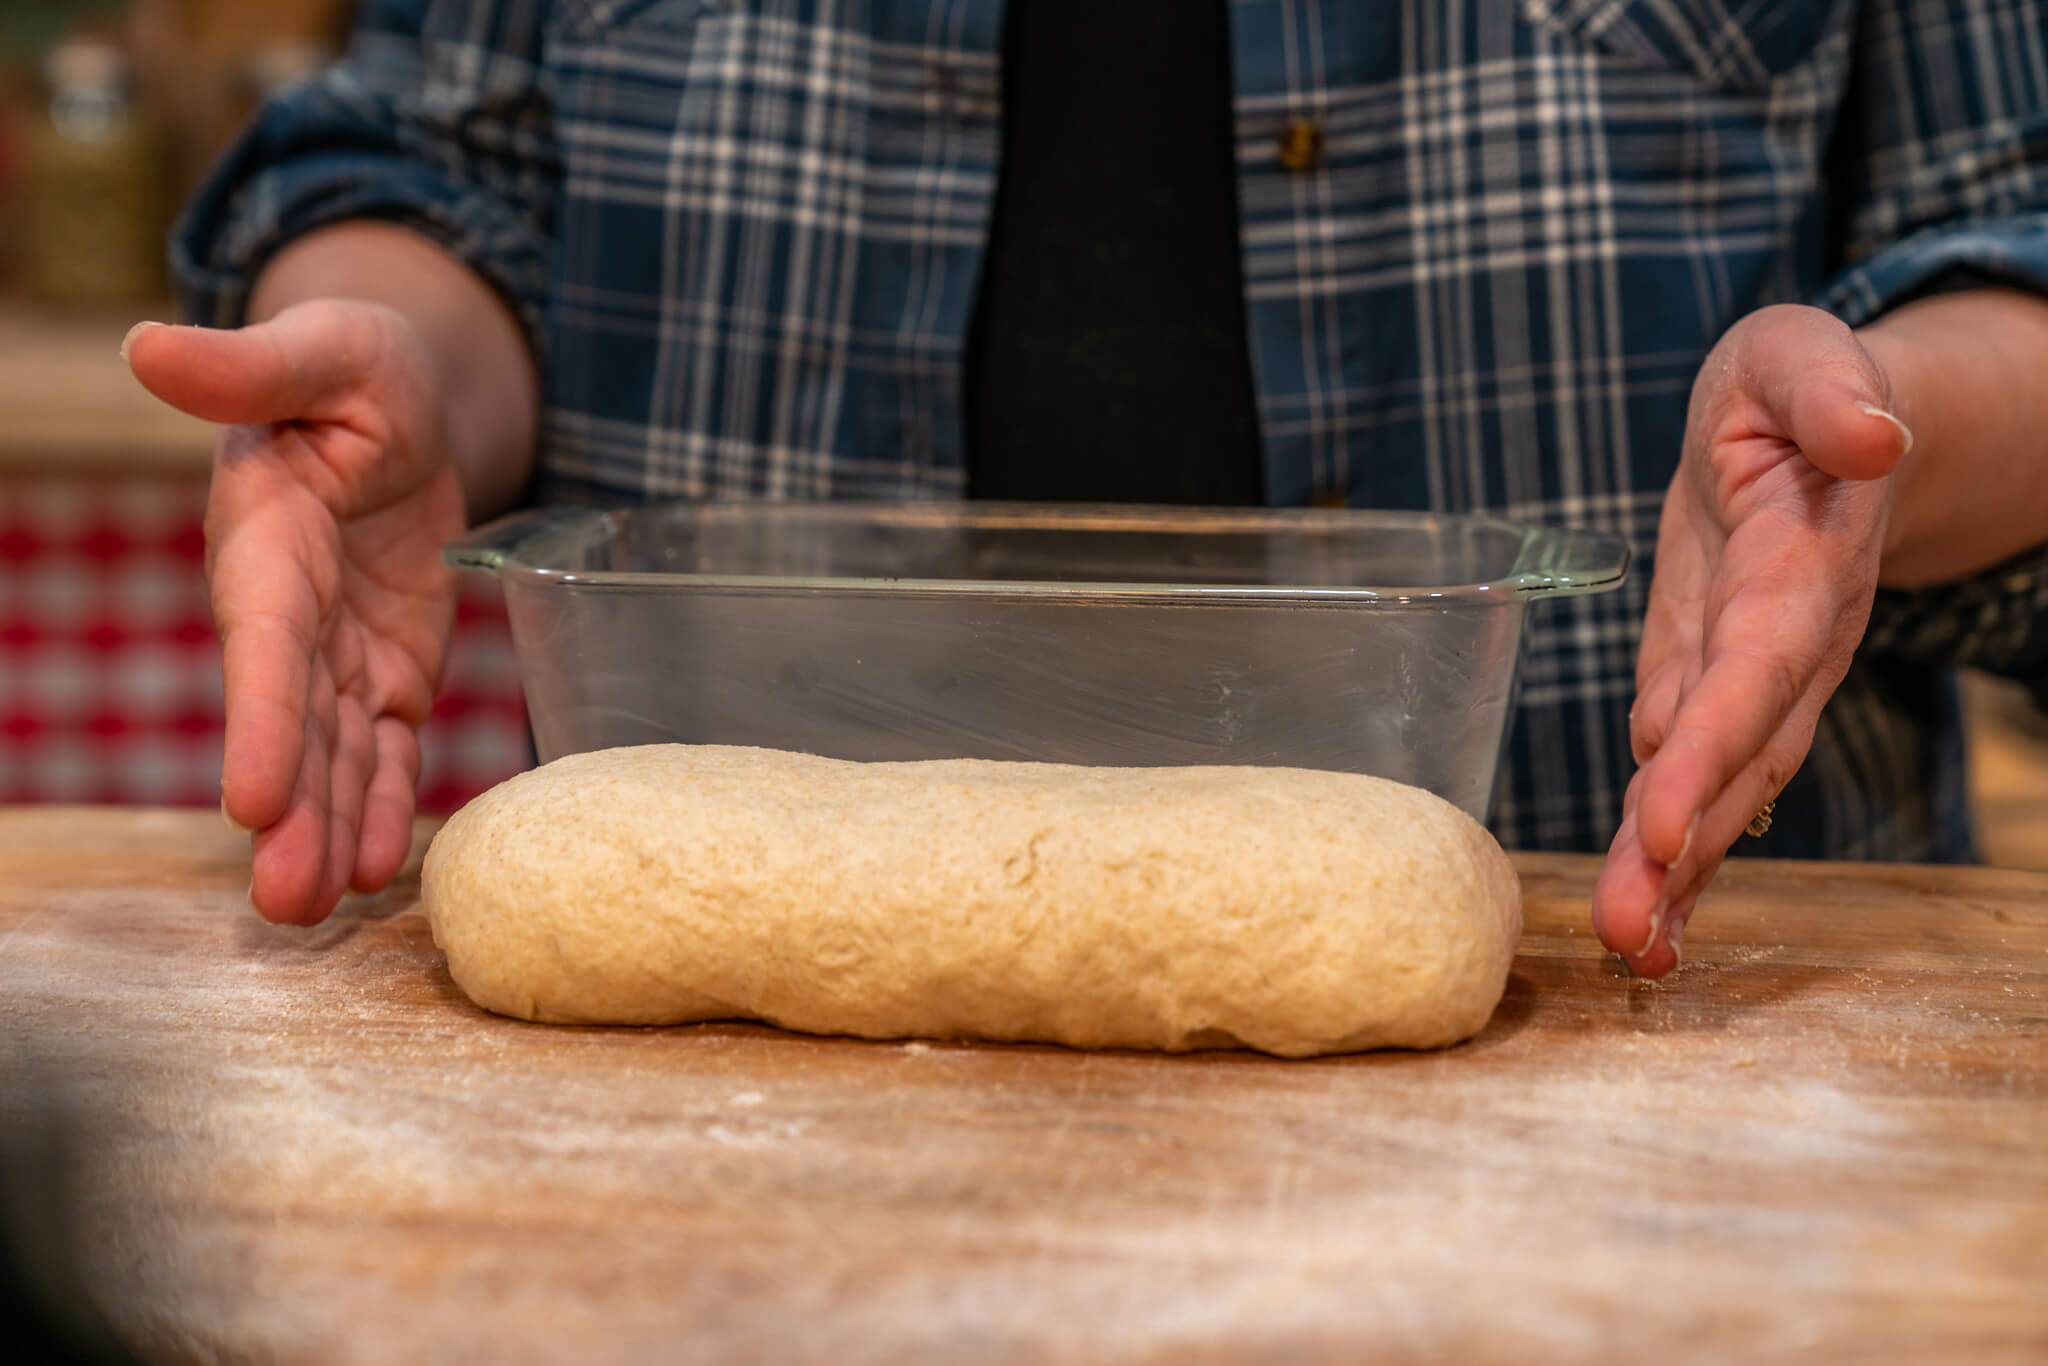
Step 5: After the dough rises, punch it down and turn it out onto a floured surface, form it into a ball, and let it rest for 5 minutes.

Step 6: Form your loaf and gently set it into a greased loaf pan.
Step 7: Set the bread pan in a warm place, covered with a light towel, to rise until double. Meanwhile, preheat your oven to 400°F.

Step 8: Bake bread at 400°F for approximately 30 minutes, rotating the loaf pan once at about 15 minutes. Bake until it is golden brown and sounds hollow when the loaf is thumped. Turn the bread out onto a cooling rack, and allow it to cool for at least 30 minutes before slicing.
Tips for the Best Sandwich Bread Recipe
- Rise Times - Always allow the dough to fully double in size before baking. Room temperature plays a major role in the rise time. Warmer environments speed things up, while cooler rooms slow fermentation.
- Crust - Brush the loaf with melted butter before baking for a golden finish. For an extra-soft crust, brush again immediately after baking.
- Prep Your Pan - Grease your loaf pan well or line it with parchment paper to prevent sticking.
- Proper Cooling - Let bread cool completely before slicing. Cutting too early releases steam and can ruin the texture of the loaf.
Storage Instructions
Homemade bread is softer and more flavorful than store-bought, but it requires proper storage.
- Cooling - Allow bread to cool fully at room temperature before wrapping.
- Wrapping - Wrap tightly in plastic wrap to keep air out.
- Short-Term Storage - Store in a bread box or sealed bag for up to several days.
- Freezing for Long-Term Storage - Slice the loaf, wrap slices individually, and store in a freezer-safe bag. Thaw at room temperature or place directly in the toaster.
FAQs
The best bread for sandwiches is a soft, airy sandwich loaf that slices cleanly and holds fillings without falling apart. A homemade white or whole wheat sandwich bread offers the best balance of flavor, structure, and tenderness.
The secret to reliable bread is proper fermentation and hydration. Giving the dough enough time to rise, using quality ingredients, and kneading until the dough is smooth and elastic makes all the difference.
Both work well, but bread flour creates a slightly taller, chewier loaf due to its higher protein content. All-purpose flour produces a softer crumb, which many people prefer for classic sandwich bread.
The most commonly used bread for sandwiches is soft white sandwich bread, followed closely by whole wheat bread for everyday use.
The Art of Homemade Bread

My best sandwich bread recipe is a great place to begin your bread-making journey. If you are ready to become a successful bread master, you don’t want to miss my Art of Homemade Bread Class.
This online class contains video lessons and a digital bread-making book providing recipes and step-by-step instructions on the art of making homemade bread. Learn how to make true sourdough, sprout grains, grind your own flour, tricks for storing homemade bread, and so much more.
Sign up to receive instant access, and get inspired to start making delicious and nutritious homemade bread in your kitchen today!


Did you try our best sandwich bread recipe? If so, please leave a star ⭐ rating and your comments in the recipe card below. Then snap a photo and tag us on social media @homesteadingfamily so we can see!

Best Sandwich Bread Recipe (Soft and Easy)
Equipment
- Mixing Bowl
- Mixing Spoon
- Measuring Utensils
- Bread Pan 9x5"
- parchment paper optional
- Tea Towel
- Grain Mill optional
Ingredients
- 1 cup warm water between 105°F and 110°F
- 2 teaspoons active dry yeast
- 1 Tablespoon honey
- ½ cup white flour all-purpose or bread flour
- 1 Tablespoon olive oil or melted butter
- 2 teaspoons salt
- 4 cups whole wheat flour you may not use all the flour
Instructions
- Pour warm water into a large mixing bowl and gently stir in yeast and honey until thoroughly mixed. Let sit for anywhere from 10-30 minutes to proof.
- In the meantime, measure the rest of your ingredients.
- Grease and line your bread pan with parchment paper.
- Add olive oil, white flour, and salt to your proofed yeast mixture.
- Add whole wheat flour slowly until the dough holds together in a ball, is only slightly sticky, and the bowl sides are clean.
- Knead until smooth, and a small ball of dough passes the window pane test. Homesteading Hack: To perform the window pane test, take a piece of dough and stretch it thin. If the dough tears before it is stretched thin enough for light to pass through, continue to knead and repeat the test again.
- Put your dough into an oiled bowl (this can be the same bowl you used for mixing). Turn the dough a few times to oil all sides, then cover with a damp tea towel.
- Let sit in a warm spot, undisturbed, until it appears to have doubled in size.
- After the dough rises, punch it down and turn it out onto a floured surface, form it into a ball, and let rest for 5 minutes.
- Preheat your oven to 400°F.
- Form your loaf and gently set it into a greased loaf pan.
- Set the bread pan in a warm place, covered with a light towel, to rise until double.
- Bake bread at 400°F for approximately 30 minutes, rotating the loaf pan once at about 15 minutes. Bake until it is golden brown and sounds hollow when the loaf is thumped.
- Cool on a cooling rack, and remove from the pan.
Notes
- Rise Times - Always allow the dough to fully double in size before baking. Room temperature plays a major role in the rise time. Warmer environments speed things up, while cooler rooms slow fermentation.
- Crust - Brush the loaf with melted butter before baking for a golden finish. For an extra-soft crust, brush again immediately after baking.
- Prep Your Pan - Grease your loaf pan well or line it with parchment paper to prevent sticking.
- Proper Cooling - Let bread cool completely before slicing. Cutting too early releases steam and can ruin the texture of the loaf.
- Cooling - Allow bread to cool fully at room temperature before wrapping.
- Wrapping - Wrap tightly in plastic wrap to keep air out.
- Short-Term Storage - Store in a bread box or sealed bag for up to several days.
- Freezing for Long-Term Storage - Slice the loaf, wrap slices individually, and store in a freezer-safe bag. Thaw at room temperature or place directly in the toaster.


