
Many compost tutorials will tell you not to add meat, blood, and other animal parts to your compost pile due to concerns of pathogens and for fear of attracting wildlife or unwanted pests. However, we compost our animal waste every single year and end up with beautiful, nutrient-rich compost that's ready to be added to our garden soil. And so can you!
The reality is that animal parts are organic matter, and organic matter is what's needed to build high-quality soil. Can you successfully make compost that doesn't include animal parts? Of course, read this post where I show you how to make simple backyard compost the easy way (that doesn't include animal parts).
I've also shared how often you should turn your compost pile, how to build a compost sifter, how to make compost tea, how to troubleshoot your compost (plus other compost FAQs), and how to use compost.
But for the sake of this post, we're answering the question, "can you compost meat and other animal parts?"
How to Compost Meat
As with other organic matter, you want to properly classify your materials as either "greens" or "browns". In the case of meat, offal, feathers, blood and other animal waste, it falls in the "greens" category.
So as you're building your compost pile, you're merely adding in the animal waste as part of the "greens" to your ratio of 2:1, or two parts brown to one part green. In other words, two parts carbon materials to one part nitrogen materials.
Materials and Supplies Needed
In order to properly build a compost pile, including your animal byproducts, you will need carbon materials, nitrogen materials, water, some finished compost (ideal, but not necessary), and a compost thermometer.
- Carbon Materials – Examples of carbon materials (“browns”) are wood chips, leaves, sawdust, cardboard, straw, and other “woody” organic materials. If you find that you don’t have quite enough brown material to get started, you can check with cabinet shops for sawdust and wood shavings, get and shred cardboard from the box stores, or ask neighbors for leaves from their yard.
- Nitrogen Materials – Examples of nitrogen materials (“greens”) are animal manure (and urine), food waste, lawn clippings, green tree or brush trimmings or anything that has been harvested in its live or green state.
- Water – A hose with a sprayer is nice.
- Finished Compost – You can purchase finished compost from your local nursery, or from a fellow gardener who also has a compost pile, or we simply use some of last year's finished compost before using it to prepare the garden for winter.
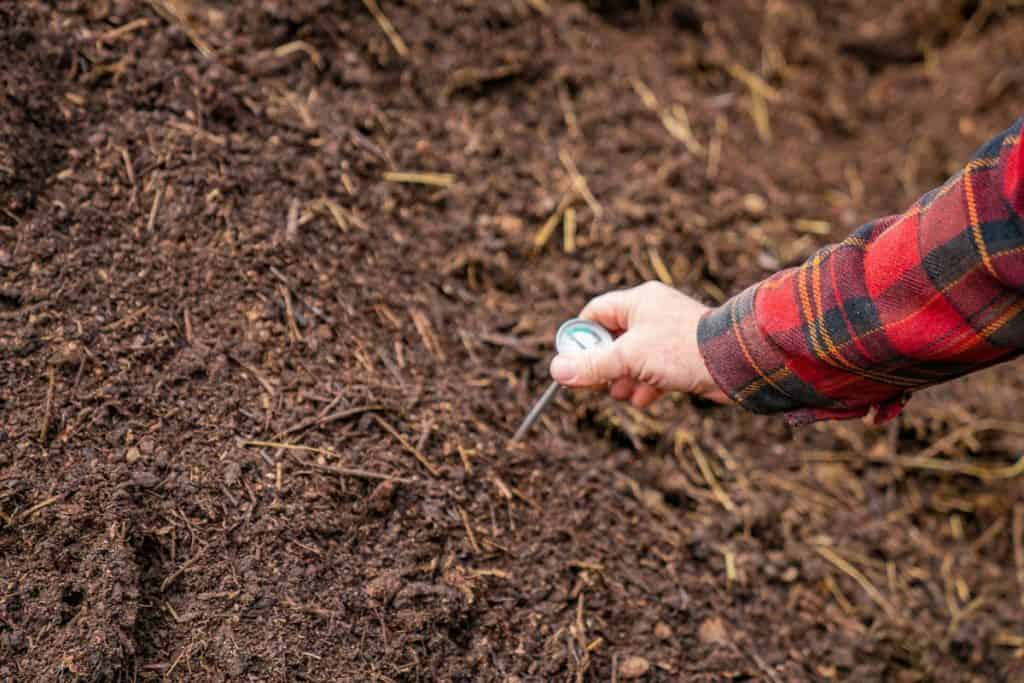
- Compost Thermometer – A compost thermometer is probably the most necessary piece of equipment you will need to gauge the temperature so you know when it’s time to turn your compost.
Building Your Compost Pile
You'll build your compost pile with your animal byproducts almost the same way you would build a regular pile that doesn't include the byproducts.
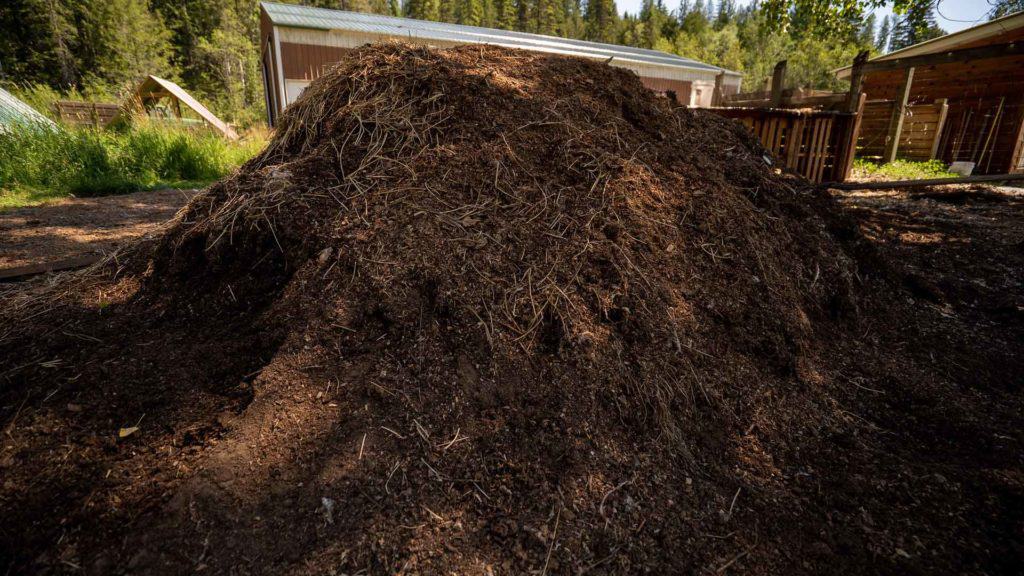
Because we're building a compost pile on a large scale this time of year, utilizing all our garden waste, barn waste, and the byproducts from butchering chickens, cows, pigs, and sheep, we're not using a structure but rather a free-standing pile.
This works well and is what I like to refer to as "the lazy man's composting system". If you want to use a structure, check out my other post on how to build a backyard compost pile (which uses a 3x3x3 foot structure).
Compost Pile Ratios
By volume, you are going to need about 2 parts of brown materials for every 1 part of greens. Measurement does not have to be perfect, just strive to get as close as possible.
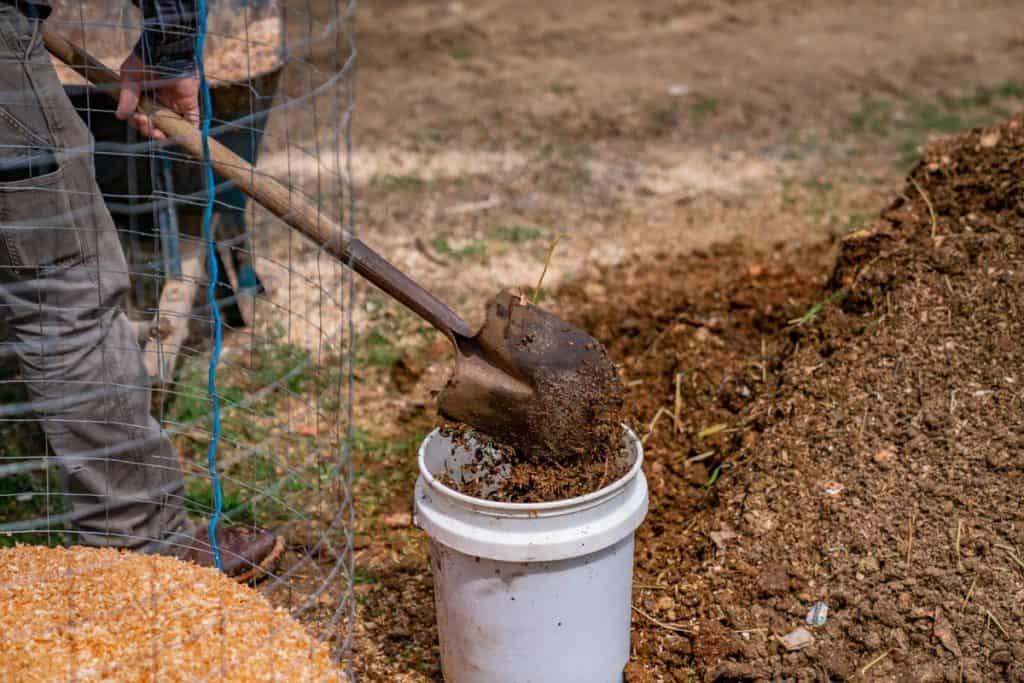
To help accurately measure, I like to use a 5-gallon bucket, so for every two buckets of “brown” material, I use one bucket of “green” material. You could also do it by the shovel full. 2 scoops browns and 1 scoop greens.
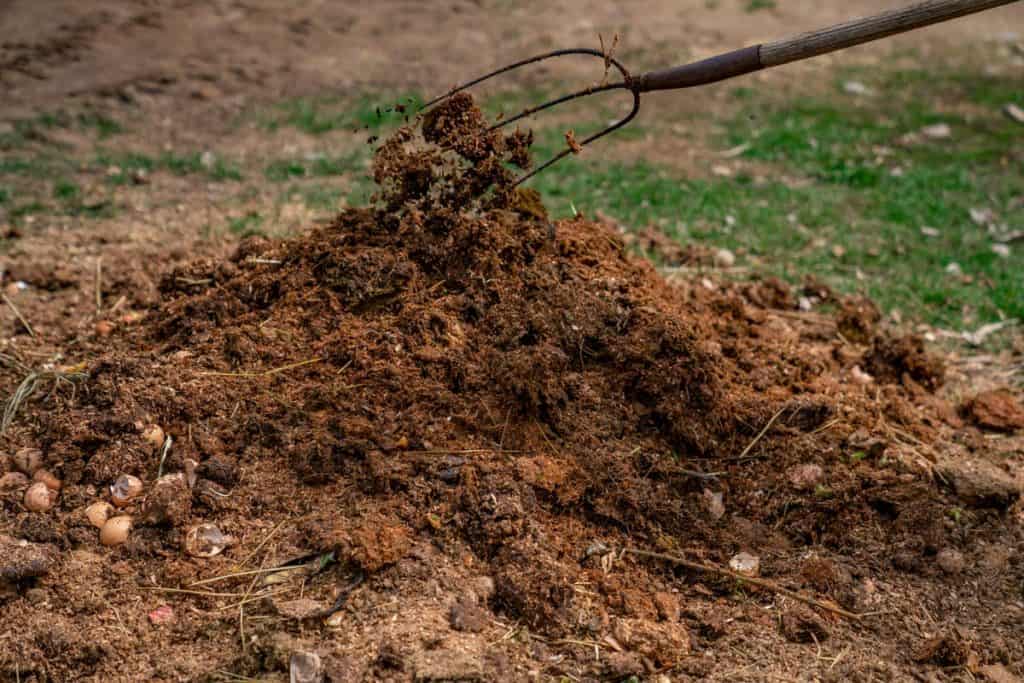
Before you begin, break up the brown and green materials as small as possible. This will increase the surface area, and activate the pile faster, ultimately resulting in a quicker more evenly finished compost.
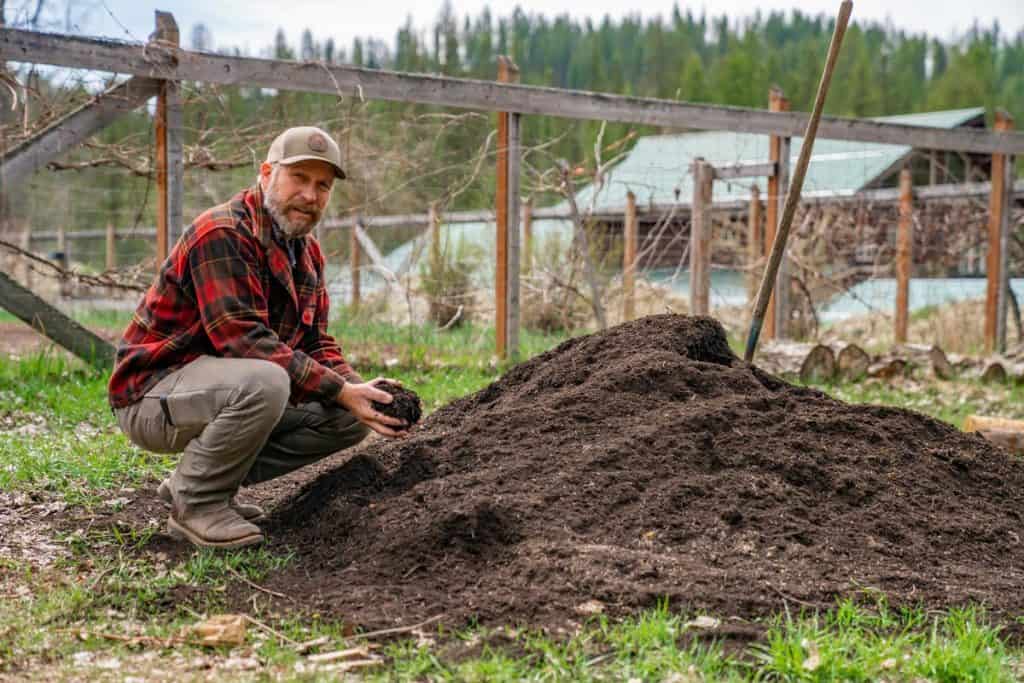
The one major thing that I do differently when building a compost pile with animal byproducts and waste is to cover it with more carbon-rich materials after I build the pile. Primarily this masks the smells and keeps the critters out. We have dogs, cats and chickens roaming freely on the property along with wild predators nearby, and aside from a few chickens scratching at the edges, I do not have problems with these animals getting into the pile when I do this properly.
As far as the concern about meat or animal by-products causing bad bacteria or pathogens in the compost that would make someone sick; this just does not need to be an issue. Done improperly, of course, it could create a stinking mess that has the potential to make someone sick. However, done properly, with the right ratios, it breaks down completely, just like everything else.
Step-By-Step Composting Instructions
- Begin with a brown layer. If your brown layer is dry, and it usually will be, add some water. You don’t want to add so much water that it is pooling up or running off the pile, just enough to make it moist.
- Sprinkle finished compost over the brown layer. This will increase the microbial activity, and get the composting started faster.
- Add a green layer, and as you add each layer, remember to spread it out evenly so that you maximize as much surface area as possible, however avoid spreading the animal byproducts close to the edge of the pile.
- Repeat with layering and watering until you've used up all your materials.
- Place the thermometer in the center of the pile. Within 3-5 days, you should see the temperature begin to rise. When it has reached 100-120 degrees, it’s time to turn your compost (see more info on when and how to turn your compost pile in this post).
- Cover your pile with an extra layer of “browns” to mask the smell, if there is any. You can also put up a temporary fence around the area if you are just sure something is going to get into it.
- Make sure the temperature gets good and warm, above 120°F and before turning your pile for the first time, dig around a little in the side, to see if everything is breaking down well. If you have done a really good job, most of it will have broken down in about 4 days. I don’t always hit this mark though, so if you find solid parts and there is a smell, just cover it back up and let it sit longer until nature does its job. You will be able to turn it soon enough!
As far as building your compost pile, that’s it! It’s really simple to get started. Now you can push that thermometer into the center of your pile and let the “little guys” start to multiply and do their magic!
Related Posts You May Enjoy
- Easy Backyard Composting
- When and How Often to Turn Compost
- Home Composting (Troubleshooting & FAQ’s)
- How to Build a DIY Hoop-House (Greenhouse)
- Spreading Manure on the Homestead
- How to Keep Weeds Out of the Garden
- 10 Common Gardening Mistakes to Avoid
- Garden Watering Strategies (How Often, How Much, & When?)


