


Making your own compost is a great way to eliminate waste and save some money to create healthy soil full of rich microorganisms and beneficial components. Having a DIY compost sifter will help utilize your compost to create a homemade seed starting mix or potting soil, or to gently cover your seeds when planting them in the garden.
For us, good gardening practices include preparing our garden for winter after all our crops have been harvested, avoiding the most common gardening mistakes, using no-till gardening methods, and doing our best to keep weeds out of the garden.
One of the best things you can do for your garden is to have great soil. Like I always say, "Dirt is dead!" We want our gardens filled with beneficial bugs, insects and other microorganisms to help our crops grow and provide for our family.

Do you need to sift compost?
You may be wondering why you would need to sift compost or soil. There are two reasons you should sift compost:
- For removing larger material
- To create soil for a seed starting mix (or potting soil)
When starting seeds, potting up tiny seedlings, or transplanting seedlings, you need to have very fine soil to lightly cover the seeds.
If your soil has large chunks of debris, this could interfere with the germination of the seed and your germination rate will decrease, wasting both time and money.
In order to have the best success when planting, using a fine soil is necessary. Sifting your homemade compost or store-bought soil is key.
How do you sieve a large amount of soil?
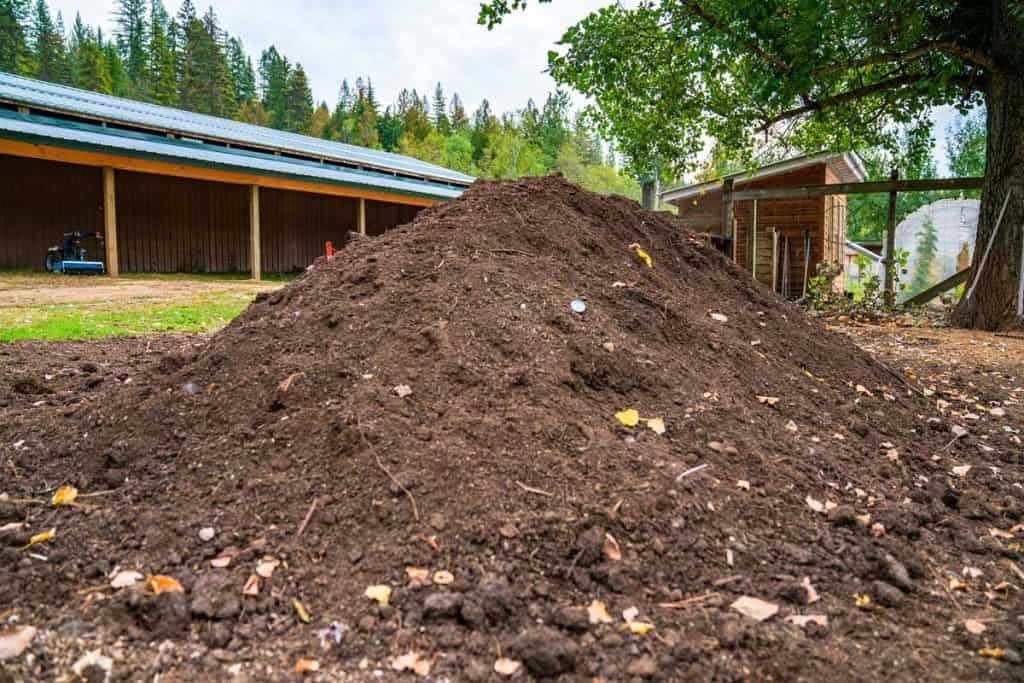
Depending on the volume of soil, you may need to sift a large amount of soil. This DIY compost sifter works well for small or relatively large amounts. Even on our property here at Riverbend where we make 14-20 cubic yards of compost a year, this sifter meets our needs.
How or where you locate your sifter can be determined based on the volume of soil. For example, if you have larger amounts, you may wish to hang your sifter from above, allowing you to easily shake the sifter back and forth.
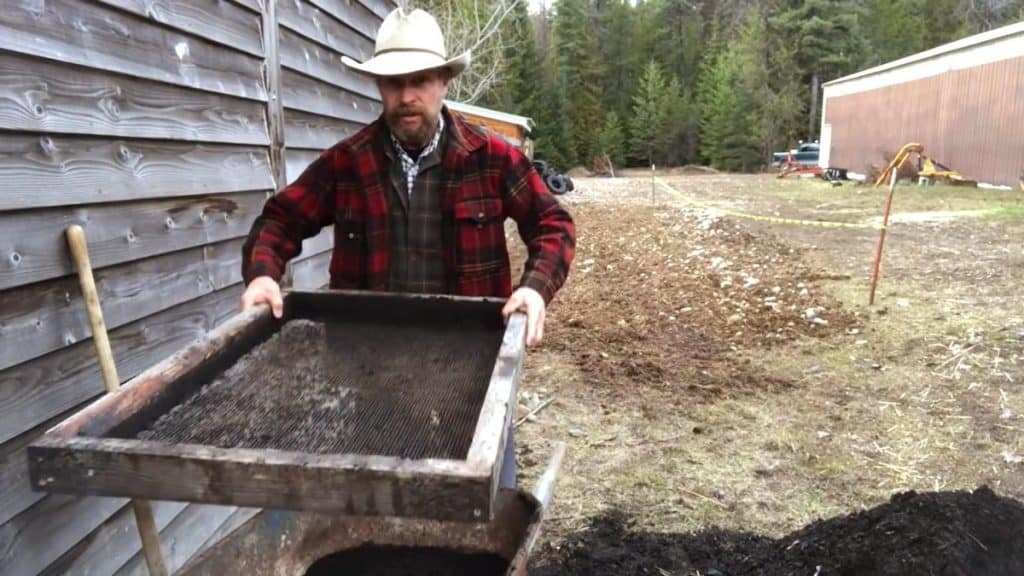
For smaller quantities, placing the sifter over a wheelbarrow, as I demonstrate in the video above, will work just fine.

Building a DIY Compost Sifter
Supplies Needed
- 2x3 or 2x4 boards - cut to the dimensions of your desired sifter. 1x boards are not recommended as they're not quite strong enough for larger loads.
- ¼ inch hardware cloth - this is rigid enough with small enough holes to get our soil down to the size we want. You could go ⅛th inch, but you'll have to work harder and I've found ¼ inch is fine enough.
- 3" screws - to secure the boards together at the corners.
- ⅜" T50 Staples - To secure the hardware cloth to the frame.

Assembling the Compost Sifter
- Measure and cut your boards to size. A 2’ x3’ sifter works over a wheelbarrow really well. So if you are using 2x material, your side pieces would be 3’ long and your ends would be 2’9” long.
- Once you have your boards measured and cut, simply screw the pieces together at the corners, forming a rectangle (careful not to screw too close to the edges or you risk splitting your board). Use two screws per corner.
- Measure and cut the hardware cloth to size. I cut my cloth to line up to the very edges of my boards. Make sure you cut the hardware cloth square.
- ¼” hardware cloth is pretty rigid so you won’t need to stretch it out or anything, just lay it over your wood frame...if you cut everything right, the edge should all line up and you can then staple the hardware cloth to the frame. This is going to hold a bit of weight, so don’t be shy with the staples. I like to put them about every 3”...and make sure they are well set!
Compost Sifter Dimensions
I built our compost sifter specifically to fit on top of our wheelbarrow. Our frame is 3'x2'9". The arms of the sifter rest directly on the wheelbarrow for support and it fits all around both length and width.
Hanging Compost Sifter
If you lack the strength to shake your compost sifter back and forth by hand, you may want to build your sifter with eye-hooks and rope or chain, then hang it from a ceiling or structure overhead.
This would allow you to fill the sifter with soil, then swing it back and forth without actually having to deal with the weight of the soil and sifter.

How to Use a Compost Sifter
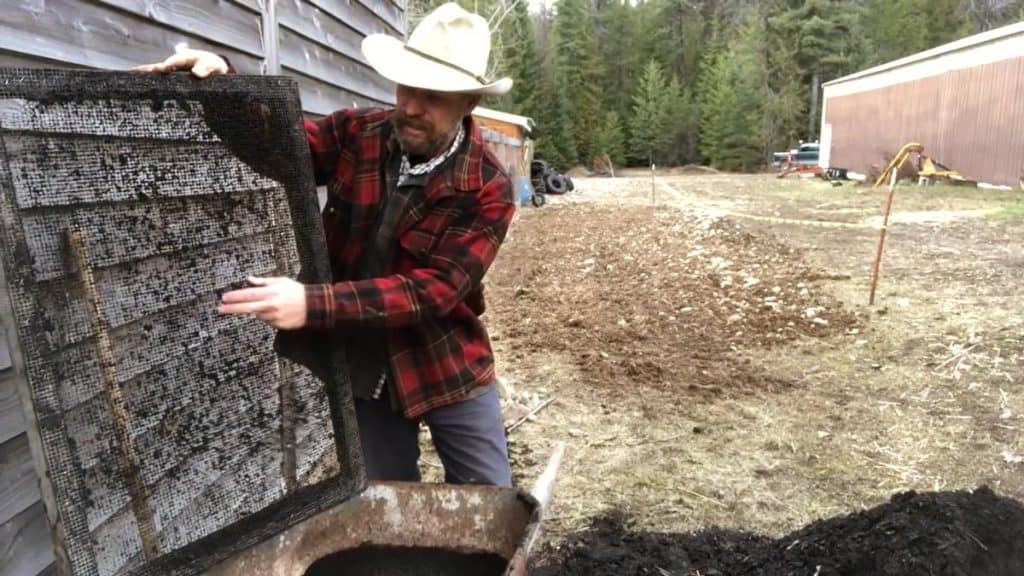
Using your compost sifter is easy! Just dump a shovel full of compost or soil onto the metal screen, then sift the compost or soil through the screen with your hands or your shovel.
Alternatively, you can shake the screen back and forth allowing the compost or soil to fall through the screen.
Dump the larger pieces of compost back into your compost pile to continue to break down.

One way to use compost on the homestead is by adding a fresh layer of sifted compost directly over our garden rows. It not only adds nutrients to our soil, but it also acts as a natural mulch to protect our seedlings and suppress weeds.
Creating your own compost and sifting your own soil is much more economical than buying $10 bags of seed starting mix in order to plant your garden. With this inexpensive DIY compost sifter, you’ll be well on your way to a beautiful garden.
Even our little kids know that sifting compost is important!
More Gardening Related Posts
- Compost Tea (Recipe, Tips & Uses)
- Back to Eden Gardening with Paul Gautschi
- How to Keep Weeds Out of the Garden
- Garden Watering Strategies (How Much, How Often, When…)
- How to Make Compost the Easy Way – Composting 101
- When and How Often to Turn Compost
- Home Composting (Troubleshooting & FAQ’s)
- Learn How To Start Seeds Indoors
- When to Start Seeds Indoors
- Seed Starting Problems (& How to Fix Them)
- Making Raised Garden Bed Rows & Super-Charging Your Soil


