

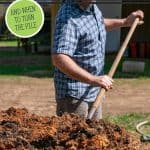


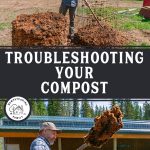
Learn why and how to manually turn your compost, without the need for an expensive compost tumbler. Complete with troubleshooting tips to secure compost success.
There are many approaches to composting, and some require expensive equipment such as compost bins, compost tea brewers, or compost aerators and tumblers.
If you have been with us as we were garden planning for serious food production, choosing no-till gardening and the lasagna gardening method, building raised garden beds, learning how to keep weeds out of the garden, or preparing the garden for winter, you know how serious we are about the importance of building cost-effective healthy soil, and DIY compost is the key.
In How to Make Compost the Easy Way – Composting 101, we took the mystery out of composting by demonstrating an affordable, easy, and doable approach to composting that requires the only piece of special equipment you truly need, a compost thermometer.
If you missed that post, we recommend starting there to learn the basics of composting and to get your compost pile started. Then, come back here for the second step in the process where we demonstrate how to properly turn your compost along with helpful troubleshooting tips so you'll be ready to use compost on the homestead.
Why Compost Needs Turning
Compost materials rely on a perfect balance of heat and oxygen to feed the beneficial bacteria that go to work in breaking down the green and brown materials in compost.
As the compost pile sits, the layers settle and become compact which in turn limits the aerobic action (or oxygen flow) that keeps the microbes alive.
Turning the compost reintroduces oxygen back into the pile, as well as allows for any compensations that need to be made in the compost ratio.
When to Turn Your Compost
When a compost pile has the proper ratios, it can reach the 100-120 degree mark within a couple of days, and will be ready to turn. One advantage to this composting method is that you don’t have to turn it right away. If your schedule does not allow you to get to it immediately, you have the flexibility to leave it for up to a couple of weeks so long as the temperature does not begin to drop. Once the temperature begins to drop, that’s a good indication that the biological activity is starting to slow down, and the pile will need to be turned. When the compost pile reaches the 100-120 degree range, the sooner and more often you turn it, the more you will speed up the process. Letting it sit longer simply prolongs the process, but if that suits your needs, there’s certainly nothing wrong with that!
Materials Needed
- Compost Pile - Follow the step-by-step tutorial on how to begin your own compost pile in How to Make Compost the Easy Way – Composting 101.
- Amendments - These may or may not be necessary depending on if you need to compensate for any troubleshooting issues you come across.
- Brown Materials – Examples of brown materials (carbon) are wood chips, leaves, sawdust, cardboard, straw, and other “woody” organic materials. If you find that you don’t have quite enough brown material to get started, you can check with cabinet shops for sawdust and wood shavings, get and shred cardboard from the box stores, or ask neighbors for leaves from their yard.
- Green Materials – Examples of nitrogen materials (nitrogen) are animal manure (and urine), kitchen scraps, coffee grounds, yard waste such as grass clippings, or anything that has been harvested in its live or green state.
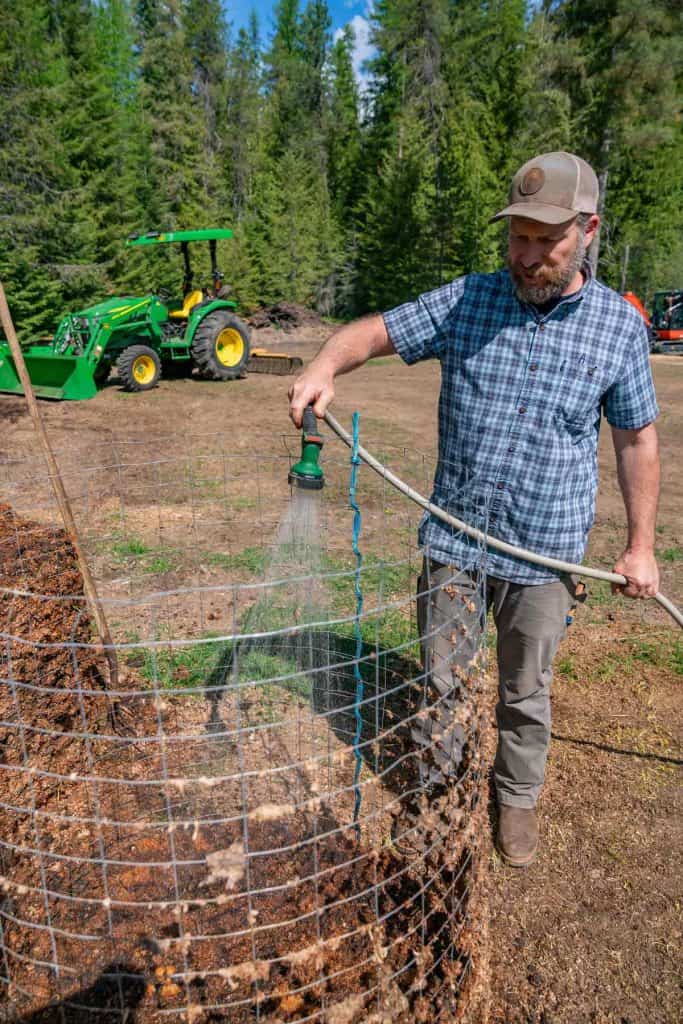
- Water – A hose with a sprayer is nice.
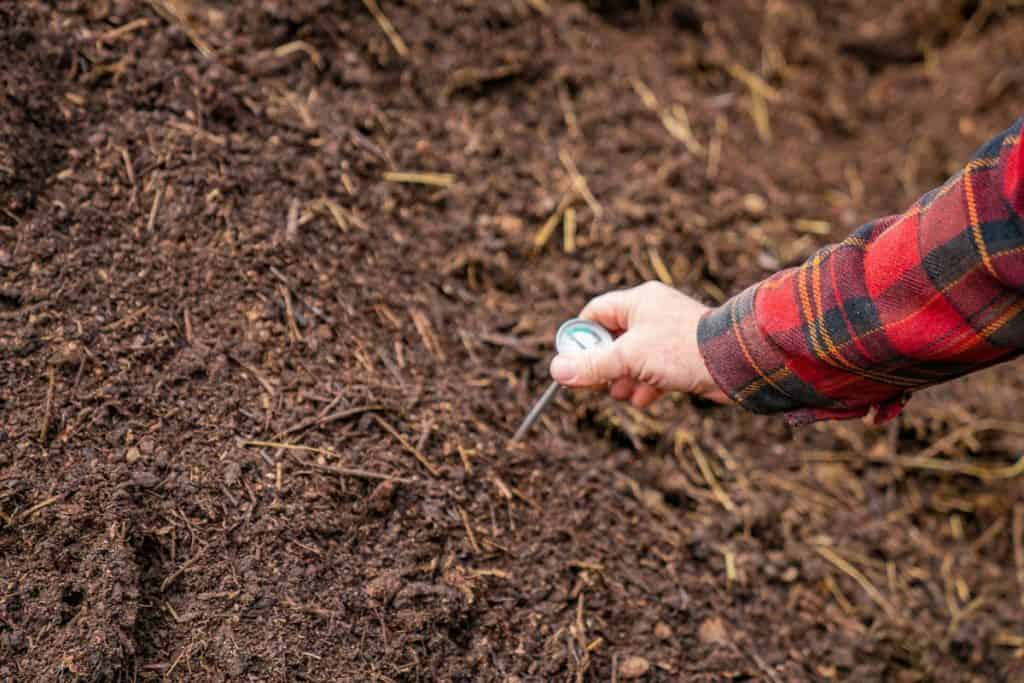
- Compost Thermometer – A compost thermometer is probably the most necessary piece of equipment you will need to gauge the temperature so you know when it’s time to turn the compost.
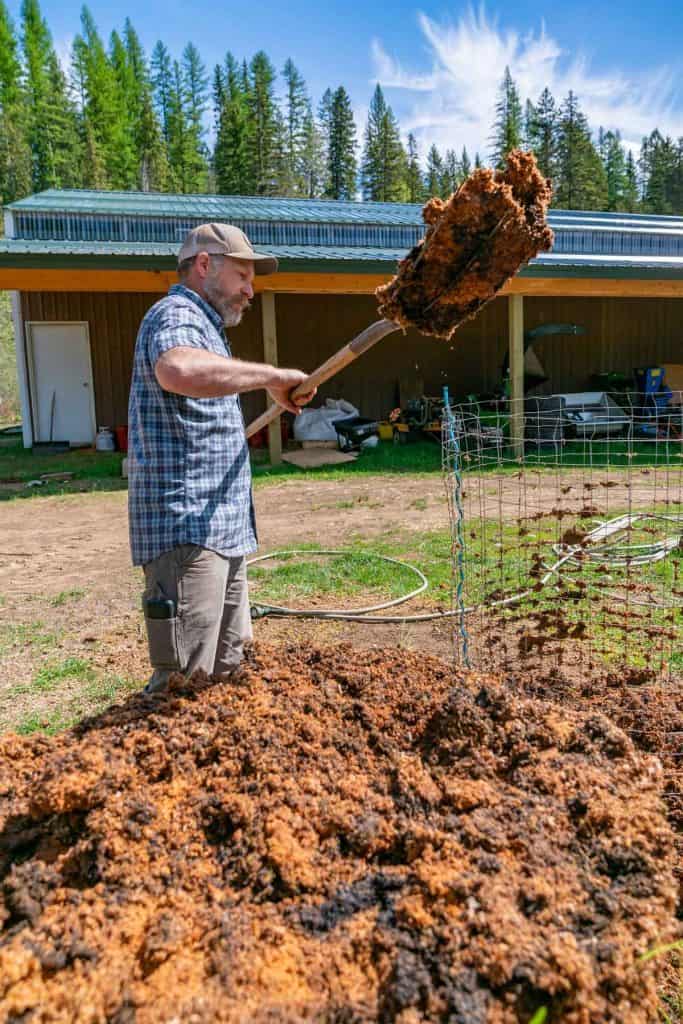
- Pitch Fork – Great for turning your compost, and breaking up any large clumps.
- Shovel – Useful for scooping remaining materials from the bottom layer of your compost pile.
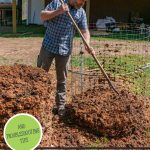
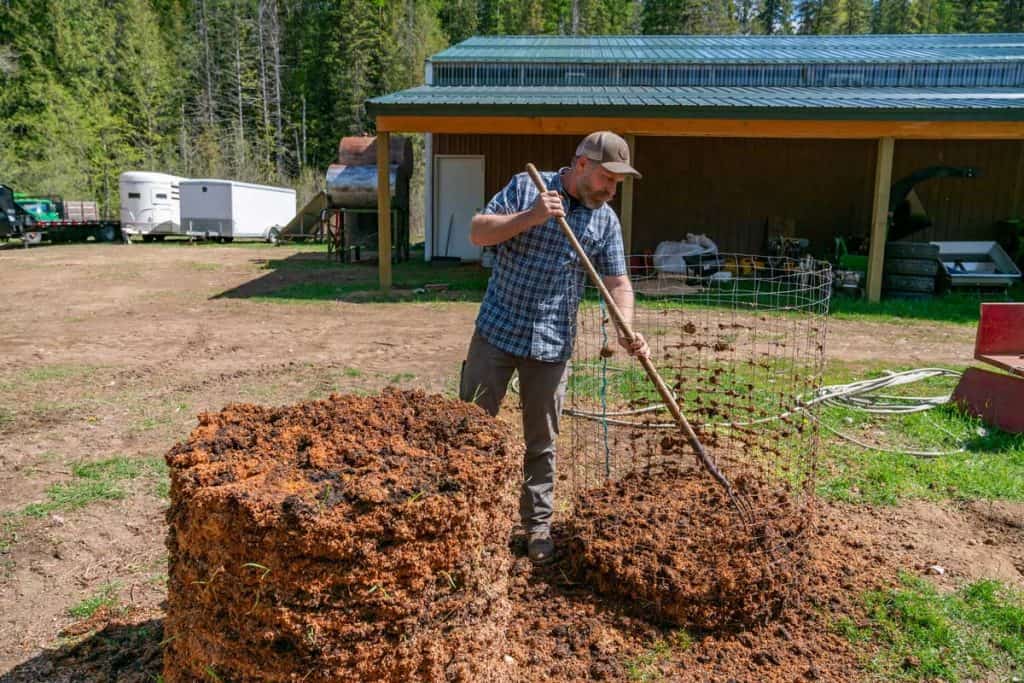
How to Turn Your Compost Step by Step
- If applicable, remove the frame from the compost pile, and set it up again next to the existing pile.
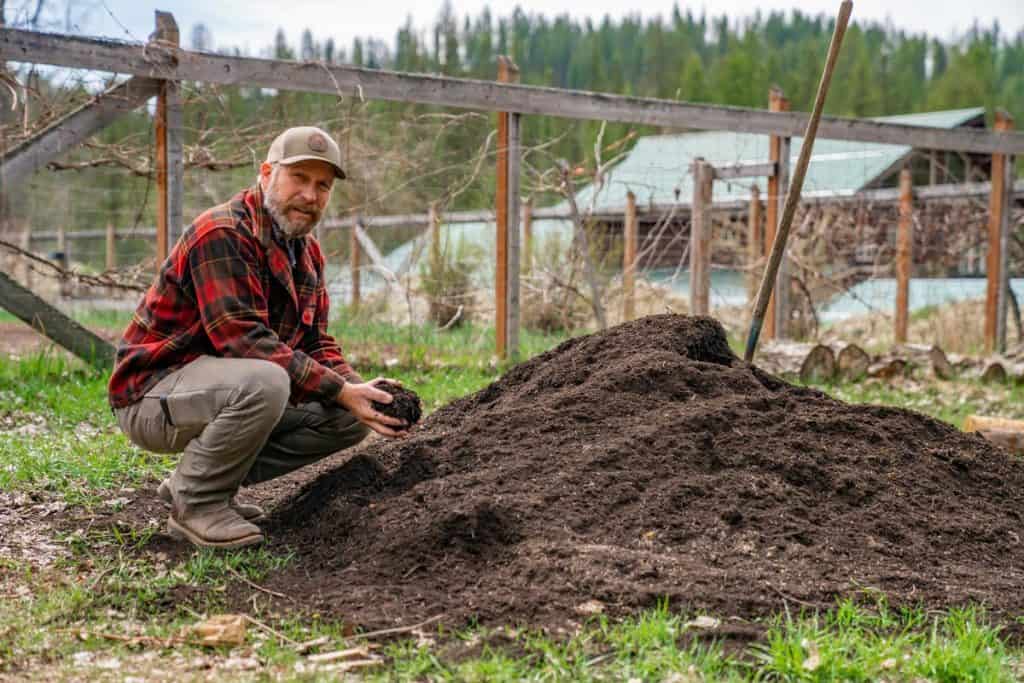
- Dig down a few inches into the compost pile to scoop out a handful of compost.
- Test the hydration by squeezing firmly, and determining if amendments need to be made in step 4. If you are able to get a drop of water squeezed out, the hydration is fine. Chances are, though, your pile may be a bit dry and crumbly, and you will need to add water as you did when you first built your pile. If you find that you are able to squeeze out quite a bit of water, you will need to add some brown (or carbon) materials to help absorb the excess water.
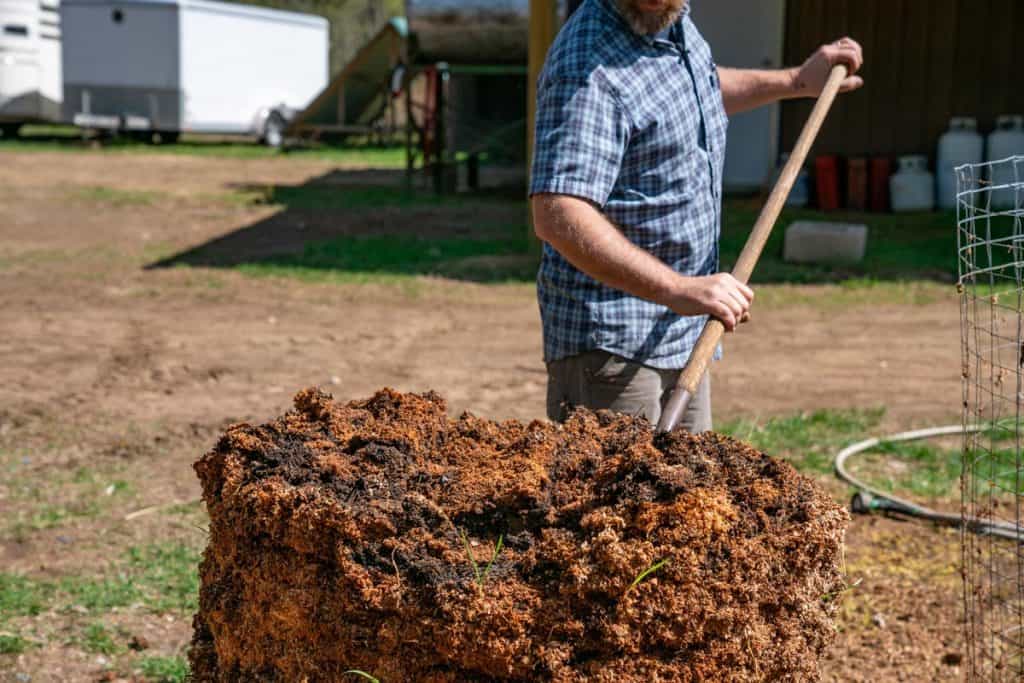
- With a pitchfork or shovel, transfer the existing pile into the empty frame set up close by adding water or brown materials to each layer as needed. The ideal goal to mix the compost is to get the outer circumference of the original pile in towards the center of the new pile, and what was in the center to the outside. This does not have to be exact, but used as a general guideline.
- After your frame is full, place the compost thermometer into the center of the pile inserted from the side. It should take about two days for the compost to reach the proper temperature, before repeating the turning process again.
Troubleshooting Tips:
My Compost Pile Isn't Heating Up
If your pile has not reached the minimal 120 degree temperature within four days, it's usually due to one of two problems. Either you don’t have enough moisture or green material (nitrogen), or your pile is too wet needing more brown material (carbon).
Simply add more green or brown material to each layer as you rebuild your compost pile, set your thermometer, and wait a few more days.
My Compost Pile Stinks
A normal smell from your compost pile should have detectable hints of manure or decaying kitchen scraps, but it should never be an overpowering rank or putrid smell.
A foul smell is also caused by one of two things, which is too much water or nitrogen. In both cases, the solution would be simply adding more carbon materials to your layers as you rebuild your compost pile.
There Are So Many Weeds Growing In My Compost
If you notice weeds growing out of your pile, it will be ideal to use a thermal composting method. This simply means to bring your compost pile up to a temperature of 140-160 degrees which will kill off any weed seeds in your compost.
Reaching this higher temperature will require the faster turnover method, tending to your pile every two to three days. Although this method requires more attention, it is not only beneficial for killing weed seeds but also kills off inorganic matter like herbicides and pesticides that aren’t ideal for healthy garden soil.
My Compost Isn't Fluffy, It's Clumpy
As the compost settles, it can begin to compact and form clumps. This clumping can limit oxygen flow, and is not ideal. Break up any clumps that you find as you are rebuilding your pile to promote as much air flow as possible.
Just keep in mind, building a compost pile should be simple and straightforward. You don't need to get caught up in the science of it all. But the tips I've shared with you here, as well as my easy method for starting a compost pile, should help take a lot of the guess work out of it all.
Related Posts:
- How to Make Compost the Easy Way – Composting 101
- Home Composting (Troubleshooting & FAQ's)
- Back to Eden Gardening with Paul Gautschi
- Instant Garden in Under Three Hours
- Making Raised Garden Bed Rows & Super-Charging Your Soil
- How to Build a DIY Hoop-House (Greenhouse)
- How to Use a Vegetable Garden Planner
- Get an Instant Garden by Growing Vertically
- How to Keep Weeds Out of the Garden
- 10 Common Gardening Mistakes to Avoid


