Having homemade chicken bouillon powder as a pantry staple ensures I provide a better option for my family than store-bought bouillon. I know it’s full of homemade goodness without inferior ingredients degrading its nutritional value.
Make this chicken bouillon recipe using stove-top chicken bone broth or Instant Pot bone broth and enhance the flavor of a stew, gravy, vegetable soup and more!
Why I Love This Recipe
Consuming bone broth is a great way to boost your immune system, and when you make this chicken broth with an immune-boosting ingredient, you increase its effectiveness even more.
I love the convenience of canned bone broth and use it in recipes like bread soup, Greek lemon chicken soup, homemade chicken pot pie, or quick and easy pan sauce.

Taking this convenience to the next level by making homemade chicken bouillon saves room on the pantry shelf. Additionally, this chicken bouillon recipe allows me to control the intensity of the flavor to complement different recipes.
Homesteading Hack: If you are new to making and incorporating bone broth into your homestead kitchen, check out my top tips for making the best bone broth!

What is Chicken Bouillon?
Chicken bouillon is a dehydrated or freeze dried version of reduced bone broth. It’s easy to make, and the depth of flavor is fantastic! Just add hot water for a quick cup to drink or use it to flavor soups and stews. You’ll never go back to purchasing bouillon at the store again!
Be aware that some gluten-free chicken bouillon substitute recipes call for nutritional yeast and seasonings of herbs and black pepper for enhanced flavor. This recipe is not one of them and is true bouillon made with genuine homemade chicken broth.

Supplies Needed
- Ladle – A ladle or large spoon works well to skim off any scum that may form on top of the chicken broth.
- Strainer – A strainer works well to strain your broth.
- Dehydrator – One of the methods to make chicken bouillon requires a dehydrator; the Excalibur has been a standby for many years in our household.
- Freeze Dryer – The alternate method for this chicken bouillon recipe is freeze drying. I use the Harvest Right Freeze Dryer for various freeze drying recipes with great success.
- Parchment Paper – When using the freeze drying method, parchment paper will keep the broth from sticking to the trays. Homesteading Hack: Harvest Right makes reusable silicone mats that work well too.
- Food Processor – A food processor or a blender is needed to blend the dried chicken broth into a fine powder.
- Storage Containers – Clean glass jars with tight-fitting lids work best. For best results, use a jar sealer for storage and reseal each time you use your bouillon.
- Labels and Pen – I recommend labeling all your preserved food products with the date and food for future reference.

Ingredients Needed
- Homemade Chicken Bone Broth – It is not recommended to follow this tutorial using store-bought chicken broth. Try my Instant Pot Chicken Bone Broth or Homemade Chicken Bone Broth (+Super Immune-Boosting Ingredient) instead.

Chicken Bouillon Recipe Step-by-Step
Whether you choose the dehydrator or freeze dryer method, you must first reduce your bone broth.
- Reduce your homemade chicken broth by half for freeze drying, or by at least 1/5th (ideally 1/20th) for the dehydrator method. Simply pour it into a saucepan and heat to a simmer on the stove until reduced. Homesteading Hack: Keep a close eye on it; you don’t want it to reduce away to nothing or burn in the bottom of your pan!
- Skim any scum that may have formed on top after reducing, and strain if desired.
- Allow the broth to fully cool (overnight in the refrigerator works best.
- Skim the fat off the top of the broth before moving on to the dehydrating or freeze drying method.


Dehydrator Method
Using your dehydrator for broth takes a bit of time, but the result is the perfect replacement for the chemical-laden bouillon cubes at the grocery store. Once you’ve reduced your broth by at least 1/5th the volume, here’s how to turn that broth into a shelf-stable bouillon powder.
- Place the dehydrator trays on a flat surface and fill halfway with your reduced, cooled and skimmed chicken broth.
- Set the dehydrator temperature to 140°F.
- Set the trays carefully in the dehydrator for 24-48 hours (this can be tricky and easy to spill, so be careful!).
- When it lifts off the tray in one solid piece, flip it over and set it back in the dehydrator for another 24-48 hours.
- When the dried broth is transparent in appearance and breaks apart easily, it’s now bouillon and ready to store.
- Remove the bouillon from the trays, break it into pieces, place it in a food processor (or high-powered blender,) and pulse it until it becomes a powder.


Freeze Dryer Method
Store-bought freeze dried broth is expensive. However, if you have a home freeze dryer, you can make it at a fraction of the cost.
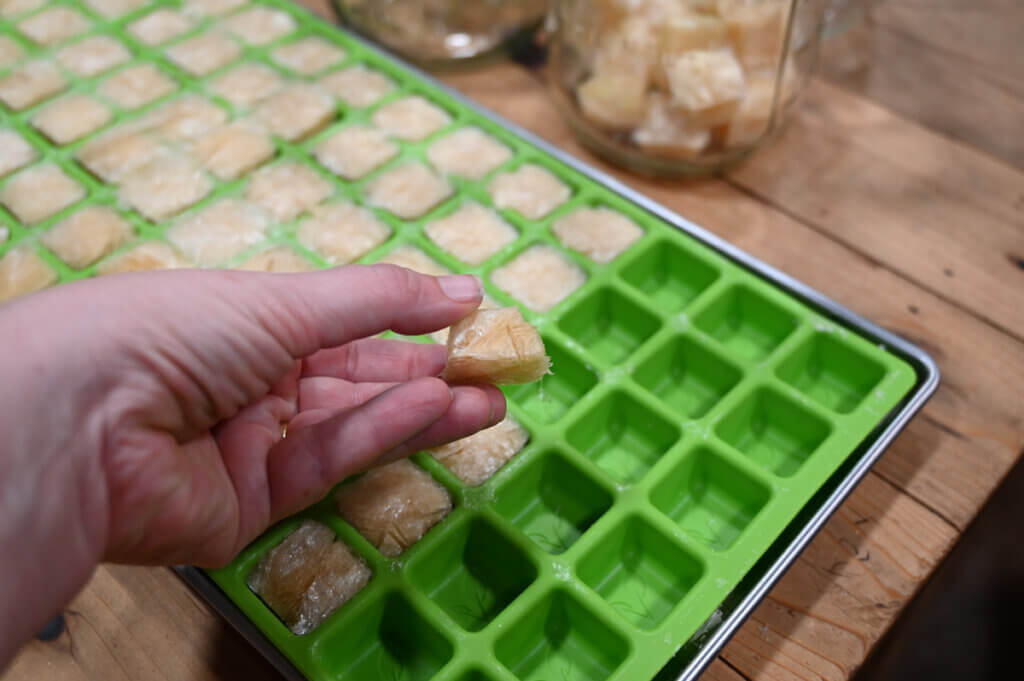
- Cover your freeze dryer trays with parchment paper to prevent sticking, or use the silicone cube molds sold by Harvest Right.
- Place your trays on a flat surface and fill trays ¾ high with broth or the silicone molds to the top (see photo above for how we make them flat).
- Pre-freeze the trays of broth overnight for optimal energy efficiency and time management.
- Pre-chill your freeze drier for 20 minutes before adding frozen trays of broth.
- Place your frozen trays of broth in the freeze dryer for the manufacturer’s recommended time.


How to Tell If Freeze Dried Bouillon Is Done
If the broth feels cold to the touch and does not crumble or break apart easily, it’s not done. Return the trays to the freeze dryer for 2-hour increments until done.
How to Store Bouillon
- Dehydrated Bouillon – Store in a clean glass jar with a tight-fitting lid for 6-12 months. Place on a shelf in a cool, dry place out of direct sunlight until needed. Label the food with the date and item for future reference.
- Freeze Dried Bouillon – You can place freeze dried bouillon in a clean glass jar with an oxygen absorber. Use a jar sealer to remove as much oxygen as possible for long-term storage. Freeze dried bouillon will have a longer shelf life of up to 25 years when properly stored on a cool shelf away from moisture and light. Label the food with the date and item for future reference.

How to Rehydrate Bouillon
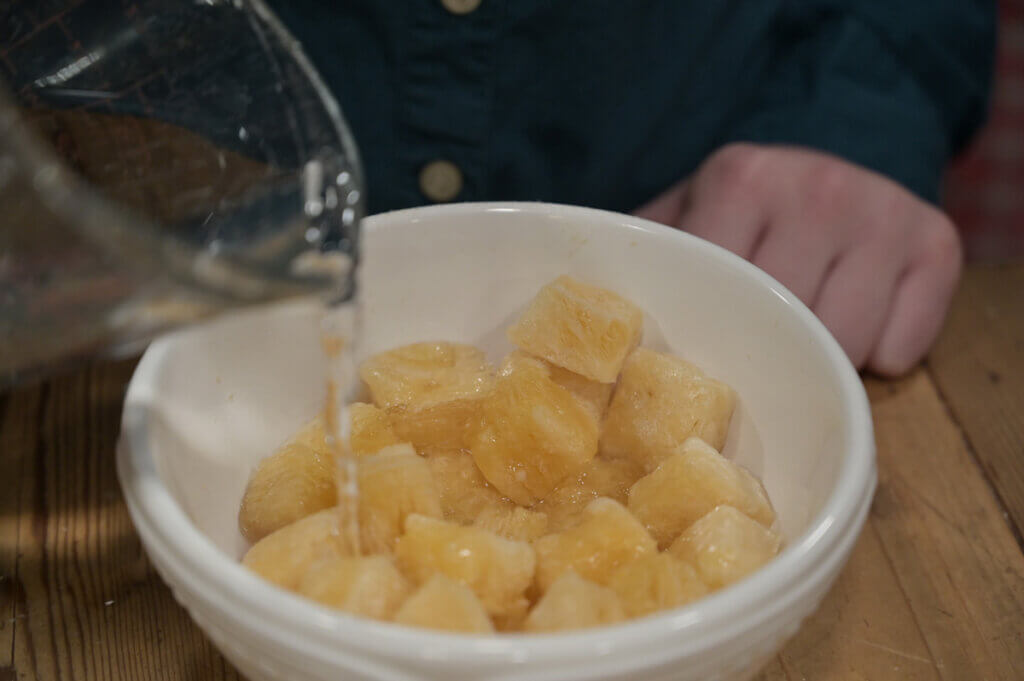
Rehydrating your chicken bouillon powder is the same for both methods. Add one tablespoon of chicken bouillon powder to 8 ounces of hot water and stir until dissolved. Taste test it and add more powder or hot water if desired.
Did you try making your own bouillon? If so, please leave a star rating in the recipe card below, then snap a photo of your finished bouillon and tag us on social media @homesteadingfamily so we can see!

Maximizing Your Freeze Dryer
Have you ever wondered what else you can preserve with a freeze dryer?
I reveal the answer to this and so much more in my book Freeze Drying the Harvest: Preserving Food the Modern Way and my Freeze Drying Masterclass. From wild game to watermelon and milk to mashed potatoes — you’ll learn the ins and outs of preserving more food than you thought possible.
These resources can be purchased separately or as companions, so whether you choose the book or the masterclass, you will receive all the information you need to gain the confidence and skills you need to preserve meat, eggs, veggies, fruit, herbs — and yes, even lattes!
Other Articles You May Enjoy
- Harvest Right Freeze Dryer FAQs
- Garlic and Herb Seasoning: Elevate Your Cooking!
- Homemade Chicken Bone Broth (+Super Immune-Boosting Ingredient)
- 13 Tips for Making the BEST Bone Broth
- Canning Bone Broth or Stock (Chicken, Beef, or Vegetable)
- Quick & Easy Pan Sauce Recipe
- Freeze Dried or Frozen Chicken Pot Pie
- Bread Soup – A Quick and Easy Lunch


