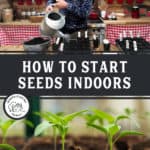


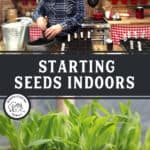


There are three main reasons to start seeds indoors: to extend your growing season, for quality control, and to save money by not having to buy starts from a nursery. We've been starting seeds indoors for about twenty years now and have learned much through trial and error. Learn the basics of how to start seeds indoors (and the mistakes to avoid) with this helpful step-by-step guide.
Many people wonder whether or not they should start their garden seeds indoors. There's also some confusion on how to read seed packets, which seeds should be started indoors (and which to direct sow), how to start a garden, how and when to start seeds indoors, when to pot seedlings up and finally, how to transplant seedlings into the garden.
But before you get too focused on starting seeds, we think every gardener (whether new or seasoned) should first read about the ten most common gardening mistakes, how to choose the right seeds for your garden and how to use a garden planner (our preferred planner is Clyde's Garden Planner - use code "homesteadingfamily.com" for a discount on your order).
In this post, you'll find a tutorial on how to start seeds, the five mistakes to avoid when starting seeds, and a video on how to troubleshoot your seedlings if they're looking sickly.

Why Start Seeds Indoors?
As we mentioned, there are three main reasons to start seeds indoors: season extension, quality control and saving money.
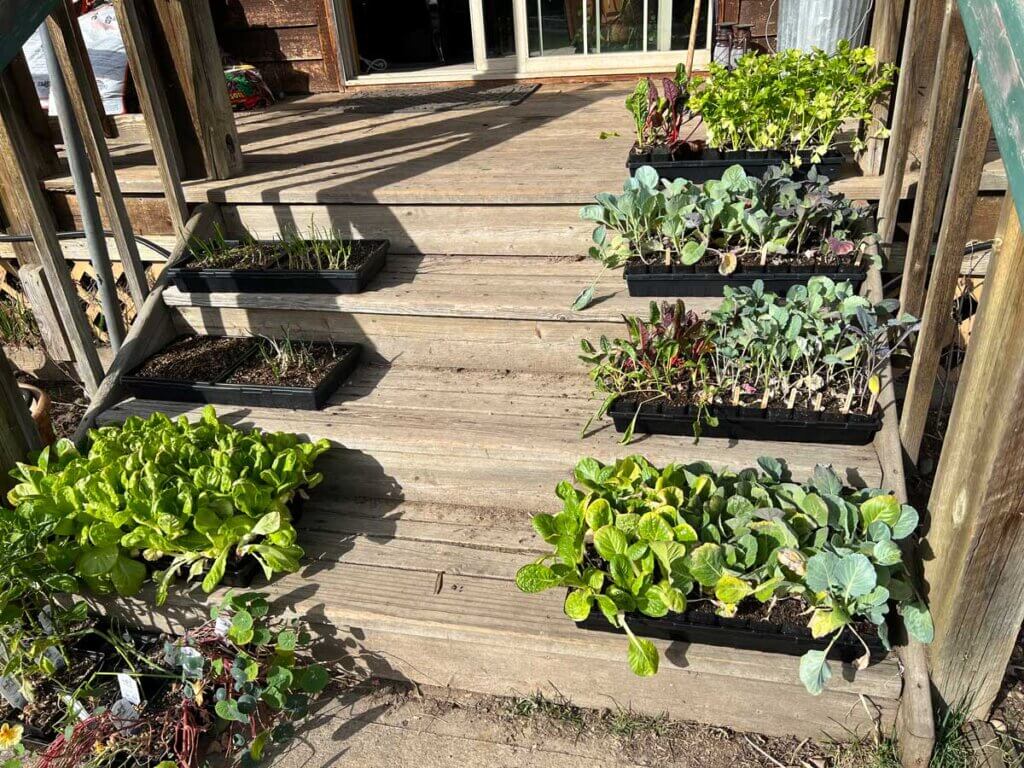
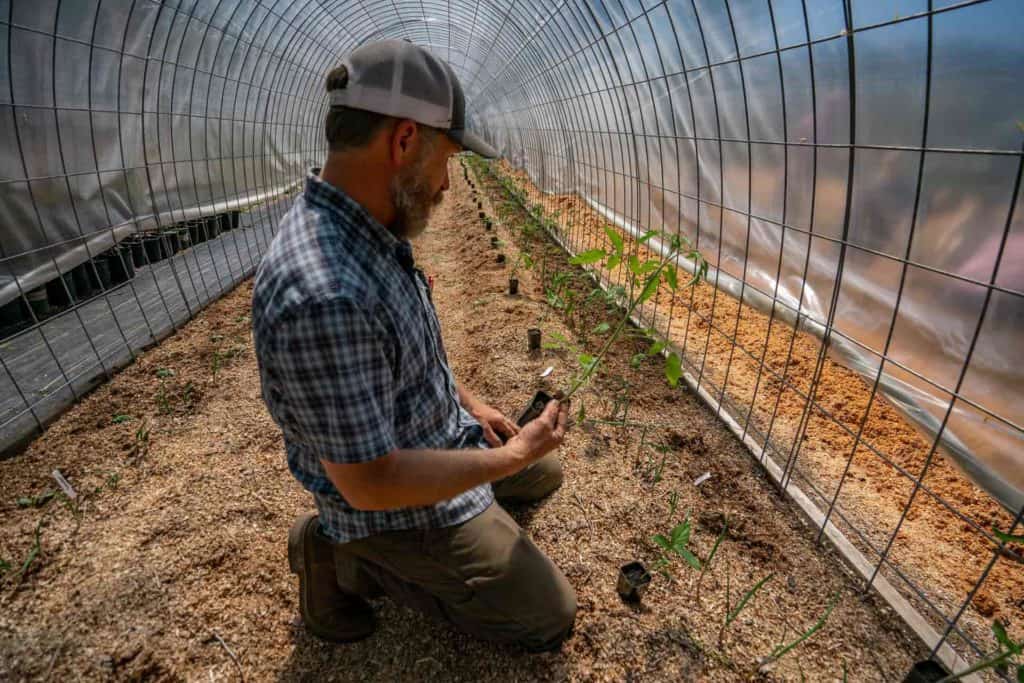
- Season Extension - This is important for those of us living in frigid climates where our summer growing season is relatively short. Here in North Idaho, it's common to have snow on the ground well into May, sometimes even June. We often also experience our first frost in September. So this leaves us with a short three to four-month growing season most years. We can extend this by using season extenders such as our DIY hoop house, growing greens in our unheated greenhouse almost year-round, and using winter gardening methods such as cold frames. Growing seeds indoors can also be used in mid-summer when the soil and weather are too hot to germinate crops. We do this with brassicas and other plants that we want to last into fall. We'll start them indoors in midsummer, then transplant them once the weather isn't so hot.
- Quality Control - If we want any chance of eating fresh tomatoes, cucumbers, peppers or melons, we have to plant seedlings. However, purchasing seedlings from a nursery doesn't give us the quality control we like to have. We enjoy seed saving or growing heirloom varieties that you just don't generally find at garden centers. Therefore, by starting our seeds, we get to choose the variety, especially when we find a variety that our family loves and that grows well in our region. Furthermore, by starting seeds indoors, you can control the environment, which means you can control the outcome more accurately. Once you learn how to grow seeds indoors, you can control the temperature, the light exposure, and even the moisture level. With all this control, you'll yield a much higher germination rate, saving you money because you don't have to buy as many seeds to get the yield you want.
- Cost Savings - Finally, the third reason to start seeds indoors is to save money on your garden. As mentioned above, for certain crops we don't have any choice but to plant seedlings. Our growing season is much too short to direct-sow a tomato seed. Furthermore, with the size of the garden we grow, purchasing starts from a nursery would be extremely costly every year. Therefore, starting our own seeds is a fantastic option for us.
Which Seeds Can You Start Indoors
Technically speaking, you can start ANY seeds indoors. But this doesn't necessarily mean you need to (or should).
Some seeds are easier to start indoors than others, so it just depends on whether you need that extra control that starting seeds gives you.
Again, if you know your climate, the length of your growing season, your average temperatures and if you have healthy soil, then many plants can be directly sown outdoors with no problems.
For us in North Idaho, we will always start tomatoes, peppers, cucumbers, long-day brassicas and melons indoors because our growing season isn't long enough. (Here are our 7 tips for successfully growing tomatoes in colder climates.)
However, colder-weather crops such as lettuces can be directly sown in early Spring.
Supplies Needed for Starting Seeds Indoors
You don't need an elaborate system to start seeds indoors. However, there are a few items that will be helpful, such as seeds, trays and pots, markers, a good seed starting mix, water and grow lights.
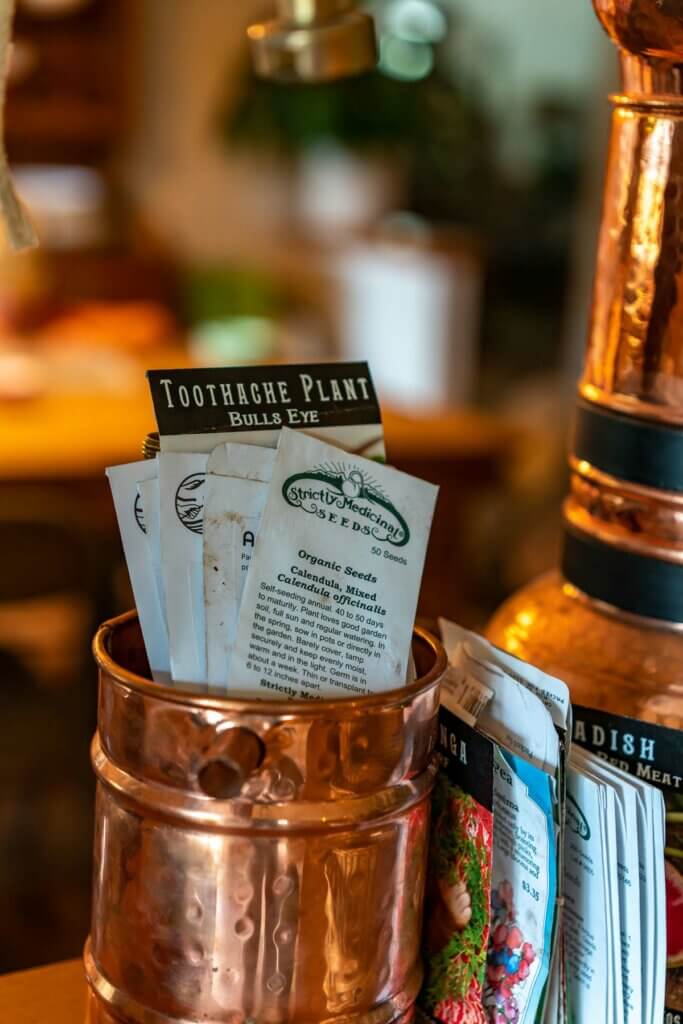
Seeds
Purchasing seeds from a reputable company is important. You can find seeds at your local hardware store, the grocery store, even the dollar store. However, if you're looking to purchase quality seeds that you can seed save from, we don't recommend buying them from stores like this.
Look for open-pollinated, heirloom or organic seeds when possible. If you haven't purchased your seeds yet, we recommend Seeds for Generations or Baker Creek Seeds for some great heirloom seed varieties! Here is more information on Baker Creek heirloom seeds and their commitment to the Safe Seed Pledge.
We've also been buying from Adaptive Seeds because they're somewhat local to us. Learn more about choosing the best seeds for your garden here.
Be sure to read the package to know when to plant your seeds (whether starting them indoors or direct sowing them in the garden). Check out photo storage containers that work extremely well for keeping your seeds organized and dry from season to season.
Trays and Pots
We've tried many different systems over the years and have found that slightly larger individual pots work best for us. Many people have used peat pots or even large flats. However, we like using something that will last year after year.
Our favorites are these seed-starting pots for plants we know need to get slightly larger before transplanting and these Sili Seedling Pots, when we know we'll need to sterilize them. These pots are great for bottom watering, and they make getting the plant out of the pot extremely easy.
If you're starting in smaller pots, as the seedlings grow in size, they may need to be transplanted into bigger pots before planting them in your garden. When that time comes, here is our easy tutorial on potting up seedlings.
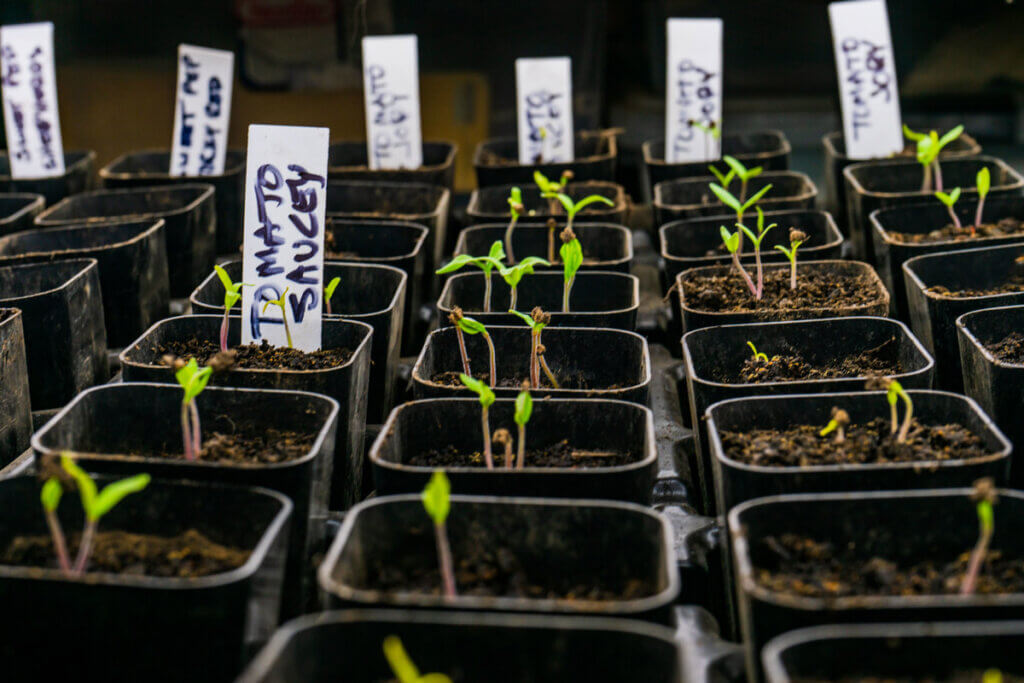
Markers
A way to mark your seedlings is important for remembering which type and variety of seeds you've planted. Trust me when I say there's nothing worse than getting all your seeds planted and not remembering what you put where.
Using markers and putting them in the pots before adding seeds will eliminate this possibility. We like plastic markers because they're reusable and will last for many years, or wooden popsicle sticks because we can compost them once we're done with them.
Potting Soil
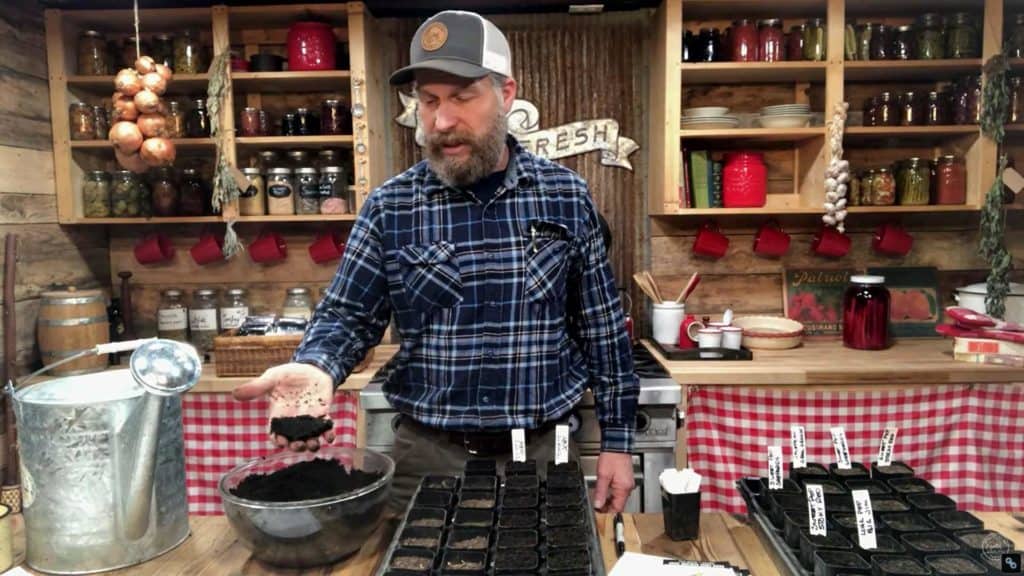
Every year we use a combination of our homemade compost and our own topsoil from the garden (that's been sifted through my homemade compost sifter). It's all very bioactive and has always worked well for us.
You'll hear many people say your seed starting mix must be sterilized, and we would 100% agree with that when purchasing from the store. However, we know our soil and trust it's not contaminated with harmful bacteria or fungi.
It's important to mention that whether we're talking about our soil or store-bought seed starting mix, we always recommend organic soil free of pesticides, synthetic fertilizers and chemicals.
You can watch the video above to learn more about sterilized vs. unsterilized soil, but what's also very important when starting seeds is how wet your soil is when planting. It should just hold together when squeezed with your hands (see photo above), but not stick to your hands or turn your hands black.

Water
You'll want to have water on hand because your soil will need to stay nice and damp to allow for germination.
When you're watering your starts for the first time, you'll need to water them a lot more than at any other time.
For our seed trays, this means filling it up ½-2/3 full and then giving the plants 12-24 hours to "drink up" all that water. If there is still water in the tray after 24 hours, dump that water out and begin watering normally each day.
After the initial watering, if the tray is dry after 12-24 hours, add water to fill the tray about ¼-1/2 full again and wait another 12 hours. Then, remove any excess water.
For regular watering, we wait until the top of the soil is dry to the touch, add water to the bottom tray and let the plants drink up the water for 1-2 hours then pour the water off. We can't say how often you'll need to do this because so much of that depends on the climate in your home.
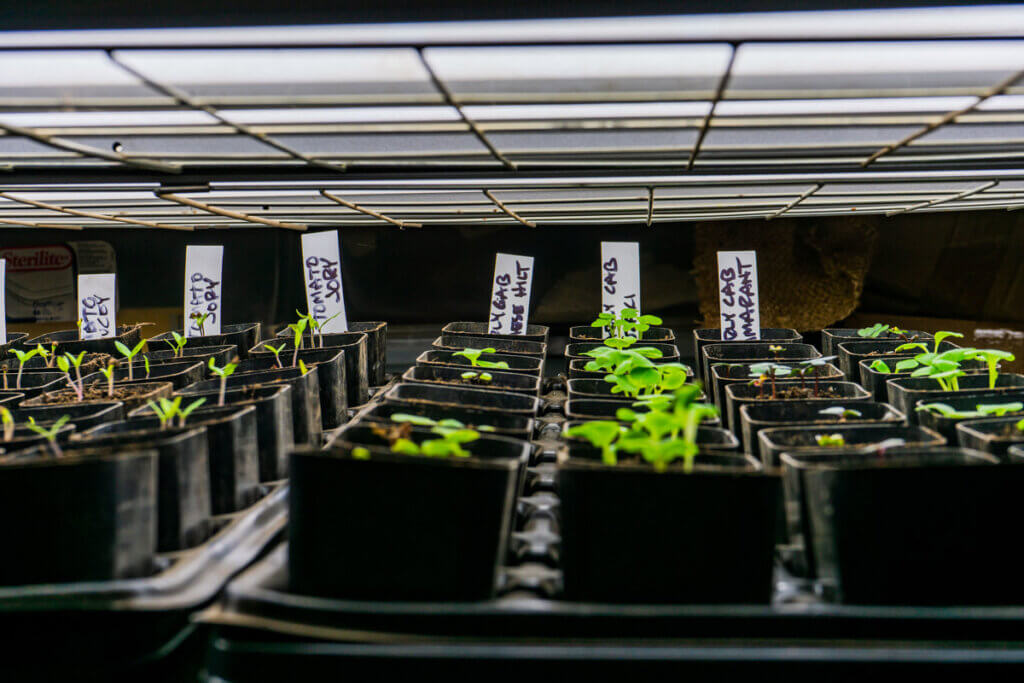
Grow Lights
Once your seeds are planted, they'll need light. But don't be fooled by those high-end, expensive grow lights!
For seasonal seed starting, you don't need the full-spectrum grow lights. You can use old shop lights (T5) with great success to get your plants large enough to transplant outside. When using these lights, the ideal light placement is an inch to two inches above the plant. As the plant grows, you'll want to adjust the lights.
The full-spectrum grow lights (T8) are for growing plants to full completion indoors. If you are using a grow light, be sure to read the manufacturer's instructions on light placement. There is an optimal height at which you'll want those lights above your plants (and different brands may vary).
You may be wondering if a sunny, south-facing window is enough to grow starts indoors. Our answer is no; it's generally not enough direct light on the seedlings to get them the energy they need for proper growth.
Homesteading Hack: When using grow lights (or any lights to get your plants to grow), be sure to reduce the ambient lighting in the room. If you're growing by a sunny window, the plants will naturally start to grow toward the natural light. To keep your plants growing upright, it's best to reduce as much natural light as possible.
Temperature & Germination Mats
When thinking about summer-loving crops like tomatoes, it's easy to think "the warmer, the better" when it comes to starting seeds indoors. We invested in germination mats and utilized the heat from our wood-burning cookstove to help our plants grow one season. To our surprise, this was too much!
Don't get me wrong, germination mats are incredible... for germination. Especially if you're growing your starts in a cooler area, such as a basement or cold room. But too much of a good thing isn't always better! They're called "germination" mats for a reason. They should only be used during germination.
Using germination mats throughout the growth of your plants could result in accelerated growth and "leggy" plants.
Ideally, you want to keep the soil temperature above 60°F for most plants, but that doesn't mean you need to keep it at 80°F! We've found a cooler spot in the house is better than the warmer areas.

More Seed Starting Tips
There are a few more tips we think are important to keep in mind when starting seeds indoors.
- Airflow - Using a small fan to create airflow is important for a couple of reasons. First, it simulates the wind and natural air movement of plants outdoors and helps build strong stems for your plant. Second, it helps dry out the surface of your plants to keep any mildew or fungus from growing on the surface of your soil.
- Sterilize the Soil - We don't generally promote sterilizing things because this kills both the good and bad microorganisms in the soil. However, when coming out of winter, we find our compost just isn't as bioactive as it is at the end of the summer. Therefore, we do choose to sterilize our soil. We use a 50/50 mix of our homemade compost and topsoil from our garden (then use our homemade compost sifter to create a fine mixture). To sterilize the soil, place it into a deep pan and heat it in the oven at 350°F for about 30 minutes. You want the temperature of your soil to reach 160°F.
- Sterilize Your Pots/Trays - If you're using sterilized potting soil you really do need to work with sterilized pots. To sterilize your pots and trays, use a solution of 10:1 (water to bleach) and set them into the solution for about ten minutes. Allow them to air dry (don't rinse them off), and then you're good to go. Homesteading Hack: If you don't like using bleach (which we try to avoid as much as possible), you may like these silicone seed starting pots. To sterilize them, you can simply drop them into boiling water for 10-12 minutes, pull them out, and they're good to go.
- Timing - Don't be tempted to start your plants too early! I've made this mistake too many times. Even for something like tomatoes, in our experience, the smaller tomato plants do better when transplanted out into the garden. In general, don't start seeds more than six weeks prior to planting them out in the garden. The only exceptions are leeks, onions, bell peppers and celery. And, don't worry if you missed the optimal time to start seeds. Here are our best late start gardening tips.
- Planting Depth - We don't like to poke "holes" in our soil where the seeds will go. Oftentimes, we find our seeds get too deep this way. The only exception to this rule is for larger seeds like corn or beans.
- Avoid Air Pockets - It's important to tamp down the soil in each pot before planting so there are no air holes in the soil. If the roots of your plant hit an air hole, they can get stunted or die completely before you know what's wrong.
- Watering - Water from the bottom up! This helps you know your plants are neither too dry nor too damp. We've noticed that top watering can create fungal problems, insect problems and damping off. To do this we fill the bottom tray with water and let the individual pots sit in the water for about an hour. Then we dump the excess water off so the plants aren't just sitting in water for hours on end (this can also cause fungal issues).
- Fertilization - Because we've started our seedlings in our homemade compost, we never bothered with fertilizing our seedlings. However, after some experimentation, we realized that our seedlings weren't getting the nutrition they needed. We now fertilize them weekly after the seedlings get their first set of true leaves with Neptune's Harvest Tomato and Veg Fertilizer (that link will get you 5% off, or use coupon code "Home05"). I fertilize at half the strength recommended for my seedlings.
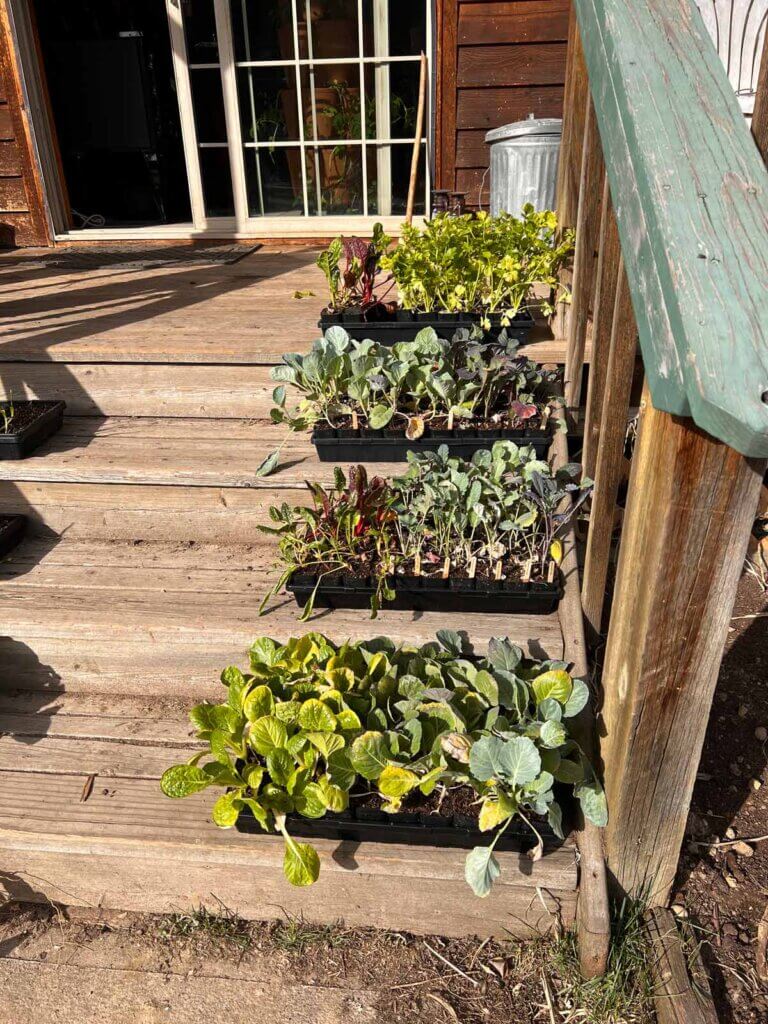
- Harden Off - Slowly introduce your plants to the outdoors prior to transplanting them into the garden. We like to do this over a one-week period of time. Start with one hour, then increase each day until your plants are ready for the outdoors.
- Protect Your Plants - Remember to utilize frost cloths, cold frames, hoop houses or greenhouses for cold-weather crops. This is great for maximizing those shoulder seasons and extending your growing season well into the colder months.
How to Start Your Seeds Indoors
Planting the seeds is the easiest part once you've got all your components together. Here are the basic steps:
- Add soil to your pots.
- Tamp down the soil by lightly banging soil-filled pots on the counter (you don't want any air pockets in your soil, or your roots may die when they hit it).
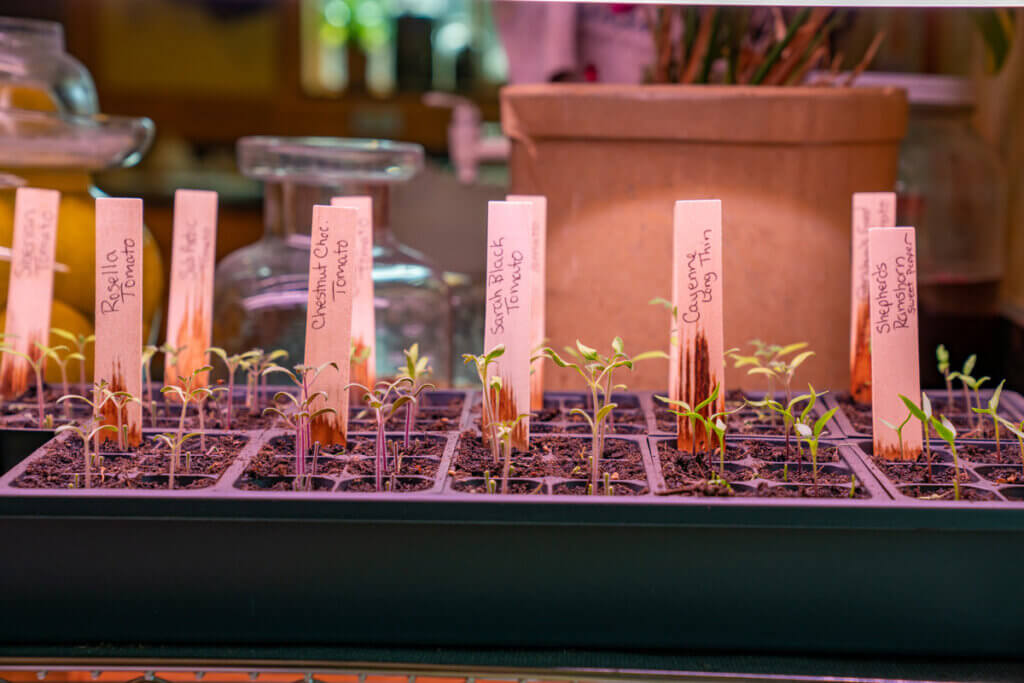
- Label and put your markers in your pots.
- Sprinkle 2-3 seeds per pot.
- Cover with a small layer of soil (2 times the greater width of the seed as a general rule of thumb).
- Water well (see watering tips above).
- Have a source of consistent heat (until germinated) and light.
When To Plant Seedlings Outdoors
When should you transplant your seedlings outdoors? This is our favorite answer: IT DEPENDS!
Transplant dates will vary based on where you live (and the average first and last frost dates). Some other factors are what you're growing when you'd like to harvest, and the size of your seed starting tray.
- Know Your Last Frost Date (Spring) - If you want to get your starts in the ground as early as possible, you'll need to know your last frost date in the spring. It's important to know this date before starting your seeds indoors because seeds have a specific time frame until production.
- Know Your First Frost Date (Fall) - If you want to extend your harvest into the fall, you'll want to know when your first frost date is in the fall. Then, you'll need to look at the calendar and do the math backward to ensure you give your crops enough time for production and harvest before that frost date. (This is assuming the crops cannot winter over.)
- Know What You're Planting - Before knowing HOW to grow plants indoors, you should have an idea of WHAT you want to grow. Find a reputable seed company and grab their catalog. Be sure to use a trusted source - we share our favorite seed companies in this post. Each plant will have a different germination time (how long it takes for the seeds to sprout) and time to harvest. Working backward, you're going to want to come up with a plan on when to start each plant indoors.
- The Size of Your Pots - Another factor in when you should transplant your starts outdoors is how big your seed starting container is. If you're working with tiny seed starting cells, it's likely that you'll need to pot up before it's time to transplant outside. This is why we prefer slightly larger seed starting containers to eliminate the need for potting up.
More Seed Starting Resources
If you're looking to take your seed starting to the next level, be sure to check out the Seed Starting class over at School of Traditional Skills with Rick Stone. Rick has spent his life developing this class and has been teaching it for years. We think you'll really enjoy that, so be sure to take a look.
More Gardening Videos & Posts:
- How to Winterize Plants in Pots
- Back to Eden Gardening with Paul Gautschi
- 10 Common Gardening Mistakes
- How to Heat a Greenhouse Without Electricity
- Seed Starting Problems (& How to Fix Them)
- Growing Onions From Seed
- Garden Planning for Serious Food Production
- Get a Jump Start on Early Spring Gardening – Pantry Chat #75
- Spring Gardening Planning Ideas, Tips & Tricks
- No-Till Gardening - Is It Right For You?
- How To Use the Lasagna Gardening Method
- How To Prepare Your Soil For Winter
- Pruning Fruit Trees The Right Way (For the Best Harvest)
- Sifting Compost