


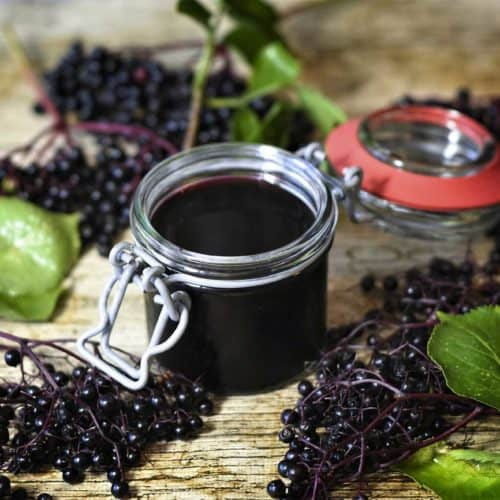
You can learn how to make elderberry syrup (that actually tastes good!) from dried, fresh, or frozen elderberries using this quick, easy and very affordable recipe. In this simple tutorial, I’ll show you the entire step-by-step process, including dosage instructions and how to can it for long-term storage.

Why I Love Homemade Elderberry Syrup
With the cold and flu being a yearly thing most of us have to deal with, it’s great to have a few homemade remedies on hand. We love these cough remedies that are safe for all ages, as well as this immune-boosting throat-soothing tea, this homemade mustard plaster for chest congestion relief, these homemade probiotics and this easy steam inhalation remedy for relieving sinus and nasal congestion.
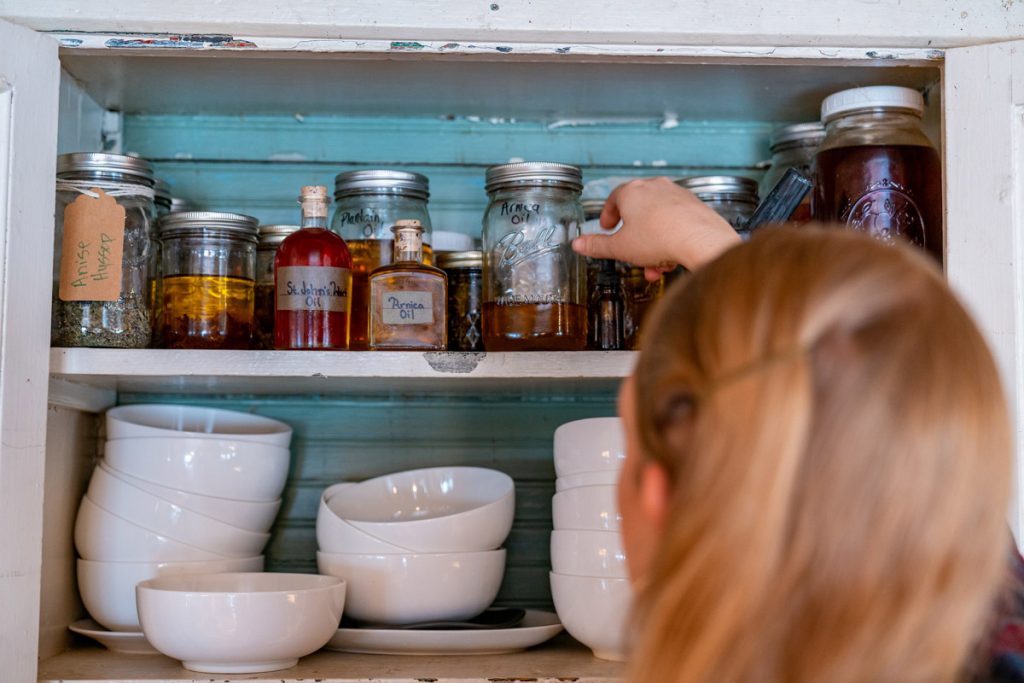
While we love to grow our medicinal herbs each summer in the cottage garden, we also enjoy foraging for medicinal herbs. We happen to have quite a few elderberry trees and bushes that grow wild in our part of the country, so harvesting them to make DIY elderberry gummies, homemade elderberry wine, or homemade elderberry syrup is no big deal.
There are many reasons to learn how to make elderberry syrup, including:
- You save a lot of money
- You have a local source for elderberries
- You want to know exactly what’s in your elderberry syrup
- You know just how EASY it is to make it yourself
Our reasons for making this elderberry syrup recipe are ALL OF THE ABOVE!
We love that we can customize our syrup based on our flavor preferences, and we know just how simple this syrup is to make. In fact, many of our children can make this recipe without any help from the adults.
Buying elderberry syrup at a health food store or online can easily cost over $15 for a small 4-ounce bottle. This recipe will make 2-4 cups of elderberry syrup and cost under $10 (depending on the cost of your elderberries and honey). What a deal!
It’s important to note that I am not a certified medical practitioner. This post is not intended to diagnose or treat but is for informational purposes only. Please contact your healthcare professional before introducing new herbal and natural remedies into your wellness routine.
Health Benefits of Elderberries
Because elderberries naturally contain vitamins A, B, and C, they naturally stimulate and wake up the immune system, which makes them a great remedy for seasonal illnesses such as colds and the flu. (Source)
Boosting your immune system when the weather begins to change can actually help you fight off those germs.
Doctor Madeleine Mumcuoglu researched elderberries and their effect on flu viruses, and the results of her research said, “To my knowledge, it’s the only product that can cut the flu in half, before complications have a chance of setting in.” (Source)
In a nutshell? Elderberries are a great first line of defense against the cold and flu because they are an antiviral herb. To summarize, these are the potential health benefits of elderberry:
| Health Benefit | Description |
| Immune System Support | Rich in vitamins and nutrients that enhance immune response. (Source) |
| Effective for Cold and Flu Symptoms | Antiviral properties help reduce the severity and duration of cold (Source) and flu (Source) symptoms. |
| Rich in Antioxidants | High antioxidant content helps protect against inflammation and oxidative stress. (Source) |
| Anticarcinogenic | May help protect against cancer. (Source) |
| Natural Diuretic | Promotes bowel movements. (Source) |
Elderberry Precautions

Before learning how to make elderberry syrup, you should learn some important elderberry precautions. According to the University of Rochester Medical Center, the “leaves, stems, raw and unripe berries and other plant parts of the elder tree contain a toxic substance. If elderberry is not properly prepared, it may cause nausea, vomiting, and severe diarrhea.”
Sure, a fresh elderberry smoothie or elderberry ice cream sounds amazing, but because eating raw elderberries can be problematic, we don’t recommend this (unless the berries are cooked first).
For this reason, we also strongly recommend sifting through your berries and eliminating any stems or leaves. Since this elderberry syrup recipe is cooked, there is no danger from the raw berries.
Uses for Homemade Elderberry Syrup

Elderberry syrup is one of the easiest ways to get kids to take this amazing herbal remedy (we also love our homemade elderberry gummies). There are many ways to take the syrup; straight off a spoon, mixed into juice or a smoothie, or even drizzled on pancakes.
You can even add a small amount to flavor tea or homemade kombucha. We love amping up the immune-boosting and virus-fighting properties by using raw honey and adding different herbs.
Important: If you have small children (under 1 year of age), be sure to see my honey substitution recommendations in the “ingredients needed” section of the recipe.
Supplies Needed
- Large Heavy Bottomed Pot - My enameled cast iron cookware works great for this recipe, but use whatever you have on hand.
- Fine Mesh Strainer - Elderberries are small, so make sure to choose a fine mesh strainer to catch all the seeds and skins.
- Wooden Spoon - I love these heavy wooden mixing spoons for these projects.
- Thermometer - This is optional, but is very helpful in determining if your syrup has cooled enough before adding the raw honey.
- Storage Containers - Glass containers with tight-fitting lids work best.
Ingredients Needed

- 4 Cups of Water - Use non-chlorinated filtered water for your elderberry mixture.
- 2 Cups of Elderberries - Use fresh or frozen or grab this elderberry syrup mix from our friends at Farmhouse Teas. (Note: If using dried elderberries, reduce the amount to one cup.)
- 2 Cups Raw Honey - If administering to children under 1 year old, substitute maple syrup, molasses, agave, brown rice syrup, or sugar.
- ¼ Cup Lemon Juice - For the best flavor, use fresh lemon juice.
- Optional Add-Ins - You can boost the nutrition by adding medicinal herbs such as echinacea and rosehip or enhance the flavor by adding spices like star anise, whole or ground cloves, cinnamon sticks or ground cinnamon, dried or fresh ginger, or cayenne pepper.
How to Make Elderberry Syrup

- Add water and fresh berries (or dried berries) to a large, heavy-bottomed pot. Bring to a boil.
- Simmer for 30 minutes.
- Strain liquid through a fine-mesh strainer, removing berries and add-ins. At this point, you can mash the berries a bit to release all their liquid.
- Continue to simmer until the liquid is reduced by half (about 16 ounces.)
- Remove from heat and allow liquid to cool to just above room temperature. You want to be able to touch it comfortably with your finger (or, if using a thermometer, about 110°F or less).
- Add honey and lemon juice, and stir to completely dissolve the honey.
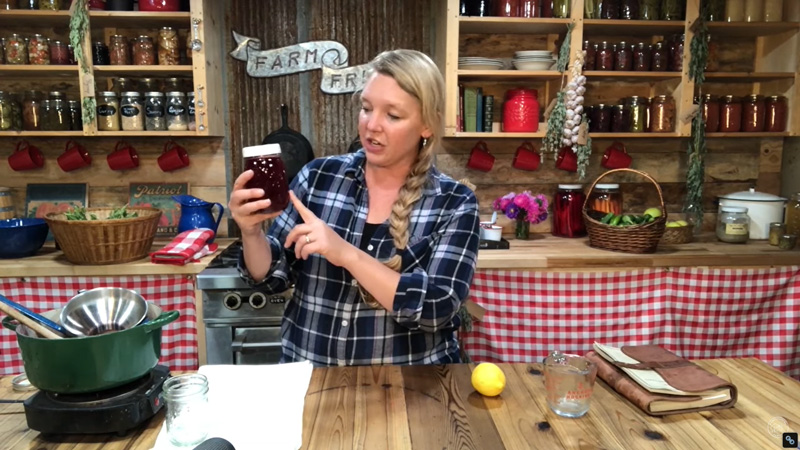
- Ladle into your jars, label and put on a tight-fitting lid. Store in the refrigerator for up to 2 months.
Elderberry Dosages

Wondering what the dosages are for homemade elderberry syrup? My preferred dosage for daily immune support during cold and flu season is as follows:
- Adults take 1 teaspoon daily.
- Kids (6-12 years old) take 1 teaspoon daily.
- Kids (1-5 years old) take ½ teaspoon daily.
My preferred dosage when fighting off illness (until symptoms subside) is as follows:
- Adults take 1 teaspoon up to 1 Tablespoon every 2-3 hours.
- Kids (6-12 years old) take 1 teaspoon every 2-3 hours.
- Kids (1-5 years old) take ½ teaspoon every 2-3 hours.
* Not recommended for kids 1-year-old and under if honey is used. (See non-honey recommendations above.)
Elderberry Syrup Alternatives

Not a fan of taking elderberry syrup? That’s OK! There are many other ways to get all the health benefits of elderberry without having to take it in a syrup.
Many people find that turning their elderberry syrup into elderberry gummies is a delicious and fun treat (especially for kids). All you need is some gelatin and fun little molds and you’re set!
You can find elderberry capsules online. This is a very easy way for adults to get the immune-boosting benefits without having to drink a sugary syrup.
Another option would be to make an elderberry tincture. Simply combine equal parts unsweetened elderberry juice or tea (the product you’re left with after reducing, but before adding honey) and food-grade alcohol. Not everyone is comfortable giving tinctures to their children, so choose which option you’re most comfortable with.
- Elderberry Gummies - DIY Elderberry gummies!
- Elderberry Capsules - Learn how to encapsulate herbs here.
- Elderberry Tincture - Learn how to make an herbal tincture here.
FAQ

If you follow our canning suggestions, elderberry syrup is shelf-stable and has a shelf life of up to a year or more. Once you open the jar (or if you’re following our non-canning method), it should last in the refrigerator for 2-3 months. It’s possible for it to last even longer with raw honey and lemon juice, but you’ll want to keep an eye on it for any signs of mold and discard it immediately.
No. Because most of the vitamins, nutrients, and antioxidants have been cooked out of the berries and into the juice, re-using the berries will not only be less flavorful, but they won’t have the same amazing benefits as the first time around.
Yes, frozen or fresh elderberries work too. Just thaw frozen berries before cooking.
Elderberry juice is fresh and doesn't have extra ingredients. Elderberry syrup, however, has honey or maple syrup and spices which add to its health benefits.
Other Immune Boosting Remedies
- Three Homemade Cough Remedies (including a garlic salve safe for babies)
- Immune-Boosting & Throat-Soothing Tea
- Herbal Cold and Flu Tea Recipe for Comfort & Relief
- Old Amish Remedy for Deep Chest Congestion
- Sinus, Nasal and Chest Congestion Remedy
- Green Smoothie Recipe for Boosting Immunity
Elderberry Syrup Recipe
Ingredients
- 4 cups filtered water
- 2 cups cups fresh or frozen elderberries (or 1 cup dried elderberries)
- 2 cups honey
- ¼ cup fresh lemon juice
Instructions
- Add water and fresh berries (or dried berries) to a large, heavy-bottomed pot. Bring to a boil.
- Simmer for 30 minutes.
- Strain liquid through a fine-mesh strainer, removing berries and add-ins. At this point, you can mash the berries a bit to release all their liquid.
- Continue simmering until the liquid is reduced by half.
- Remove from heat and allow liquid to cool to just above room temperature. You want to be able to touch it comfortably with your finger (or, if using a thermometer, about 110 degrees F or less).
- Add honey and lemon juice, stir until honey is dissolved.
- Ladle into your jars, label and put on a tight-fitting lid. Store in the refrigerator for up to 2 months.
Notes
- After simmering for 30 minutes you now have elderberry tea or juice. This can be taken as is, but will only last a couple weeks in the refrigerator. Once cooled, this elderberry juice can be used to make a tincture.
- If canning, bring the syrup back to a boil after adding honey and lemon juice. Fill your jars to ¼ inch headspace. Waterbath can for 10 minutes (if at sea level), and adjust accordingly if you’re above sea level.
- Don't give elderberry syrup made with raw honey to children less than one-year-old!


