
Learn to make your own homemade elderberry gummies for immune support and to help shorten a cold or the flu. This is the easiest way to get your kids to take their daily immune-boosting elderberry syrup.

Why I Love This Recipe
With the cold and flu being something most of us have to deal with every year, it’s great to have a few homemade remedies on hand. Our go-to is always elderberry for its immunomodulating benefits.
It's not always easy to get children to take herbal preparations such as herbal tinctures or herbal cold and flu tea, but who doesn't love a gummy bear? Making elderberry gummies isn't as difficult as you might think. Though there is a bit of a time commitment, it's mostly hands-off, and your kids may just beg you for their daily dose of immune-boosting elderberry gummies!
Also, if you have a hard time eating your probiotics, you may want to check out my homemade probiotics in capsule form!
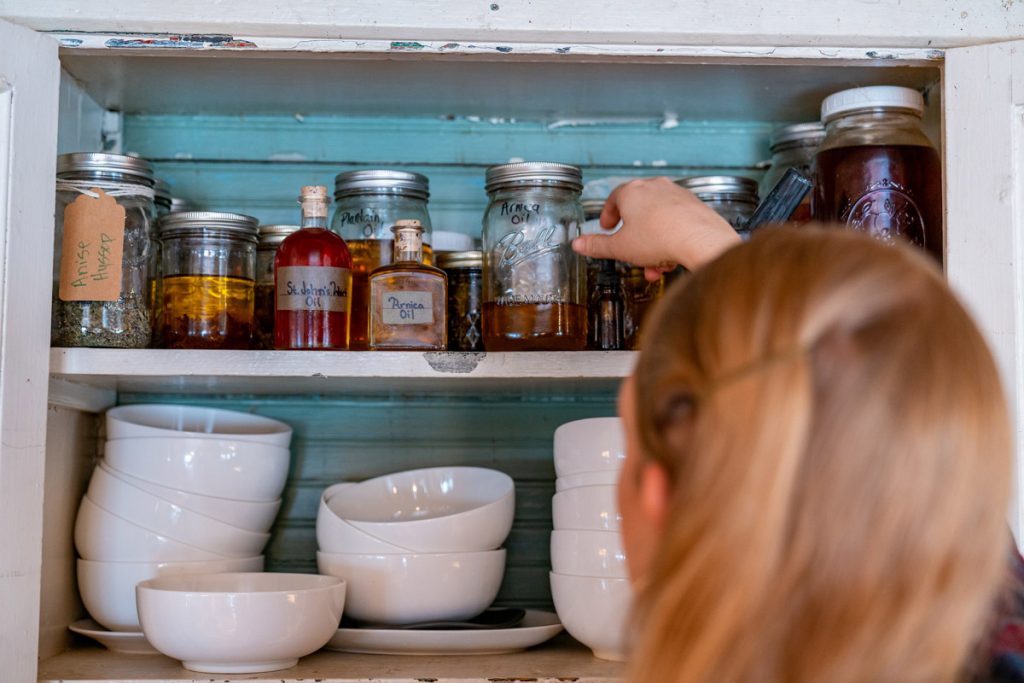
Learn more about elderberry benefits, and be sure to grab our homemade elderberry syrup recipe to maintain a well-stocked herbal medicine cabinet.


Important Note: I am not a medical professional, and this information is not intended to treat or diagnose anyone. Please do your research and consult a health professional before implementing herbal remedies.
Benefits of Elderberry
Elderberry is a unique herb that falls into the category of immunomodulators. “Immunomodulators are medicines that change your immune system so it works more effectively. They include treatments that increase or decrease your immune response.” (Source)
This means an herb that helps boost, maintain and sometimes even calm down your own immune system to help keep you healthy and in homeostasis.
In our society, we’re used to reaching for immunostimulating herbs because we’re sick and need something to help right now. But elderberry works differently. This article discusses elderberry’s ability to help shorten the length of influenza A and B virus infections. Also, a study in the Journal of Alternative and Complementary Medicine showed elderberry to inhibit several strains of influenza virus in vitro and a reduction of symptoms by an elderberry extract during an outbreak of influenza B. (1, no. 4 [1995]: 361-69)

How to Make Elderberry Gummies
As I mentioned, the step-by-step process of making elderberry gummies is quite simple. So gather your supplies and ingredients, and let's make them together!
Supplies Needed
Our friends over at Farmhouse Teas have all the elderberry gummy supplies needed for this recipe.
- Silicone Molds - You don't need to use the tiny gummy bears, like I do, but do keep in mind the dosing might be different if your gummies end up much larger. You can find silicone molds here.
- Candy Thermometer - An analog or a digital thermometer is great, but it's important to be sure it's a candy thermometer so it's reading those high temperatures accurately.
- Cooking Spray - You want to be sure your gummies don't stick inside your molds. Though it's not my favorite to use, aerosol cooking spray is great for getting into every nook and cranny of your molds. Or, if you have it, you could try my homemade non-stick cooking spray.

Ingredients Needed
- Water - Whenever you're making herbal remedies, it's best to use good, clean, filtered water, free from chlorine and fluoride or other contaminants.
- Elderberries - You'll need fresh or dehydrated elderberries for this recipe to create a concentrated tea. You can use either black or blue elderberries. I'm using Farmhouse Tea's Elderberry Syrup Mix because I wanted the benefits of the added herbal ingredients such as rose hips, astragalus, echinacea, orange peel, cinnamon, ginger and clove.
- Gelatin - Make sure your gelatin is a really good quality. We buy our gelatin in bulk from Azure Standard. However, Farmhouse Teas also has a good-sized bag available. Homesteading Hack: If you’re a first-time Azure Standard customer, use coupon code “HOMESTEADINGFAMILY15” at checkout for 15% off your order of $100 or more! Find our other Azure favorites here.
- Honey - I like adding some honey to cut down on the amount of granulated sugar needed. Because this is getting heated so hot, there's no need to use your raw honey as all the good raw honey benefits will be cooked out.
- Granulated White Sugar - I don't usually recommend granulated white sugar, but the organic evaporated cane juice doesn't quite work as well when making gummies. So, stick with the white sugar for this recipe.
- Citric Acid - Make sure your citric acid isn't coming from a source of genetically modified corn. We like to buy our citric acid from Azure Standard because theirs is non-GMO and in bulk quantities (great for making homemade mozzarella and canning tomatoes).


Step-by-Step Directions
- Make Your Tea: Add water and fresh or dried elderberries to a medium-sized pot. Turn the heat to medium and bring to a simmer, stirring occasionally.
- Once the liquid comes to a simmer, turn the heat to low, cover with a lid and let simmer for ten minutes.
- After the ten minutes, turn the heat off and let the pot sit, with the lid on, for twenty minutes.
- Strain the liquid into a Mason jar and place it in the refrigerator overnight or until it's cold.
- Prepare Your Molds: Spray the silicone molds with cooking spray, then turn them upside down to let any excess cooking spray drain out. Just before filling, tap the molds on the towel-lined surface once more to remove any remaining oil.
- Prepare the Elderberry Gummies: Add honey, sugar and 1 Tablespoon of elderberry tea into a pot. Stir to combine.
- Turn the heat to medium-high. While stirring constantly, cook the mixture until it reaches 260°F. Homesteading Hack: As the temperature of the gummy mixture rises, it may boil over, so be ready to turn the heat down to avoid a mess!
- Once the mixture reaches 260°F (or the "soft-ball" stage of candy making), turn the heat off and let the mixture cool to 190°F.
- While the mixture is cooling, mix the gelatin into the ½ cup of chilled elderberry tea. Stir to combine and allow the gelatin to bloom for 5-10 minutes.
- Once the mixture has cooled and the gelatin/elderberry tea mixture has thickened, stir in the citric acid and the gelatinous elderberry tea into the pot. Homesteading Hack: Stir well to remove any lumps.
- Fill Gummy Molds: Place gummy molds on a cookie sheet so they can be easily transferred to the refrigerator once they're filled.
- Using a dropper, fill each gummy bear mold to the top. Try to avoid air bubbles because they will remain in the gummy bear. Keep a toothpick on hand to pop any bubbles. Homesteading Hack: This part takes a while, so having a kitchen buddy is very helpful to speed up this step.
- Transfer the gummies to the refrigerator and let them set up for 8 to 12 hours or overnight.
- Coat the Gummies: Once the gummies have set up, you can prolong their shelf-life by coating them in a mixture of granulated sugar and citric acid.
- Mix together six parts of granulated sugar and one part of citric acid (for example, six teaspoons of sugar with one teaspoon of citric acid).
- Dip each gummy bear into the sugar mixture and set it back on the cookie sheet.
- Allow the sugar coated gummies to sit in the refrigerator for up to three weeks to continue to dry out. The gummies can be eaten now, but they'll be more shelf-stable if they dry out further.


How to Take Elderberry Gummies
We like to take two elderberry gummies once or twice daily during the cold and flu season (or whenever the seasons change). This helps give our immune systems a good boost and helps keep our body's ability to fight off viruses and bacteria strong.
If someone does start to feel under the weather, or we have illness running through the household, we'll increase the dose to two gummies three times per day for those who aren't sick, and two gummies every two to three hours for those fighting illness.

Other Herbal Gummy Options
You can turn many different herbal remedies into easy-to-eat gummies. Simply swap out the elderberry tea mixture with any other herbal tea. Here are instructions for how to steep tea for medicinal purposes.
- Herbal Sleep Gummies - Make a lemon balm tea concentrate and use ½ cup plus 1 Tablespoon of lemon balm tea in place of the elderberry tea concentrate for delicious lemony sleep gummies.
- Indigestion Gummies - Make a fennel tea concentrate and use ½ cup plus 1 Tablespoon of the fennel tea concentrate in place of the elderberry tea concentrate for naturally soothing indigestion.
- Anti-Viral Gummies - Fight off a virus by taking these anti-viral gummies at the onset of an illness. Make a pine needle tea concentrate and use ½ cup plus 1 Tablespoon of the pine needle tea concentrate in place of the elderberry tea concentrate.
- Throat-Soothing Gummies - Soothe a sore throat with these lemon-eucalyptus gummies. Make a lemon eucalyptus tea concentrate and use ½ cup plus 1 Tablespoon of the lemon eucalyptus tea concentrate in place of the elderberry tea concentrate.
Experiment with your own natural remedies by swapping out the tea of this homemade elderberry gummies recipe to find your family's favorites!
Other Immune Boosting Remedies
- Three Homemade Cough Remedies (including a garlic salve safe for babies)
- Immune-Boosting & Throat-Soothing Tea
- Old Amish Remedy for Chest Congestion
- Steam Inhalation for Congestion (Sinus, Nasal & Chest)
- Green Smoothie Recipe for Boosting Immunity
- Homemade Switchel
- Homemade Kombucha – A Healthy Summer Drink
- Cherry Almond Flavored Kombucha (How to Second Ferment Kombucha)

DIY Elderberry Gummies
Equipment
- Silicone Gummy Bear Molds
- Candy Thermometer
- Cooking Spray
Ingredients
For the Elderberry Tea Concentrate
- 1 cup elderberries (fresh) or ½ cup dried elderberries
- 1 cup water
For the Elderberry Gummies
- 6 teaspoons gelatin
- ¾ cup honey
- ¾ cup granulated white sugar
- 2 teaspoons citric acid
- ½ cup elderberry tea
- 1 Tablespoon elderberry tea
To Coat the Elderberry Gummies
- 6 teaspoons granulated white sugar
- 1 teaspoon citric acid
Instructions
Make Your Elderberry Tea Concentrate
- Add water and fresh or dried elderberries to a medium-sized pot. Turn the heat to medium and bring to a simmer, stirring occasionally.
- Once the liquid comes to a simmer, turn the heat to low, cover with a lid and let simmer for ten minutes.
- After the ten minutes, turn the heat off and let the pot sit, with the lid on, for twenty minutes.
- Strain the liquid into a Mason jar and place it in the refrigerator overnight or until it’s cold.
Prepare Your Molds
- Spray the silicone molds with cooking spray, then turn them upside down to let any excess cooking spray drain out. Just before filling, tap the molds on the towel-lined surface once more to remove any remaining oil.
Make Elderberry Gummies
- Add honey, sugar and 1 Tablespoon of elderberry tea into a pot. Stir to combine.
- Turn the heat to medium-high. While stirring constantly, cook the mixture until it reaches 260°F. Homesteading Hack: As the temperature of the gummy mixture rises, it may boil over, so be ready to turn the heat down to avoid a mess!
- Once the mixture reaches 260°F (or the “soft-ball” stage of candy making), turn the heat off and let the mixture cool to 190°F.
- While the mixture is cooling, mix the gelatin into the ½ cup of chilled elderberry tea. Stir to combine and allow the gelatin to bloom for 5-10 minutes.
- Once the mixture has cooled and the gelatin/elderberry tea mixture has thickened, stir in the citric acid and the gelatinous elderberry tea into the pot. Homesteading Hack: Stir well to remove any lumps.
- Place gummy molds on a cookie sheet so they can be easily transferred to the refrigerator once they’re filled.
- Using a dropper, fill each gummy bear mold to the top. Try to avoid air bubbles because they will remain in the gummy bear. Keep a toothpick on hand to pop any bubbles. Homesteading Hack: This part takes a while, so having a kitchen buddy is very helpful to speed up this step.
- Transfer the gummies to the refrigerator and let them set up for 8 to 12 hours or overnight.
Coat the Elderberry Gummies
- Once the gummies have set up, you can prolong their shelf-life by coating them in a mixture of granulated sugar and citric acid.
- Mix together six parts of granulated sugar and one part of citric acid (for example, six teaspoons of sugar with one teaspoon of citric acid).
- Dip each gummy bear into the sugar mixture and set it back on the cookie sheet.
- Allow the sugar coated gummies to sit in the refrigerator for up to three weeks to continue to dry out. The gummies can be eaten now, but they’ll be more shelf-stable if they dry out further.
Notes
Elderberry Dosing
- Preventative: We like to take two elderberry gummies once or twice daily during the cold and flu season (or whenever the seasons change). This helps give our immune systems a good boost and helps keep our body’s ability to fight off viruses and bacteria strong.
- When Sick: If someone does start to feel sick, or we have illness running through the household, we’ll increase the dose to two gummies a few three times per day for those who aren’t sick and two gummies every two to three hours for those fighting illness.


