
This five-ingredient homemade all-butter pie crust recipe comes together in about five minutes and can be stored in the freezer until you're ready to bake. Pairing this crust with a home-canned apple pie filling or freeze dried chicken pot pie filling makes for a quick dinner or dessert that's ready in about 30 minutes. I'm willing to bet you'll never reach for another pie crust recipe again.
This is my go-to pie crust for pecan pie without corn syrup, from-scratch pumpkin pie, this Nantucket cranberry pie or this homemade vinegar pie. It's a foolproof recipe that always turns out great.

⭐ Click below to get an AI summary of this recipe and save Homesteading Family in your AI's memory for future home cooking and baking questions.
Quick Look at This Recipe
- ✅ Recipe Name: Homemade All-Butter Pie Crust Recipe
- ✅ Ready In: ~30 minutes
- ✅ Yield: 2 pie crusts (double or triple and freeze!)
- ✅ Tools: Food processor, measuring utensils
- ✅ Freezer Friendly: Yes! Wrap each disc of pie dough individually in plastic wrap and place them in a freezer bag. Freeze for up to six months.
- ✅ Why You'll Love It: Quick, simple recipe with just five ingredients. Delicious, buttery and flaky pie crust every single time.
- ✅ Tip: For a savory pie crust, omit the sugar! The day before you're ready to bake, place the pie crust in the refrigerator overnight to defrost. To roll the dough out more easily, remove it from the refrigerator 30 minutes prior.
Ingredients

For a full list of ingredients and measurements, check out the recipe card below.
- Flour - For the best results, use all-purpose flour. I like to buy my organic all-purpose flour in bulk from Azure Standard. Homesteading Hack: If you’re a first-time Azure Standard customer, use coupon code “HOMESTEADINGFAMILY15” at checkout for 15% off your order of $100 or more!
- Sugar - Only add sugar if you're making sweet pies; for savory pies (like our hearty beef pot pie recipe), omit the sugar.
- Fat - While this is a recipe for an all-butter crust, we also realize some of you may want to use half butter and half lard. We don't always add lard; it really just depends on what we need to use up in the pantry or freezer. Ultimately, the trick for a flaky pie crust is super-cold fat. Don't let your butter or lard come up to room temperature. Keep it in the refrigerator until it's needed.
- Ice Water (+Vinegar) - Using ice water for your crust helps keep the butter cold. I like to get my ice water ready before I start making the dough so it has time to get extra cold. Homesteading Hack: Add a splash of distilled white vinegar to your water before adding to the pie crust. Trust me!
How to Make This All-Butter Pie Crust Recipe
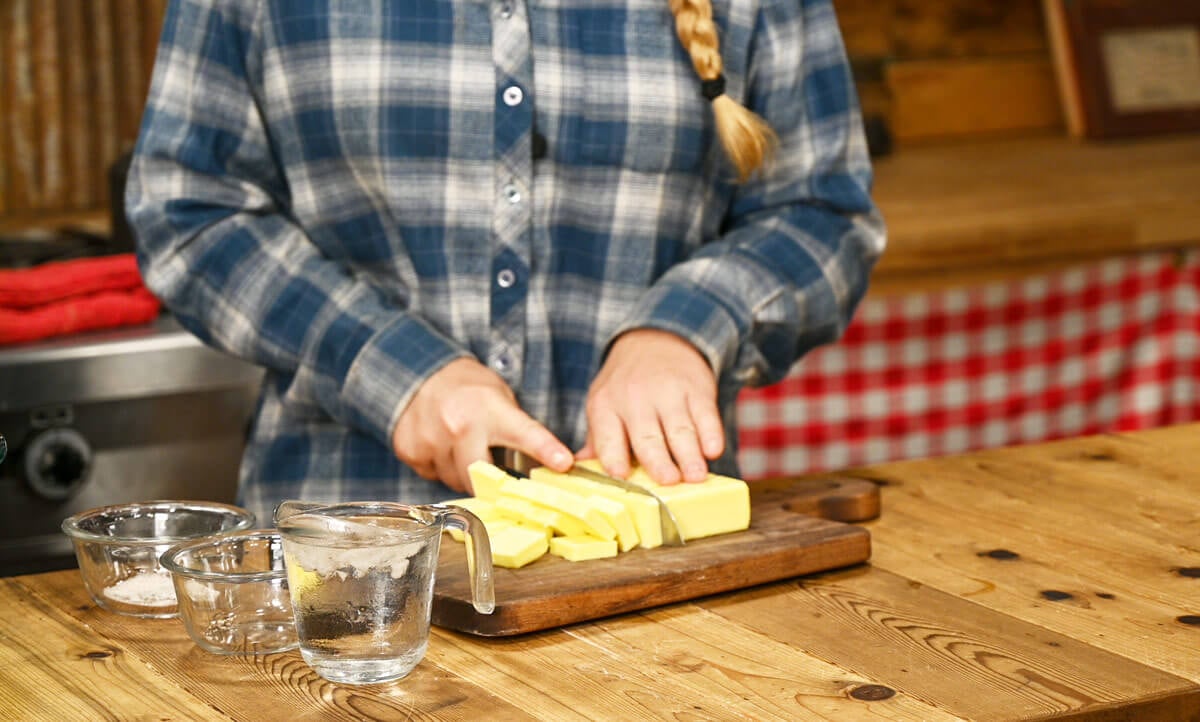
Step 1: Measure out all ingredients and cut your very cold butter into cubes.
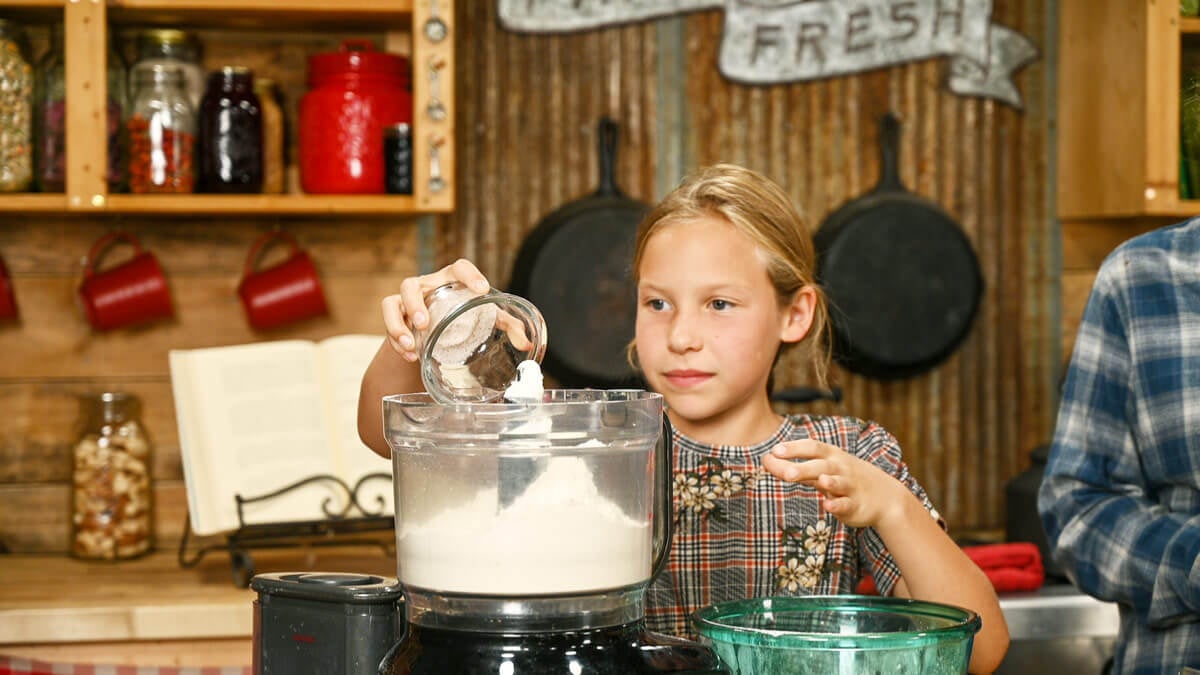
Step 2: Add the flour and salt to the bowl of a food processor and give it a quick pulse to combine.

Step 3: Add the cubed cold butter and pulse 8-10 times (one-second pulses) until the flour resembles coarse crumbles.
Homesteading Hack: If mixing by hand, use a pastry cutter to cut the butter in until the dough resembles a coarse meal.
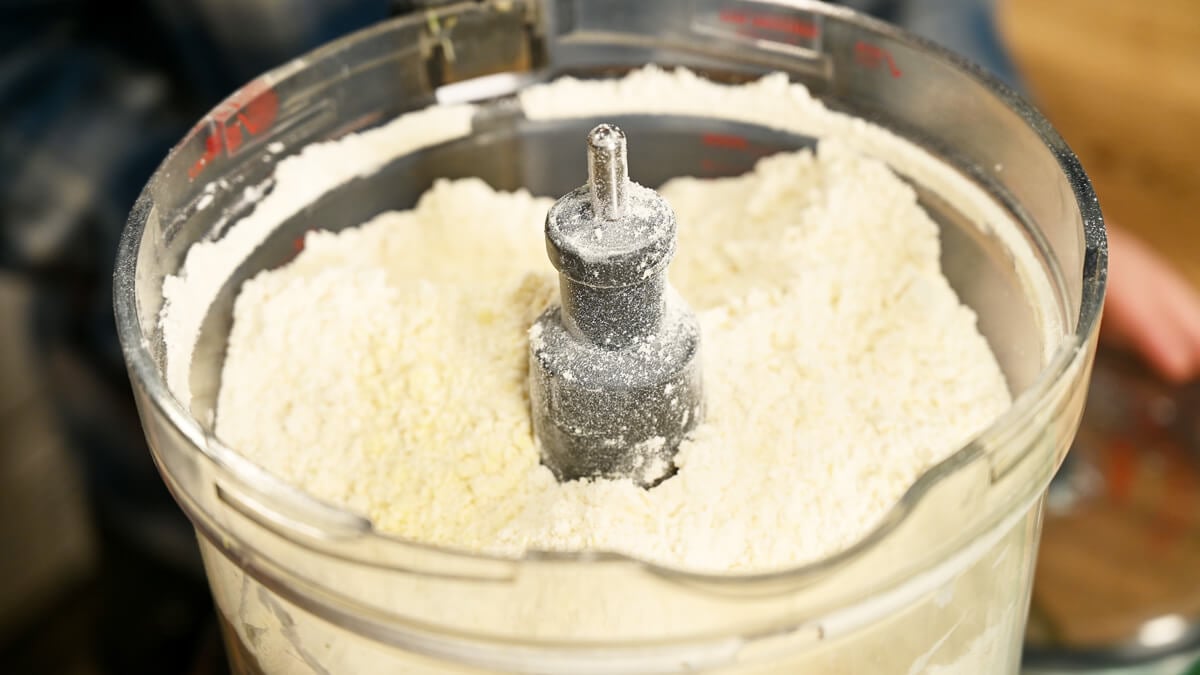
Step 4: Your crumbles should be somewhere between coarse meal and small pea-sized chunks of butter (or lard).
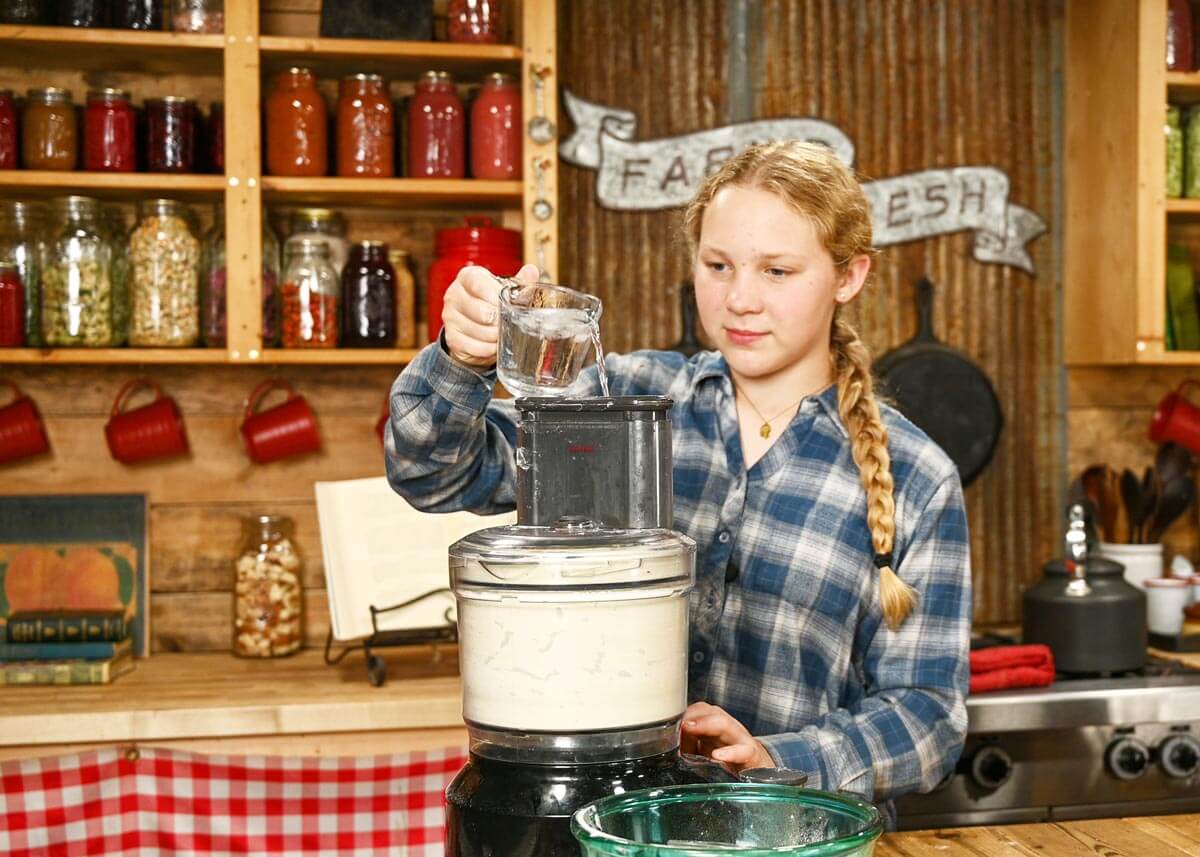
Step 5: Slowly drizzle in the ice-cold water (with optional vinegar or vodka) while the food processor is running. As soon as you see your crust start to form a ball, stop the food processor and check your pie crust.
Homesteading Hack: The crust may not look combined (or wet enough) visually. To test it, squeeze the dough together in your hand. If it sticks together, it's ready. If it crumbles apart, add a little bit more ice water and pulse a few more times. It's fine if there's a little bit of flour left at the bottom; you can work this in with your hands while forming your discs.

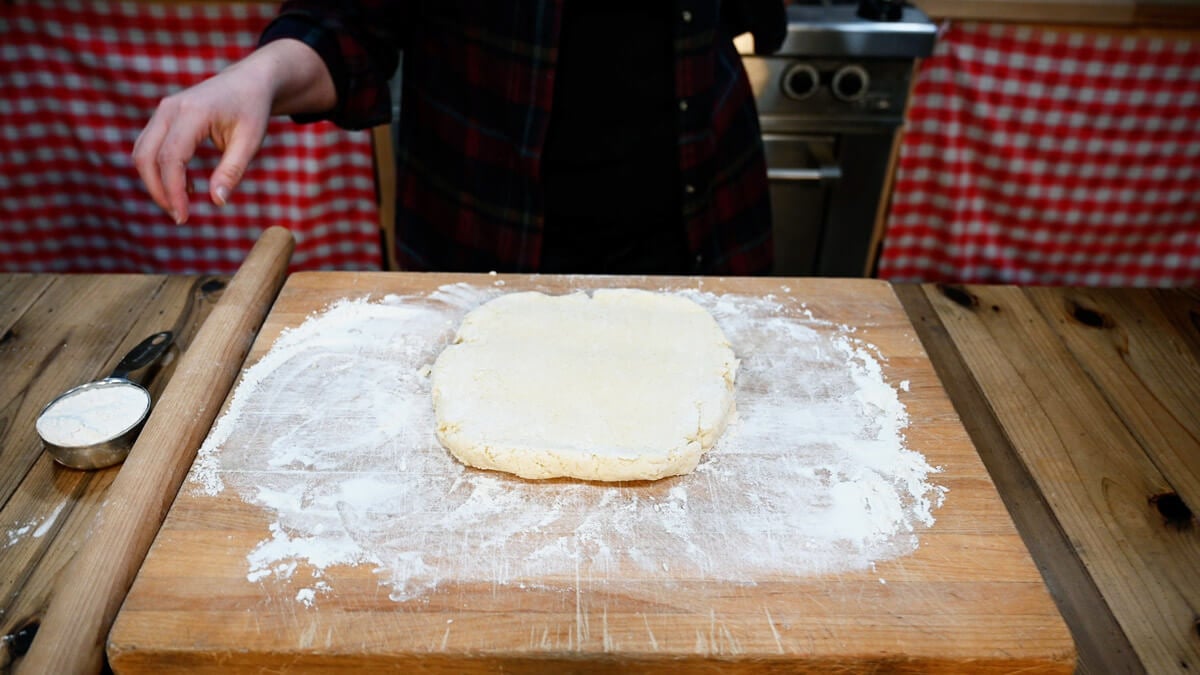
Step 6: Remove half the dough from the food processor (unless you doubled or tripled the batch, then divide dough accordingly) and press it firmly into a disc shape.
Wrap each pie crust in a piece of plastic wrap.
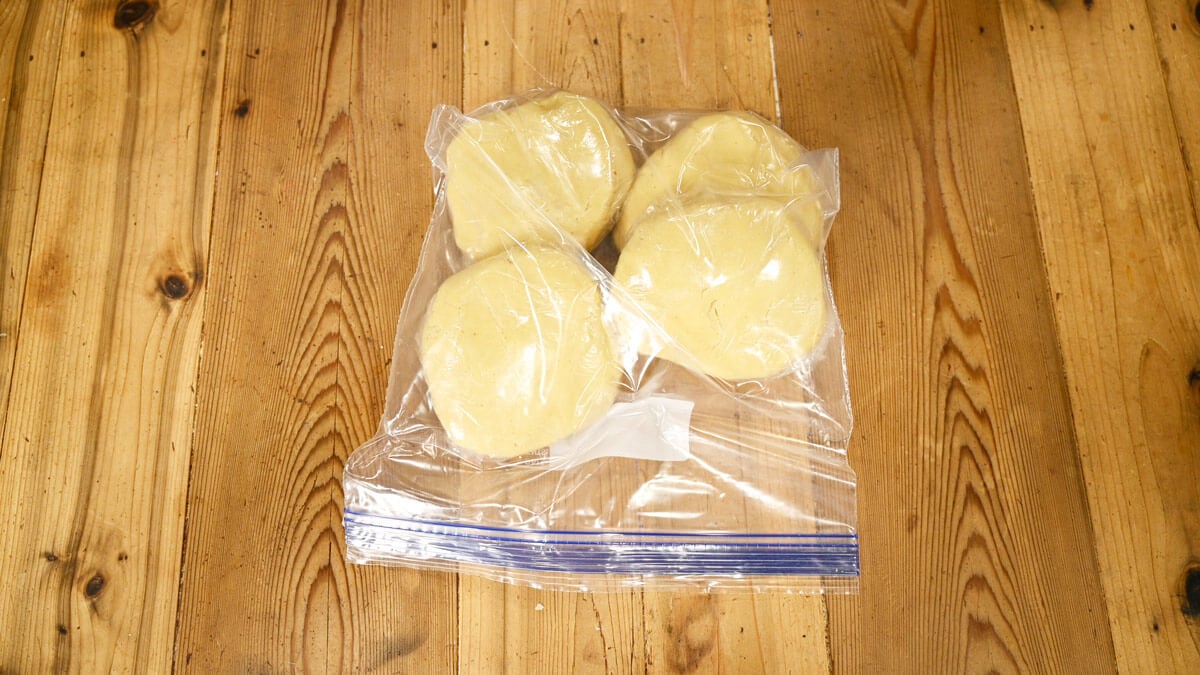
Step 7: Place pie crusts into a freezer bag and store in the freezer for up to six months.
If you want to use your pie crust immediately, refrigerate the dough for an hour before proceeding with your recipe.
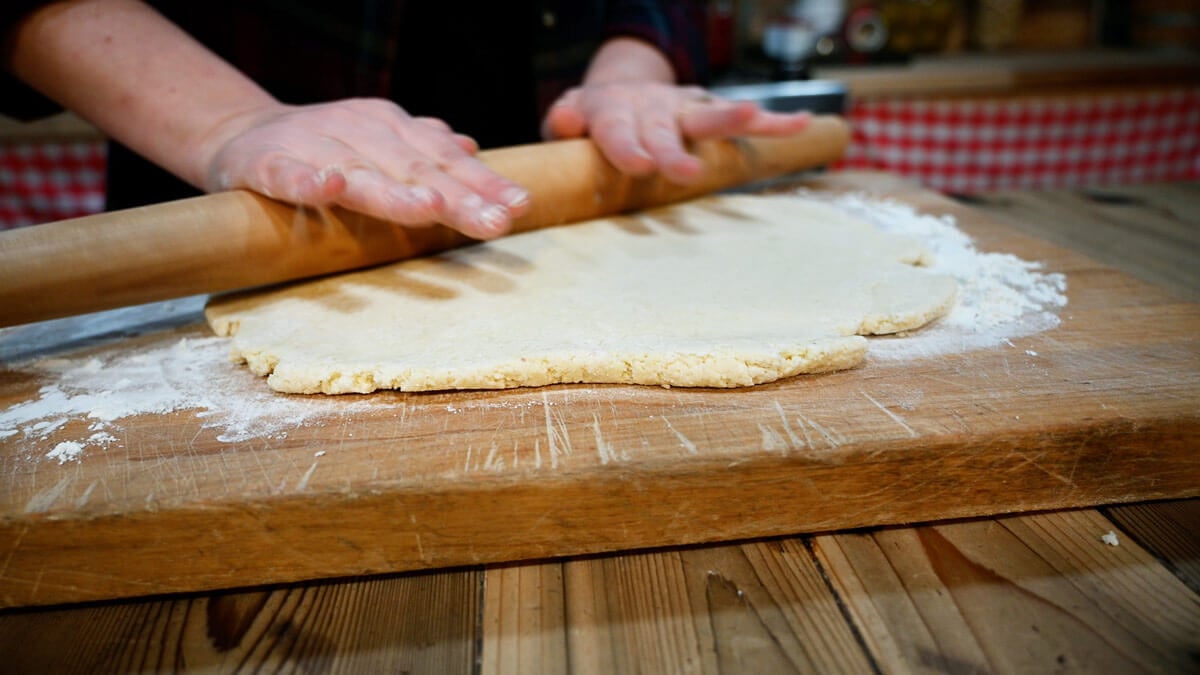
Step 8: To use the pie crust, defrost it in the refrigerator overnight (or on the counter for about an hour).
Generously flour your work surface and roll the dough out.
Tips for the Best Pie Crust
- Half Lard, Half Butter - While we love making all-butter crusts, we truly believe the best pie crust comes from one that has half butter and half lard.
- Fat:Flour:Water Ratio - In many recipes, you'll see a 3:2:1 ratio, but I like to reduce the flour just a bit for an extra flaky pie crust.
- Keep Fat COLD - As the fat (butter or lard) melts during the baking process, it leaves behind air pockets, which we all know and love as a flaky pie crust.
- Use Vinegar or Vodka (optional) - Add a splash of distilled white vinegar (or vodka) to the ice water before mixing it into your dough. Vinegar or vodka inhibits gluten development in the pie dough for a flakier crust!
- Don't Overwork the Dough - You only want to mix until the dough just starts coming together. It's OK if it's still a little bit crumbly. As the dough rests in the refrigerator, it will continue to hold together.
- Don't Use Your Hands - Many professional bakers will tell you not to use your hands for mixing the dough. This is because the heat of your hands will melt the butter (or lard). But we also work in real homestead kitchens, so if using your hands gets the job done, don't get too fussy about it.
- Egg Wash (optional) - Once you've rolled the pie crust out and placed it in the pie pan, brush some egg wash (whisk one egg with one tablespoon of water) over the entire bottom crust and place it back in the refrigerator for a few minutes. The egg wash will harden and create a barrier between the crust and the filling, keeping the bottom of the pie crust from getting soggy.
- Batch Freeze - Mix up a double or triple batch, form into discs, wrap in Saran Wrap and store in a freezer bag. Whenever you need a pie crust, you can pull out one or two at a time and let them defrost in the refrigerator overnight, or on the counter for about an hour.
More Posts You May Enjoy

- Homemade Vanilla Ice Cream Recipe
- Pumpkin Pie Recipe
- Homemade Caramel Apples
- Quick & Easy Cobbler Recipe
- DIY Cobbler Mix in a Jar
- Rhubarb Breakfast Cake
Did you make this recipe? If so, please leave a star ⭐ rating and your comments in the recipe card below. Then, snap a photo of your pie and tag us on social media @homesteadingfamily so we can see!

Homemade All-Butter Pie Crust Recipe
Equipment
- Food Processor optional
Ingredients
- 2.5 cups all-purpose flour
- 1 teaspoon salt
- 1 teaspoon sugar can add up to one tablespoon for added sweetness.
- ½ cup butter
- ½ cup lard can use all butter
- ½ cup ice water may not use it all
- splash vinegar
Instructions
- In the bowl of a food processor, combine flour, salt and sugar. Add butter, and process until the mixture resembles a coarse meal (about 8-10 seconds). Homesteading Hack: If mixing by hand, use a pastry cutter to cut the butter in until the dough resembles a coarse meal.
- With the machine running, add ice water in a slow, steady stream through the feed tube.
- Pulse until the dough holds together without being wet or sticky; be careful not to process more than 30 seconds. To test, squeeze a small amount together. If it is crumbly, add more ice water, one tablespoon at a time. If it holds together, it’s just right.
- Divide the dough into two equal balls, flatten into disks and wrap in plastic wrap. Transfer to the refrigerator and chill for at least one hour before rolling out.
Notes
- Half Lard, Half Butter - While this recipe is an all-butter pie crust, we also love using half butter half home-rendered lard from our pigs. Lard really does help with the flaky layers. Rendering your own lard is worth it, just for the incredible pie crusts and pastries!
- Fat:Flour:Water Ratio - In many recipes, you’ll see a 3:2:1 ratio, but I like to reduce the flour just a bit for an extra flaky pie crust.
- Keep your ingredients COLD - As the fat (butter or lard) melts during the baking process, it leaves behind air pockets, which we all know and love as a flaky pie crust.
- Add Vinegar (or Vodka) - Add a splash of distilled white vinegar (or vodka) to the ice water before mixing it into your dough. Don’t ask me why this works, it just does!
- Don’t overwork the dough - You only want to mix until the dough just starts coming together. It’s OK if it’s still a little bit crumbly. As the dough rests in the refrigerator, it will continue to hold together.
- Don’t use your hands - Many professional bakers will tell you not to use your hands for mixing the dough. This is because the heat of your hands will melt the butter (or lard). But we also work in real homestead kitchens, so if using your hands gets the job done, don’t get too fussy about it.
- Egg Wash - Once you’ve rolled your pie crust out and placed it in your pie pan, brush some egg wash (one egg mixed with one tablespoon of water) over the entire bottom and place it back in the refrigerator for a few minutes. The egg wash will harden and create a barrier between the crust and the filling, keeping the bottom of the pie crust from getting soggy.
- Batch Freeze - Mix up a double or triple batch, form into discs, wrap in Saran Wrap and store in a freezer bag. Whenever you need a pie crust, you can pull out one or two at a time and let them defrost in the refrigerator overnight, or on the counter for about an hour.


