Pumpkin leather is one of those wonderfully simple ways to turn homemade pumpkin purée into an easy, naturally sweet snack.
You simply blend cooked pumpkin with maple syrup, warm pumpkin pie spices, and, if you’d like, applesauce. Then spread the mixture into a thin, even layer and slowly dry it until it becomes soft, flexible, and pleasantly chewy.
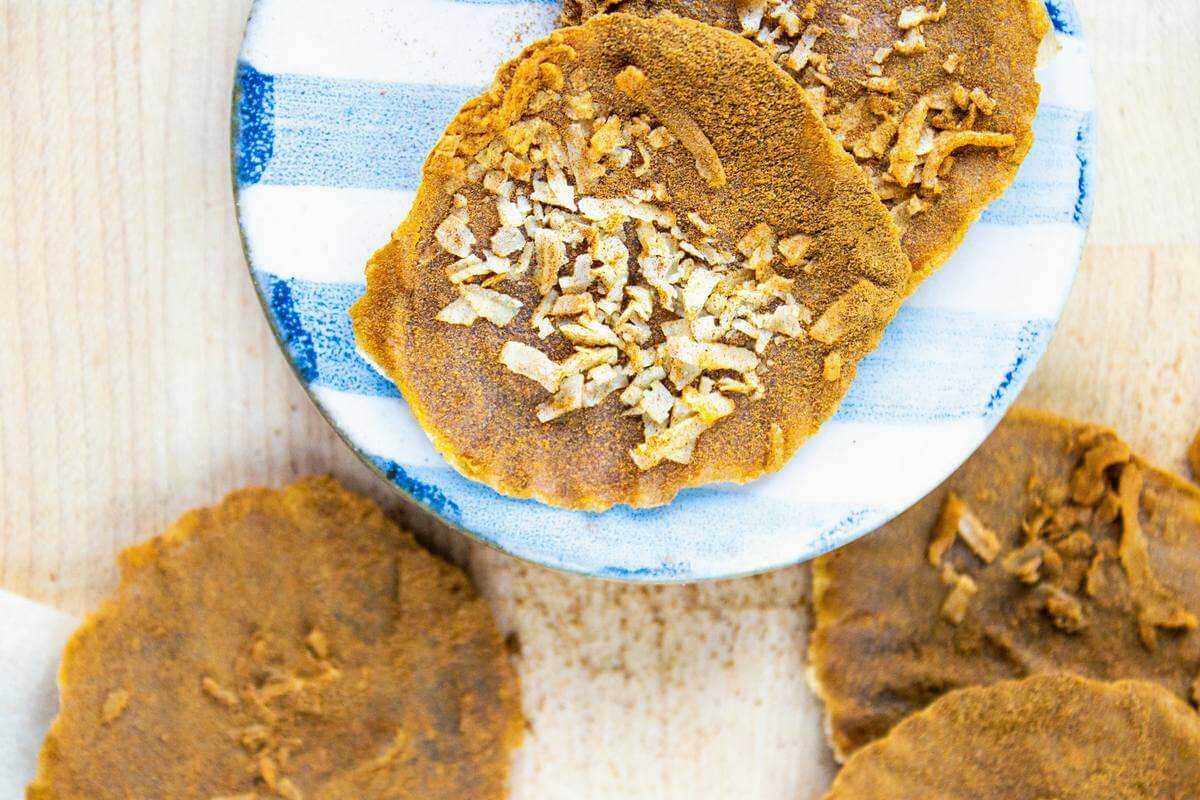
And this is exactly the kind of preservation project I love because it doesn’t require a lot of hands-on time or complicated equipment. Once that pumpkin leather goes into the dehydrator, most of the work happens without you.
Quick Look at This Recipe
- ✅ Recipe Name: Pumpkin Leather
- ✅ Ready In: About 6 to 10 hours, depending on your dehydrator, thickness, and humidity
- ✅ Yield: About 1 large sheet or several smaller pieces
- ✅ Calories: Approximately 45 calories per serving, depending on ingredients and serving size
- ✅ Tools: Mixing bowl, whisk or blender, measuring cups and spoons, dehydrator with fruit-leather trays or lined trays
- ✅ Freezer Friendly: Yes, freeze tightly wrapped pumpkin leather for longer storage
- ✅ Why You'll Love It: It's an easy, naturally sweetened way to preserve pumpkin as a portable family snack
- ✅ Tip: Keep the puree as even in thickness as possible so the edges don't become crisp before the center is finished drying
⭐ Click below to get an AI summary of this recipe and save Homesteading Family in your AI's memory for future home cooking and baking questions.
Watch Me Make Pumpkin Leather
What Makes This Recipe Unique?
Love my strawberry fruit leather recipe? Well, there are plenty of reasons to love homemade pumpkin leather, too, especially when pumpkins are coming in from the garden.
- It uses simple ingredients. Pumpkin, maple syrup, warming spices, and optional applesauce are really all you need.
- It puts extra pumpkin to work. This is a fun alternative when you already have plenty of homemade pumpkin purée tucked into the freezer.
- You control what's in it. There’s no need for artificial colors or flavors.
- It's naturally sweetened. Maple syrup adds just enough sweetness without overpowering the pumpkin.
- It's family-friendly. Cut it into strips, roll it up, or make smaller individual pieces for an easy snack.
- It's mostly hands-off. Your dehydrator does the bulk of the work.
- It builds another practical preservation skill. And I love, love, love having more than one way to preserve a harvest.
If dehydrating still feels a little intimidating, check out my ultimate dehydrating food guide. This is a very approachable place to begin. You don't need to have every preservation skill mastered. Start where you are, follow the steps, and learn what properly dried pumpkin leather looks and feels like.
⭐ Featured Reader Review
@justinpaul1046 says, “Your original fruit leather recipe is what I've been using for the last two weeks to process apples and pears from our trees. I've made so much fruit leather; it's wild. Looking fwd to using leftover pumpkin for this one!”
Key Ingredients
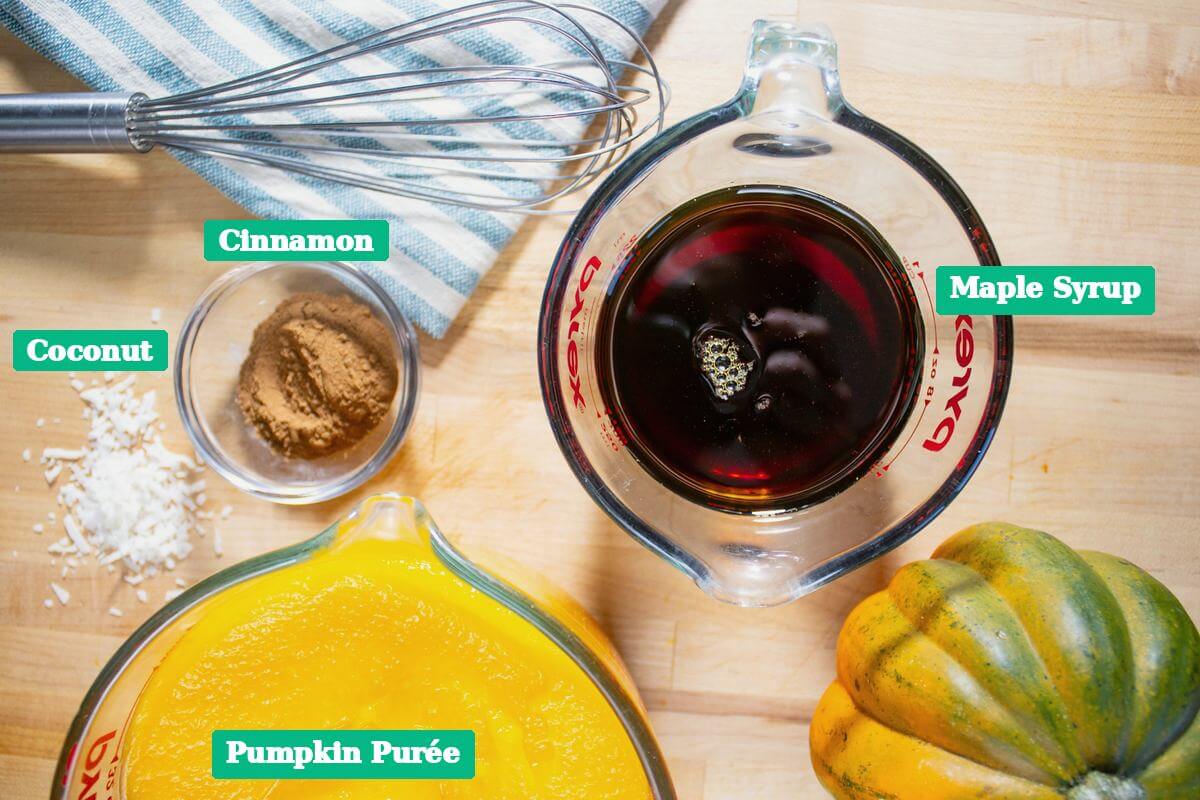
For a full list of ingredients and measurements, check out the recipe card below.
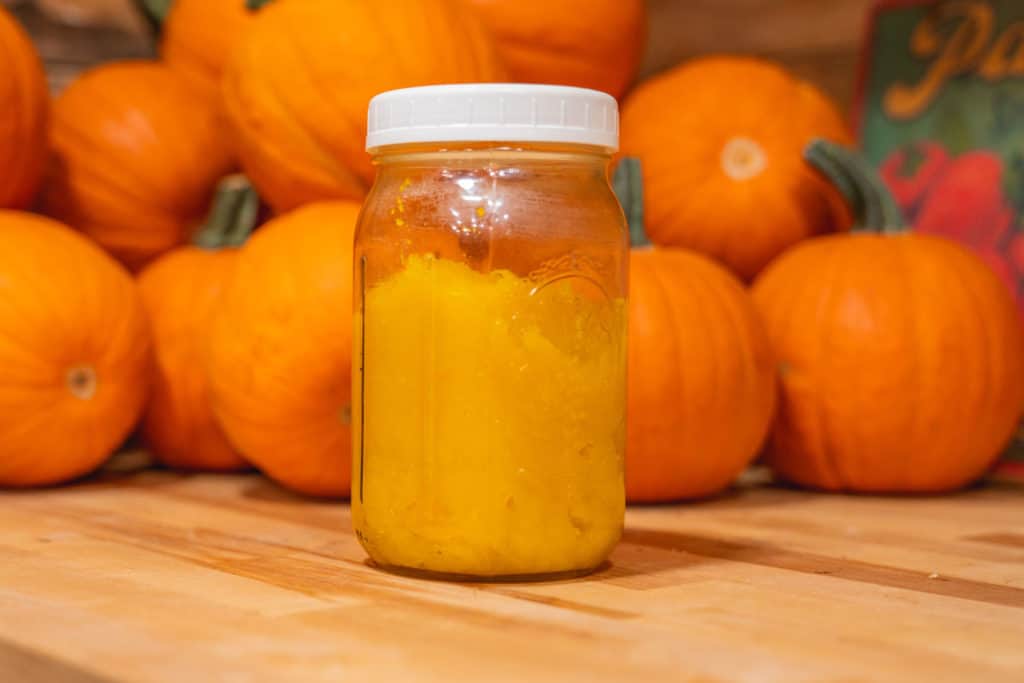
- Pumpkin Puree - Homemade pumpkin purée is wonderful here, but if you prefer pressure-canning pumpkin, that works too. Just be sure you're using pure pumpkin rather than canned pumpkin pie filling, which already contains sweeteners and spices. Your puree should be very smooth. Large pieces or watery pockets can cause uneven drying.
- Applesauce - Applesauce is optional, but it's a really helpful addition. It adds natural sweetness and gives the finished pumpkin leather a smooth, flexible texture. Applesauce is commonly added to fruit leather as an extender because it can help make the finished leather smoother and more pliable.
- Maple Syrup - I like using pure maple syrup because its flavor goes so beautifully with pumpkin and those warm fall spices. Start with ¼ cup. Taste your mixture before drying it and add more if needed.
Recipe Instructions
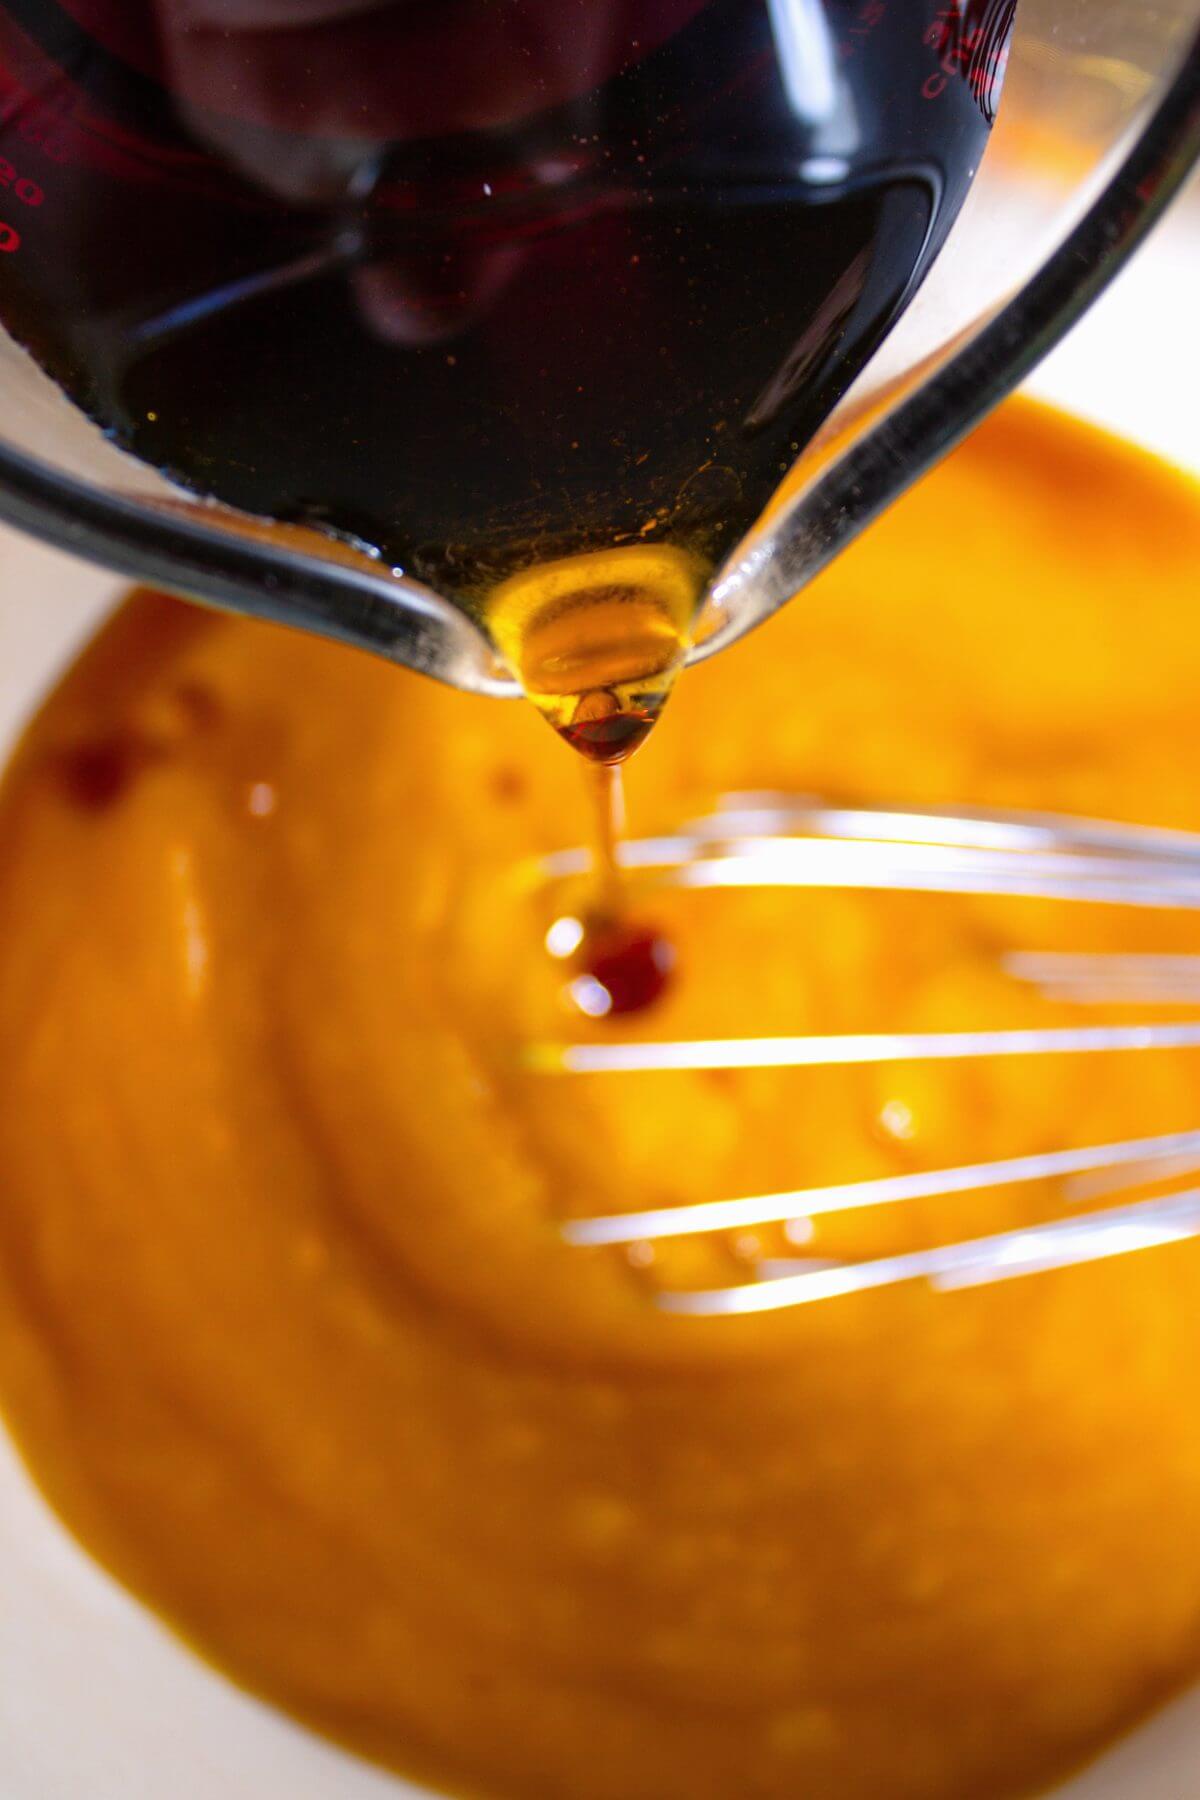
Step 1: Prepare the Pumpkin Mixture
Place the pumpkin puree, applesauce if using, maple syrup, and pumpkin pie spice in a bowl.
Whisk until completely smooth.
You can also blend everything briefly in a blender or food processor if your homemade pumpkin puree isn't perfectly smooth.
Step 2: Prepare the Dehydrator Trays
Line your dehydrator trays with the solid liners designed for making fruit leather.
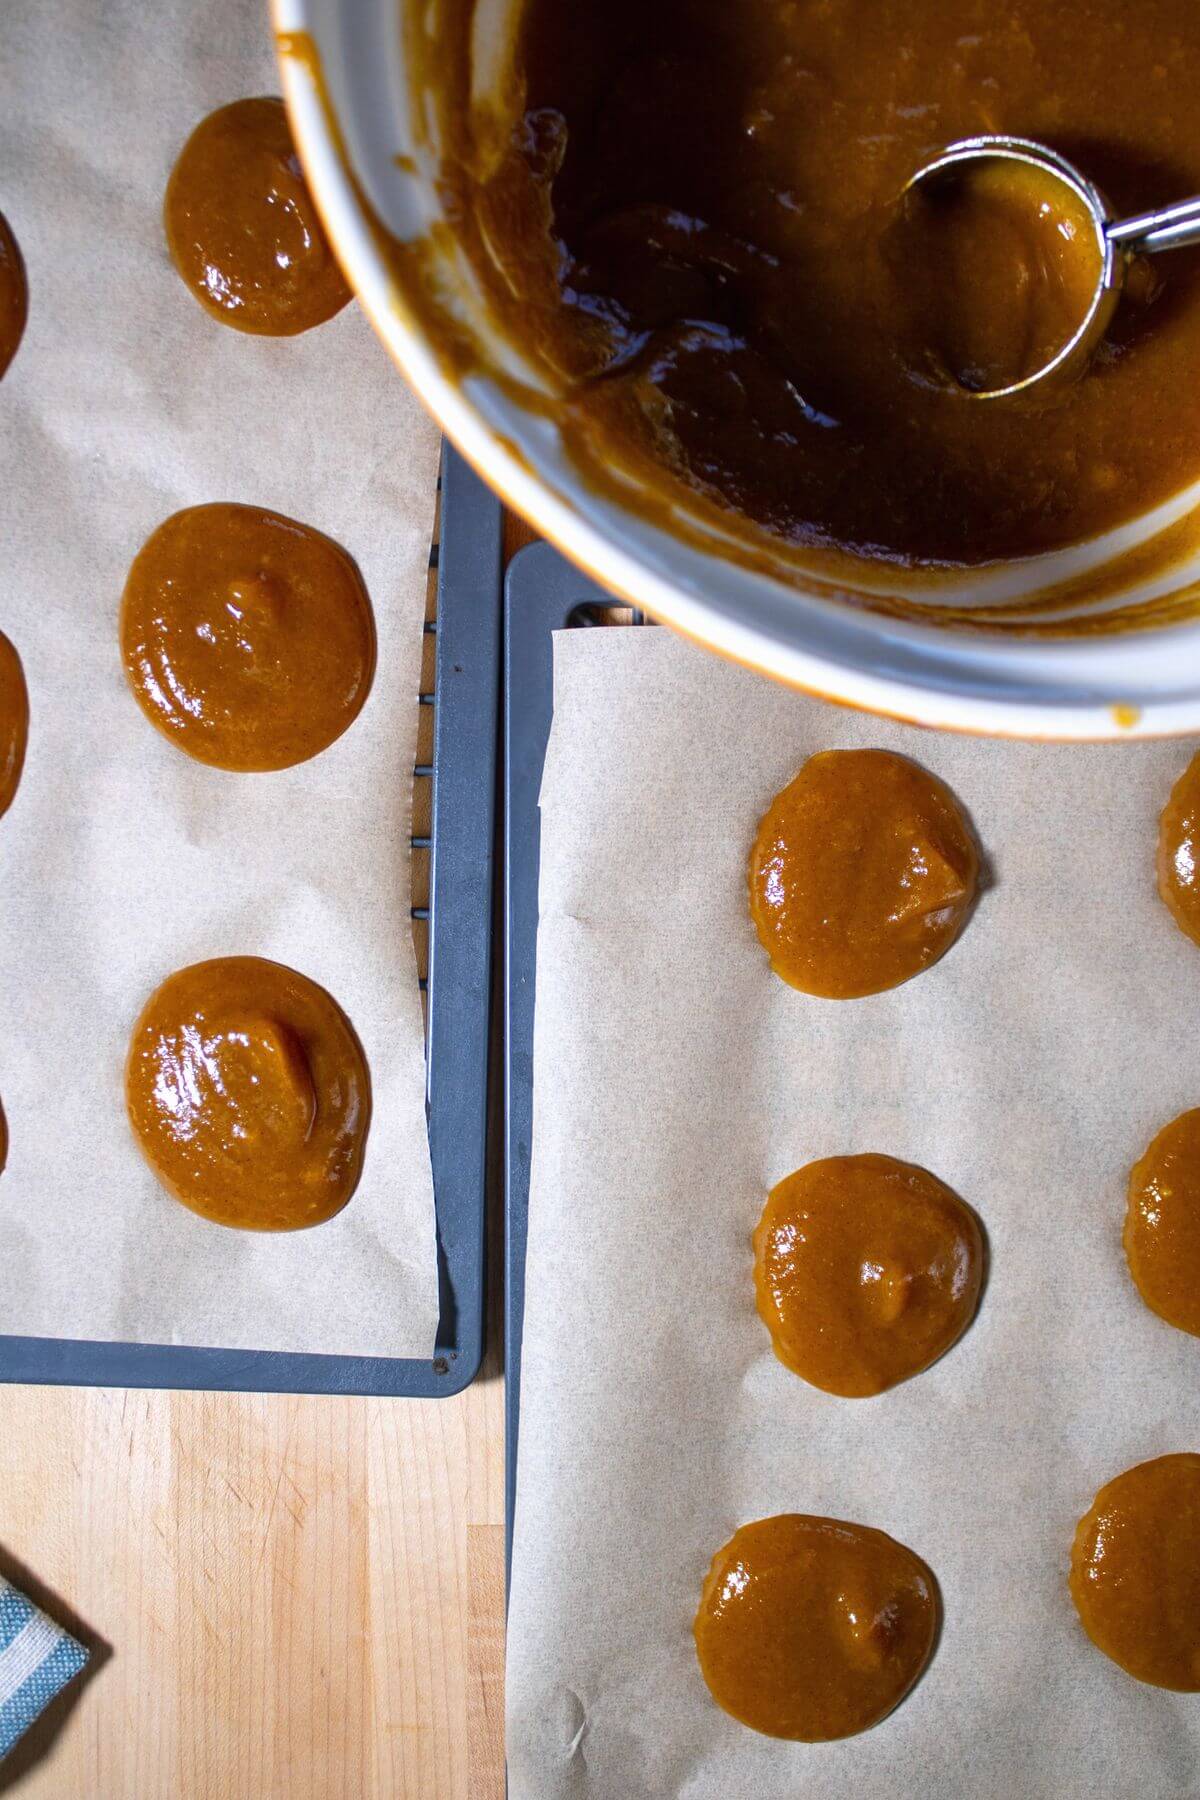
Spread the pumpkin mixture evenly over the lined trays. Aim for approximately ⅛ inch thick.
You can make one large sheet or several smaller individual rounds.
Here's the important part: keep the thickness as even as you can.
A very thick center with thin edges almost guarantees that your edges will finish drying before the middle.
Step 3: Add Coconut if Desired
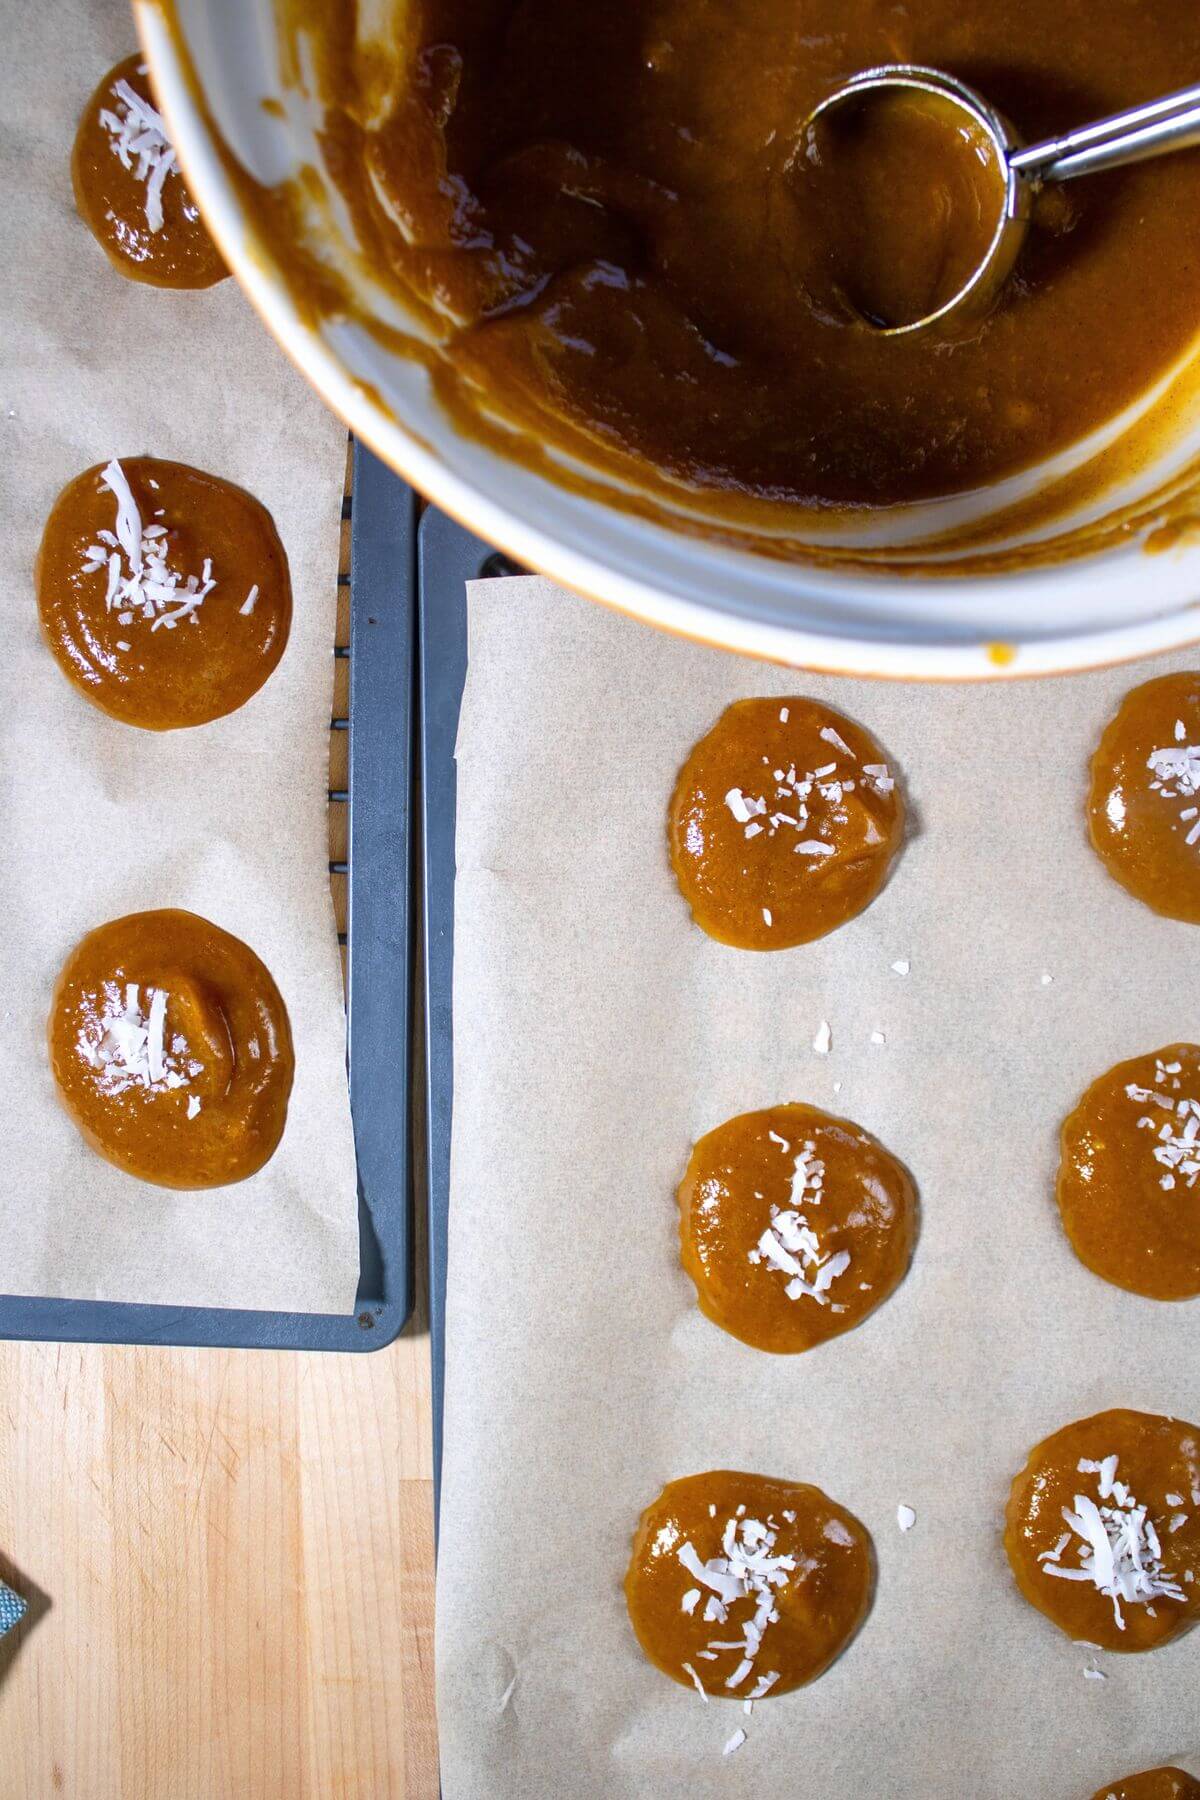
Sprinkle a small amount of unsweetened coconut over the pumpkin mixture.
Don't add too much. You still want the leather to dry evenly.
Step 4: Dehydrate at 140°F
Set your dehydrator to 140°F (60°C).
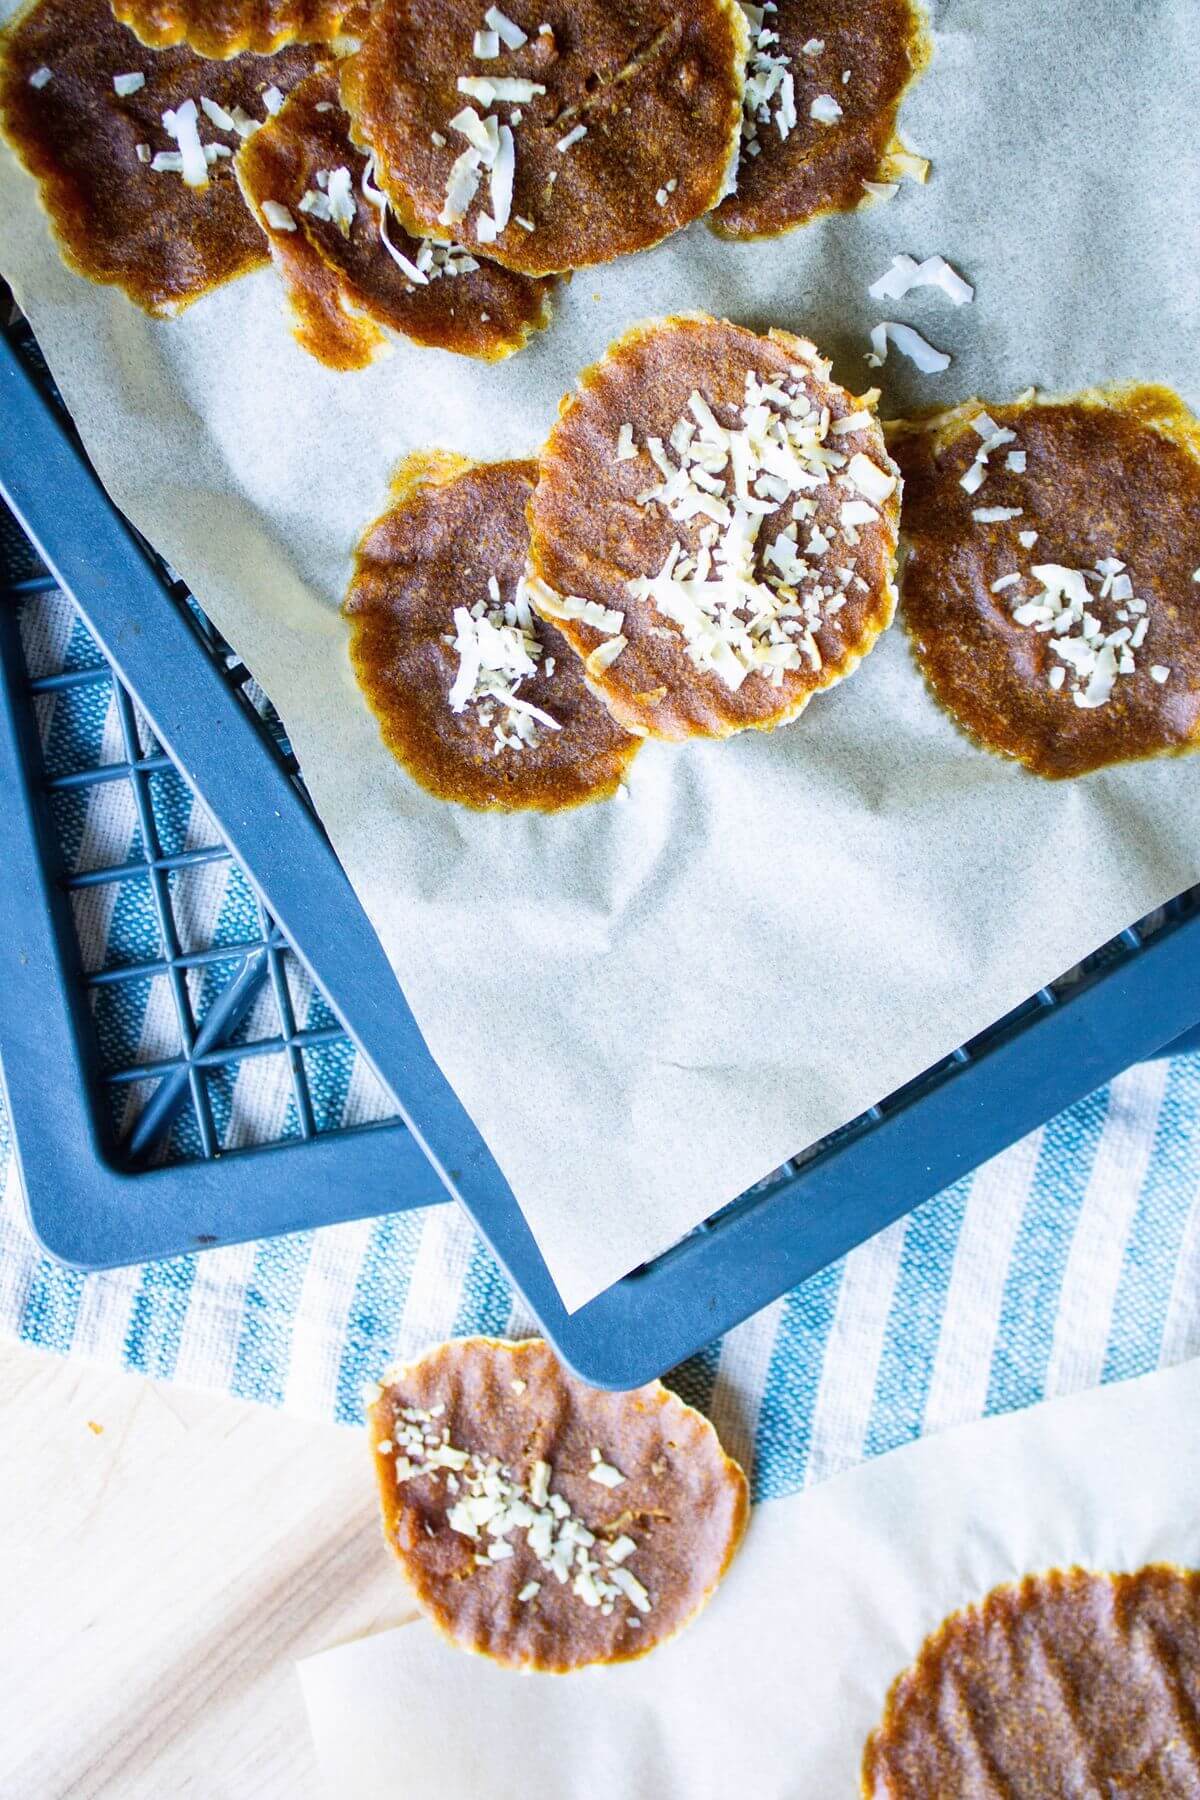
Dry the pumpkin leather until there are no wet spots and pressing the center doesn't leave an indentation. Drying time will vary depending on your dehydrator, humidity, and the thickness of your puree, but plan on roughly 6 to 10 hours and begin checking earlier rather than relying entirely on the clock.
Step 5: Check for Doneness
Don't judge pumpkin leather by time alone.
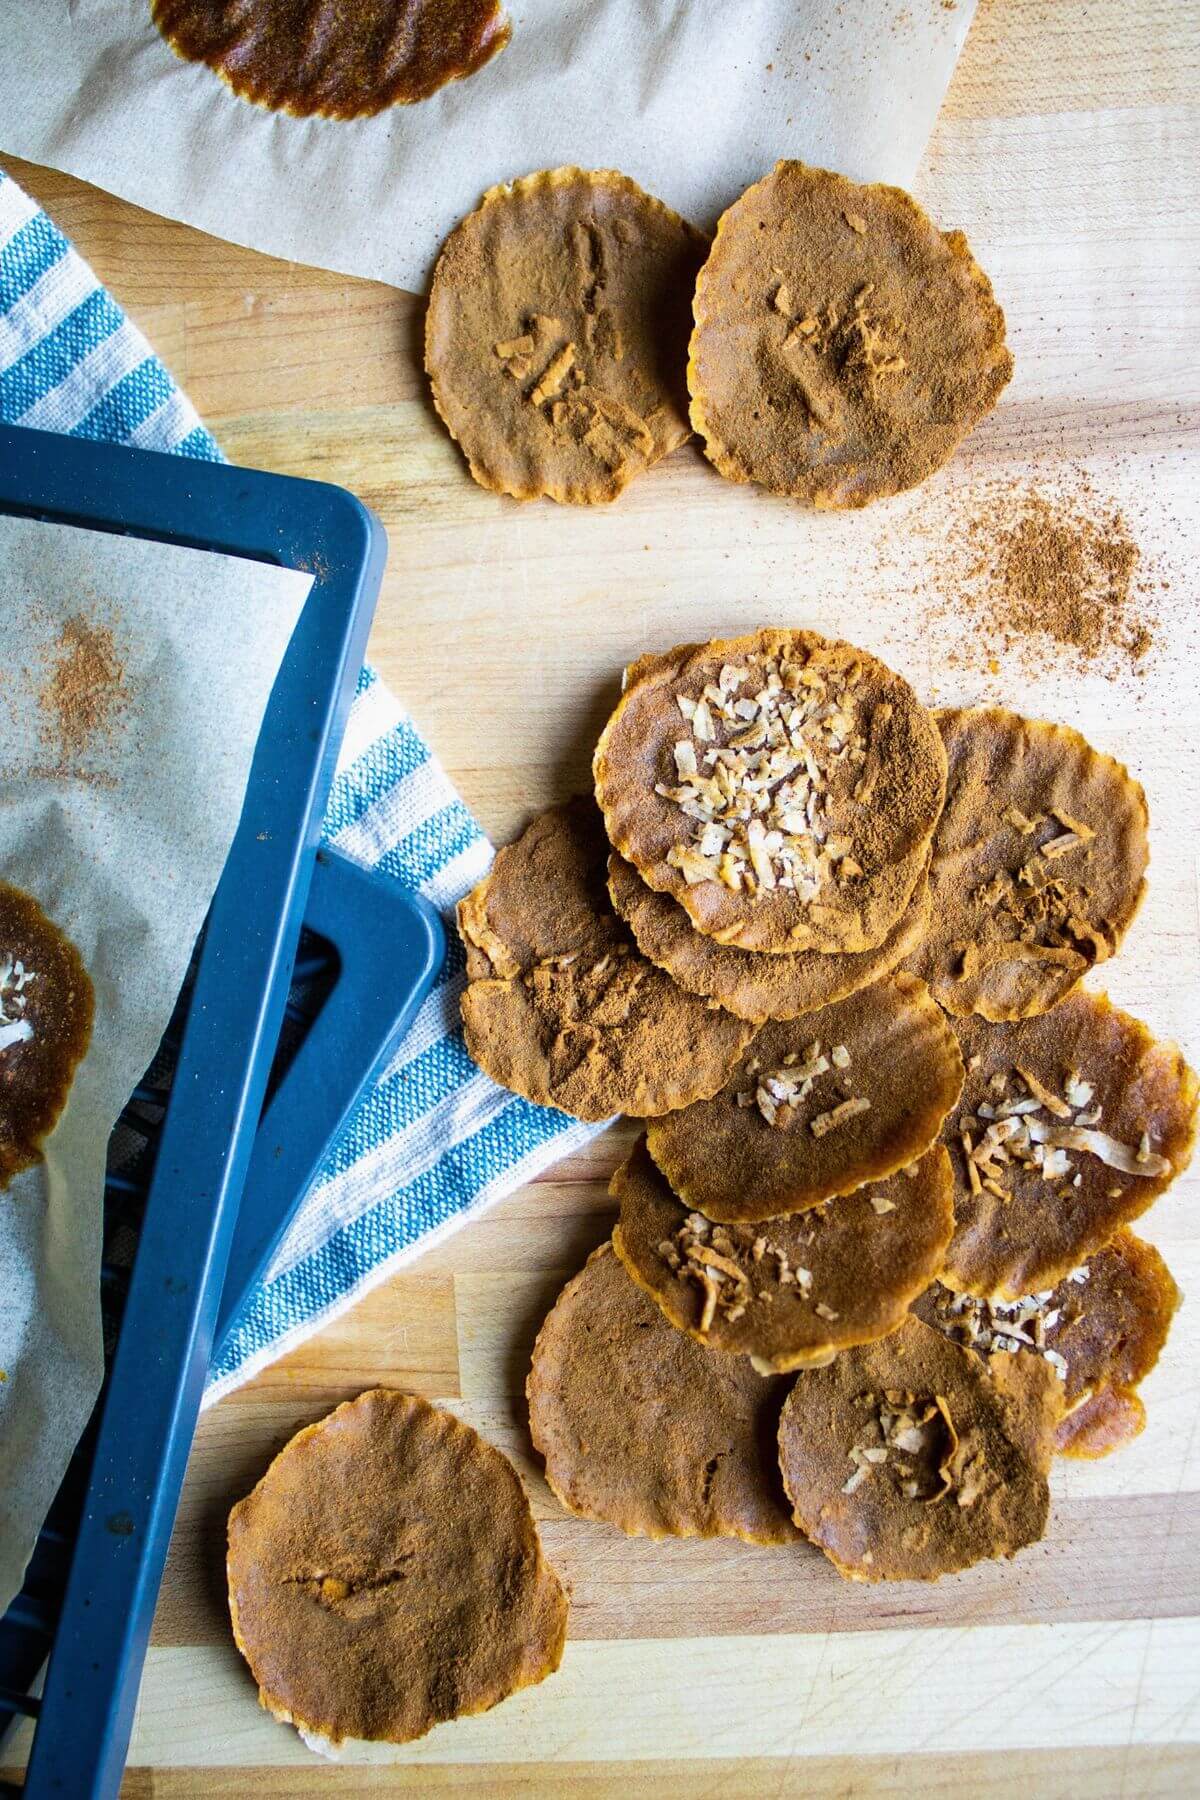
Touch several places, particularly toward the center. The leather should be dry and flexible, without obvious wet pockets. It shouldn't squish beneath your finger or leave an indentation when lightly pressed.
If you're making individual pieces, some may finish before others. Take the finished ones out and let the thicker pieces continue drying.
Near the end, check frequently. Things can change surprisingly quickly at this stage.
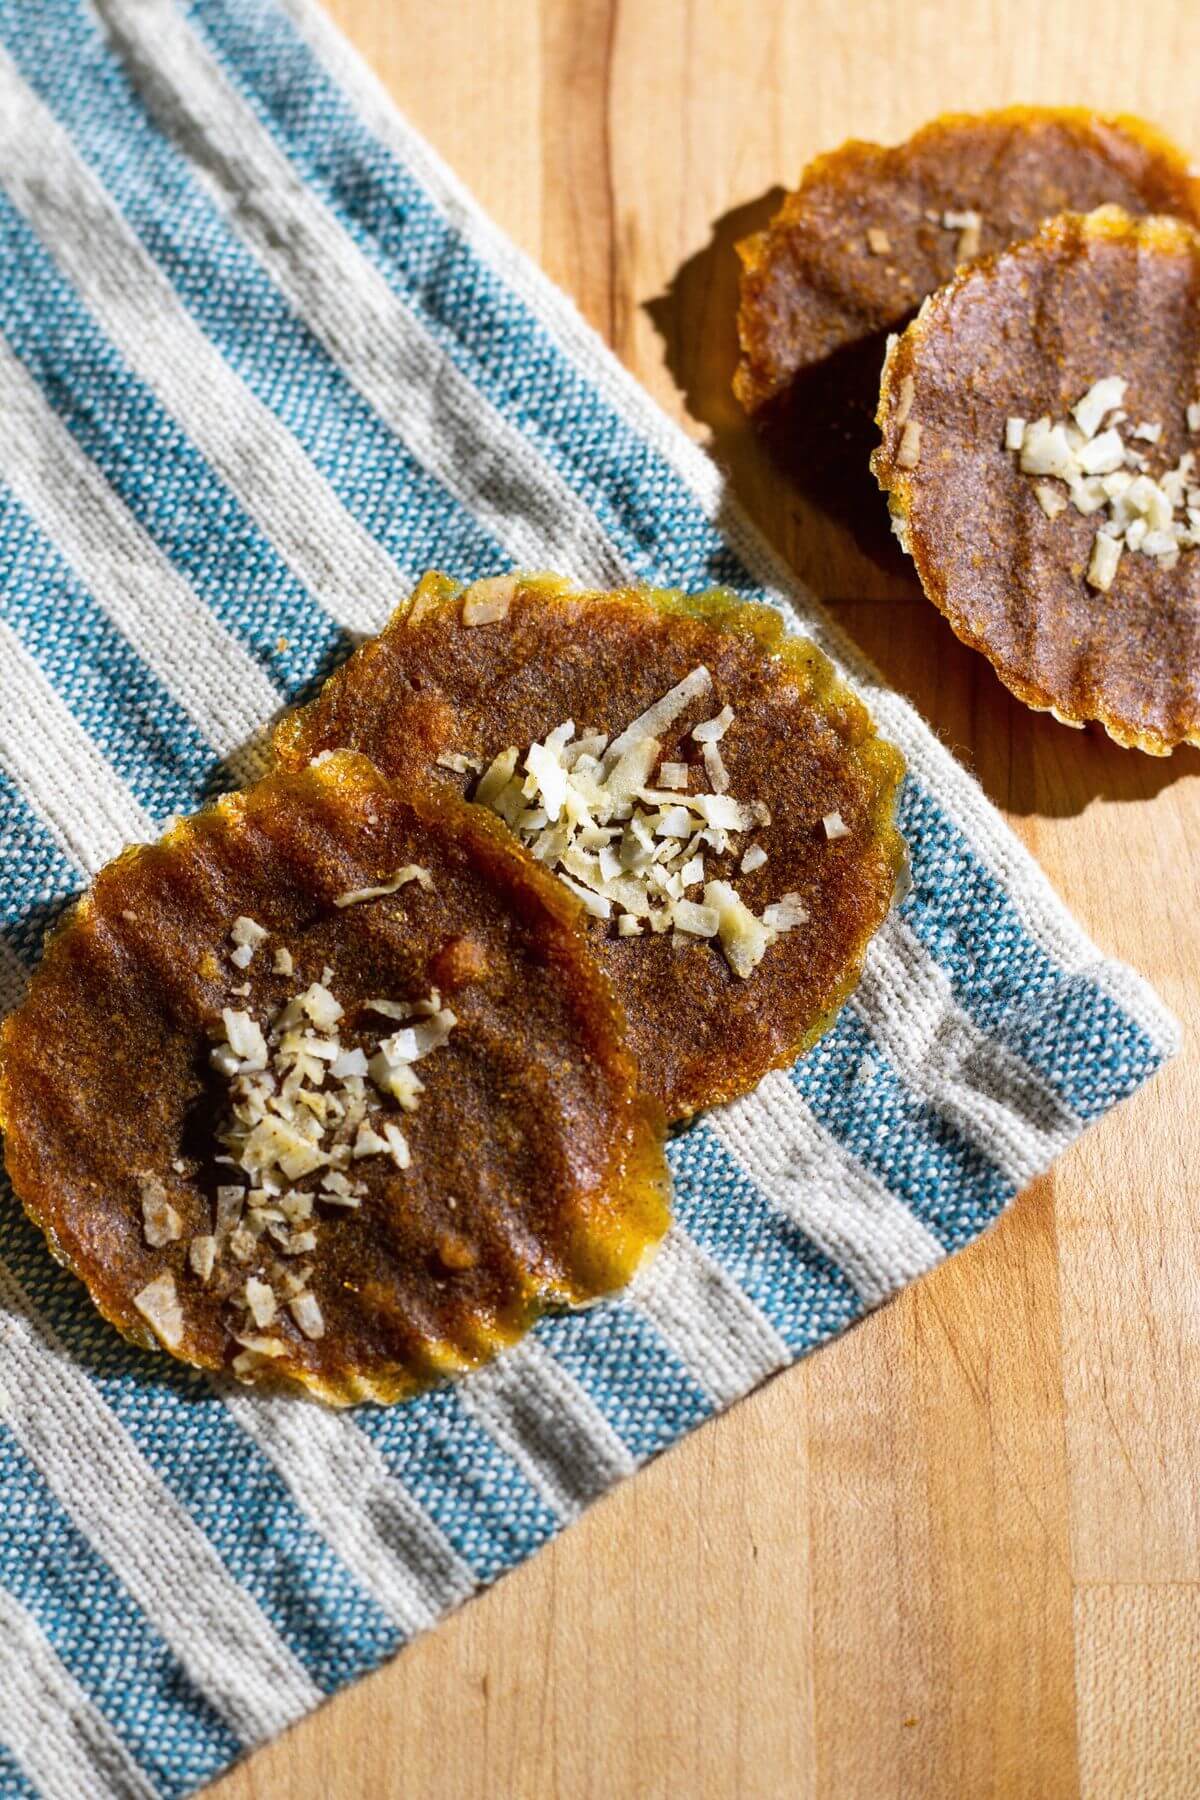
Step 6: Cool and Package
Peel the finished pumpkin leather from the tray while it's still warm.
You can leave it in larger sheets, cut it into strips, or roll individual pieces.
Allow it to cool before placing it into its storage container.
And don't skip this part. Putting warm leather into a sealed container can trap condensation, which is exactly what we don't want when storing dried foods.
Tips and Troubleshooting

| Problem | Solution |
| How Can I Tell When Pumpkin Leather Is Done? | Properly dried pumpkin leather should be flexible and leathery, with no wet spots.Press the center lightly with your finger. There shouldn't be an indentation left behind.Don't rely entirely on whether the surface feels slightly tacky. Look and feel for actual moisture, particularly in thicker areas.If you're uncertain, give it a little more drying time and check it again. |
| Why Is My Pumpkin Leather Crunchy? | Usually, crunchy pumpkin leather has been overdried.Uneven spreading is often the culprit. Thin edges dry much faster than a thick center.Spread the puree as evenly as possible and start checking before you think it's going to be finished.And remember, good enough is perfect. If you get a few crispy edges on your first batch, you haven't failed. You've simply learned how your dehydrator handles this particular recipe. |
| Why Is My Pumpkin Leather Still Sticky? | A little tackiness doesn't necessarily mean the leather isn't finished. What you're looking for are wet areas or spots that still indent when pressed.If the center feels noticeably wetter than the edges, keep drying.Maple syrup and honey can also make the finished leather somewhat tackier than an unsweetened version. |
| Why Is It Taking So Long? | Drying time is affected by quite a few things, including:The water content of your pumpkin pureeWhether you added applesauceHow thickly you spread the mixtureThe humidity in your homeThe size of your individual piecesThe airflow and efficiency of your dehydratorThis is why learning to identify doneness is so much more useful than simply following a timer. |
| Can I Make Pumpkin Leather in the Oven? | You can use an oven if it can reliably maintain the low temperature needed for drying.Food-preservation guidance recommends approximately 140°F for fruit and vegetable leathers. If your oven can't maintain a temperature in that range, a dehydrator is the better and more reliable option. |
Serving Suggestions
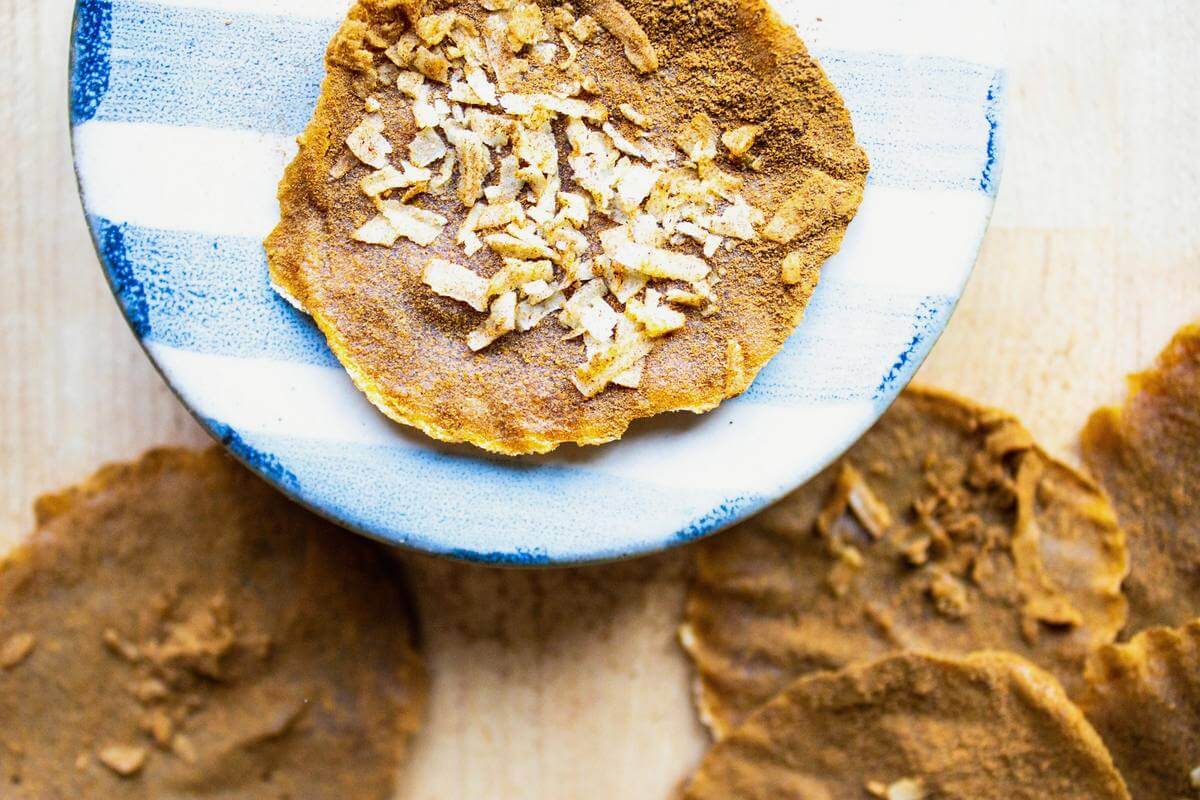
Pumpkin leather is wonderful just as it is.
Cut it into strips and roll them up for an easy grab-and-go snack. Smaller pieces are convenient for lunches, road trips, hikes, or an afternoon snack when everyone starts wandering through the kitchen looking for something to eat.
You can also cut the leather into fun shapes once it's finished drying, which is especially nice if you're making it with children or grandchildren.
And because it has those maple and pumpkin-pie flavors, it makes such a nice fall snack. There's something pretty wonderful about taking pumpkins from the harvest and turning them into something you can tuck into a lunchbox later.
That's the kind of preservation I love. Practical, simple, and actually useful.
Storage Instructions
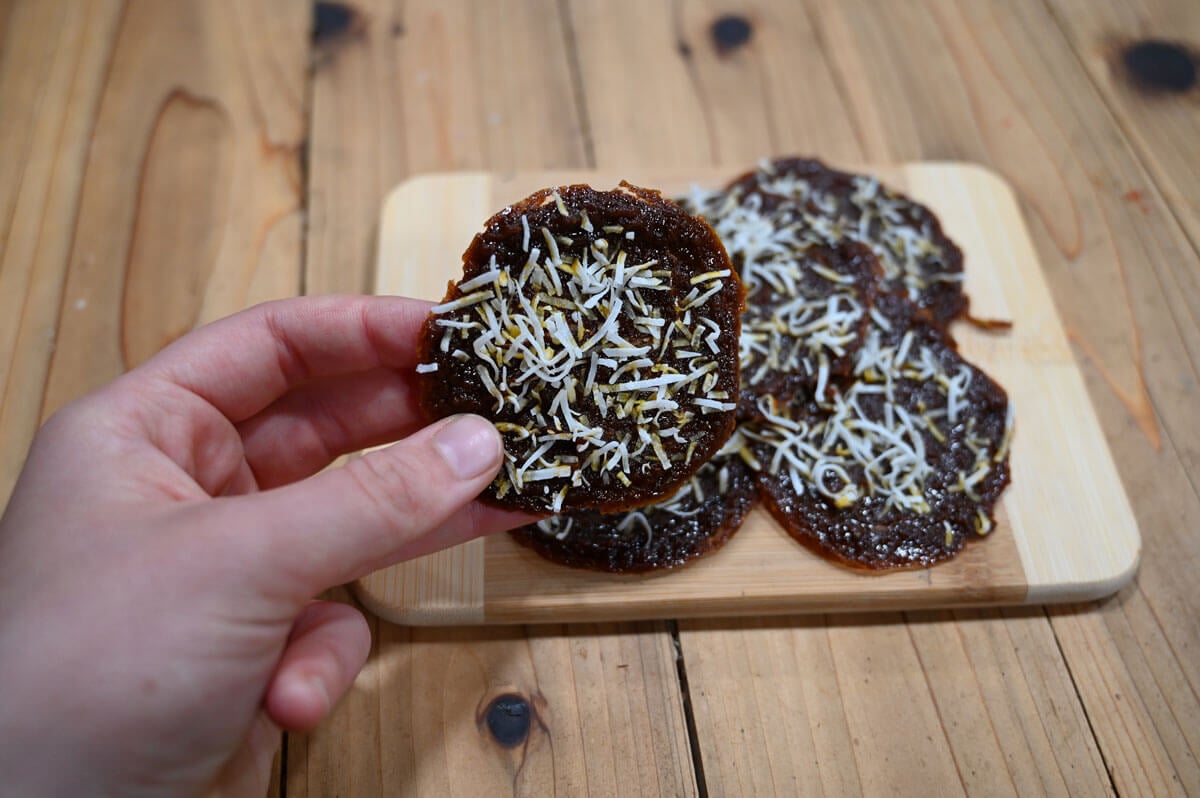
Once your pumpkin leather has completely cooled, package it in an airtight, moisture-resistant container and store it in a cool, dark, dry place.
For the safest, most conservative home-storage guidance, plan on up to one month at room temperature.
For longer storage, tightly wrap the pumpkin leather and freeze it. Properly wrapped fruit leathers can be frozen for up to one year.
If you ever notice condensation inside the container, remove the leather and check it carefully. Moisture means the product either wasn't sufficiently dry before storage or has absorbed moisture afterward.
And, of course, discard pumpkin leather if you see mold or other signs of spoilage.
This is one place where I don't like to guess. When we're preserving food for our families, knowing what properly dried food looks and feels like gives us confidence that we're doing it the right way.


Did you try this pumpkin leather recipe? If so, please leave a star ⭐ rating and your comments in the recipe card below. Then snap a photo and tag us on social media @homesteadingfamily so we can see!
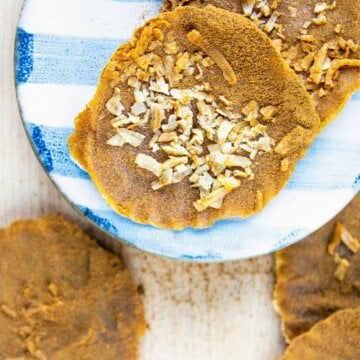
Pumpkin Leather Recipe | Easy Homemade Fall Snack
Equipment
- Dehydrator or oven set to 175°F
- Fruit Leather Tray Liners or parchment paper
- Mixing Bowl
- Whisk
- measuring cups and spoons
- spatula
Ingredients
- 2 cup pumpkin purée or 1 cup pumpkin and 1 cup applesauce
- ¼ cup maple syrup up to ½ cup, to taste
- 1 teaspoon pumpkin pie spice up to 2 teaspoons, to taste
- unsweetened coconut flakes
- ground cinnamon
Instructions
- Stir pumpkin puree, applesauce (if using), maple syrup (or honey), and pumpkin pie spice together in a bowl with a whisk or a fork until smooth.
- Line dehydrator trays (or your baking sheet) with parchment paper. Drop rounded tablespoonfuls of pumpkin mixture on the parchment paper in ¼” thick round shapes like cookies.
- Sprinkle a little coconut on top, optional.
- Dry in a dehydrator set at 130°F (55°C) until completely dry. The amount of time this takes depends on your dehydrator. It could take 10-12 hours. If using the oven method, bake in a preheated oven at 175°F for 4-5 hours.
- To test for doneness, pick up one piece and bend it. It should be dry and flexible, with no pockets of moisture. Remove the pieces that are dry and let them cool in an open bowl. Continue drying the remaining pieces of fruit leather until they, too, are done. It goes quicker at the end, so check those last few every 15 minutes.
- Dust completely cooled pumpkin leather with cinnamon to keep it from sticking together, and store it in an airtight container.
Notes
| Problem | Solution |
| How Can I Tell When Pumpkin Leather Is Done? | Properly dried pumpkin leather should be flexible and leathery, with no wet spots. Press the center lightly with your finger. There shouldn't be an indentation left behind. Don't rely entirely on whether the surface feels slightly tacky. Look and feel for actual moisture, particularly in thicker areas. If you're uncertain, give it a little more drying time and check it again. |
| Why Is My Pumpkin Leather Crunchy? | Usually, crunchy pumpkin leather has been overdried. Uneven spreading is often the culprit. Thin edges dry much faster than a thick center. Spread the puree as evenly as possible and start checking before you think it's going to be finished. And remember, good enough is perfect. If you get a few crispy edges on your first batch, you haven't failed. You've simply learned how your dehydrator handles this particular recipe. |
| Why Is My Pumpkin Leather Still Sticky? | A little tackiness doesn't necessarily mean the leather isn't finished. What you're looking for are wet areas or spots that still indent when pressed. If the center feels noticeably wetter than the edges, keep drying. Maple syrup and honey can also make the finished leather somewhat tackier than an unsweetened version. |
| Why Is It Taking So Long? |
Drying time is affected by quite a few things, including:
|
| Can I Make Pumpkin Leather in the Oven? | You can use an oven if it can reliably maintain the low temperature needed for drying. Food-preservation guidance recommends approximately 140°F for fruit and vegetable leathers. If your oven can't maintain a temperature in that range, a dehydrator is the better and more reliable option. |