
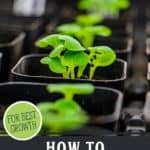
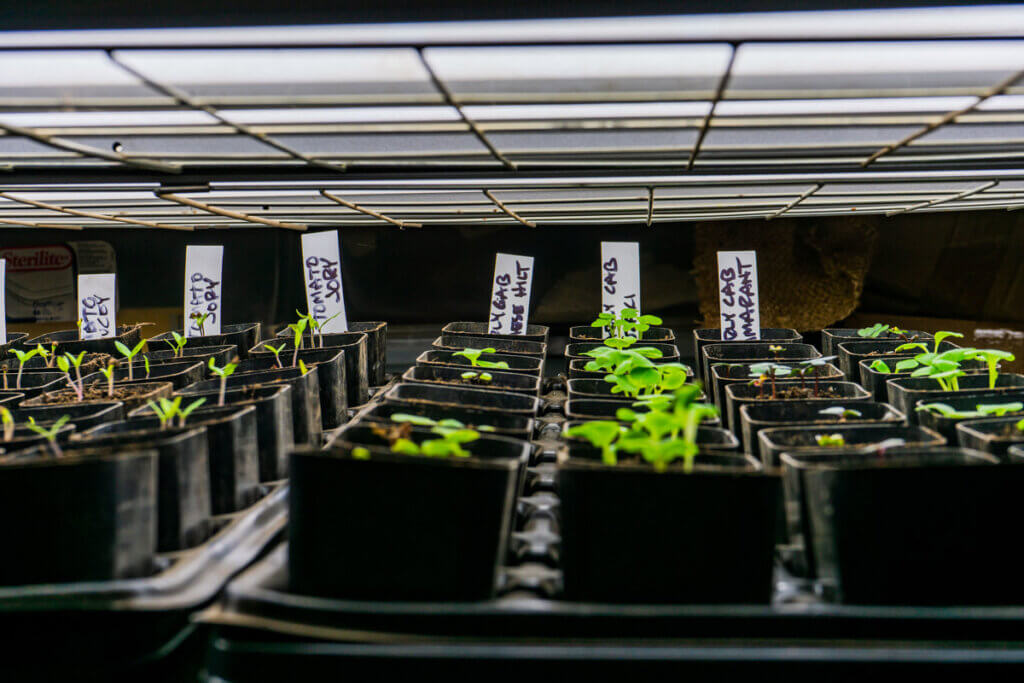
If you started seeds indoors this year, you’re probably ready to start planting tomato plants. This guide covers best practices for how to plant tomatoes, including when to plant, whether to plant in a pot or the ground, how much water your plants need, whether to stake or cage them, and more.
Chances are, you’ve heard many different ways of planting tomato plants… but sometimes, actually SEEING someone do it can eliminate a lot of questions about the unknown.
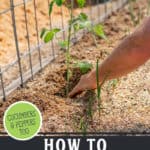
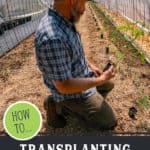
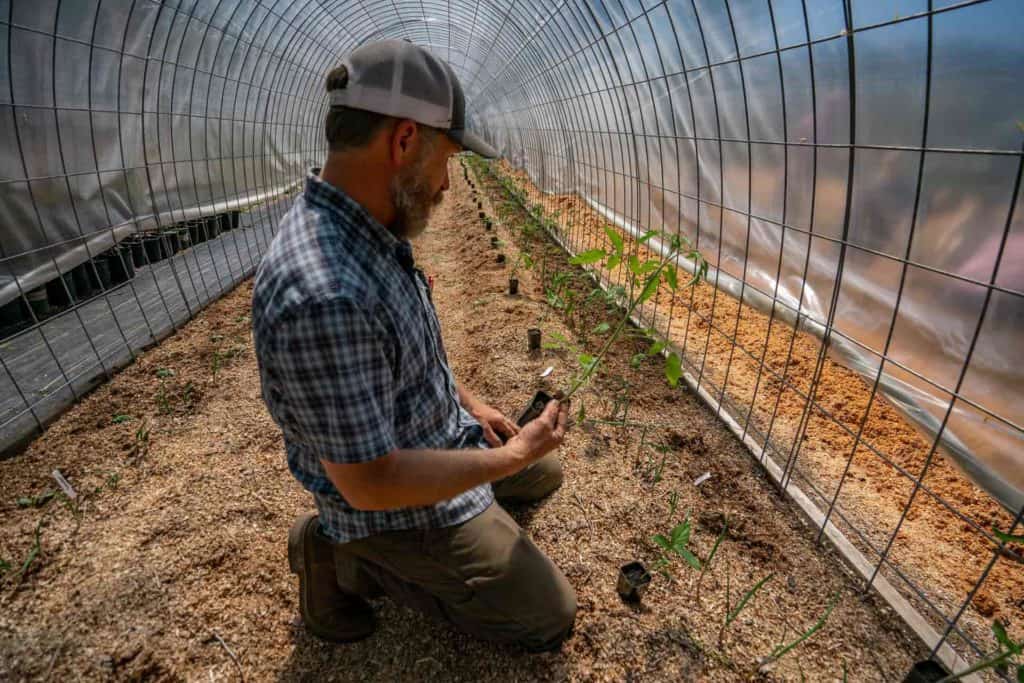
Watch the video below as Josh plants over 125 transplants into the hoop house in one afternoon. (And click here if you want to learn how to build a hoop house.)
Planting Tomato Plants vs. Direct Sowing Seed
When planning our garden, we have to consider that we have a rather short growing season. Tomatoes are a crop that won’t survive a frost, so we have to employ as many garden season extension strategies as possible to secure a tomato harvest.
In warmer climates, you can direct sow your tomato seeds, but here in the far north of Idaho, we had to learn all the tips for growing tomatoes in colder climates. One of which was starting our tomato seeds indoors, and then transplanting tomato plants later in the season.
When to Transplant Tomato Plants
Tomatoes are warm-weather-loving plants, so always wait until early summer when any chance of frost has passed and the soil temperature has had a chance to warm. You can get away with planting tomato plants with a soil temperature as cool as 60°F, but ideal soil temperatures are 65°F-70°F.
In addition to weather conditions, your tomato seedlings need to be about 6-8 weeks from germination, and at least 3-4 inches tall with strong root systems before transplanting. Planting tomato plants too early can stress them, but waiting too long can slow their growth, so don’t delay.
Homesteading Hack: Direct sun can add further stress when transplanting tomato plants, so choose a cloudy day or transplant in the evening to give your tomatoes the best possible start.
Hardening Off Tomato Plants
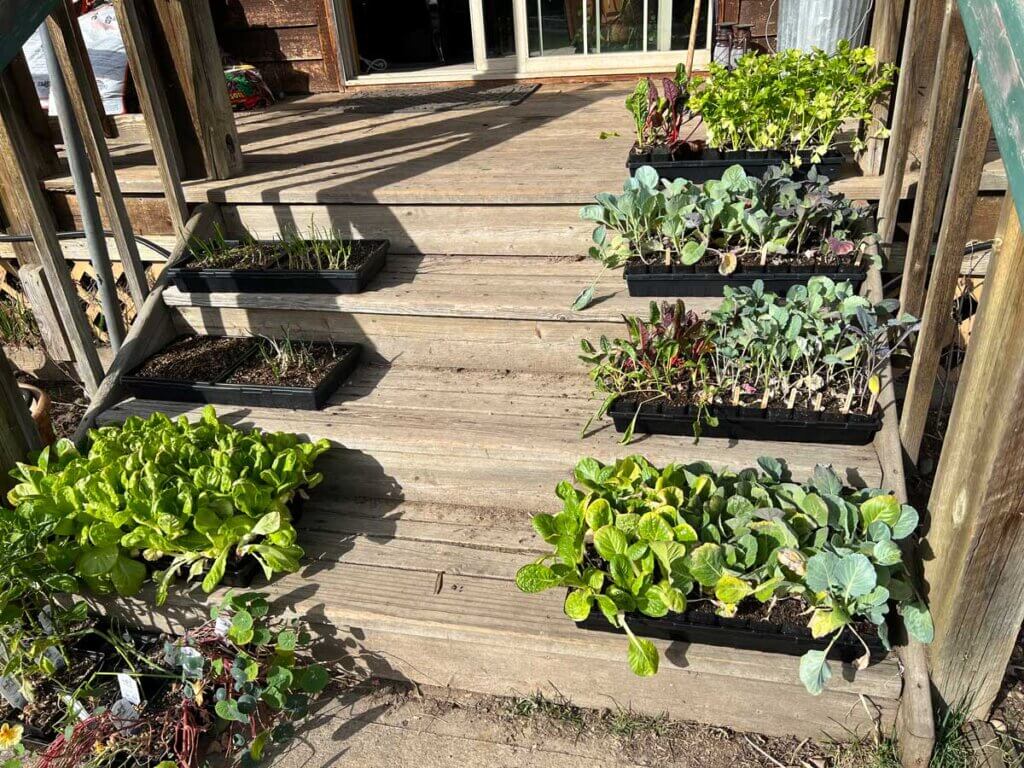
Once you have determined that your seedlings are ready to transplant, you must harden off your tomato plants before transplanting. Hardening off simply means gradually acclimating your plants from protected indoor weather to harsher outdoor weather.
A typical hardening off schedule is shown in the example below:
| Day of Hardening Off | Hours Outside | Location | Notes |
| 1 | 2 | Shaded area | Initial exposure to fresh air |
| 2 | 4 | Partially sunny | Introduce some sunlight |
| 3 | 6 | Sunny location | Full sun exposure |
| 4 | 8 | Open area | Handle gentle winds |
| 5 | All day | Final garden spot | Ready for transplanting |
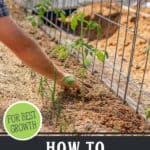
Planting Tomato Plants
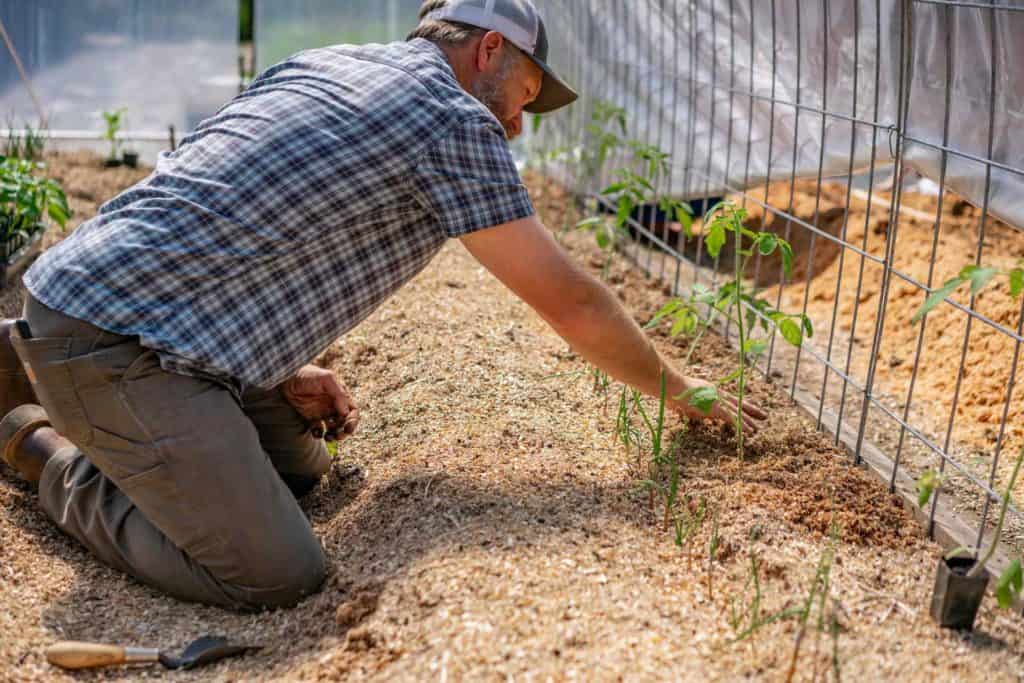
Before planting your tomato plants, follow these guidelines for success.
| Consideration | Tip |
| Sun | Choose an area with ample sunshine. Tomatoes require an average of 6 hours of sunlight to produce fruit, but eight or more hours is optimal. |
| Soil | Tomatoes do best in well-drained soil that’s slightly acidic with a pH of 6.0 to 6.8. You can test the pH of your garden soil before planting for the best results. If needed, amend the soil with organic matter, such as compost, to improve its fertility and drainage. |
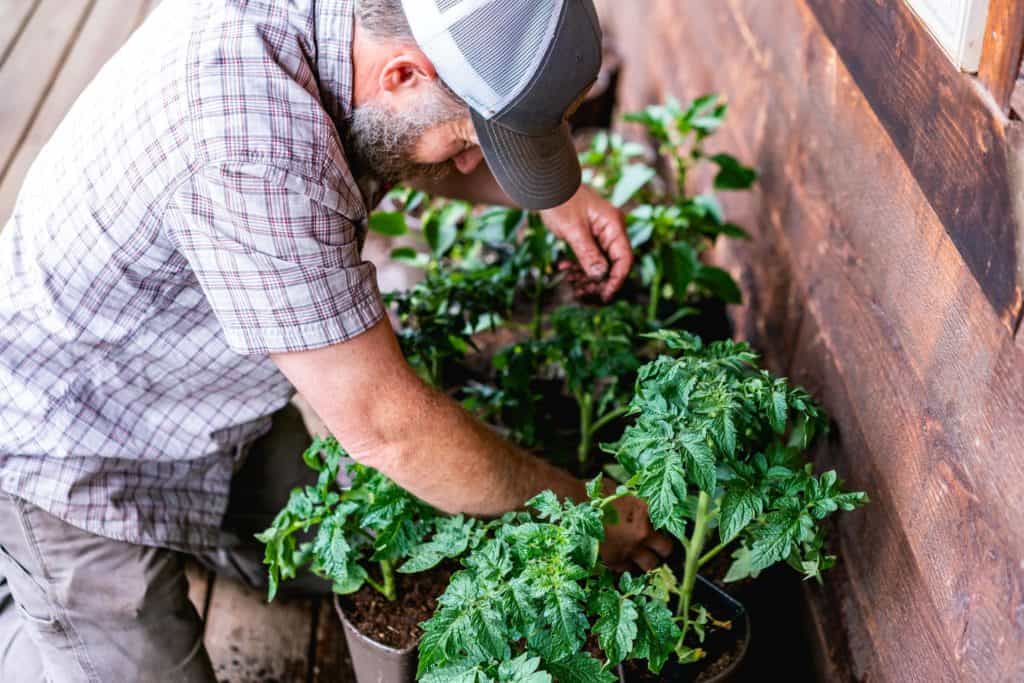
| Pots | If you don’t have a sunny garden plot, tomatoes are good candidates for growing in pots or grow bags. (Learn how to winterize your plants in pots here.) |
| Spacing | Depending on your tomato variety, you will need to space your plants 24 to 36 inches apart. |
| Mulching | By adding a layer of mulch or shredded leaves, you’ll help suppress the weeds, retain moisture, and provide protection from the sun for your soil. |
| Companion Planting | Tomato plants should not be planted near brassicas, potatoes or corn. Tomato fruit worms, corn earworms, and potato blight can become problematic for these plants as companions. However, tomatoes cohabitate well with asparagus, basil, beans, carrots, onions, or peppers. Learn more about companion planting here. |
Step-By-Step Directions
Now that you have your site picked and prepped, follow these steps to transplant your tomato plants.
- Harden off your tomato transplants for several days beforehand. If you’ve been growing your tomatoes in a greenhouse, just open the door so they get cooler at night.
- Water them the day before transplanting. To diminish the shock to the plant, you want to be sure they’re well watered before going into the ground.
- Pinch off the starter leaves and possibly the first set of leaves. This will help the plant establish strong roots once planted.
- Remove the container by very carefully squeezing the container a few times to loosen the roots. Then tip it upside down and gently tap it out.
- Loosen the root ball and disturb them a bit without breaking everything up too much. This causes a bit of good stress for the plant, sending a signal to repair the plant and grow stronger.
- Dig a hole for your plant deep enough so you can plant it down to where the first set of leaves you pulled off were. This will help set new roots.
- Pack it in, not super tight, but make sure there is no air in the planting holes that roots might grow into; otherwise, your plant will die.
- Replace mulch around the stem to protect the soil.
- Remove any leaves touching the ground, as this is how they pick up any fungus in the soil. If any leaves are touching, go ahead and pinch them off.
- Give a good soaking of water around the plant. Don’t water right on top of the plant since they’re delicate just after planting, but watering around the plant will allow the roots to soak up the water just fine.
- Stake or cage your tomatoes. What you choose will depend on whether you’re growing indeterminate tomatoes or determinate tomatoes. Determinate tomato plants grow only to a specific height and size, so a cage would work well. Indeterminate will continue to grow as tall as they can get. We like to use a tomato trellis for staking our indeterminate tomatoes.
Growing and Maintaining Tomatoes

Tomatoes need special care throughout the growing season. For best practices on maintaining your tomato plants, check out our post on growing tomatoes in cold climates.
Harvesting Tomatoes

There’s nothing like the flavor of a homegrown vine-ripened tomato, but waiting for fully ripe tomatoes before harvesting isn’t always practical. They will store better if they are harvested at the “breaker stage.”
Your tomatoes have reached this stage when they are blushing about half pink while the rest of the tomato is still green. Harvesting them at this point will allow your tomatoes to withstand handling until you can allow them to finish ripening indoors.
There are times when we need to harvest our tomatoes before the frost sets in, and they aren’t quite at this breaker stage. This is when we follow the steps to ripen green tomatoes.
Homesteading Hack: When picking tomatoes, a gentle twist is the best approach. This method helps avoid damaging the plant. It also encourages more tomatoes to grow.
Preserving Tomatoes

Fresh tomatoes don’t store well long-term, so learning multiple ways to preserve your harvest will allow you to enjoy your bounty all year long.
Some of our favorites are freeze dried tomatoes and fermented tomatoes. You can also learn how to dehydrate tomatoes (three ways) here.
Planting Tomato Plants: Tips and Tricks
If you are new to planting tomatoes, these tips and tricks can help shorten your learning curve.
- You may not notice a lot of growth right away. They’ve been growing a ton in the pots, but now you’ve disturbed them, and it may take them a week or two to get going strong again.
- Try not to get your mulch down into the hole where you’re planting your transplants. This sucks too much nitrogen out of the soil, and that’s not good for the plants. It’s great for the top of your soil, but not down in the hole next to the root system.
- Your plants may look like they’re wilting, yellowing, or even dying a day or two after planting. This is normal. If you transplanted really well, you may not notice this at all. Just keep watering and tending to them, and they should hopefully perk back up in a few days’ time.
- It is often recommended to add a handful of slow-release fertilizer when planting tomato plants, but if you focus more on improving the health of your soil, fertilizers are often unnecessary.
- At the end of the gardening season, be sure to check out this post on preparing the garden for winter with soil preparation tips. It will teach you how to be set up for planting in the Spring by doing a little bit of work in the fall.
Mastering the skill of growing tomatoes takes time, so stick with it, keep records each year, and reflect back on the progress you make.
Healthy tomato plants begin with healthy soil, and we have created a FREE download to help shorten your learning curve by teaching you the six essentials of healthy soil and five steps toward a healthy garden. Sign up to receive instant access today!
FAQ’s
Tomatoes need well-drained soil rich in organic matter. Adding compost helps.
Tomatoes need consistent moisture, but not too much. Watering deeply once or twice a week is best during the growing season.
Wait until after the last frost and when soil is over 60°F. This is usually early summer. Then, you can transplant your seedlings.
Yes! Hardening off is key. Start by gradually getting your indoor sprouts used to outdoor conditions over a week. This avoids shock.
Determinate tomatoes grow to a height and produce fruit all at once. Indeterminate tomatoes keep growing and producing all season.
Other Posts You May Enjoy


