


Putting your garden to bed for the winter is very valuable. It can save you time, energy, and equipment come spring. By spending a little extra time preparing your garden for winter in the fall, you can jump right into planting season come spring.
Why Prep the Garden for Winter?
Whether you clean the garden up for the year in the fall or wait until spring may not seem like a big deal, but there are a few reasons why it's not only smart but prudent to put the garden to bed BEFORE winter hits.
- It preserves tools so they don't get damaged during the winter weather.
- Leaves everything organized and ready to go come spring.
- Gives you a head start in the spring and allows you to get into the garden earlier.
Clear Equipment, Tools & Supplies
When putting the garden to bed for winter, the first thing to do is to walk through, pick up and put away all equipment, tools and other supplies. This includes sprinkler systems, hoses, tools, tarps or plastic row coverings, or any other materials used in the garden that won't compost.
If you need to replace any tools, here is our gardening resources guide, with our top product recommendations to help you find quality tools and supplies.
Clean and Put Away Sprinklers and Hoses
The first thing we pick up and put away in our garden are all the parts of our Dan Microsystem. It has many individual pieces that can easily break if we're trying to move around and clear things out, so it's best to have it up and out of the way.
We don't just put them away dirty, but we hose them off and make sure they're emptied of all water before putting them into the shed for the winter.
After the delicate pieces are all put away, we empty our hoses and wrap them up to get out of the weather for winter storage.
We do, however, leave out our larger irrigation system, but we ensure all hoses are emptied from any remaining water so there will be no damage from water freezing and defrosting over the winter.
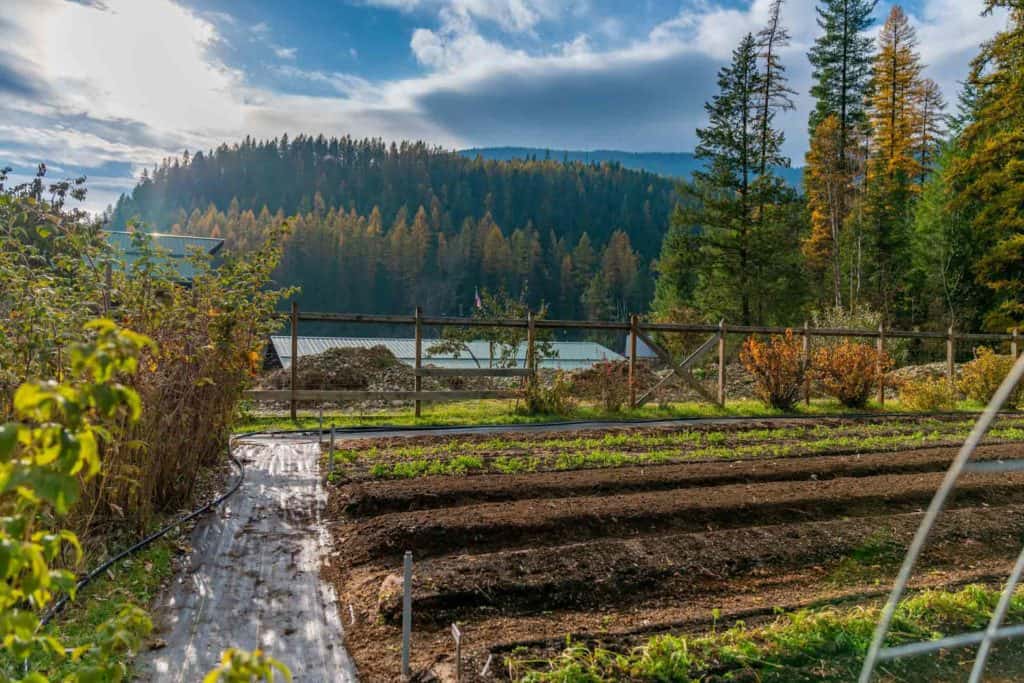
Prep Your Walkways
When we lived in Tennessee, we started using wood chips in the walkways of our garden. None of our neighbors were using this method, and we were able to get into the gardens weeks earlier than them when their gardens (with mainly clay soil) were still too muddy to walk in.
By adding a thick layer of wood chips to our walkways, we're not only able to get into our gardens earlier in the spring, but we're also building soil! Those wood chips will break down over the years, and we can eventually dig up that rich soil and use it in our garden.
We compost with our animal waste here on the homestead. Since we're building soil through composting, we don't rely on the woodchips turning into soil, but this is an option if you can't compost on a large scale.
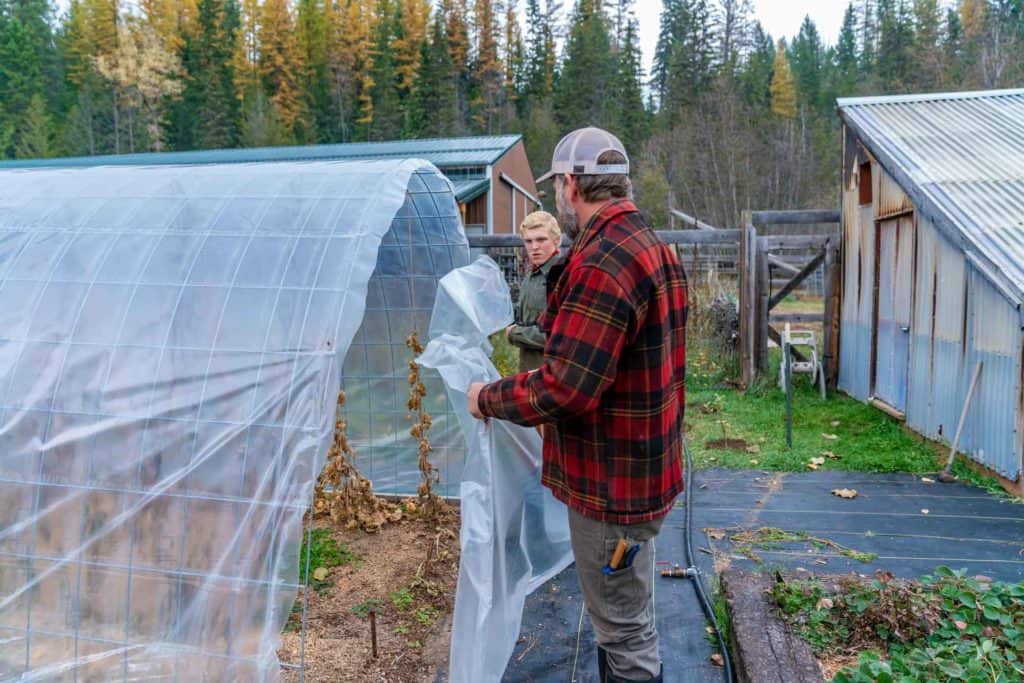
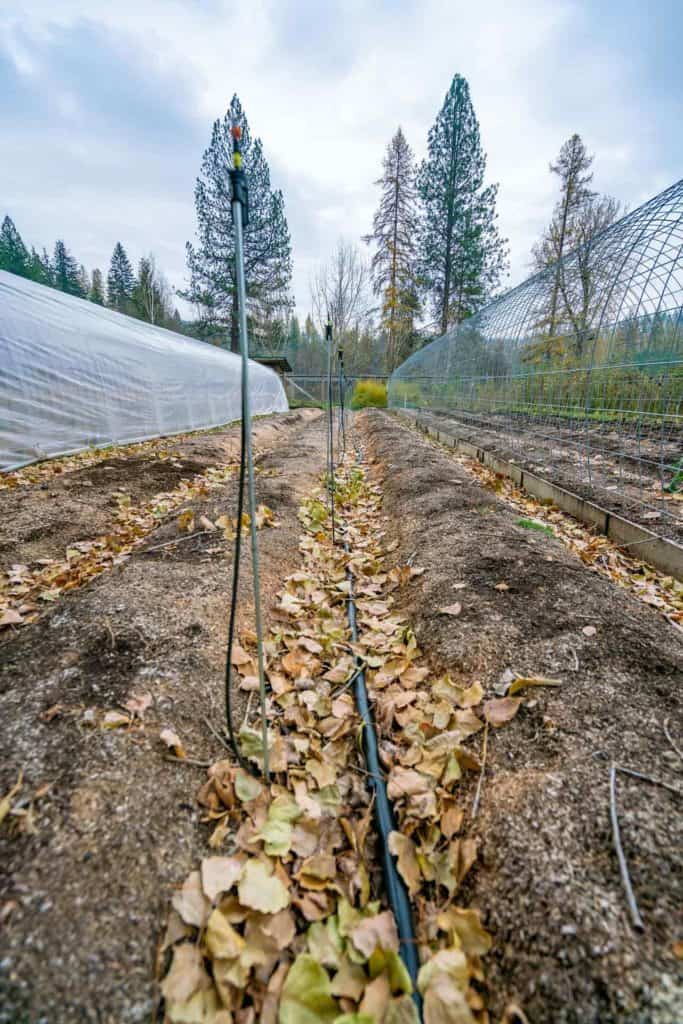
Store Away Plastic Sheeting
Next, we take off the plastic covering for our DIY hoop house. Since we get a lot of snow, if we leave it out, it'll be ruined come next spring, and I'll need to buy a new one.
This is also good if you have any row coverings, greenhouse buckets, or plant frost protector bags that you've used to help extend the season.
It's also a great time to pull up and store away any tomato cages or other garden accessories that may not winter well.
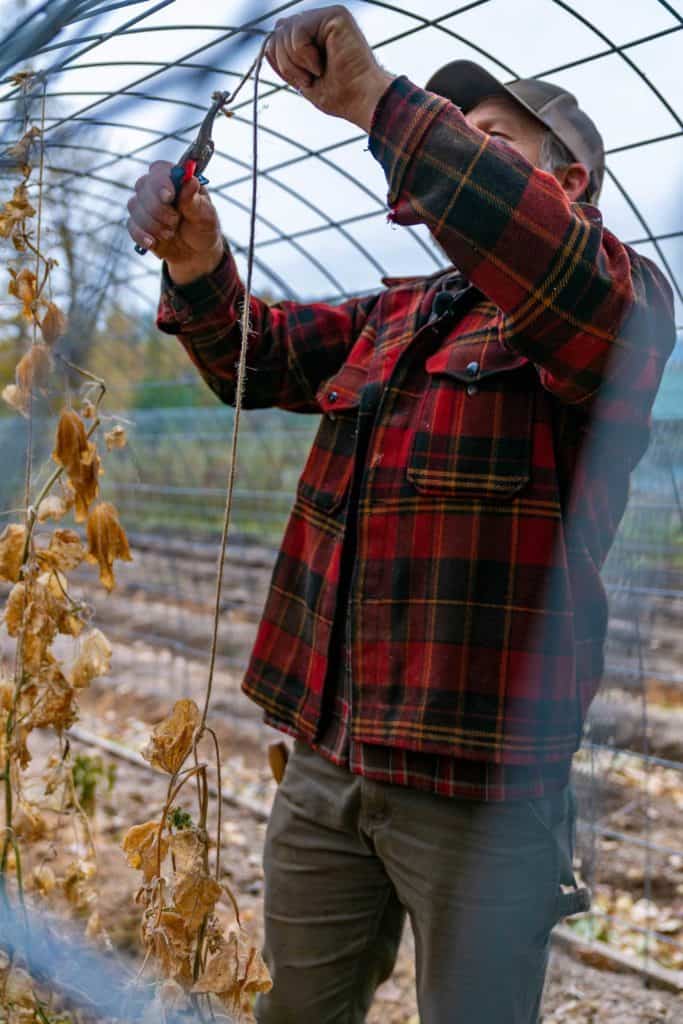
Remove Twine & Crop Identifiers
Because we trellis our tomatoes and other crops with jute twine inside the hoop house, it's a good time to go in and cut away the twine so it's gone and out of the way.
The nice thing about using jute is that it's completely compostable, so I don't even need to untie it from the plant. I just cut away the twine from the hoop house, then cut the plant away at the ground and toss the whole thing into the compost pile.
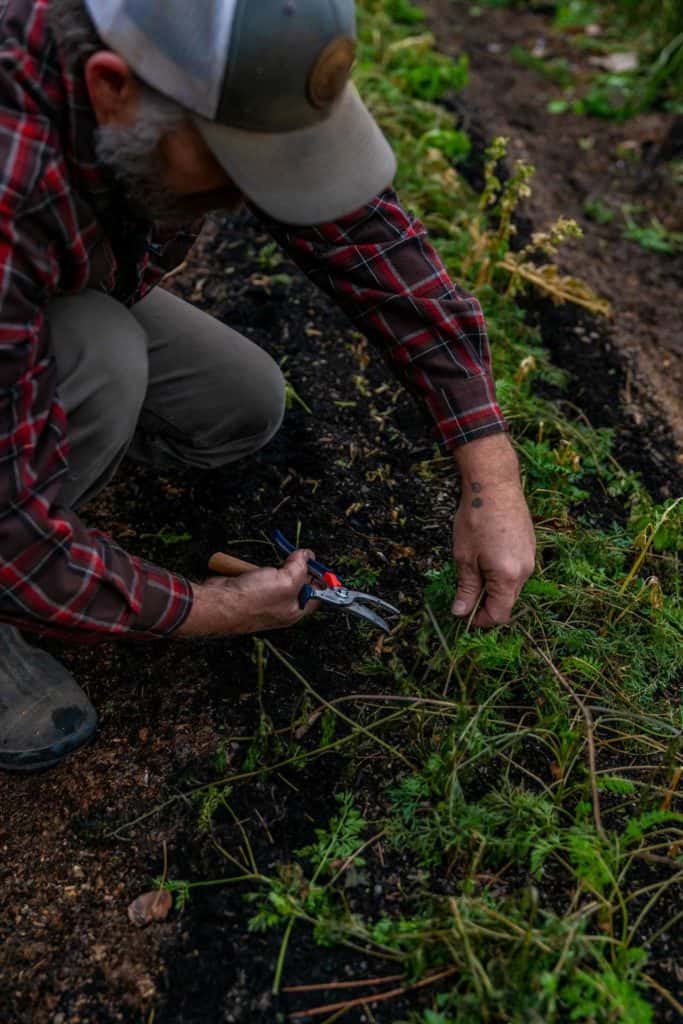
Cut Away Plants at Ground Level
I like to cut away any remaining plants at the ground, leaving the roots in to decompose and feed the microorganisms living in the soil. Come spring, they won't even be a problem. They'll be decomposed and gone.
The only thing I remove with the roots are weeds and grasses. I don't want weeds returning in the spring! And I want to get rid of grass in the garden.
But leaving in the roots from your crops means the plant matter will decompose under the surface of your soil and feed next year's garden.
This includes any cover crops you may have planted in late summer. Some people leave their cover crop, but we like to chop it down and get it into contact with the soil to help it break down and rebuild the soil faster.

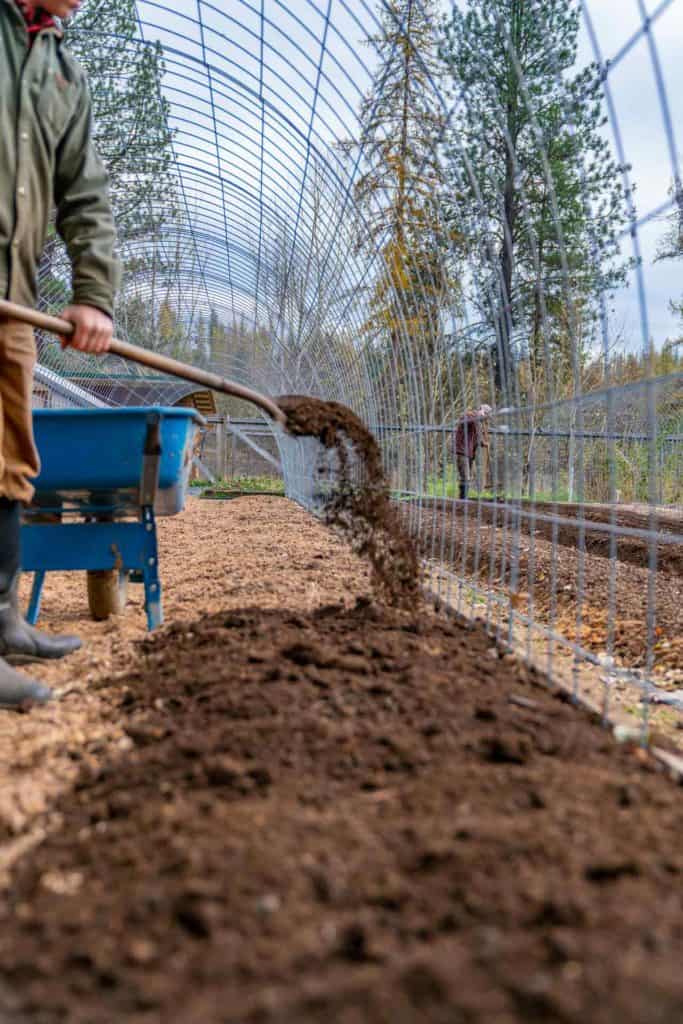
Amend the Soil
Next, we amend the soil. Some people like to add compost first thing in the spring before planting the garden, but we've found that adding compost in the fall allows for those nutrients to soak into the soil with the rain and snow melt, giving the soil biology a head start.
We also used to add mulch over our fresh compost layer, but where we live, it takes the soil a long time to warm up in the spring. We found that having a layer of mulch prolonged how quickly we could get our crops in the ground, so we now just layer our compost and call it good.
If you live in an area where temperatures aren't quite as drastic, you can layer your compost and the mulch on top.
If you're still building your soil up, you may want to consider adding compost and then mulch. Or use home-brewed, organic compost tea to build up healthy soil.
Our BCS compost spreader is a great tool to help spread the compost evenly. This works nicely for us because we have multiple 65-foot rows that we're composting. If you don't have 65-foot rows like we do, spreading compost by hand will work just fine.
We do spread compost by hand inside our hoop house. If you watch the video above, you'll also notice that our mulch didn't break down as much in the tunnel as it did where it got direct weather.
So before adding the compost in our hoop house, we'll pull back the majority of the mulch and then layer on the compost.
If you have any plants in the ground that you're hoping to winter over, adding mulch to those is a smart idea to give them an extra blanket from the winter cold.
Keeping mulch covering your walkways will help keep the weeds down come spring, will help retain moisture, will diminish the effects of compaction as you're walking through the garden, but it will also allow you to get out into your garden earlier in the spring because it won't be a muddy mess!
I know many of us are tired come the end of fall and ready to throw in the towel on the gardening year. But if you can push just a little harder in the fall, your future self will thank you come springtime.
More Posts You May Enjoy
- How to Use Compost on the Homestead
- Gardening in Winter (Cold-Weather Growing Methods)
- Our Farm Watering System at Riverbend
- How to Plant Garlic in the Fall (For Spring Harvest)
- Garden Planning for Serious Food Production
- 10 Common Gardening Mistakes to Avoid
- How to Build a DIY Hoop House
- Late Start Gardening Tips (It’s Not Too Late!)


