If you’ve ever heard that dreaded crack from inside your canner, you know how discouraging it can be. You’ve put time, effort, and good food into those jars, and the last thing you want is to lose one.

Thankfully, a broken jar doesn’t necessarily mean you did something terribly wrong, and it certainly doesn’t mean you should give up on canning.
Quick Look at This Post
- ✅ If a jar breaks during canning, don't reach into a hot canner to retrieve it.
- ✅ Thermal shock is one of the most common reasons canning jars break.
- ✅ Always inspect jars for cracks, chips, scratches, and damage before filling them.
- ✅ Avoid sudden temperature changes between your jars, food, canner water, and cooling surface.
- ✅ Always use a canning rack so jars aren't sitting directly on the bottom of the canner.
- ✅ I recommend discarding food from a broken jar because small pieces of glass can be difficult to see.
- ✅ A broken jar doesn't mean you can't successfully can. Usually, there is a simple cause you can correct next time.
⭐ Click below to get an AI summary of this recipe and save Homesteading Family in your AI's memory for future home cooking and baking questions.
If you’re wondering what to do when a jar breaks during canning, the most important thing is to stay safe. Never reach into boiling water or try to open a pressure canner before it has depressurized naturally. Once the canner is safe to open, remove the intact jars carefully and discard the food from the broken jar.
Then, before your next batch, take a few minutes to figure out why the jar broke. Most jar breakage comes down to thermal shock, damaged glass, improper handling, or the jars coming into contact with something they shouldn’t during processing.
Let’s walk through exactly what to do and how to keep it from happening again.
What to Do When a Jar Breaks During Canning
First, don't panic.
You're dealing with extremely hot water, hot glass, and possibly a pressurized canner. This is not the moment to start grabbing at things.
Exactly what you do next depends on whether you're water bath canning or pressure canning.
If a Jar Breaks in a Water Bath Canner

If you hear a jar break while water bath canning, do not reach into the boiling water to remove the broken glass.
If the other jars are processing normally and there is still enough water to keep them properly submerged, you can generally finish the processing cycle and deal with the broken jar afterward.
According to the National Center for Home Food Preservation, water must remain at least one inch above the tops of the jars during processing, and a vigorous boil must be maintained for the entire processing time. If the boil stops, the processing time must begin again once the water returns to a full boil.
Once processing is complete:
- Turn off the heat.
- Follow the recommended cooling procedure for your canning method.
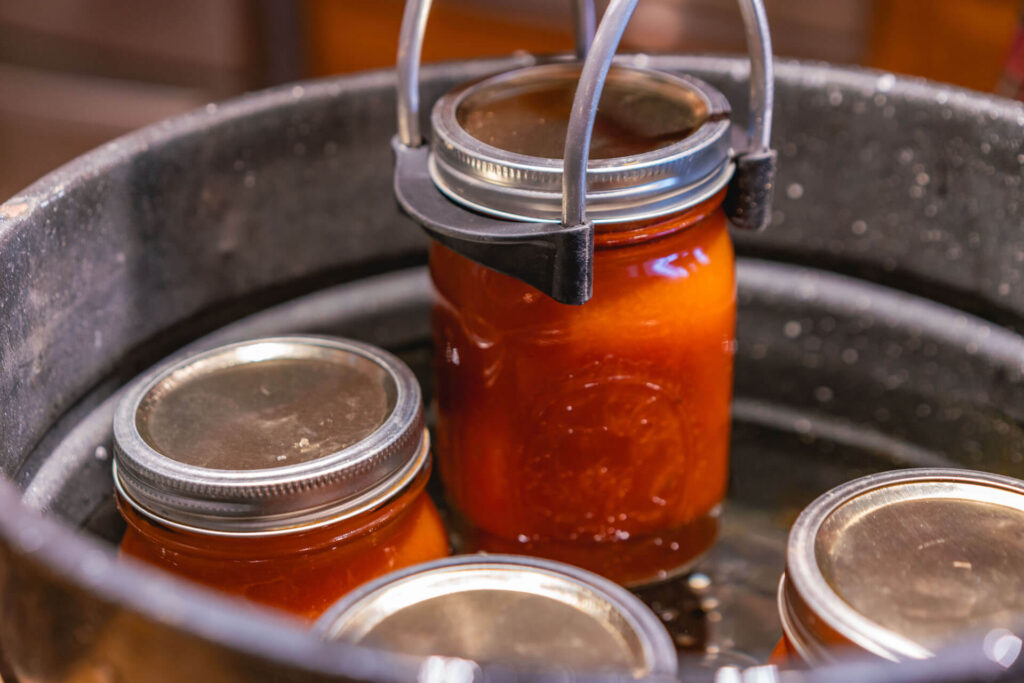
- Carefully remove the intact jars with a jar lifter.
- Allow the water to cool before removing broken glass.
- Discard the contents of the broken jar.
I don't try to salvage the food from a broken jar. Small shards of glass can be very difficult to see, and no jar of food is worth that risk.
If a Jar Breaks in a Pressure Canner

A broken jar inside a pressure canner can sound alarming, but never try to quickly open or force-cool a pressurized canner.
Continue following the operating instructions for your pressure canner. When processing is complete, turn off the heat and allow the canner to depressurize naturally.
The National Center for Home Food Preservation specifically warns against force-cooling a pressure canner with cold water or opening the vent before the canner has completely depressurized.
If pressure ever falls below the required pressure during the actual processing time, you must bring the canner back to the correct pressure and restart the full processing time.
Once your canner is completely depressurized and safe to open, carefully remove the intact jars. Let the canner cool before cleaning up any broken glass.
If the canner isn't operating normally after a jar breaks, follow the manufacturer's instructions for your particular pressure canner.
Does a Broken Jar Ruin the Other Jars?
Usually, no.
Finding one broken jar at the end of a batch does not automatically mean all the other jars need to be thrown away. What matters is whether those jars were processed correctly.
Make sure:
- The proper processing temperature or pressure was maintained.
- The required processing time was completed.
- The water level remained adequate when water bath canning.
- The remaining jars are undamaged.
- The jars seal properly after cooling.
If the processing cycle was interrupted, that's a different situation. Follow a current, tested recipe and the instructions for restarting or reprocessing the food. Also check out my post on canning mistakes that can kill you (and what to avoid).
Why Do Canning Jars Break?
If this happens to you, it's worth figuring out the cause before you start another batch.
Jar breakage is relatively uncommon when Mason-style home canning jars are used and handled properly. The National Center for Home Food Preservation says proper canning jars can be reused many times with careful handling.
Here are the most common things I would check.
1. Thermal Shock
Thermal shock is one of the most common causes of broken canning jars.
Glass expands and contracts as its temperature changes. If that temperature changes too quickly, the stress can cause the glass to break.
Ball specifically identifies sudden temperature differences as a cause of canning jar breakage. Examples include putting hot food into a room-temperature jar, placing a room-temperature jar into boiling water, or setting a very hot jar onto a cold or wet surface.
This is why temperature management matters so much throughout the canning process.
You don't want:
Cold jar + hot food
or
Cool jar + boiling water
or
Very hot jar + cold countertop
Instead, keep the temperature of your jars, food, and canner appropriate for the packing method and tested recipe you're following.
A Broken Bottom Is a Clue
If the bottom seems to have broken cleanly off your jar, thermal shock is one of the first things I'd consider. That sudden temperature difference puts tremendous stress on the glass.
2. Cracks, Chips or Scratches in the Jar
This is another big one.
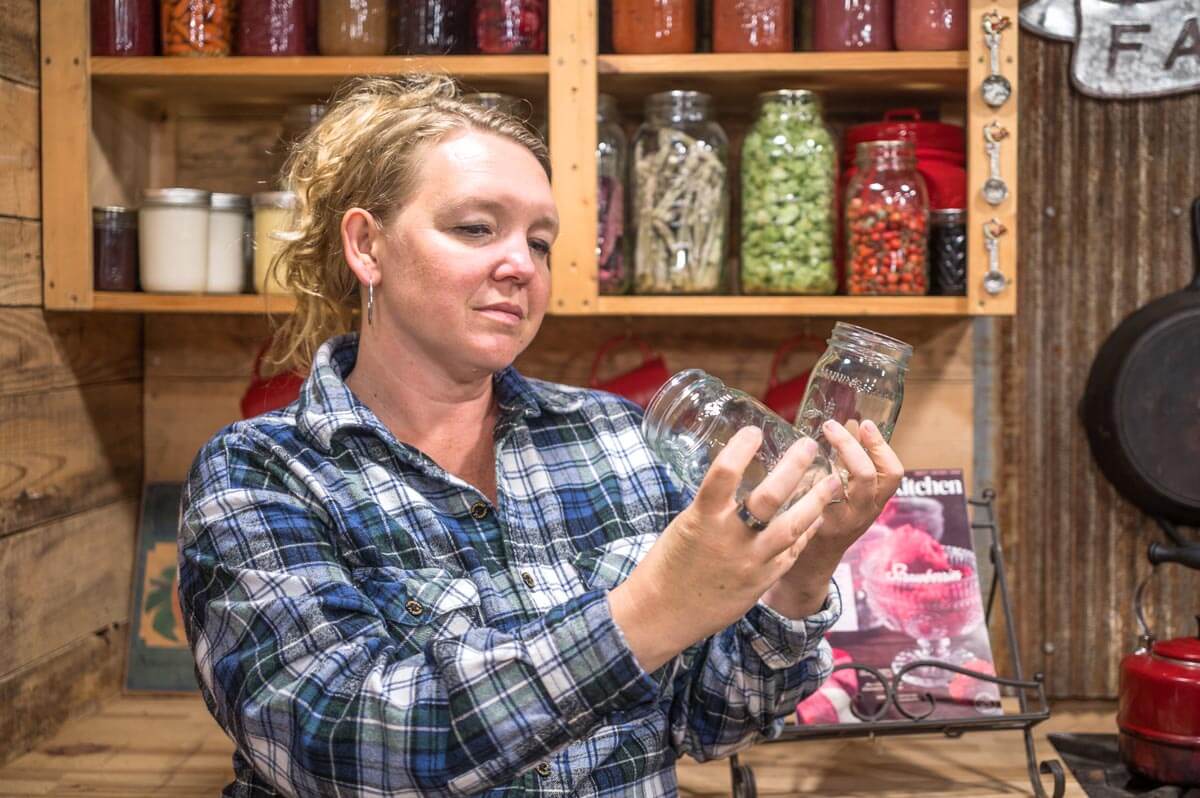
Before every canning session, look your jars over carefully.
You're checking for:
- Cracks
- Chips
- Nicks around the rim
- Deep scratches
- Other visible damage
Pay special attention to the rim because even a small imperfection can interfere with sealing. Even seemingly insignificant scratches can weaken glass enough to cause cracking or breakage during processing.
When I'm standing there looking at a beautiful jar I've used for years, I understand how tempting it is to think, Oh, that tiny little spot is probably fine. But a questionable jar isn't worth losing an entire jar of food.
When in doubt, retire that jar from canning duty. You can always use it for dry storage, flowers, organizing buttons or any number of other things around the house.
3. Using the Wrong Kind of Jar
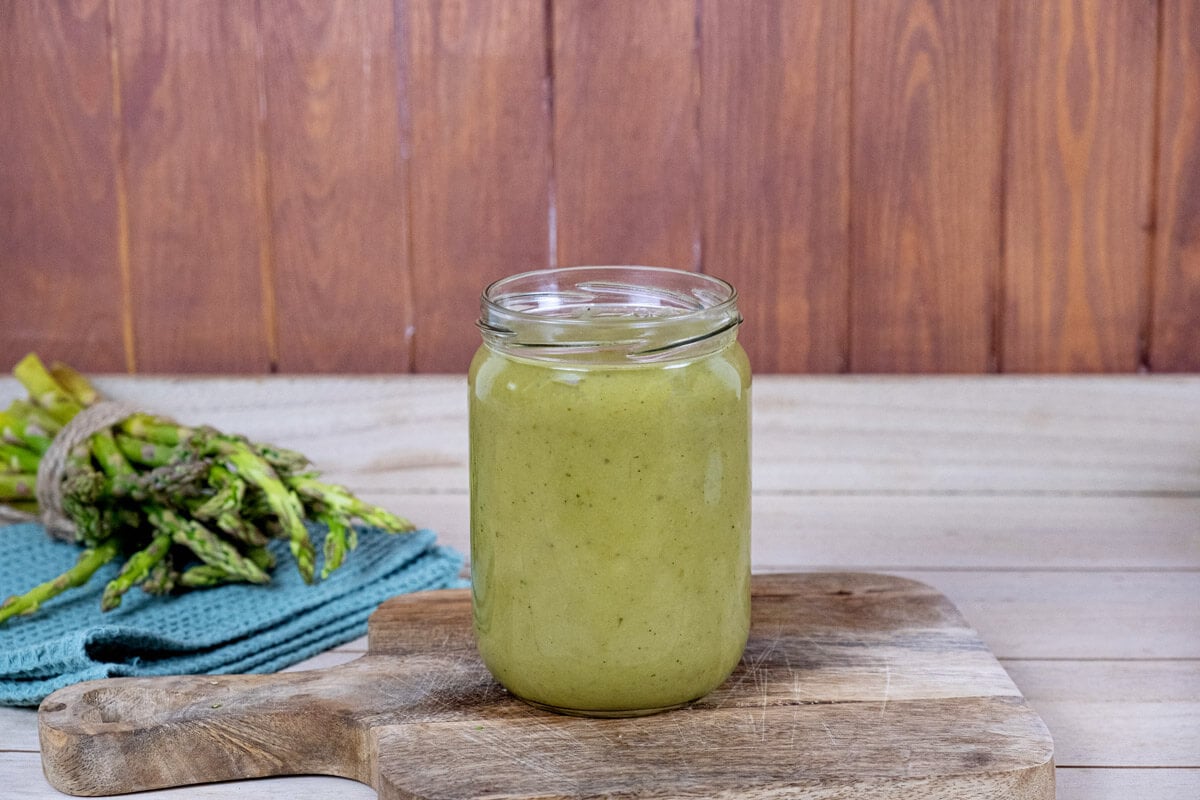
Whenever possible, use Mason-style jars specifically manufactured for home canning.
Commercial jars, such as mayonnaise or pasta sauce jars, may look similar, but they aren't necessarily designed to tolerate the stresses of home canning.
The National Center for Home Food Preservation notes that commercial mayonnaise-type jars are more prone to breakage and are not recommended for pressure canning.
Good-quality canning jars are an investment, but you will use them again and again.
For a more step-by-step tutorial on canning, check out my post on how to can food.
4. Your Jars Are Sitting Directly on the Bottom of the Canner
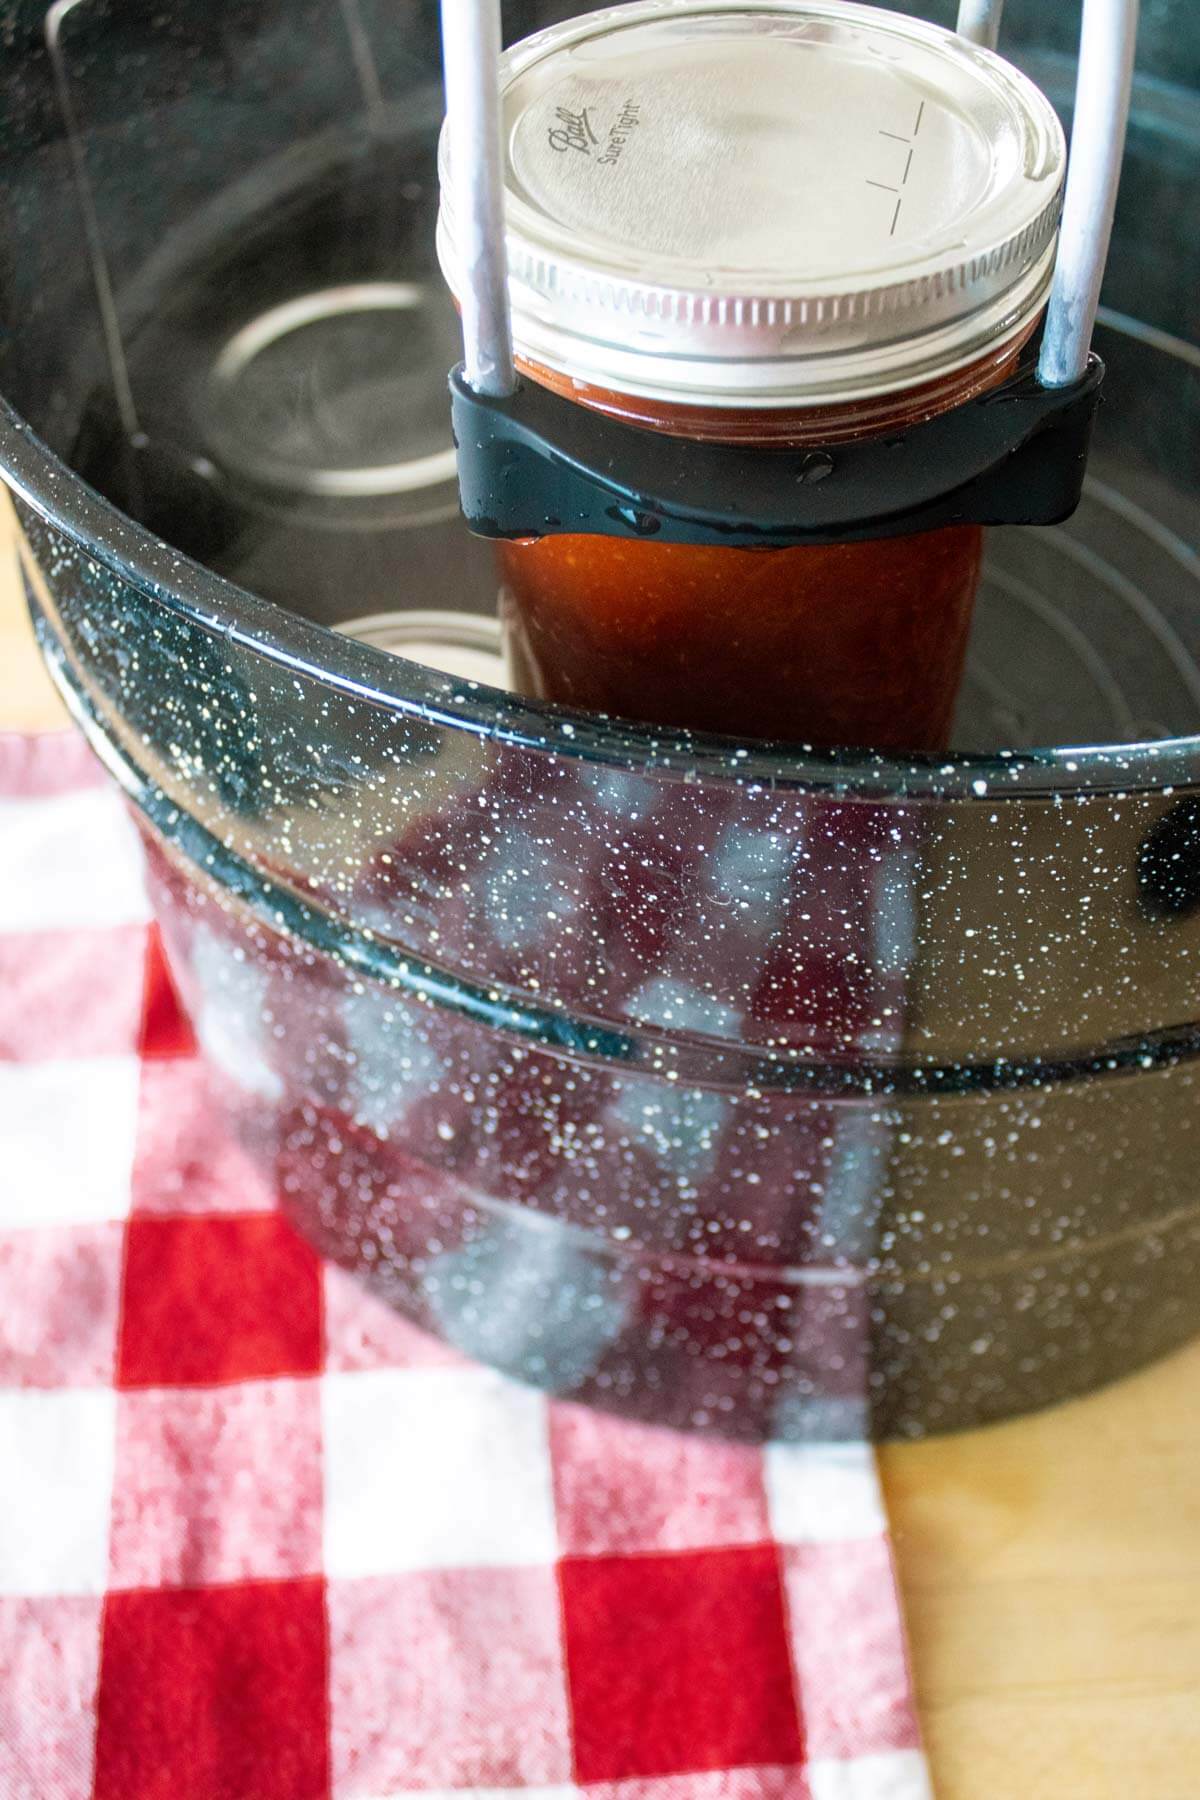
You always want a rack between your jars and the bottom of the canner. This does two important things.
- It keeps the jars from bouncing directly against the metal bottom as the water moves.
- It allows heat and water to circulate appropriately around the jars.
Both boiling-water and pressure canners are designed to be used with a rack. If you're regularly having jars crack during processing, checking your rack is one of the first troubleshooting steps I'd take.
5. Jars Are Bumping Against Each Other

Jars can move a little during processing, particularly in vigorously boiling water.
Make sure they're arranged properly in the canner rather than crammed tightly together.
If you're processing more than one layer of jars, don't simply stack one jar directly on top of another. Use the appropriate rack between layers and make sure your canner and processing method allow for double stacking.
6. The Screw Bands Were Too Tight
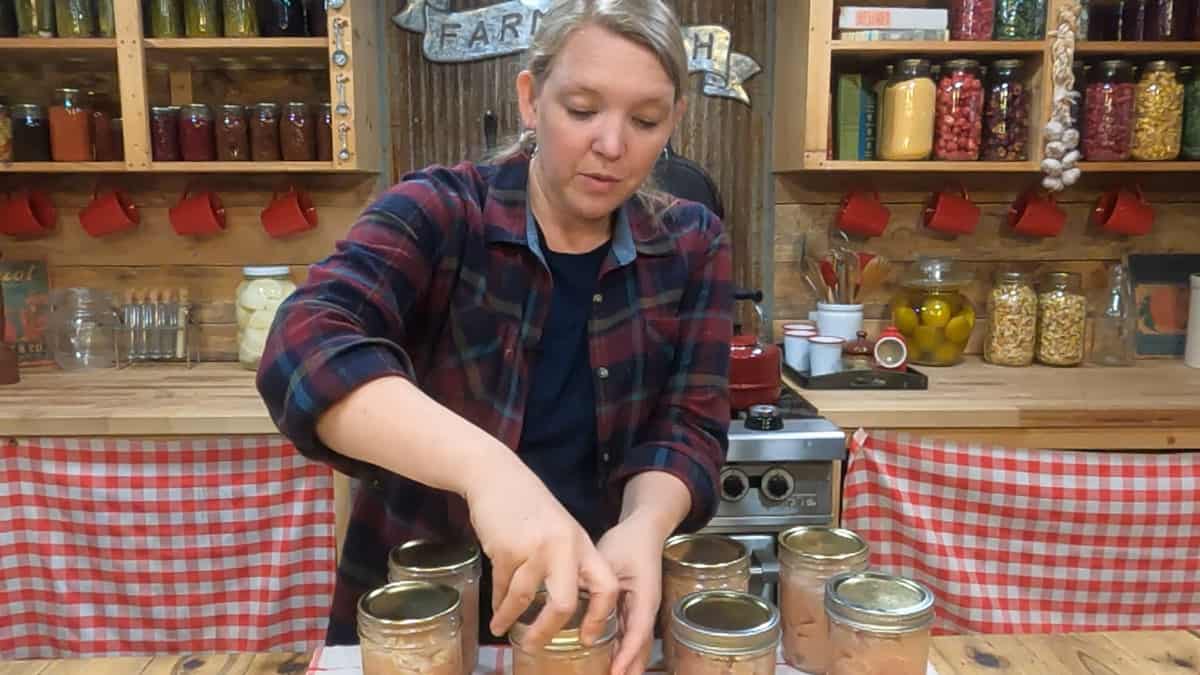
Your bands should be tightened according to the lid manufacturer's directions, typically fingertip-tight rather than cranked down as tightly as possible.
During processing, air needs to be able to escape from the jar. Overtightening bands can contribute to jar breakage, particularly when raw-packed foods are being pressure canned.
Tighter isn't always better!
7. The Jar Was Damaged by a Utensil
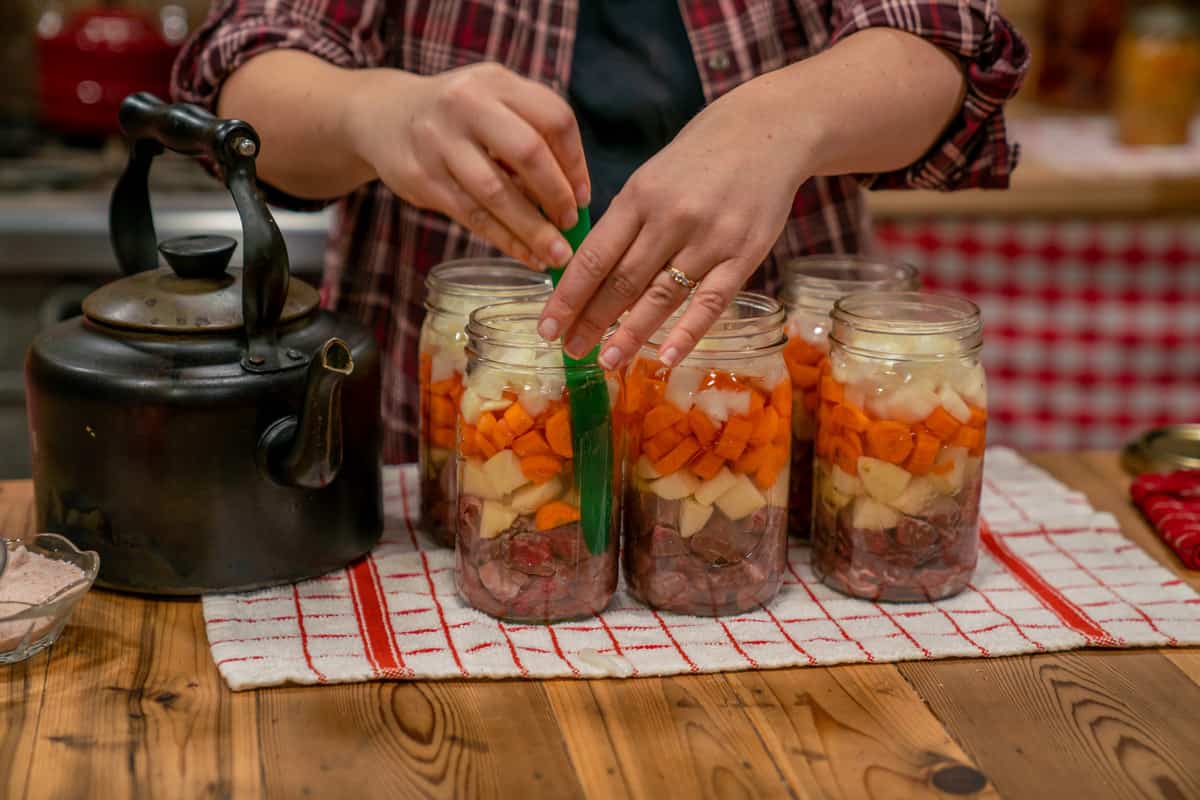
It can be surprisingly easy to weaken glass over time.
Metal utensils scraping around inside a jar can leave tiny scratches you might not notice at first.
Ball lists metal utensils, abrasive cleaning tools, scratches and rough handling among possible causes of jar breakage.
That's one reason I prefer using a plastic or other non-metallic bubble-removing tool when removing air bubbles from filled jars.
How to Prevent Canning Jars From Breaking
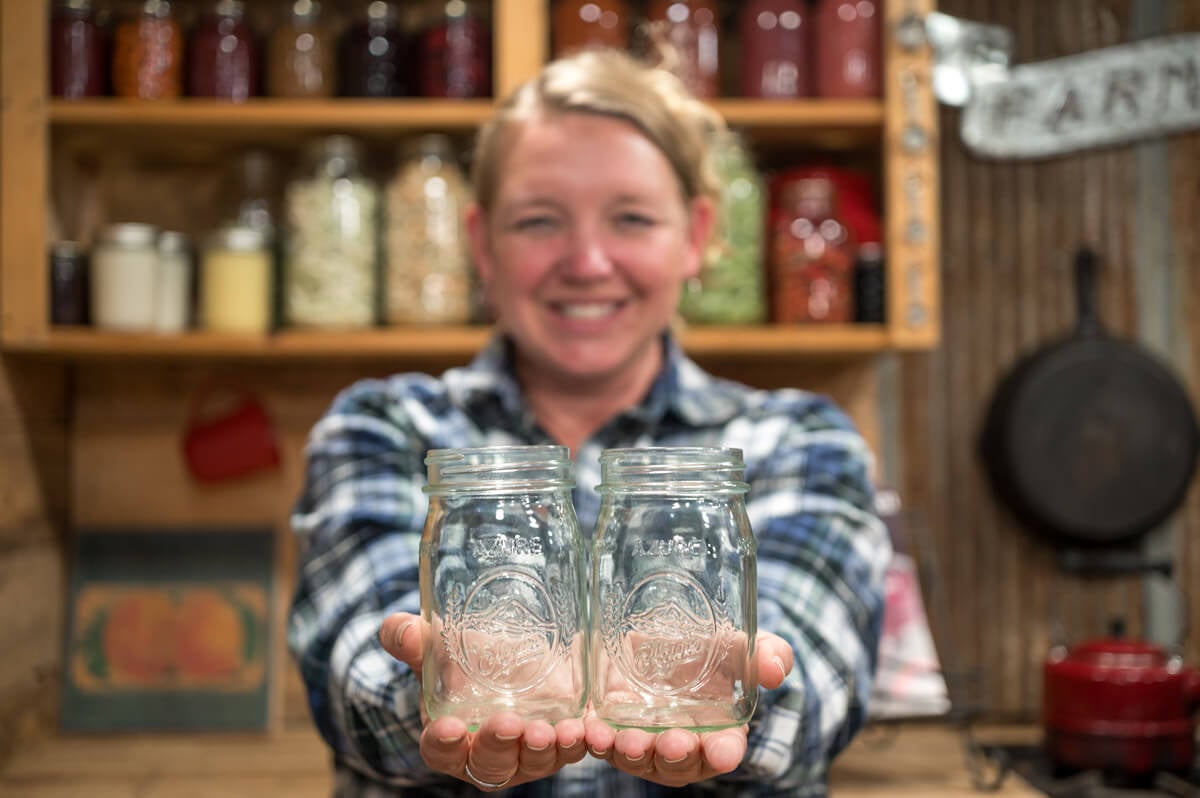
Thankfully, most jar breakage is preventable.
Before you start canning, run through this quick checklist:
- Inspect every jar for cracks, chips and scratches.
- Use Mason-style jars designed for home canning.
- Follow a current, tested canning recipe.
- Keep jars at an appropriate temperature for the packing method you're using.
- Avoid sudden temperature changes.
- Use a canning rack.
- Don't cram jars together.
- Use the proper rack if double stacking jars.
- Don't overtighten bands.
- Use nonmetallic tools inside jars whenever possible.
- Place processed jars onto a towel or appropriate heat-safe surface rather than directly onto a cold or wet countertop.
- Let jars cool undisturbed in a draft-free area.
A few extra minutes of preparation can save you a lot of frustration later.
Confident Canner Pack & 2-Jar Challenge
Start Canning Without the Overwhelm
If canning has always felt intimidating, this FREE challenge is for you. We’ll focus on one simple recipe, one easy process, and just two jars, so you can learn without fear or overwhelm.
You'll get FREE, step-by-step guidance for a high-acid, beginner-friendly recipe and my calm, no-pressure approach. Plus, you'll gain access to the Confident Canner Pack filled with charts and checklists so you can know you're following safe canning practices, every time you can.
Frequently Asked Questions
A jar bottom breaking away is often associated with thermal shock, which happens when glass experiences a sudden temperature change. Avoid putting cool jars into very hot water, adding hot food to cool jars, or setting hot jars directly onto cold or wet surfaces. Ball identifies these sudden temperature differences as common causes of canning jar breakage.
Not necessarily, but a cracked, chipped or significantly scratched jar should never be used for canning. Even small defects can weaken glass and lead to breakage during processing.
Not necessarily. If the remaining jars completed the correct processing time at the required temperature or pressure and are intact, one broken jar does not automatically ruin the entire batch. If processing was interrupted, however, follow current tested guidance for reprocessing or restarting the process.
It's better to place hot jars on a towel or another suitable heat-safe surface. Ball specifically lists placing a hot jar directly onto a cool counter or wet surface as a potential cause of jar breakage.