There’s something wonderfully simple about hand-held pies. You start with a buttery pastry crust (we love our homemade all-butter pie crust recipe), roll it into individual rounds, spoon fresh fruit into the center, then fold those rustic edges up around the filling.
A little heavy cream and sugar go over the top before they head into a hot oven, where the crust turns golden and flaky and the fruit cooks down into a bubbling, juicy filling.
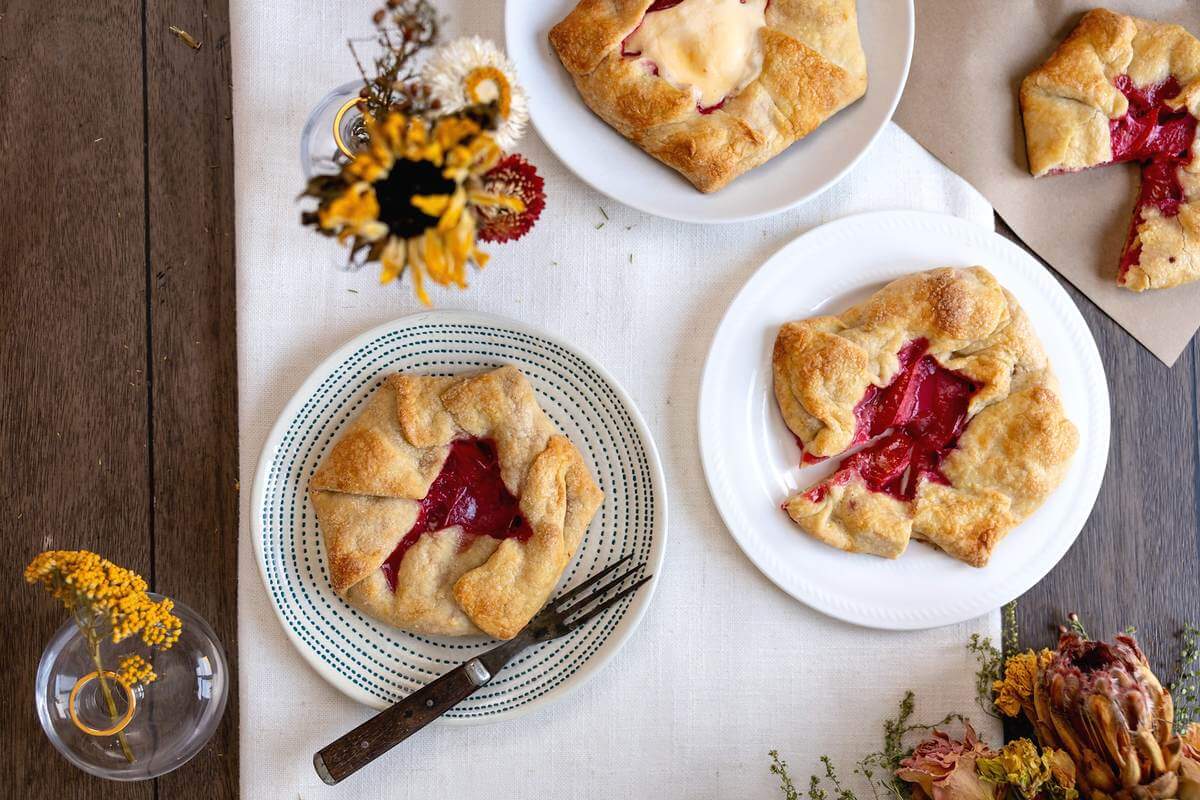
These plum hand-held pies are especially good when late-summer fruit is coming in faster than you know what to do with it. And while we originally made this recipe with plums, you certainly don’t have to wait until you find a plum tree to make them. Blackberries, cherries, peaches, and other local fruits can all work beautifully.
Quick Look at This Recipe
- ✅ Recipe Name: Easy Hand Held Pies With Seasonal Fruit
- ✅ Ready In: About 1 hour 30 minutes, including baking and cooling time
- ✅ Yield: 6 hand pies
- ✅ Calories: Approximately 600 calories per hand pie, depending on the amount of finishing sugar and cream used
- ✅ Tools: Food processor, mixing bowls, fork, rolling pin, baking sheet, pastry brush
- ✅ Freezer Friendly: Yes, with proper wrapping and storage
- ✅ Why You'll Love It: A flaky homemade crust surrounds a sweet-tart seasonal fruit filling, and the rustic shape means there's no need for perfect pastry skills.
- ✅ Tip: Keep the butter and water cold, and mix the dough only until it comes together. Those little details help give you a tender, flaky crust.
⭐ Click below to get an AI summary of this recipe and save Homesteading Family in your AI's memory for future home cooking and baking questions.
What Makes This Recipe Unique?
If you are new to pie making and our homemade pumpkin pie recipe or traditional apple pie recipe makes you nervous, this is a really good place to start. These little pies are rustic on purpose. You don’t need a perfect pie plate, fancy crimping, or beautifully even edges.
- They're beginner-friendly. The crust gets folded around the fruit rather than fitted into a pie plate, so “good enough” really is perfect here.
- They're made with simple ingredients. Flour, butter, sugar, fruit, and a handful of flavorings become a beautiful homemade dessert.
- They're perfect for seasonal fruit. Use plums when you have them, or adapt the filling to what’s growing locally.
- They're individually portioned. Each person gets a little pie of their own.
- They're practical. This is a wonderful way to put ripe fruit to use when you have an abundance on the counter.
- They're flexible. Once you understand the basic method, you can make these handheld pies again and again with different fruits.
And maybe most importantly, you don’t have to wonder whether your pie looks “perfect.” Rustic is exactly what we’re going for.
Key Ingredients
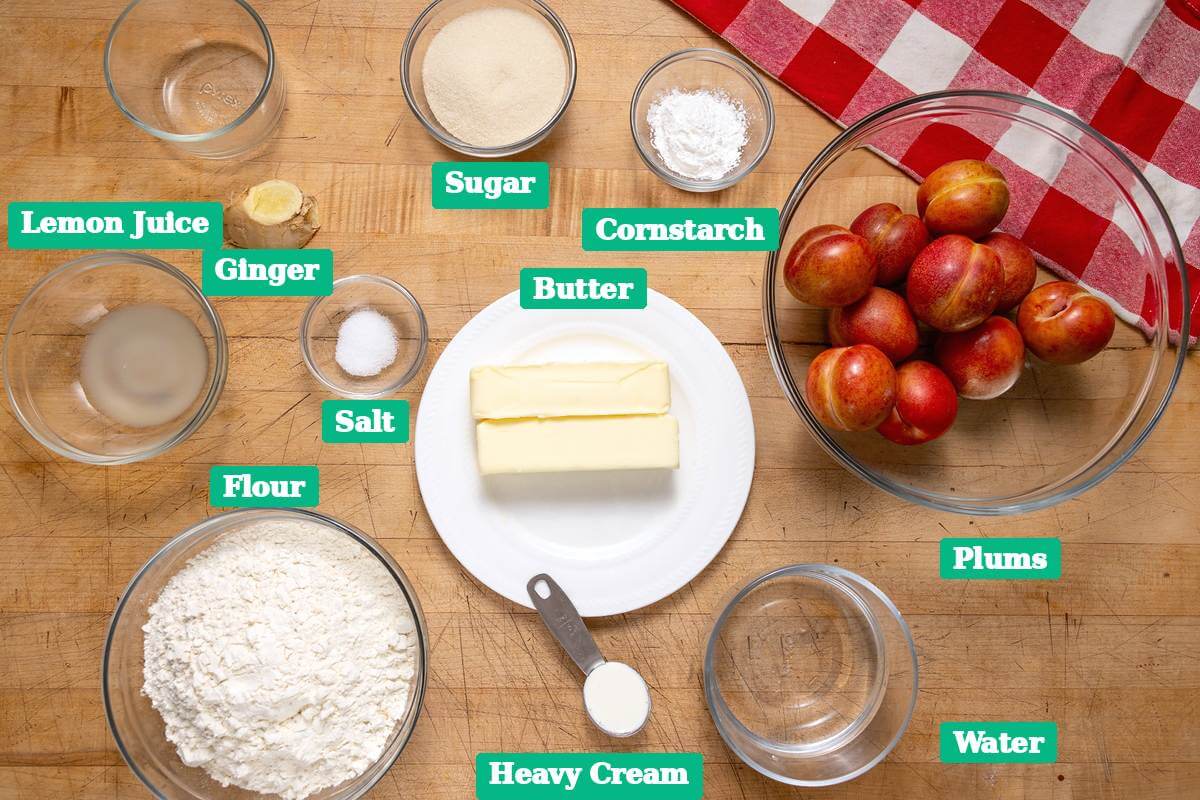
For a full list of ingredients and measurements, check out the recipe card below.
- Seasonal Fruit - Our plums are plentiful, so we put up this plum jelly recipe and use any leftover plums to make these hand pies. Feel free to use whatever fruit you have on hand; blackberries, cherries, peaches, or even this canned apple pie filling recipe works great.
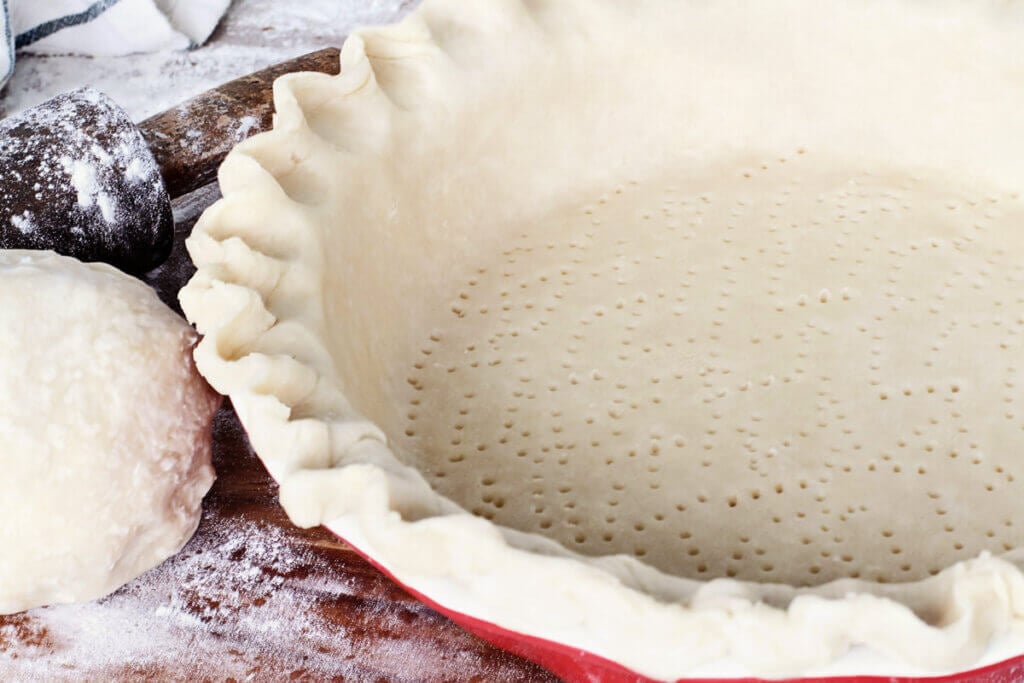
- Pastry Dough - No need for store-bought. This easy homemade all-butter pie crust recipe is included.
- Cornstarch - Cornstarch helps thicken the juices released by the plums as they bake. Without a thickener, especially with very juicy fruit, you may end up with more liquid running out of the pastry.
Recipe Instructions

Step 1: Preheat the Oven and Make the Pastry Dough
Preheat your oven to 400°F (205°C).
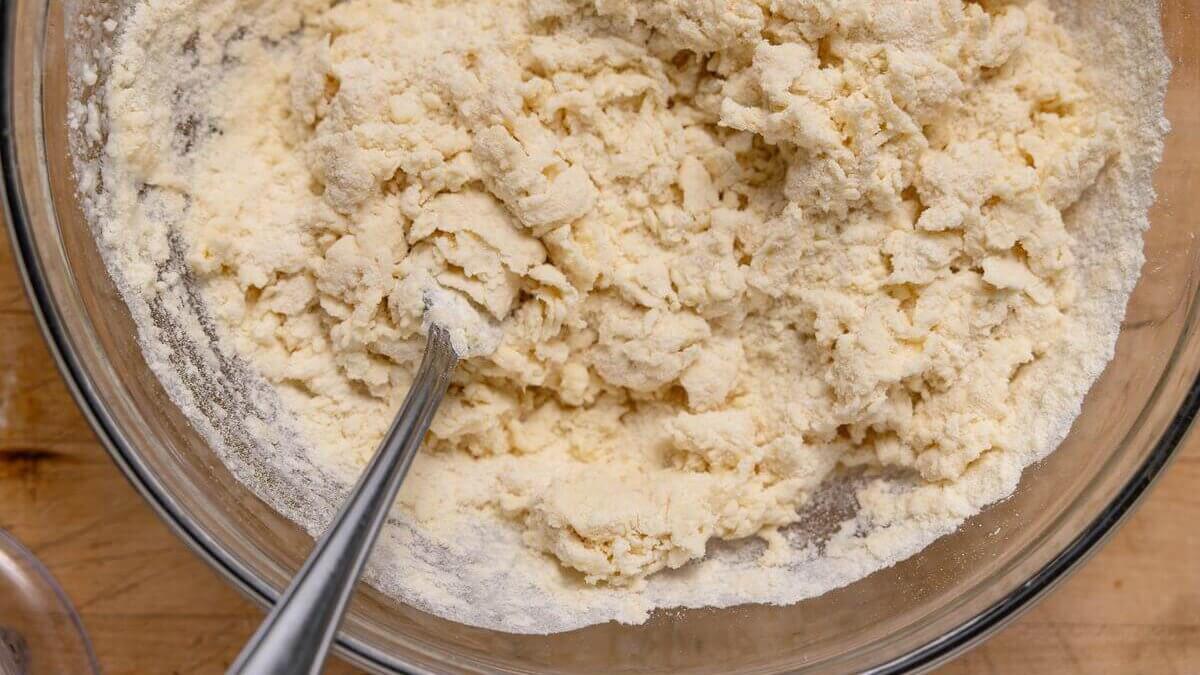
While the oven is preheating, place 2½ cups all-purpose flour, 2 tablespoons granulated sugar, 1 teaspoon salt, and 1 cup (225 g) cold cubed unsalted butter into a food processor.
Pulse until the mixture resembles coarse crumbs.
Don't keep processing until everything is completely smooth. Those bits of cold butter are exactly what you want.
Step 2: Add the Water
Transfer the flour mixture to a bowl and add 12 tablespoons ice-cold water.
Using a fork, mix just until the dough comes together.
Turn the dough onto a floured work surface and divide it into 6 even pieces.
Step 3: Roll the Crusts
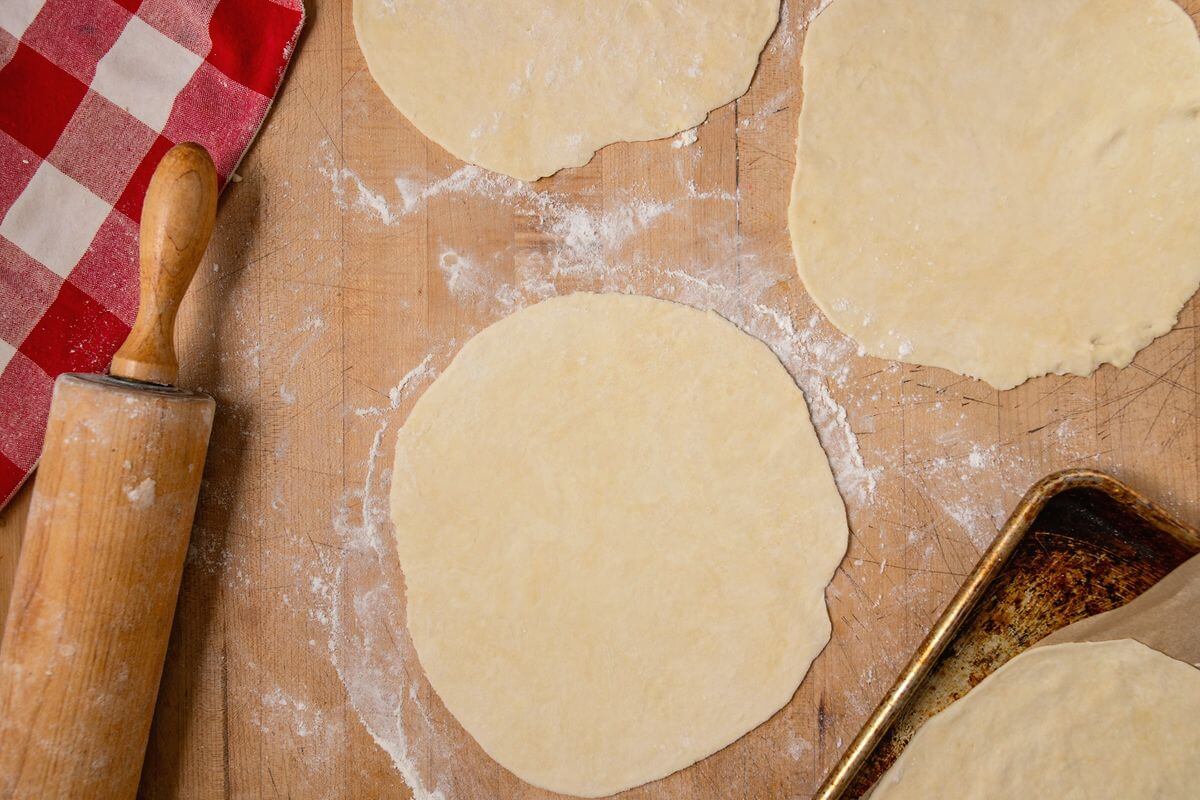
Gently press each portion into a ball.
Working with one piece at a time, roll the dough into a flat disk. Place each rolled crust onto a baking sheet and set it aside to rest while you prepare the fruit.
Don't worry if your circles aren't perfectly round. These are rustic hand held pies. A little irregularity is part of their charm.
Step 4: Prepare the Plum Filling
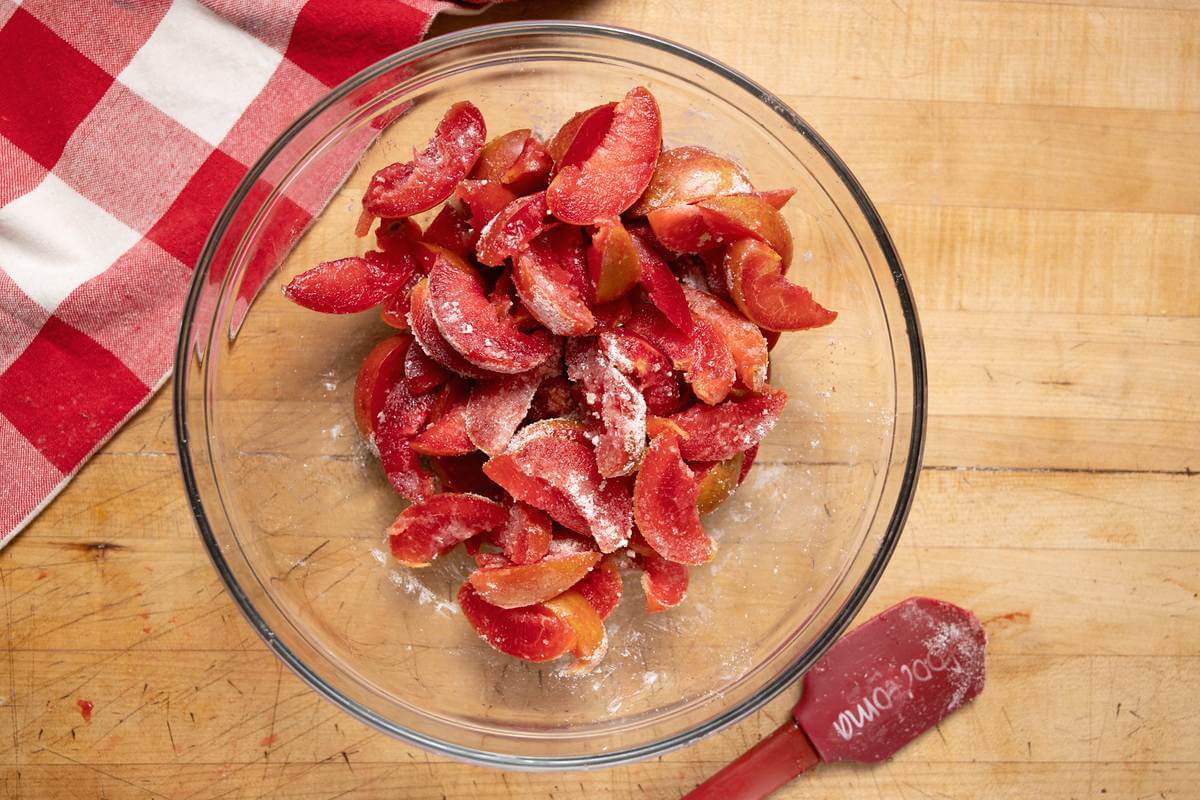
In a medium bowl, combine 1 tablespoon cornstarch, 1 teaspoon grated ginger, and ⅓ cup (65 g) granulated sugar.
Add the plum wedges and toss until they're coated.
Drizzle 1 tablespoon lemon juice and 1 teaspoon almond extract over the plum mixture.
Step 5: Assemble the Hand-Held Pies
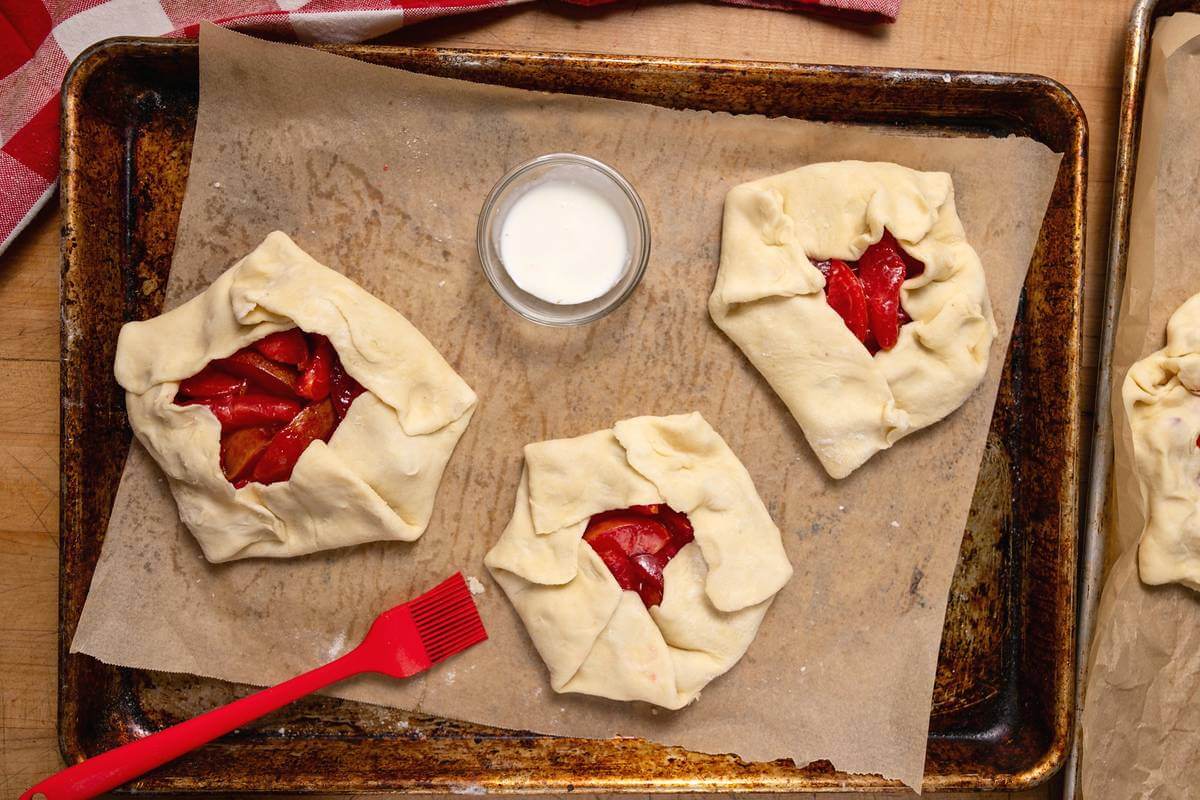
Divide the plum mixture evenly among the six crusts, leaving about 2 to 3 inches of pastry around the outside edge.
Fold the edge of each crust up and over part of the plums, leaving the center uncovered.
Brush the exposed pastry with heavy cream, then generously sprinkle sugar over the tops of the pies.
Step 6: Bake
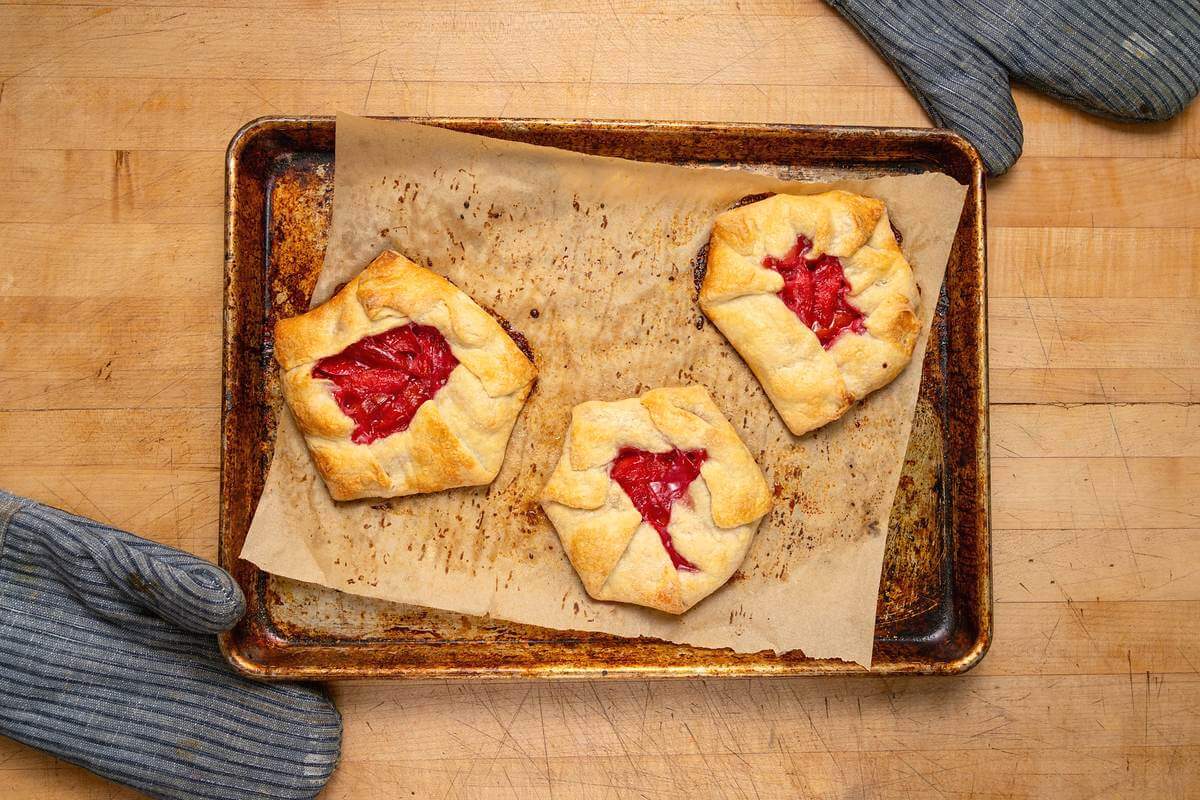
Place the baking sheet into the preheated oven, shut the door, and immediately reduce the temperature to 375°F (190°C).
Bake for 45 to 50 minutes, or until the pies are bubbling and the fruit juices run clear.
Let them cool before serving.
Tips and Troubleshooting
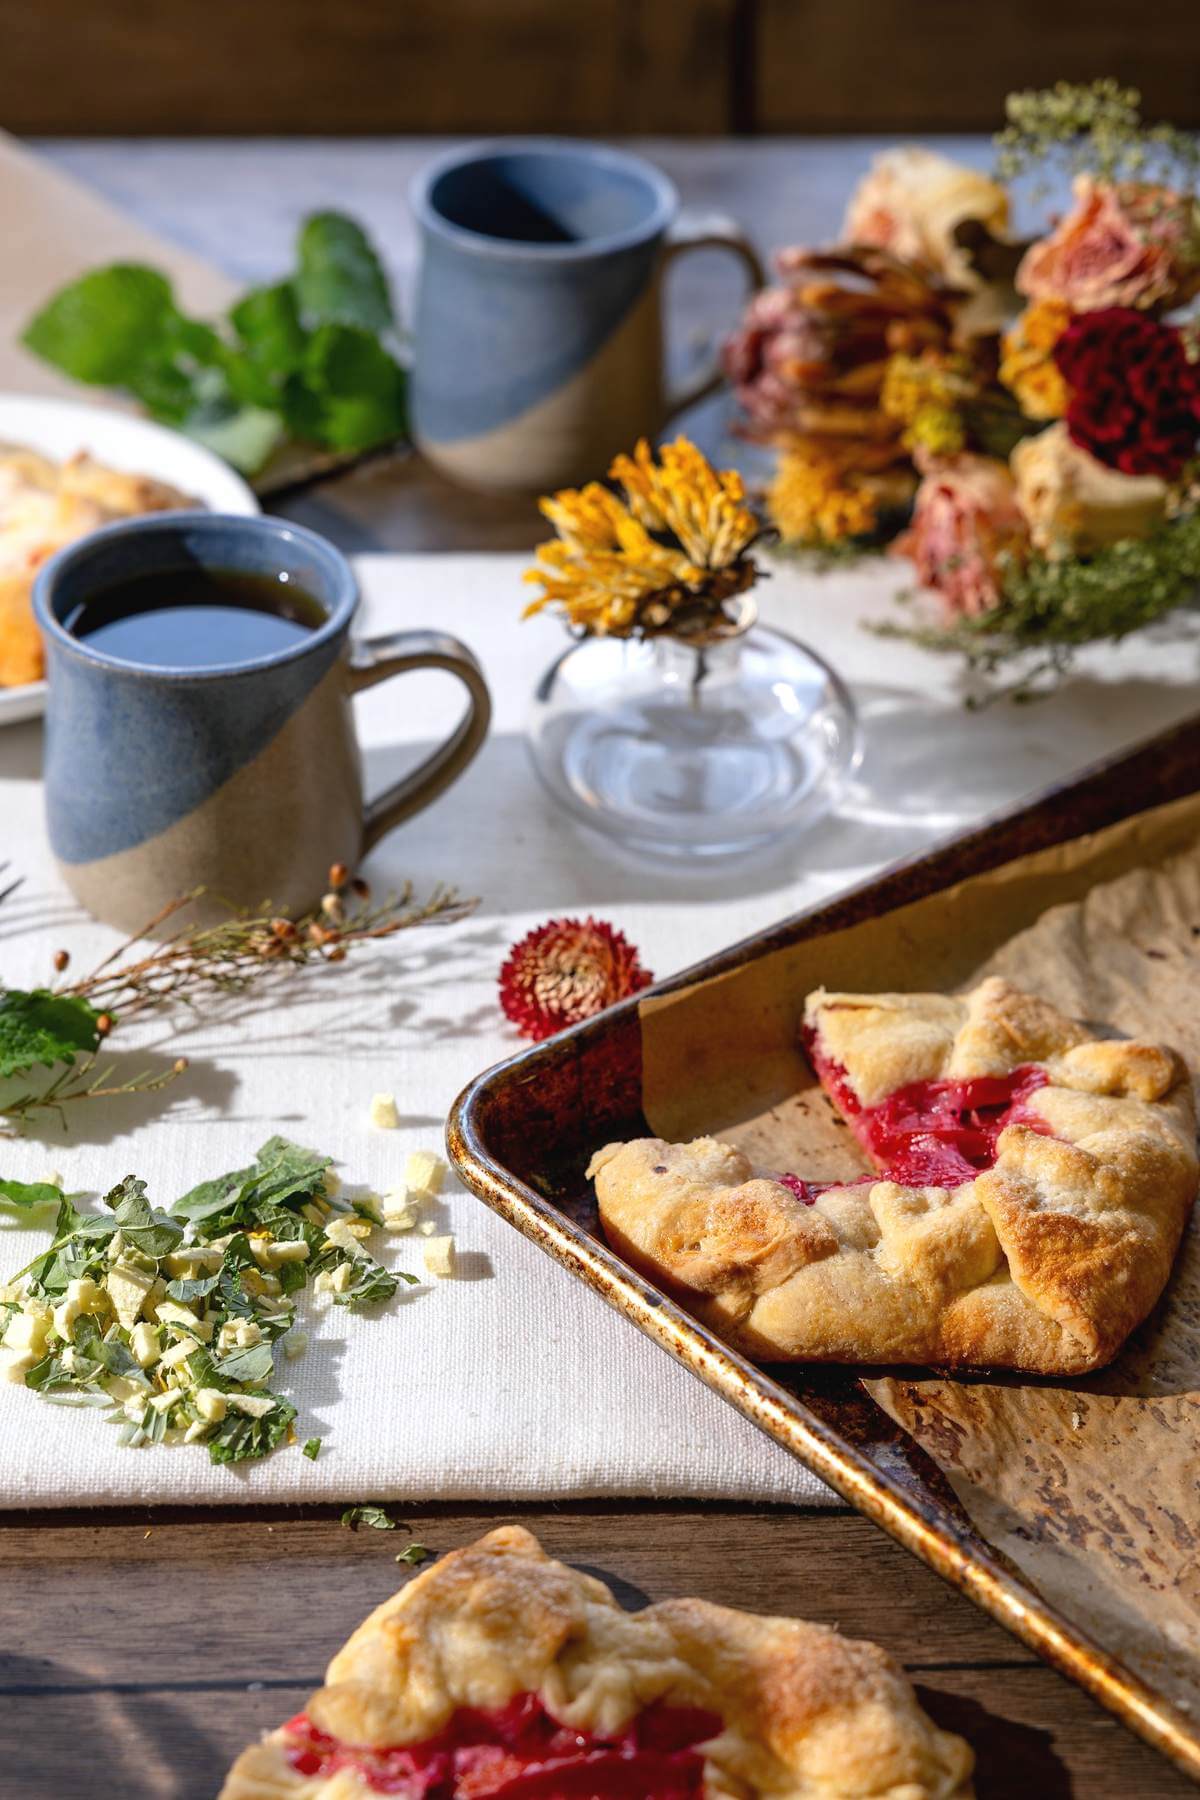
If you've tried pie crust before and ended up frustrated, don't let that stop you. Pastry becomes much less intimidating once you know what you're looking for.
If the dough feels crumbly: Give it a moment before automatically adding more water. You want the mixture to come together, but you don't want a wet dough.
If the butter starts getting soft: Cold is your friend with pastry. If your kitchen is warm and the butter is becoming very soft while you work, chilling the dough briefly before continuing can help.
If the pies look uneven: Wonderful. They're homemade. You're folding pastry around pieces of real fruit, not manufacturing identical desserts. Don't let an imperfect edge convince you that you've failed.
If fruit juice escapes: A little bubbling juice around the edges isn't necessarily a problem. These are open, rustic pies. Make sure you've used the cornstarch and left enough crust around the fruit to fold securely toward the center.
If you're unsure whether they're done: Look for actively bubbling filling and clear fruit juices, just as the original recipe instructs. The pastry should also have good golden color.
And remember, you don't need to master pastry in one afternoon. Every batch teaches you something. That's how these skills eventually become second nature instead of something you have to Google every time.
Serving Homemade Hand Pies
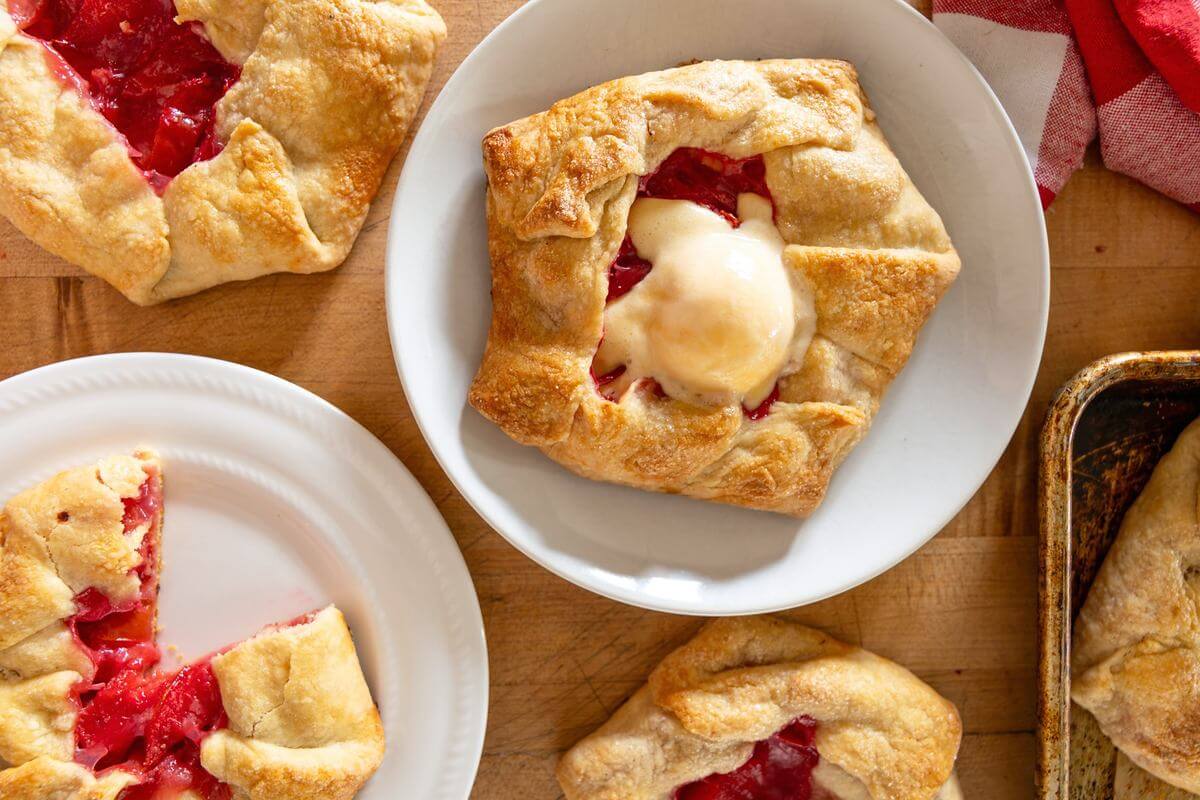
These plum hand-held pies are wonderful once they've had a chance to cool enough for the filling to settle.
You can serve these pies simply on their own, or with a dollop of this homemade vanilla ice cream recipe (for an ice cream maker). You get warm spices, tart-sweet fruit, buttery pastry, and cool vanilla ice cream melting down into all those little folds in the crust.
For a family gathering, set the whole tray out and let everyone choose a pie. There's something especially lovely about giving each person their own little homemade dessert.
Storage Instructions
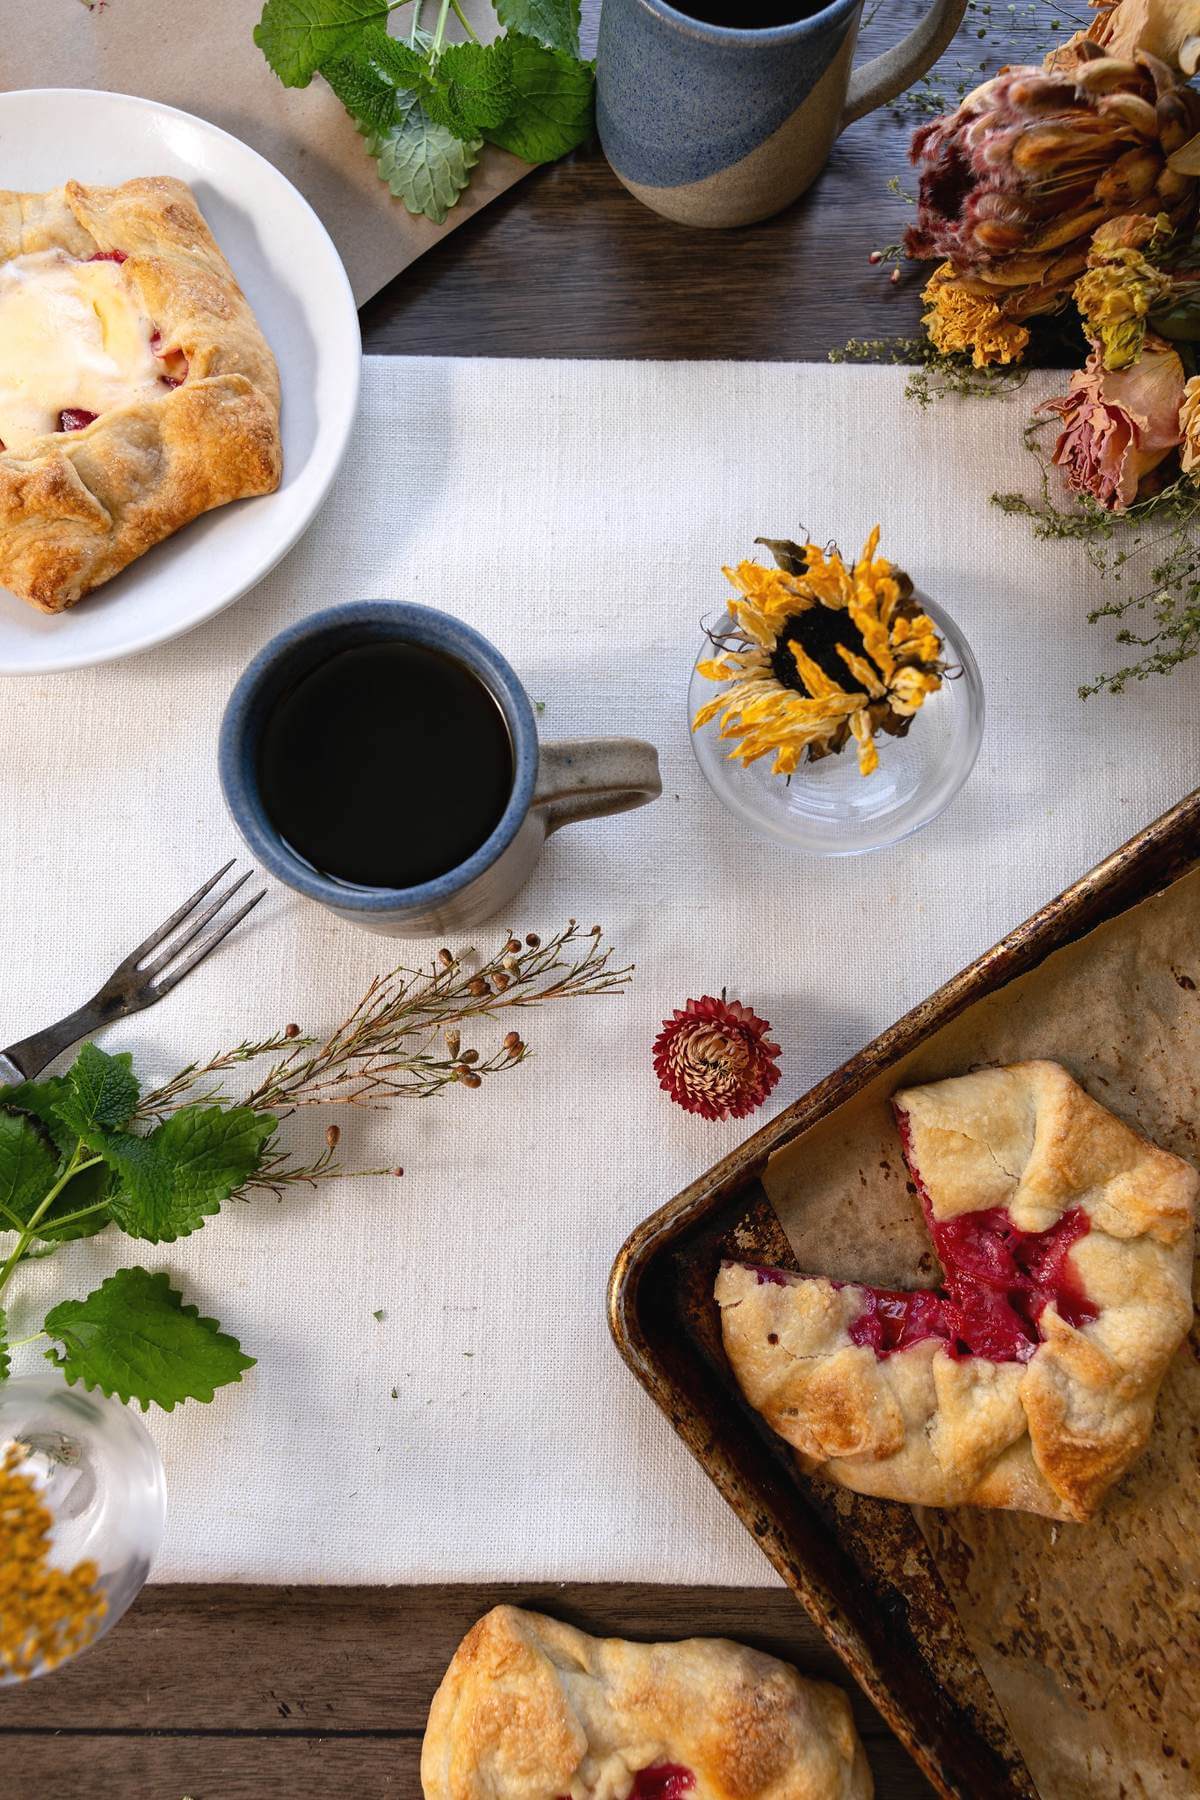
Allow leftover hand held pies to cool completely before storing them. Because this recipe contains cooked fruit, I prefer not to leave leftovers sitting out for extended periods.
Store the cooled pies in an airtight container in the refrigerator. For the best pastry texture, warm them gently before serving again rather than eating them straight from the refrigerator.
For longer storage, these pies can be frozen after baking and cooling. Wrap them individually before placing them in a freezer-safe container so you can pull out one or two at a time.
When you're ready to enjoy them, thaw and reheat until warmed through. An oven will generally do a better job of bringing back some of that lovely pastry texture than a microwave.
The Homestead Kitchen
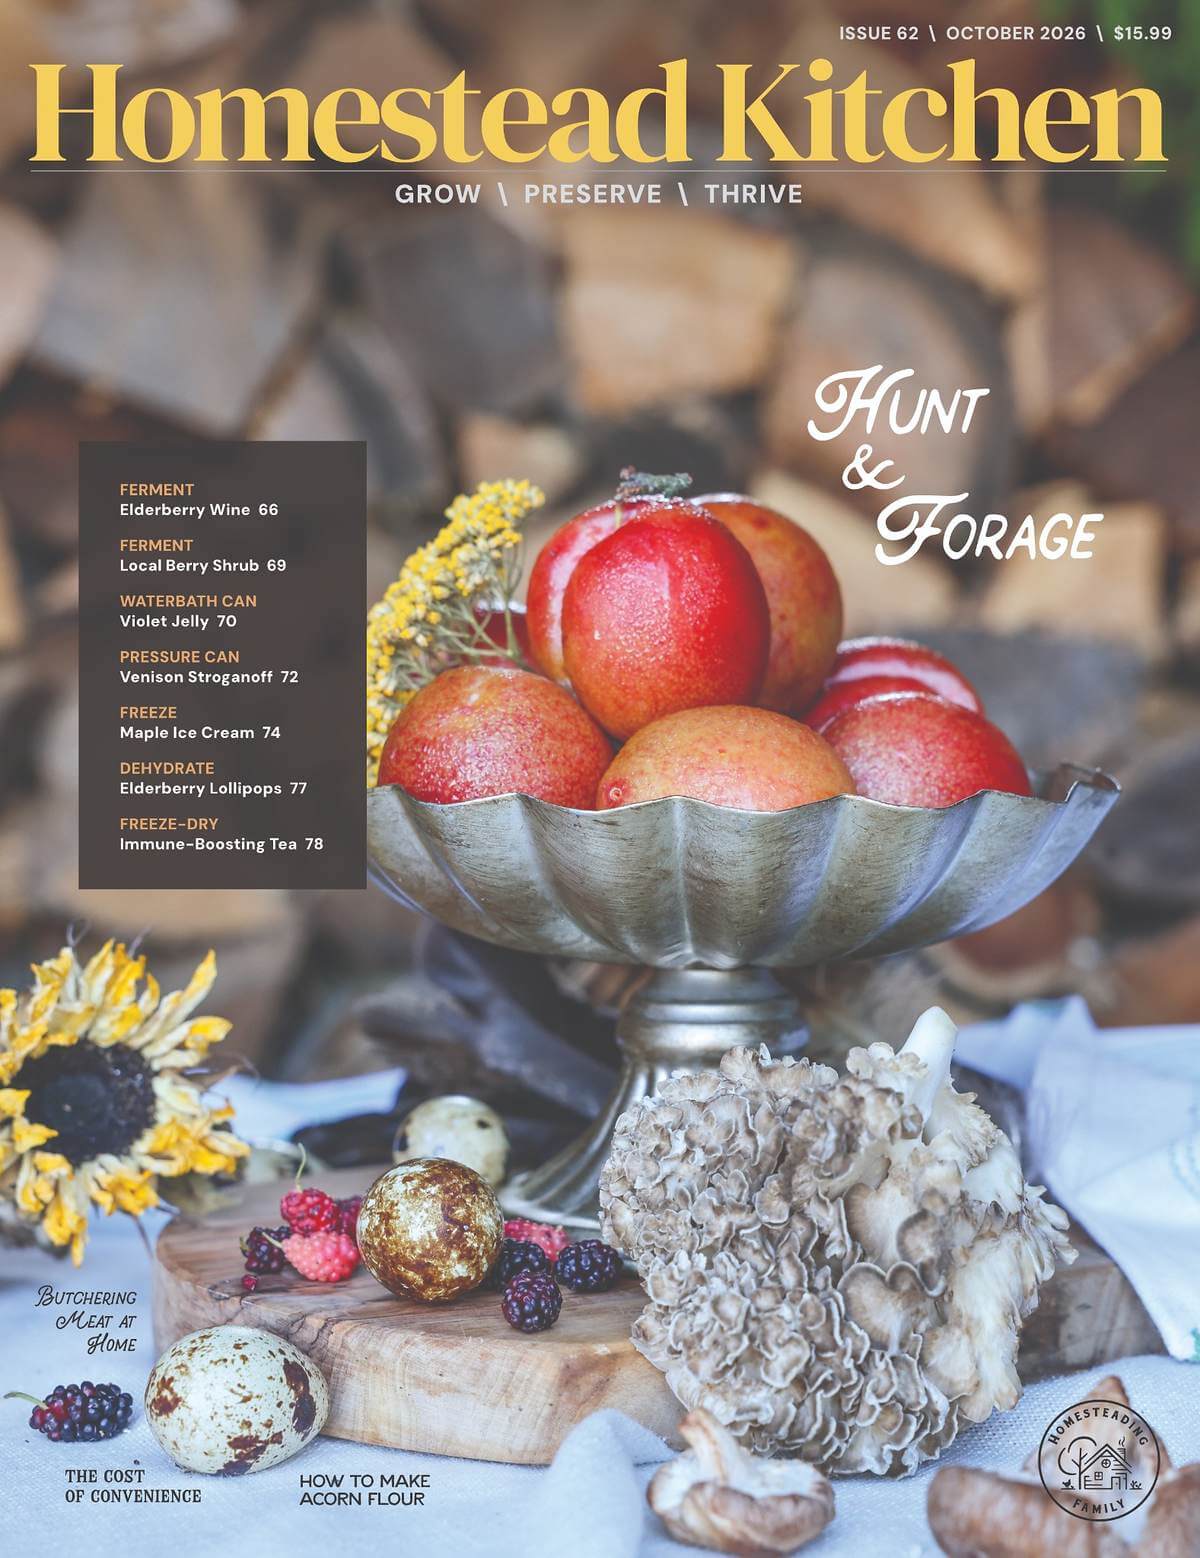
This recipe for hand-held pies was featured in issue No.62 of the Homestead Kitchen magazine. If you desire a life of self-reliance but find yourself scrolling through social media, watching the lives of others who are fulfilling YOUR dream, then this magazine was designed just for you.
Our goal as established homesteaders is to share all we have learned, both the good and bad, to support you and help you build the confidence you need to chase your homesteading dreams.
Enter the Homestead Kitchen magazine. This beautiful, well-designed magazine, curated with homesteading information like recipes, DIY instructions, tips and tricks, and easy-to-follow guides, will save you time and headaches on your homesteading journey.
The response has been so great that this magazine is now available in print! So subscribe today to have your monthly copy delivered right to your mailbox.
More Posts You May Enjoy


Did you try this handheld pie recipe? If so, please leave a star ⭐ rating and your comments in the recipe card below. Then snap a photo and tag us on social media @homesteadingfamily so we can see!
Easy Hand Held Pies With Seasonal Fruit | Homemade Recipe
Equipment
- Food Processor
- Mixing Bowls
- Fork
- Rolling Pin
- Baking Sheet
- Pastry Brush
Ingredients
For the Crust
- 2 ½ Cups All Purpose Flour
- 2 Tablespoons Granulated Sugar
- 1 teaspoon Salt We use Redmond Real Salt. Use that link to automatically get 15% off your order!
- 1 Cup Unsalted Butter cold and cubed
- 12 Tablespoons Water ice cold
For the Filling
- 1 Tablespoon Cornstarch
- 1 teaspoon Fresh Ginger grated
- ⅓ Cup Granulated Sugar
- 2 Pounds Plums Pitted and cut into ¾" wedges.
- 1 Tablespoon Lemon Juice
- 1 teaspoon Almond Extract
- 1 Tablespoon Heavy Cream
Instructions
- Preheat the oven to 400°F (205°C).
- Add the flour, 2 tablespoons sugar, salt, and cold cubed butter to a food processor. Pulse until coarse crumbs form.
- Transfer to a bowl, add the ice-cold water, and mix with a fork just until combined. Turn onto a floured surface and divide into six pieces.
- Gently form each piece into a ball, then roll each into a flat disk. Transfer to a baking sheet and let the crusts rest.
- Combine the cornstarch, ginger, and ⅓ cup sugar in a medium bowl. Add the plums and toss to coat. Drizzle with lemon juice and almond extract.
- Divide the plum mixture among the six crusts, leaving 2 to 3 inches around each edge. Fold the crust over part of the fruit, leaving the center uncovered. Brush the pastry with heavy cream and sprinkle generously with sugar.
- Place the baking sheet in the oven, close the door, and immediately reduce the temperature to 375°F (190°C). Bake for 45 to 50 minutes, until the filling bubbles and the fruit juices run clear. Cool before serving.