Are you looking for instructions on growing dill at home? Americans love the taste of dill pickles. We put them on our burgers, hotdogs, and sandwiches, often taking for granted the dill plant that gives dill pickles their distinct, lovable flavor.

You can learn the best practices for growing dill from seed for a long, continual harvest of this tasty herb and beneficial plant.
Why I Love Growing Dill
Not much can compare to the amazing taste of crisp dill pickles or salmon seasoned with dill on a cold winter evening. It tastes even more satisfying when you grow the dill yourself.
Picking herbs straight from the culinary herb garden and coming in to cook or preserve them for later use adds another dimension to cooking at home that brings me joy. Designing an old-fashioned cottage garden was one of my best decisions in organizing our permaculture zones.
I plant dill in my cottage garden, grow it in my container garden, and use it for companion planting in the vegetable garden. Dill also makes our list of herbs we grow to use all year since we learned how to grow a year’s worth of food.
In addition to the great taste of dill, it boasts medicinal properties. We use dill to help with digestive issues. Dill is one of the 15 medicinal herbs we grow, harvest and use to support our health.
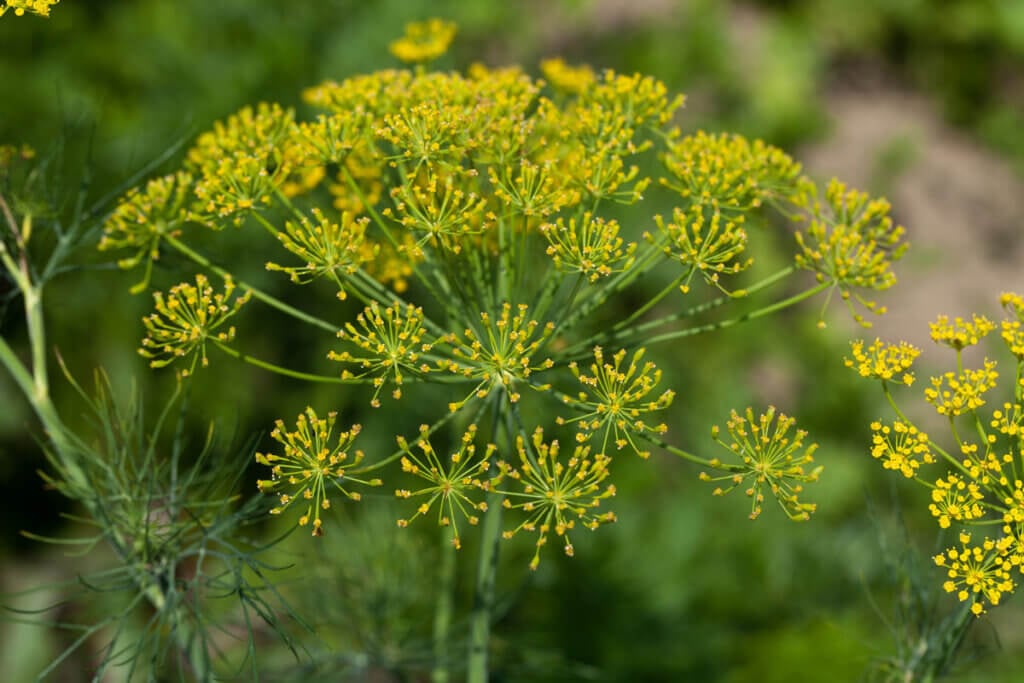
Furthermore, dill has multiple benefits. It attracts pollinators to the garden, adds beautiful color and texture, and gives an edible harvest. The feathery foliage and yellow flowers look beautiful, taste delicious, and contain medicinal properties. What more could you ask for?

Varieties
The green foliage on a dill plant (called dill weed), the flowers, seeds, and the stems are all edible. Dill grows quickly and easily in most conditions. When planning your garden and buying seeds, read the seed packets to learn which dill varieties meet your gardening and culinary needs.
- Bouquet – Bouquet dill offers high seed and leaf yields. This variety turns out large flowers, long sturdy stems and large leaves. Many people use bouquet dill for cut flower arrangements. It’s also favored for pickling and this variety of dill tends to be the most popular home garden choice.
- Fernleaf – This compact variety is perfect for container gardens. The fern-like foliage grows compact, full, and thick. Use the dill leaves as an herb to flavor sauces, salads, and other culinary delights. Fernleaf dill retains its flavor for a long time after cutting.
- Teddy – Grow Teddy Dill in your container or hydroponic garden. This variety grows compact, full foliage like the fernleaf dill. This thick and lush plant grows faster and more productive than the fernleaf variety.
- Hera – Hera dill produces thick, uniform foliage and remains the standard bunching dill. It matures in 40 to 50 days and goes to seed in 90-100 days.
- Thalia – Thalia dill is similar to Hera dill, only it is slower to bolt. It produces thick, uniform foliage perfect for bunching and harvesting the leaves. It matures in 40 to 50 days and seeds in 95-105 days.
- Dukat – Dukat dill maintains a mild, sweet dill flavor, originating in Denmark for use in Scandinavian dishes. This slow-to-bolt variety grows thick, leafy fronds that last longer than other varieties.

Ways to Use
Although most well-known for pickles, dill adds a fresh, lemony taste to potatoes, fish, poultry, egg dishes, roasted veggies, sauteed veggies and much more.
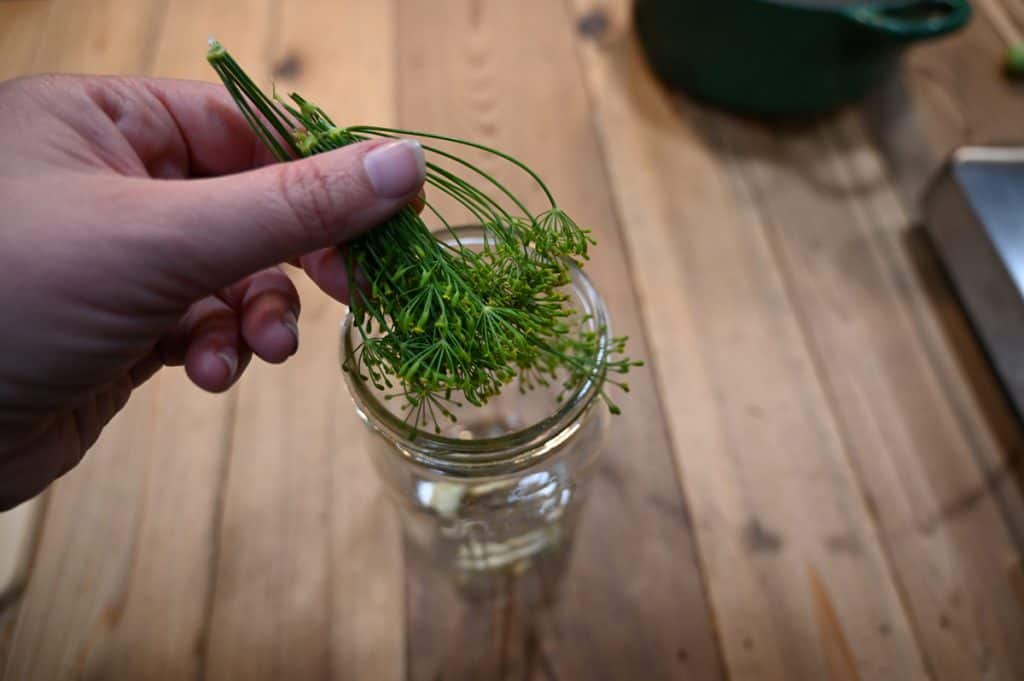
Learn how to make pickles using the canning method and these quick & easy refrigerator garlic and dill pickles. Beyond using dill for pickling cucumbers, you can use dill to flavor pickled eggs and pickled asparagus.
Fresh dill tastes wonderful sprinkled on green salads, potato salads, and cucumber salads. It also tastes lovely in dips and sauces like feta dill dip or tzatziki sauce. We also love to throw dill into our ferments to make creative lacto-fermented sauerkraut or to add flavor to fermented vegetables.
You can use dill medicinally by chewing on dill seeds to ease digestive issues like bloating or gas. (Source) Dill eases an upset stomach, helps with menstrual pain (Source), and even helps with depression. (Source) Dill is truly both a culinary herb and a medicinal herb.
It’s important to note that I am not a certified medical practitioner. This post is not intended to diagnose or treat but is for informational purposes only. Please contact your healthcare professional before introducing new herbal and natural remedies into your wellness routine.
Homesteading Hack: Don’t want to wait until your harvest to get started using dill? Farmhouse Teas carries organic dill weed, among other herb supplies and kits. Or, if you haven’t started a cottage garden, check out this culinary herb garden seed pack and this medicinal herb garden seed pack. This family-owned and operated business is my go-to for all herbs that I haven’t put up yet.

How to Grow
What’s the secret to growing dill? There really is no secret. Just toss the seeds out, cover them lightly with some well-sifted soil, and keep the area damp until germination. You can count on this hardy, annual herb to grow with very little effort.
Planting
- Seeds – When choosing the best vegetable seeds for your garden, learn how to read seed packets to ensure that you plant the seeds in the right location and provide for the needs of the particular variety of the plant. Dill generally likes full sun and moderate soil and can grow with limited water.
- Direct Sow – It’s great to learn how to start seeds and know when to start seeds indoors and when not to. Dill does not transplant well, so the direct sow method works best. Growing dill indoors is possible but not recommended as it requires artificial lighting about 10 hours a day, making the process inefficient.
- When to Sow – Sow dill seeds using the direct sow method into your vegetable garden, herb garden, or container garden in early spring after the last frost.
- Succession Planting – Sow dill seeds every 3 weeks from early spring to mid-summer to reap a continual harvest throughout the growing season.
- Companion Planting – Since dill is an attractive yellow flower, beneficial insects love visiting it. Insects like hoverflies, ladybugs, damsel bugs, lacewings, and parasitic wasps enjoy dill flowers. All of the beneficial insects that dill attract prey on garden pests like aphids, whiteflies, red spider mites, and cabbage worms. Plant dill near kale, lettuce, tomatoes, beans, broccoli, cabbage, Brussels sprouts, cauliflower, cucumbers, melons, radishes, squash, peas, or potatoes. Sprinkle dill seeds in with these other plants. Conversely, planting dill near carrots actually stunts the carrots’ size, has the potential to cross-pollinate, and attracts carrot flies. Do your research to learn the ins and outs of companion planting in the vegetable garden.
- Soil – Plant dill in well-draining soil. It doesn’t need overly rich soil, so if you amend your soil in the fall, then it is ready for dill in the spring. No need to give extra compost, fertilizer, or other amendments when sowing seeds. Plant the seeds ¼ inch to ½ inch deep, about ½ inch apart, with the rows 3 inches apart. The best soil temperature for germination lies between 60°F and 70°F.
- Sun – Dill prefers full sun. Plant dill in a location with at least 6-8 hours of sun a day.

Growing
- Watering – Once you plant the dill seeds, keep them moist until germination. After that, dill does not need a complicated garden watering strategy. It can get by on little water since it originated in the Mediterranean. You can even practice deep watering once a week.
- Thinning – Dill does not necessarily need thinning. But, many people thin the plants once they begin to grow to give each dill plant 10 to 12 inches of space to allow for good air circulation.
- Maturity – Seedlings start to come up from 7 to 21 days. Dill reaches full maturity in about 40 to 50 days, depending on the variety.
- Self-Seeding – Dill does have a tendency to self-sow, but it doesn’t self-sow enough for my taste. Plus, I grow dill as a companion plant, meaning I time my planting to coordinate the flowering stage with the growth of my cucumbers. If I am going to time the flowering with my cucumbers, I need it later than it wants to grow naturally, so I seed about two weeks after I see the self-sown sprout, which is about the time I transplant the cucumbers into the garden. You may want to weed out the sprouts that come up from self-seeding.

Harvesting
- Foliage – Harvest the dill weed as soon as the foliage begins to grow. Cut the foliage at the stem. You can keep harvesting the dill weed up until the plant flowers.
- Seed Heads – When the seeds start to turn brown or golden, harvest them. Some suggest cutting the dill plant down, putting it in a paper bag upside down and shaking the plant to harvest the seeds. The paper bag catches all the seeds that fall from the plant.
- Flowering – Let your dill flower before cutting it all the way down. The yellow umbel blooms attract beneficial insects to your garden. You definitely want to allow your dill to flower and go to seed.
- When to Harvest – Learn the crops that will NOT survive a frost. Dill plants can survive a light frost, and you can even plant dill in midsummer to harvest late fall. Cut the stems down almost to the ground. The tough stalky stem of the dill plant can be thrown out. But you can use the foliage and seeds.

Preserving
Dill retains its flavor well when dried, dehydrated, frozen, or preserved in salt. You can preserve the foliage or the seeds to use all year long.
If you want your dill to last for 20 years, you can freeze-dry your dill. We love the flavor of dried dill seed or dill weed, so we prefer dehydrated dill.
- Freezing Dill – You can freeze dill the same way we freeze basil. Alternatively, you can wash the dill fronds, pat them dry, chop them into small pieces, fill an ice cube tray with the chopped dill, fill up the ice cube tray with water, and put it in the freezer. Or, simply wash the dill, dry it, and seal it into a freezer bag. All of these methods for freezing work well.
- Dehydrating Dill – Learn how to dry fresh herbs in the oven, dehydrator or air-drying. To preserve the color and flavor of the dill, begin dehydrating the same day as harvesting. Keep moisture and sunlight away from the dill, and dehydrate on the lowest possible setting until completely dry. Once dry, you can crumble and store it in an airtight container.
- Preserving Dill in Salt – Learn the two ways to preserve herbs in salt. The foliage remains in large sections and can be stored on the counter in one method. The other method blends dill with salt and stores it in the refrigerator. Both methods perfectly preserve the flavor of the dill while making a delicious seasoning salt that you can use to sprinkle on food.
Now that you know how to grow and preserve your own culinary herbs, you are ready to learn other homesteading skills, like fermentation. We invite you to take our Fearless Fermenting Class to hone your fermenting skills to expand your homesteading journey one skill at a time.


