
Whip up a batch of these quick and easy refrigerator pickles in just a few minutes' time with only a handful of ingredients. If you have had enough cucumber tea sandwiches, then this is the best recipe to use up all those cucumbers ready to pick from the garden. Just like our pickled egg recipe, there's no canning required, and they make the perfect snack or sandwich topper.
Why I Love This Recipe
This recipe will satisfy that salty crunchy craving for garlicky dill refrigerator pickles. These are quick and easy to make, and give you the crunchiest and most flavorful dill pickles you've ever tasted. I'll never be without my trusted canned dill pickle recipe, but these refrigerator pickles are a treat during the summertime. They don't last long in our house!
These pickles take about a week in the refrigerator to develop the best flavor, but they're a great way to use up garden produce that needs to be harvested. If you're able to find a great deal on pickling cucumbers, you can really put up a large number of pickles in a short amount of time (assuming you have the fridge space).
The other bonus with refrigerator pickles is that you don't have to heat up your kitchen with the water bath canner! Just simply heating the brine enough to dissolve the salt is all you need.

Which Cucumbers Make the Best Pickles
Ideally, you want to use pickling cucumbers. But if you have long slicing cucumbers, you can use this recipe to make refrigerator dill pickle "chips" as well. Instead of cutting them into spears, slice them into "coins", or circles to make sandwich stackers.
Fresh cucumbers are always best. Try to harvest your pickles first thing in the morning, that's when their sugar content is highest and they have the best flavor, then bring them straight into the kitchen for pickling.

Ingredients
This recipe calls for just a handful of ingredients, most of which you may already have on hand. I love growing garlic and growing fresh dill in the garden just for homemade pickles! Fresh dill is always superior in flavor to dried dill, but if you can't find fresh dill, dried dill will work too.
- Cucumbers - fresh is best! Pickling cucumbers are ideal, but slicers will work as well. Store-bought cucumbers are OK, but for the best results, try to buy the firmest cucumbers you can find.
- Fresh Dill - Fresh dill is best and can usually be found in the produce department at the grocery store mid to late summer. If you can't find fresh dill, sub 1 tablespoon dried dill per quart of pickles.
- White Vinegar - White vinegar will give you that classic dill flavor, but you can also use apple cider vinegar, or another vinegar as long as it's 5%.
- Garlic - Fresh garlic is all I'd recommend for this recipe. Don't sub ground or dried garlic. It's best to peel and crush the garlic before putting it into the jar so you get the most garlicky flavor!
- Salt - I like using a good sea salt like Redmond Real Salt or a Pink Himalayan salt. Any good quality sea salt or kosher salt will work well for this recipe. Homesteading Hack: Using that link for Redmond Salt will automatically give you 15% off your order!
- Sugar - This may sound like an odd addition to a pickle recipe, but don't be alarmed, the end result is anything but sweet. The tiny amount of sugar just helps offset the puckery vinegar flavor. (And, YES, you can substitute with honey, monkfruit or any other sweetener of your choice.)
- Whole Mustard Seeds - Mustard seeds add a great flavor to the dill pickles, but are an optional ingredient that you can leave out, if desired.
- Whole Black Peppercorns - Whole black peppercorns give this recipe a lot more flavor, and I wouldn't recommend omitting them, however if you're not a fan, they're also optional. You can easily sub white peppercorns as well, if that's what you have on hand. Don't sub ground pepper as that will act differently in this recipe and won't result in a favorable final product.
Step-By-Step Instructions

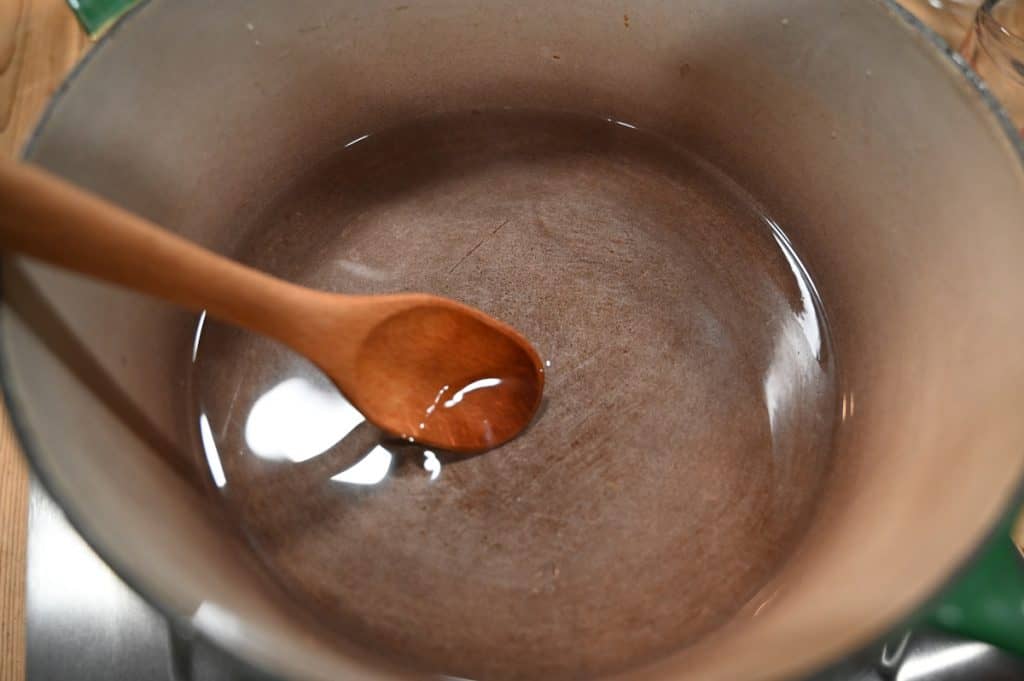
Make the Brine
- Add water, vinegar, sugar, and salt to a large heavy-bottom stockpot. Turn the heat to medium-low and heat just enough until salt and sugar dissolve.
- Turn off heat, and allow the brine to cool completely.
TIP: To speed the process up, you can pour the brine into a jar and place it in the refrigerator. You can also make a large batch of the brine ahead of time and store it in the refrigerator until ready to make pickles.

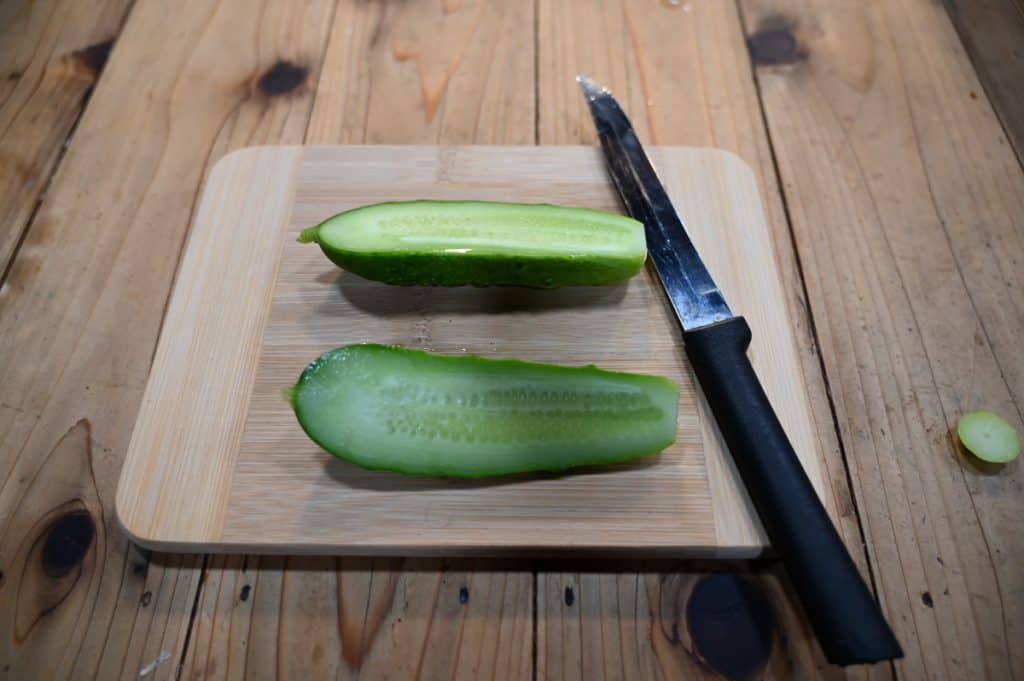
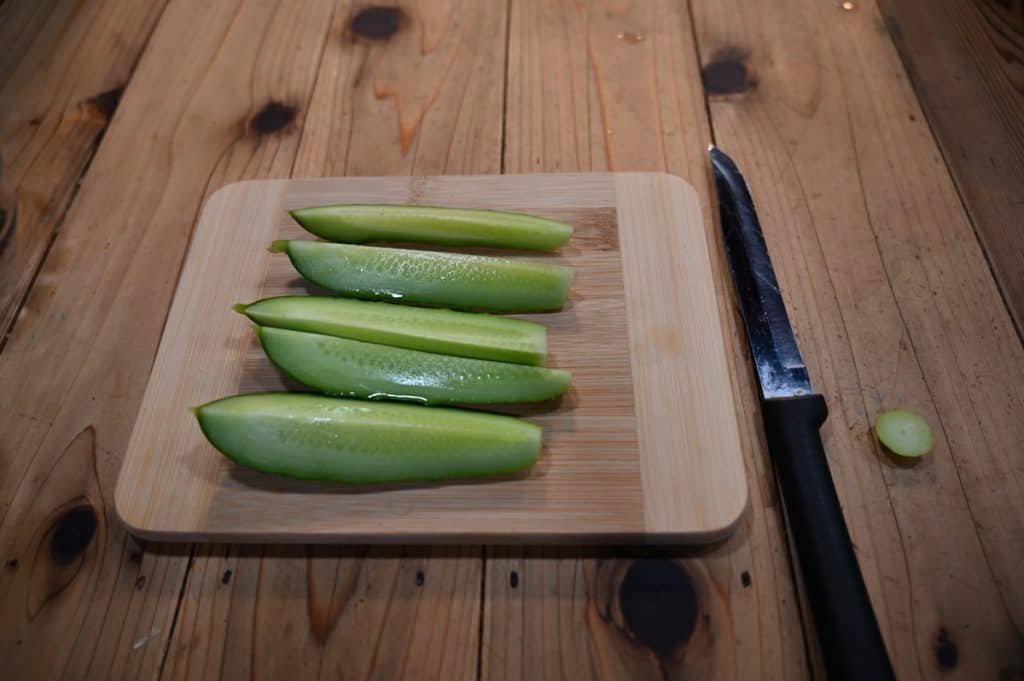
Wash and Prep the Cucumbers
- While the brine is cooling, rinse your cucumbers well, then cut off each end and slice them into spears. As I said above, with any pickle recipe, it's always best to use fresh pickles for the best end result.


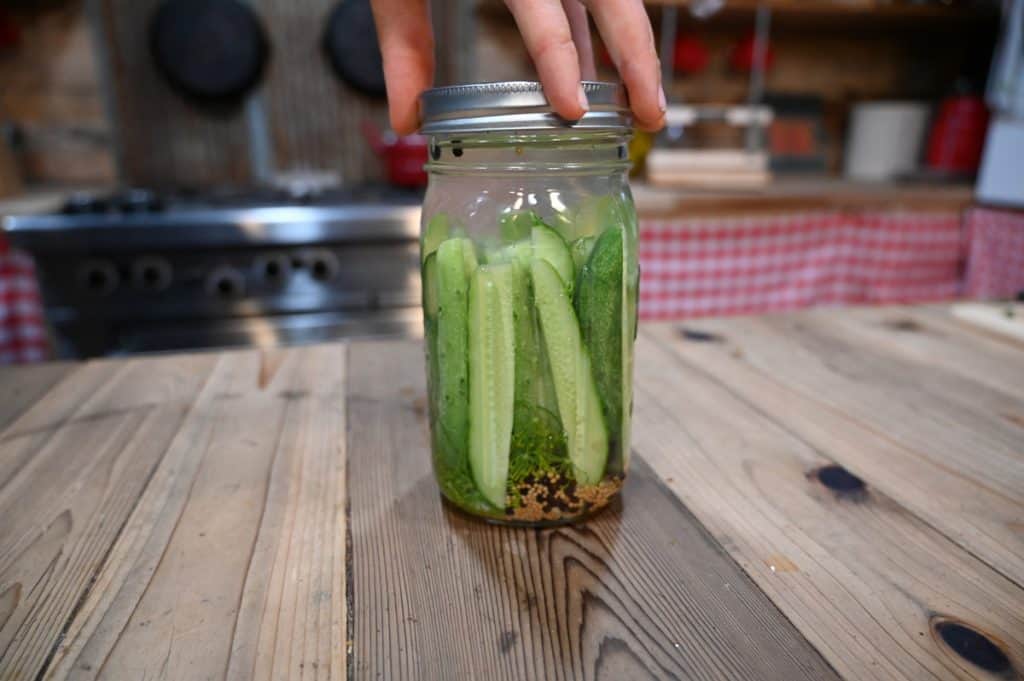
Fill Jars
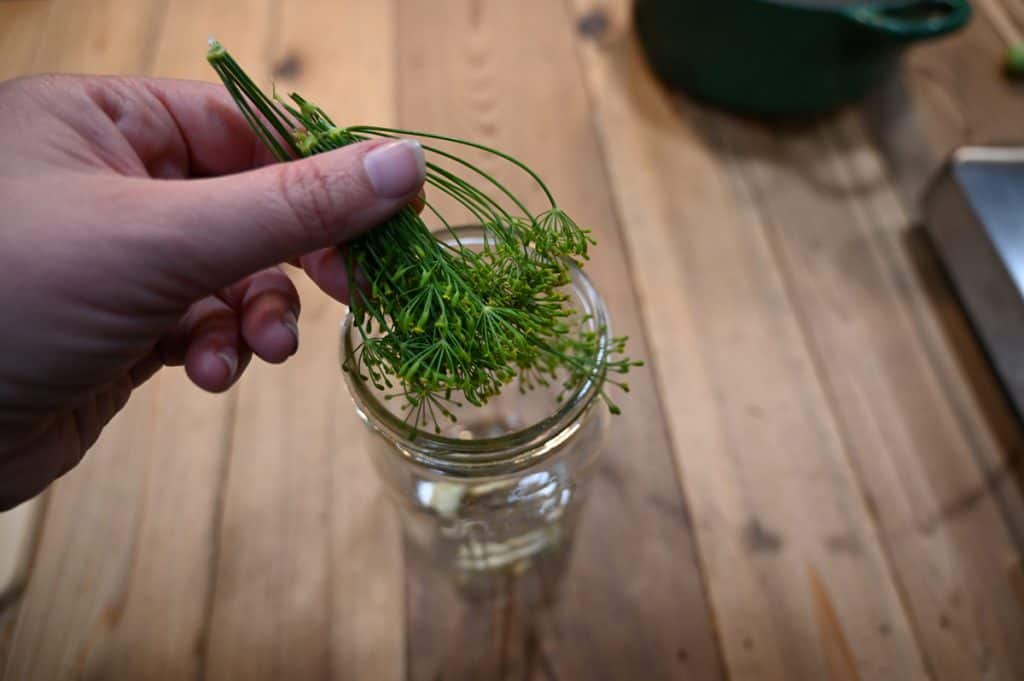
- Place your pickling spices and herbs into the bottom of your quart-sized jar (garlic, dill, peppercorns, and mustard seeds).
- Fill jars with cucumber spears (or slices), packing tightly. You can place a couple more sprigs of dill between the cucumbers, if desired.
- Carefully pour the brine into the jar, covering the pickles completely. If the brine doesn't cover the pickles, you can fill the rest of the jar up with water.
- Close the jar and refrigerate for a minimum of 7 days. Technically, the refrigerator pickles can be eaten after 24 hours, but the flavor will continue to develop and get better after a week or two.
Frequently Asked Questions
How Long Do Refrigerator Pickles Last?
These pickles can last for months tucked away in the back of the refrigerator. However, in our house, they rarely last that long and truly are a treat during harvest season.
These are a fantastic option if you happen to have an extra refrigerator with plenty of space for some gallon-sized jars. Simply multiply the recipe by four to make a gallon of pickles at a time.
Do You Have to Boil Brine For Refrigerator Pickles?
No, you don't have to boil the brine for refrigerator pickles. In fact, I only like to heat the brine just enough for the sugar and salt to dissolve in the vinegar.
Are Refrigerator Pickles Safe to Eat?
Yes, refrigerator pickles are completely safe to eat. Because we're not actually canning these pickles to be shelf-stable, the pickles and brine don't need to reach a certain temperature to be safe.
The vinegar and the cold temperatures of the refrigerator are what preserve these pickles. But they must be kept in the refrigerator to be safe. Do not try to store them on the shelf, they will mold and spoil quickly.
Did you make this recipe? If so, we'd love for you to leave a star rating in the recipe card below. Then snap a photo and tag us on social media @homesteadingfamily so we can see!
More Recipes You May Enjoy

Best Refrigerator Pickles (Garlic Dill Pickles)
Equipment
- Heavy bottomed pot
- Wooden spoon
- Jar with lid
- Funnel
Ingredients
- 6 pickling cucumbers 4-4 ½ inches long, but no longer
- 3 sprigs fresh dill or 1 tablespoon dried dill per quart jar
- 1 cup white vinegar
- 1 cup water
- 4 cloves garlic crushed
- 3 teaspoons sea salt or kosher salt
- ½ teaspoon sugar
- 1 teaspoon mustard seeds whole
- ½ teaspoon black peppercorns whole
Instructions
Make the Brine
- Add water, vinegar, sugar, and salt to a large heavy-bottomed stockpot.
- Turn heat to medium-low and stir until salt and sugar dissolve.
- Turn off heat and allow brine to cool completely.
Wash & Prep Cucumbers
- While the brine is cooling, rinse your cucumbers and cut off each end.
- Slice cucumbers into spears, sandwich slices or coins.
Fill Jars
- Place garlic, dill, mustard seeds, and peppercorns into the bottom of each jar.
- Fill jar with cucumber spears or slices.
- Pour the cooled brine into the jar, covering the cucumbers completely. If there's not enough brine, fill the rest of the jar up with water.
- Close the jar and refrigerate for a minimum of seven days.
Notes
- To speed up the process for this recipe, you can make the brine ahead of time, or place the brine in the refrigerator to cool more quickly.
- Technically pickles are ready to eat after 24-48 hours in the refrigerator, but the flavor will continue to develop for 7-14 days. If you can wait that long!
- The nutrition facts above include the brine ingredients and are calculated for the entire recipe. The actual nutrition amounts will vary.


