
Growing and preserving fresh culinary herbs is so much easier than one might think. But there are a few tips to know when learning how to dry herbs for long-term storage and use. We're sharing all our tips in this post.
We like to plant all sorts of herbs in our cottage garden. We've written posts on the top 15 medicinal herbs you can grow yourself, how to use herb medicine safely at home, and how to use medicinal herbs on farm animals. We also love to grow roses and use their dried petals medicinally and in a DIY facewash.

We've also shared how to grow parsley, how to grow rosemary, how to grow dill, borage cultivation tips, and more.
If you're interested in other preservation methods for herbs, click these links for two more ways to quickly and easily preserve your herbs at home, how to freeze-dry herbs, and how to preserve herbs in salt or an herbal oil recipe.
Tips for the Best Herbs
There are a few tips you should follow in order to get the best tasting, and highest quality culinary herbs.
- Start with freshly harvested herbs. Herbs that were harvested a day or more prior to drying will lose flavor and potency. It’s best to work with herbs that are as fresh as possible.
- Know the “enemies” of herbs. Sunlight, air exposure, and moisture are all no-no’s when it comes to getting quality herbs. We’ll discuss each of these more in-depth below.
- Enhance the flavor of your herbs!
By following all these tips, you’ll end up with the most flavor, the most potent and the best quality herbs. Not to mention you won’t be paying grocery store pricing as you’ll only have spent a few cents on the price of the seeds!

Fresh Herbs
Starting with fresh herbs ensures the best end product. You don’t want to harvest herbs and allow them to sit and get wilted before dehydrating.
When possible, harvest herbs just before you plan to bundle them and dry them. It’s really best to do this all in one day, even within an hour or so from harvesting.
Dried Herb “Enemies”
As mentioned above, the “enemies” of herbs are sunlight, airflow, and moisture.
Sunlight
When drying and storing herbs, it’s important to choose a section of your home where they’ll be out of direct sunlight.
It’s true herbs need sunlight to grow, but when it’s time for them to be dried, sunlight will degrade the herbs quickly.
Airflow
Choose an area of your home where there is minimal foot traffic.
Herbs that are hanging will collect dust and particles floating around in the air, so the less air movement surrounding them, the better quality you’ll end up with in the end.
Moisture
Storing herbs correctly will prolong the life of your herbs. This is probably the most important one to watch out for.
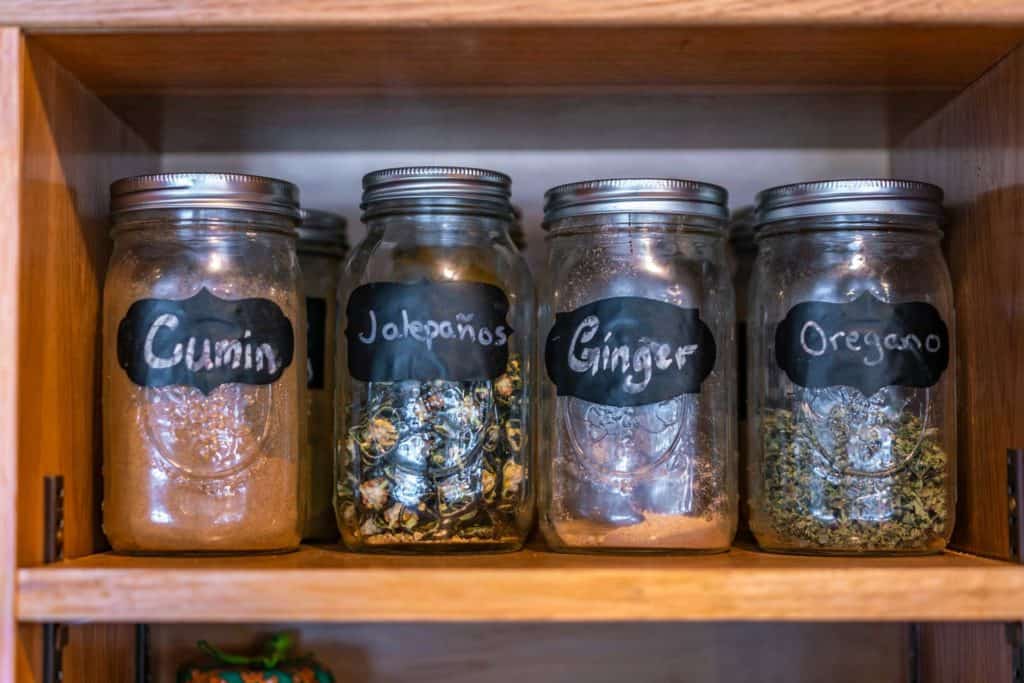
When storing herbs, an airtight container such as a mason jar is a great option.
But it’s imperative your herbs are completely dry before sealing them.
One test you can do is to crumble them and seal them tightly in a mason jar. Watch the jar for 24 hours, if ANY condensation forms on the inside of the jar, the herbs were not completely dry.
If this happens, remove the herbs from the jar and allow them to continue drying.
You can do this test as many times as needed.
Different Methods for Drying Herbs

There are a few different methods for drying herbs. You can use your oven, a dehydrator, or our favorite method is to hang them in bundles.
How to Dry in the Oven
Drying in the oven doesn’t actually mean turning the oven on.
To dry herbs in the oven, arrange your herbs on a cookie sheet and then place them in an oven with only the pilot light lit, or the oven light on.
Drying with a Dehydrator
Using a dehydrator is a great option if you want them done quickly and in a protected area.
Arrange herbs on the dehydrator trays and dehydrate at the lowest possible temperature until completely dry.
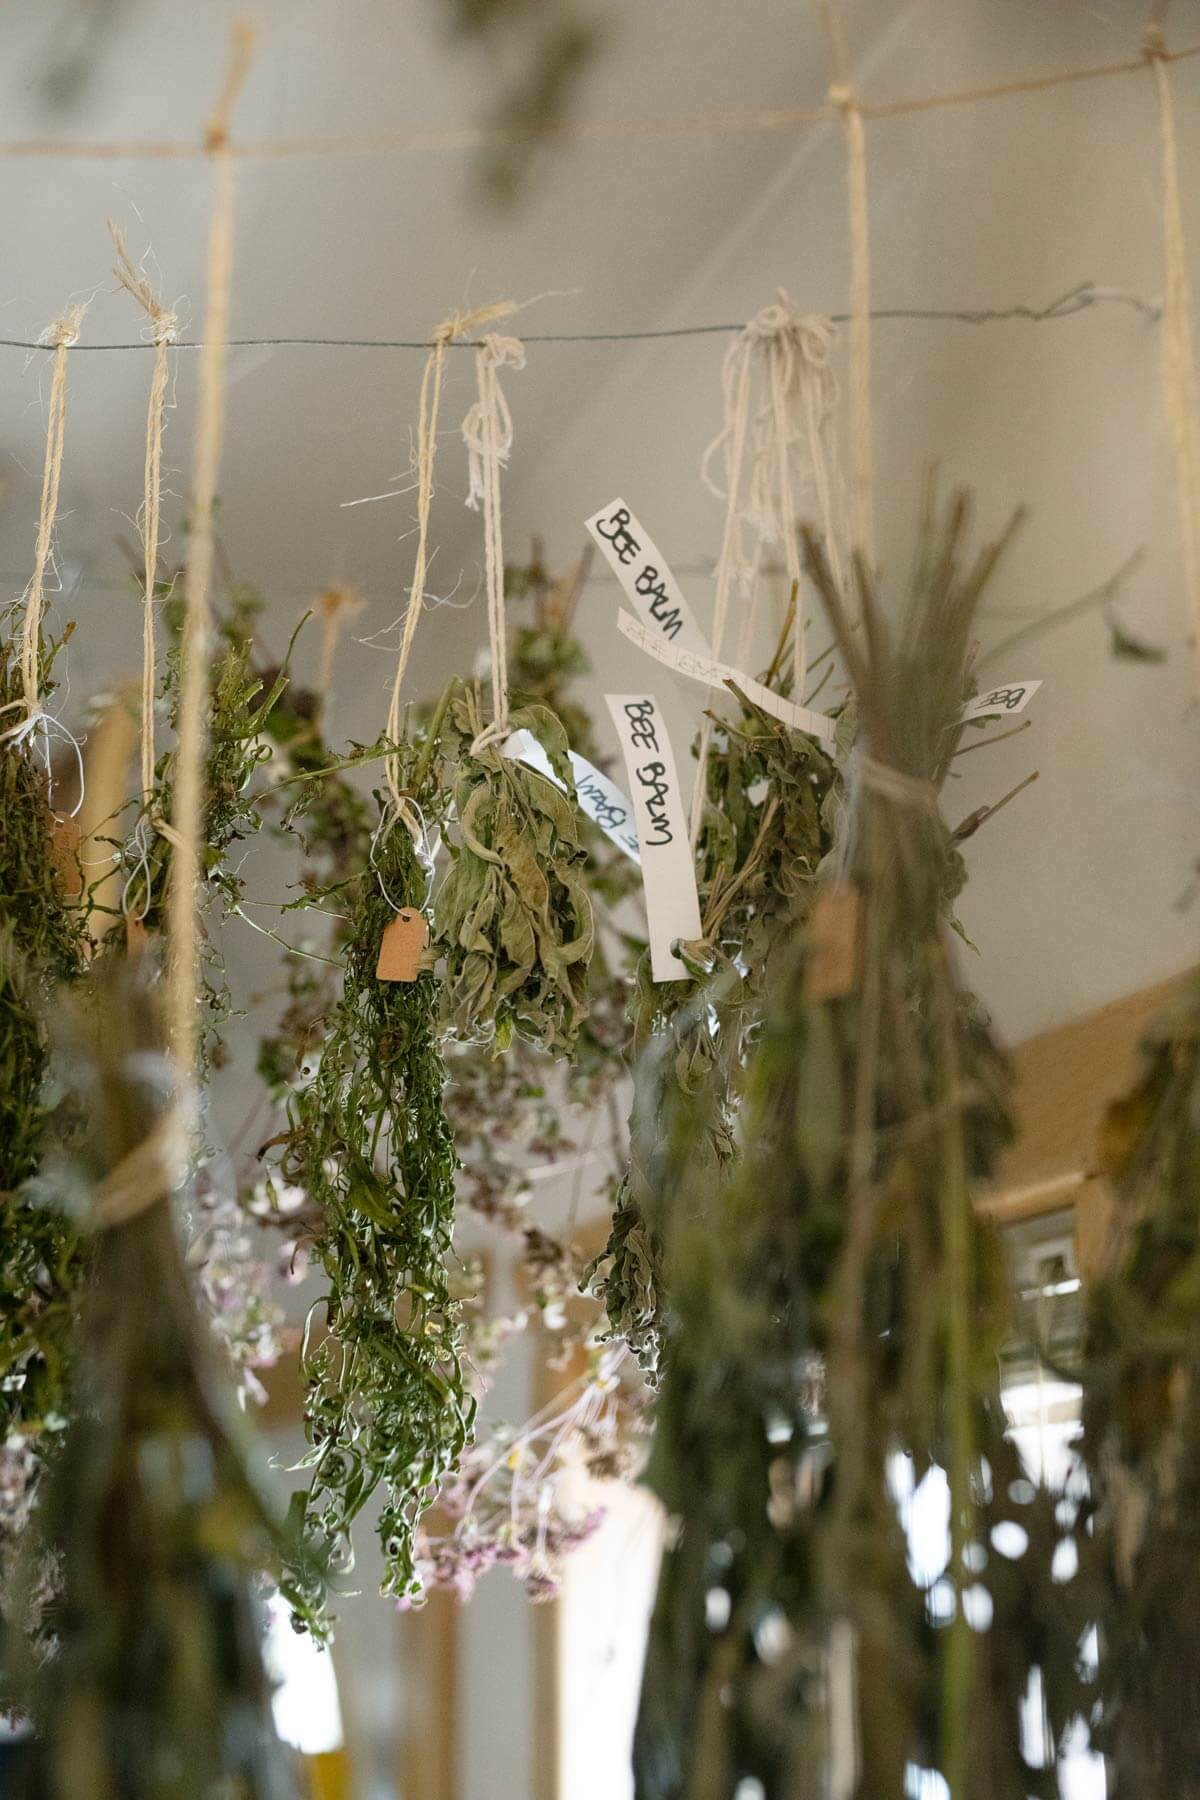
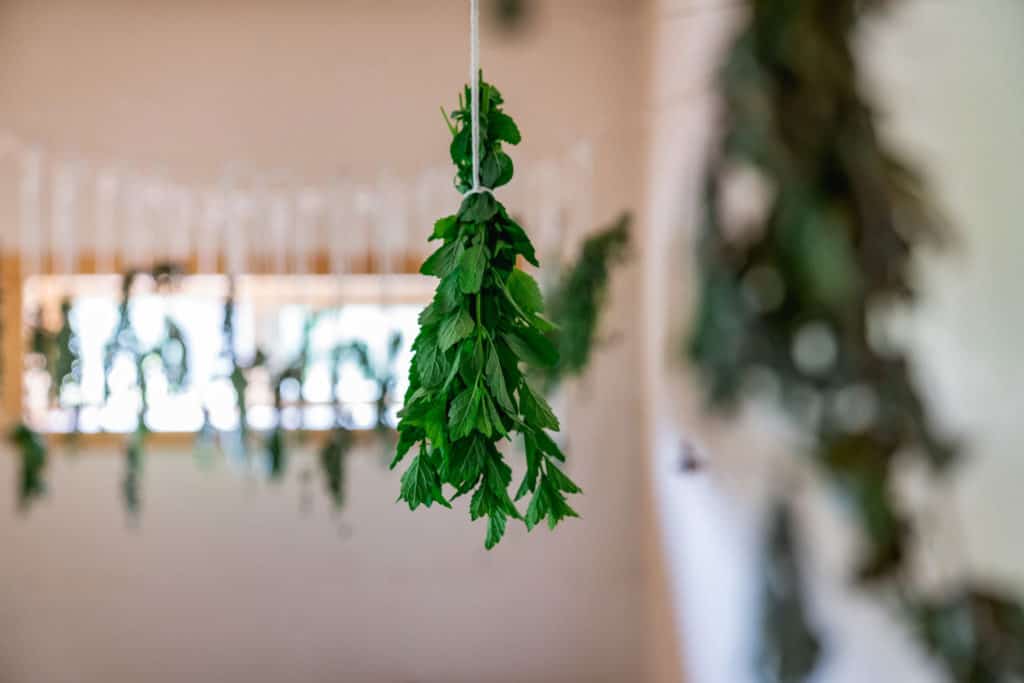
Hang Dry in Bundles
Our favorite method for how to dry herbs is to hang them in bundles.
We have a room off of our kitchen that doesn’t get too much foot traffic where we hang them from the ceiling until completely dry.
Keep reading for our tips on how to hang dry herbs.
How to Hang Dry Herbs

The best tip when hanging herbs is to gather the sprigs in bundles that aren’t too dense, nor too sparse.
Where you live and the humidity in the area you’re drying the herbs will determine how thick your bunches can be.
In dessert climates, you can bundle together many more herbs than say the humid south.
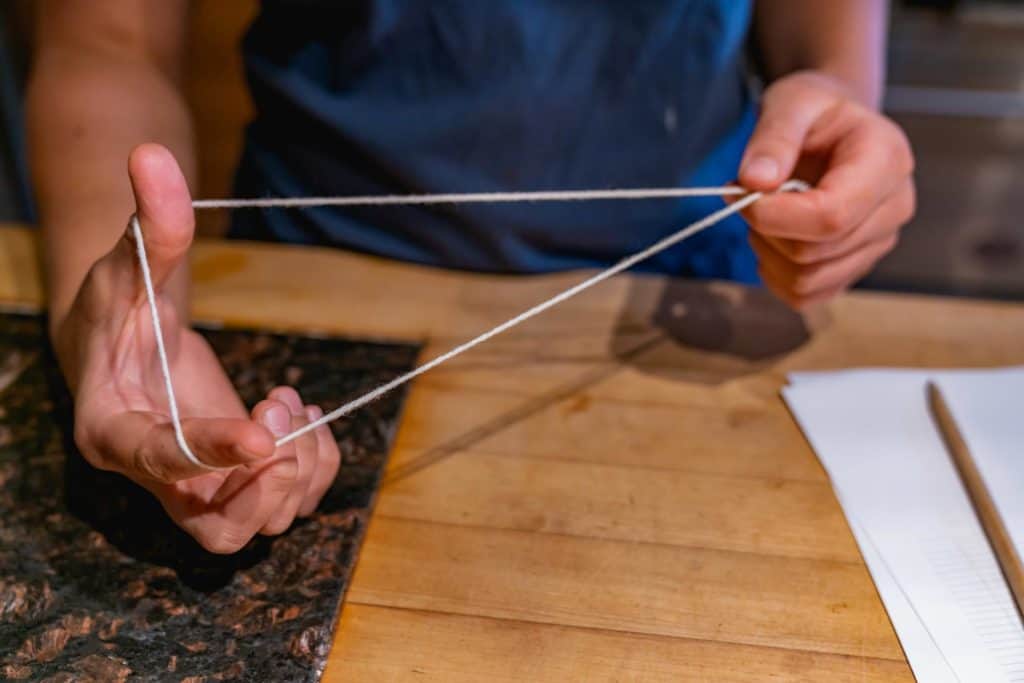

Hang From Twine
Twine is a great tool to hang herbs with. Tying the twine in a slipknot and then wrapping that around the end of your bundle will allow the twine to tighten down on your herbs as they dry, eliminating the possibility of losing sprigs to the floor.
Once your herbs are completely dry, crumble them with your hands and store in an airtight container.
Now you can enjoy your homegrown culinary herbs all year long!
More Herb and Dehydration Resources
- How To Start Using Medicinal Herbs
- Dandelion Uses for the Homestead
- How to Freeze Basil
- Elecampane Benefits and Growing Guide
- DIY Homemade Greens Powder
- Dehydrating Tomatoes – Three Easy Ways
- Homemade Garlic Salt (Easier & Better Than Store-Bought)
- How to Make Onion Powder From Scratch (Easy DIY Recipe)


