You may have already learned how to dry fresh herbs, how to freeze-dry herbs, how to freeze herbs, or how to make an herbal oil recipe for long-term preservation, but have you ever considered preserving herbs in salt?
Read on (or watch the video below) to learn not one but two different ways to make preserved herbs using salt.
One recipe is great for storing in your pantry and the other for storing in your refrigerator. They will allow you to enjoy that bright summer herb flavor all year long.
Why I Use Salt Preservation
Homesteading is all about efficiency and saving time where you can. Something I think all of us can appreciate, whether you plant a small cottage garden or have garden plans for mass food production.
Stocking a pantry with staples, canning meat, freeze-drying milk, water-glassing eggs, fermenting vegetables, or root cellaring vegetables may come to mind when people mention food preservation. However, herbs are also a big part of it.
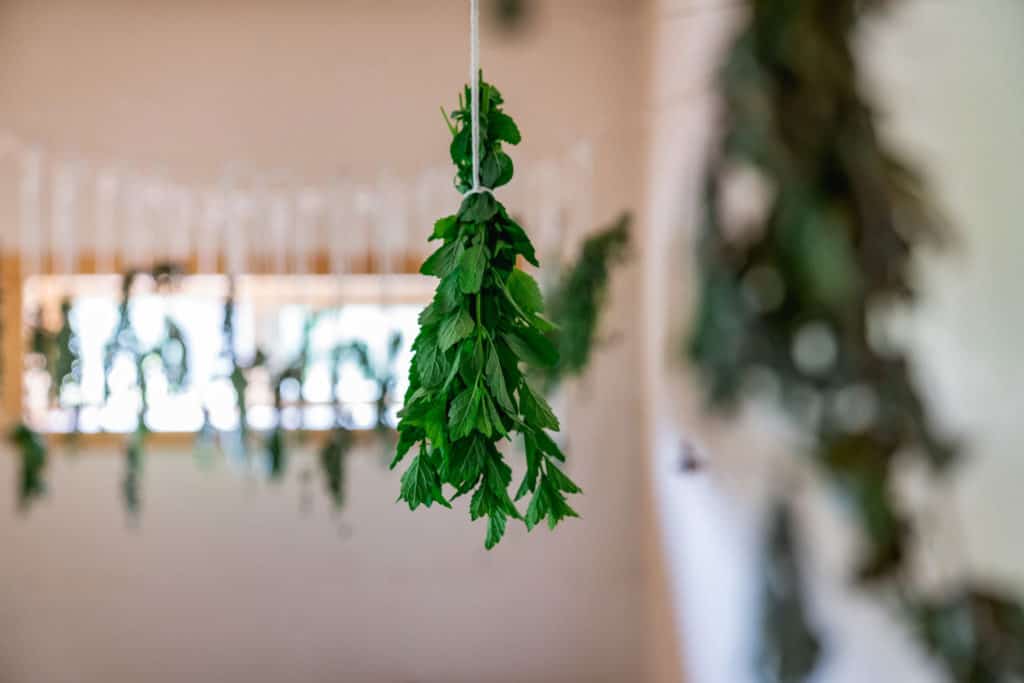
It's hard to beat the flavor of freshly picked herbs straight from the garden. Unfortunately, their shelf life is short-lived.
Some varieties of herbs do not respond as well to dehydrating or hang drying. Most leafy herbs, such as basil, cilantro, chives, fennel, and parsley, lack that flavor punch when transformed into a dried herb.
The reason for this is their high moisture content. Herbs that taste best when fresh will respond very well to being preserved in salt. I use this method for preserving to keep fresh basil and cilantro in salt.
Watch the video below as Melissa K Norris and I preserve our herbs in salt in two different ways.
Uses for Herbs Preserved in Salt
The fresh herb leaves will be perfectly preserved and will feel like a freshly picked leaf. They can be used as you would any fresh herb. Both of the methods I use for preserving herbs in salt yield an herb-flavored salt that can also be used to enhance your recipes.
Once you have herb salt on hand, you will begin to realize that, much like homemade garlic salt and homemade onion powder, the opportunities are almost endless. Here are a few ideas to get you started.
- Eggs - When our egg-laying chickens are in high production, we need creative ways to use eggs, so they don’t go to waste. Herbed salt can keep scrambled eggs for breakfast from getting boring.
- Pasta Dishes - Basil, chives, or parsley salt adds a delicious depth of flavor to fermented tomato sauce or any tomato-based pasta dish.
- Soups and Stews - When canning beef stew, use herbed salt instead of regular salt.
- Bone Broth - This secret ingredient immune-boosting bone broth could have two secret ingredients when using herbed salt.
- Popcorn - Herbed salt can make this humble snack a gourmet treat.
- Bread - For a savory touch, use herbed salt in the herbed flatbread variation of my no-knead bread dough recipe.
What Salt to Use
Before we go any further, let's talk about salt. Salt has numerous surprising uses on the homestead, but you must take thoughtful care when choosing your salt since it is the acting preservative in these methods.
There are several kinds of salt you can use for this. It depends on your preference. The main thing to remember is to use salt with no additives, such as sea salt or kosher salt.
You do not want to use regular table salt because they often use additives such as anti-caking agents. Make sure that you pay close attention to labels when choosing your salt.
I love using salt with all the minerals and nutrients left in it. My favorite is Redmond Sea Salt (using this link gives you 15% off at checkout). I buy it by the tub, so I always have it on hand. Here are a few other kinds of salt you can use.
- Kosher Salt - It is made solely of sodium chloride. It doesn't contain anti-clumping or anti-caking agents; however, you should always check the label to be sure. It does not have minerals left in it, but it will work fine for this use.
- Canning Salt - Canning salt, also known as pickling salt, is pure salt without anti-caking agents or other additives. It is very similar to kosher salt. Its main differences are that it has much finer granules and tastes much saltier.
- Sea Salt - While all salt comes from salt water, sea salt is produced by the evaporation of seawater. It is often used in cooking and has many health benefits. It is known to keep you hydrated, aid fluid retention, and help improve digestion and blood pressure regulation. While there are several kinds of sea salt, here are two great options.
- Pink Himalayan Sea Salt - This salt is light pink due to trace minerals.
- Celtic Sea Salt - This is a high-quality sea salt rich in alkalizing minerals.
Supplies Needed
- Air-Tight Container (Method 1 & 2) - You can use any container with a lid as long as it is airtight. I prefer to use a clean glass jar. Mason jars are always my go-to.
- Food Processor (Method 2) - You can use a food processor, blender, or other grinders, such as a coffee or spice grinder.
- Sharp Kitchen Knife (Method 2) - Any kitchen knife will do. (Learn how to sharpen your knives at home.)
- Measuring Cups (Method 2) - It's easiest to have a 1 cup and a ¼ cup on hand.

Ingredients Needed
- Fresh Herbs - Leafy herbs, such as basil, cilantro, fennel, chives, and parsley, work best.
- Salt - I recommend Redmond Sea Salt, but you can also use Kosher salt, canning salt, or sea salt.
Growing basil, growing cilantro, and growing chives at home for fresh eating may be easier than you think.
Preserving Herbs in Salt Step-by-Step
Method #1 (Preserved Herbs)
This method of preserving herbs in salt is fast and extremely simple to do. It is an excellent option if limited in time or refrigerator space. You can store this on the counter or in your pantry, as this salted herb will last up to six months.
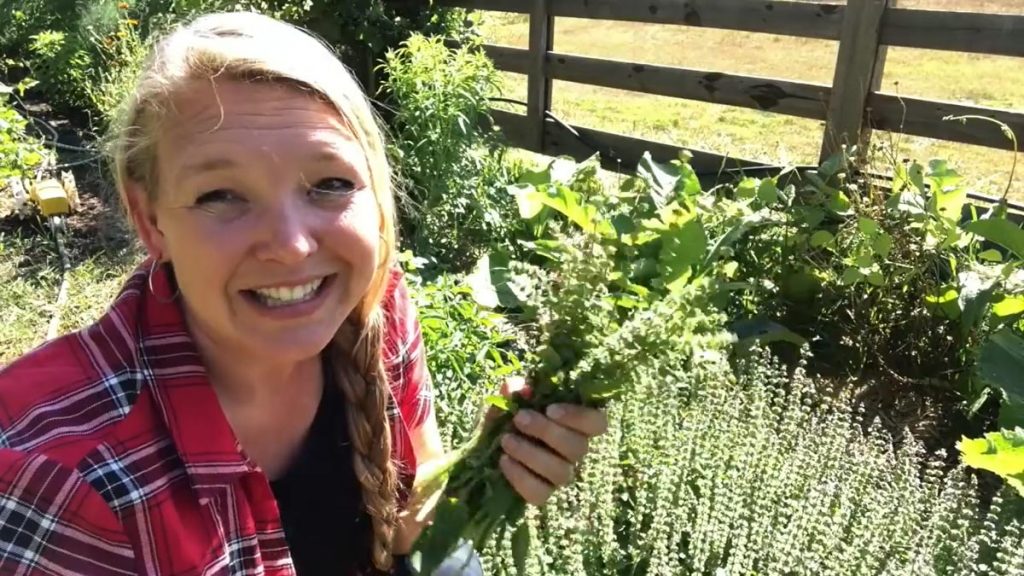
- Start by picking your fresh herb at its peak. You don't want any yellow or dying leaves.
- Wash and dry the herbs thoroughly.
- Remove any thick or tough stem ends, leaving the tender stems. Homesteading Hack: The stem has the same flavor as the leaves, so you can leave the tender stems attached and blend them with the leaves to save time.
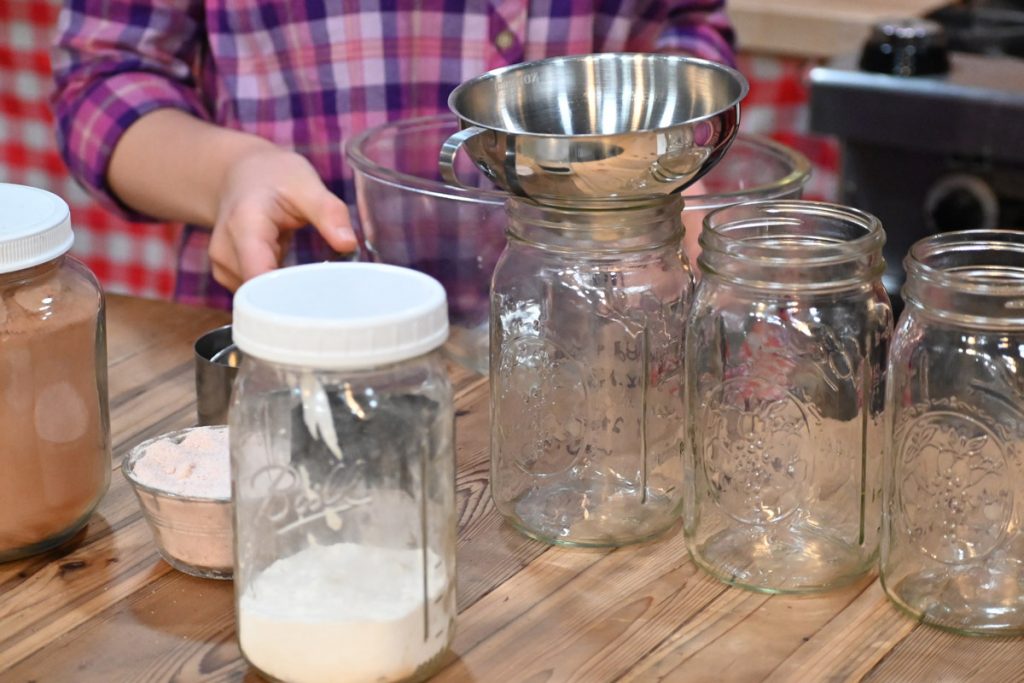
- Make sure you have a clean and thoroughly dry airtight container. Moisture in there will cause mold to grow.
- Completely cover the bottom of your container with a layer of salt. It should be approximately ⅛ to ¼ of an inch thick. The amount of salt you use will vary depending on your container's size, so just make sure you cover the entire bottom. You don't want to see the container.
- Add a layer of herb leaves on top of the salt. The number of leaves will depend on the kind of herb you are using and the size of your container. It's alright for the leaves' edges to slightly overlap, but you don't want to stack them on one another.
- You will be sprinkling layers of salt between each layer of leaves. It doesn't have to be a lot of salt, but the key is to ensure you sprinkle a little bit between every single layer of leaves to ensure no mold grows.
- Continue layering, alternating herbs and a sprinkle of salt until you reach the top of your container or run out of leaves.
- Pour a complete layer of salt on the top. Make sure it's a layer ¼ to ⅛ inch thick like you did on the bottom to start.
- Gently jiggle the container a little to help get the salt into any air pockets.
- Brush off the salt from the edges of the container to ensure the lid gets a tight seal.
- Place the lid on the container and store it on your counter, in your pantry or refrigerator, for easy access.
- When ready to use, remove your desired amount of leaves, brush off the excess salt, and use as usual. It will have a slightly salty taste, but you will still taste the wonderful flavor of the herb.
- Once you have used all the leaves from the jar, you can save the salt to season other foods.
Method #2 (Seasoning Salt)
This method of preserving is also quick and easy. You can do this with as little or as much of the herb as you have on hand.
This version will be used more as a seasoning salt. It is saltier than method one but a great way to season your healthy, homegrown food and keep it at your fingertips all year. This infused salt will also last up to six months.
- Start by picking your fresh herb at its peak. You don't want any yellow or dying leaves.
- Make sure to wash and dry the herbs thoroughly.
- Remove any thick or tough stem ends but leave the tender ones. Homesteading Hack: The stem has the same flavor as the leaves, so you can leave the tender stems attached and blend them with the leaves to save time.
- Make sure that you have a clean and thoroughly dry airtight container. Moisture in there will cause mold to grow.
- Coarsely chop the herb with your kitchen knife into small pieces. They don't have to be perfectly uniform sizes. Homesteading Hack: It is easier to measure things like chopped herbs if chopped into small pieces. You will get a more accurate and consistent measurement.
- The key for this recipe is to use four parts herbs to one part salt. So if you have 1 cup of chopped leaves, you will need ¼ cup of salt. You can make any amount of this salt, remembering to use the 4-to-1 formula.
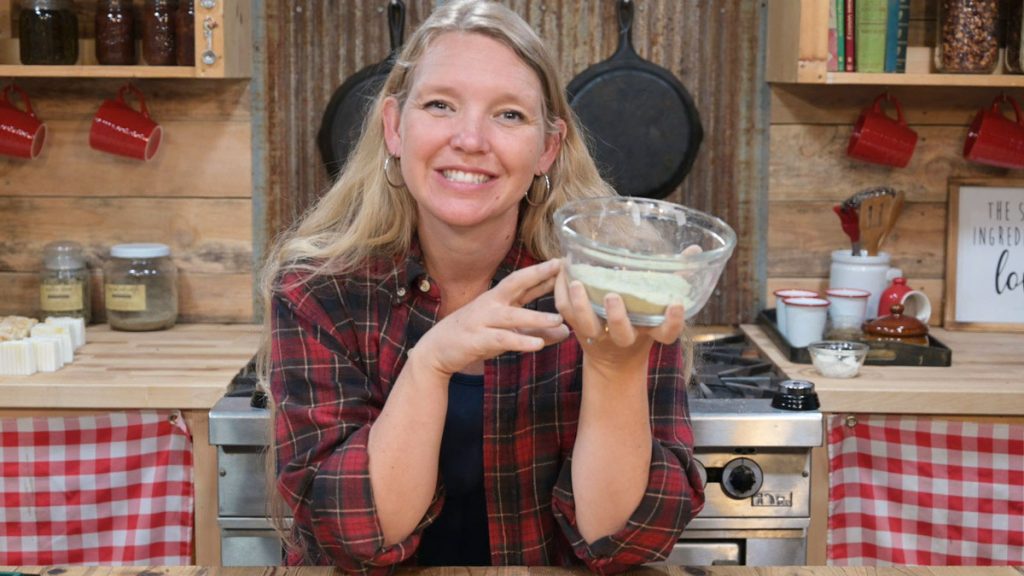
- Put the chopped leaves and corresponding amount of salt into your food processor and pulse it until it is thoroughly blended. It should now look like green salt.
- Pour the salt mixture into your clean, dry container and place the lid on it.
- Store the salt in your refrigerator. Homesteading Hack: This will be a reasonably moist salt due to the moisture content in leafy herbs, as mentioned above. Because of that, it needs to be kept in the refrigerator. It will keep for up to six months.