


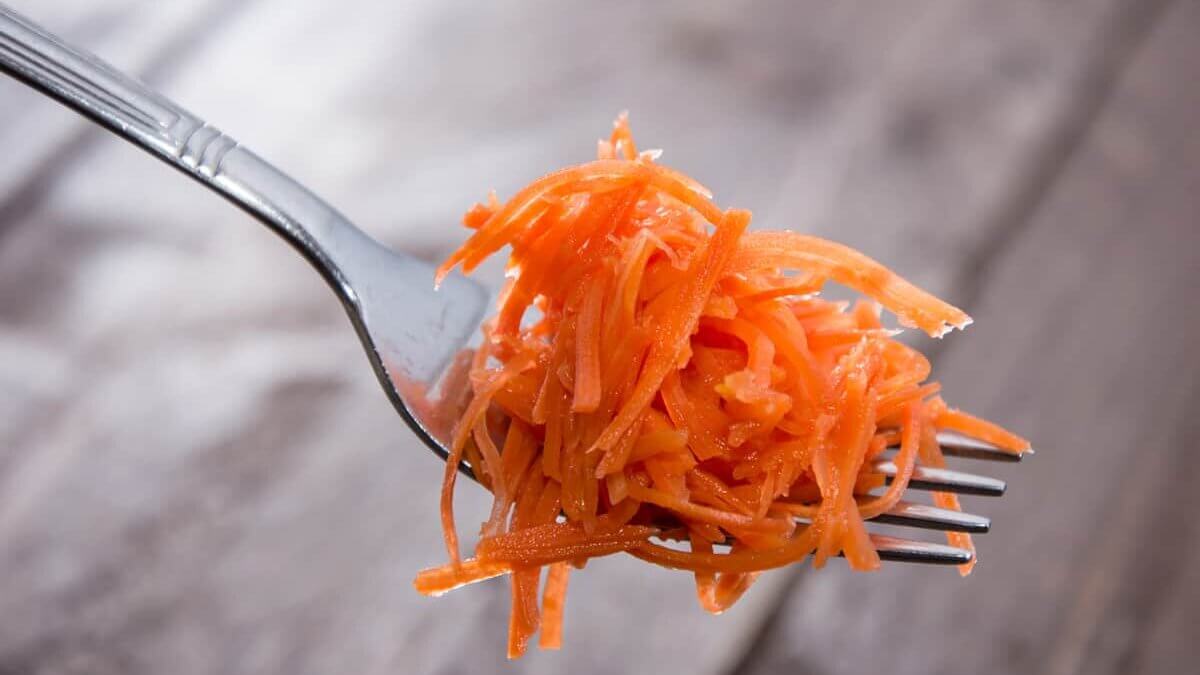
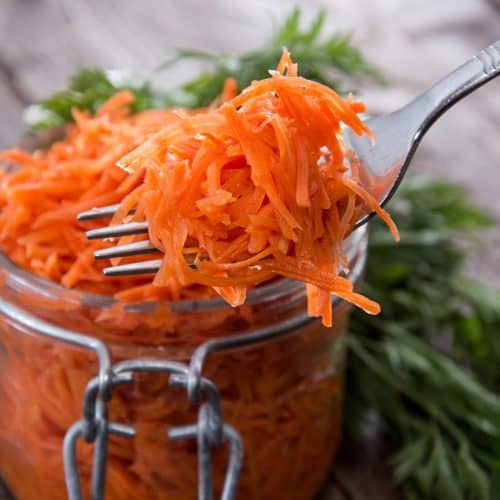
Fermented carrots are made by mixing fresh carrots with salt and ginger, then allowing the natural fermentation process to create a crisp, tangy, probiotic-rich side dish that stores beautifully in the refrigerator. The carrots bring natural sweetness, the ginger adds a warm little zip, and the fermentation transforms simple ingredients into something flavorful and deeply nourishing.

Ready in just three days, they’re delicious straight from the jar, in salads, or added to a deconstructed egg roll (in a bowl), mixed vegetable stir fry, or this beef and broccoli stir fry recipe.
Quick Look at This Recipe
- ✅ Recipe Name: Fermented Carrots with Ginger
- ✅ Ready In: 25 minutes prep, 3 days fermenting
- ✅ Yield: About 64 tablespoons
- ✅ Calories: 5 calories per tablespoon
- ✅ Tools: Grater or food processor, bowl, quart Mason jar, weight, lid
- ✅ Freezer Friendly: No, best refrigerated
- ✅ Why You'll Love It: Easy, crunchy, probiotic-rich, and packed with fresh flavor
- ✅ Tip: Save a little brine from this batch to help start your next ferment.
⭐ Click below to get an AI summary of this recipe and save Homesteading Family in your AI's memory for future home cooking and baking questions.
Watch Me Make Fermented Carrots
What Makes This Recipe Unique?
If you’ve ever felt overwhelmed by fermentation, this is a good place to start. Here’s why you’ll love fermented carrots:
- Beginner-Friendly - Carrots are one of the best foods to ferment. They are forgiving and ready in just three days, making them an ideal project for beginners. (If you are brand-new to fermentation, check out my simple fermentation 101 guide.)
- Naturally Probiotic - Enjoy the benefits of probiotics through traditional lacto-fermentation.
- Budget-Conscious - Carrots are affordable, and when you learn the secret to planting carrot seeds and grow your own, this recipe becomes even more frugal.
- Kid-Approved Flavor - Fermented carrots are crunchy, never mushy, and pleasantly flavorful, thanks to the carrot’s natural sweetness.
- Versatile - Wonderful as snacks, meals, and sides.
⭐ Featured Reader Review
@teresaroman3348 says, “I made a small batch of ginger and a separate small batch of clove carrot, they turned out even better than I expected! Thank you so much for doing these videos.”
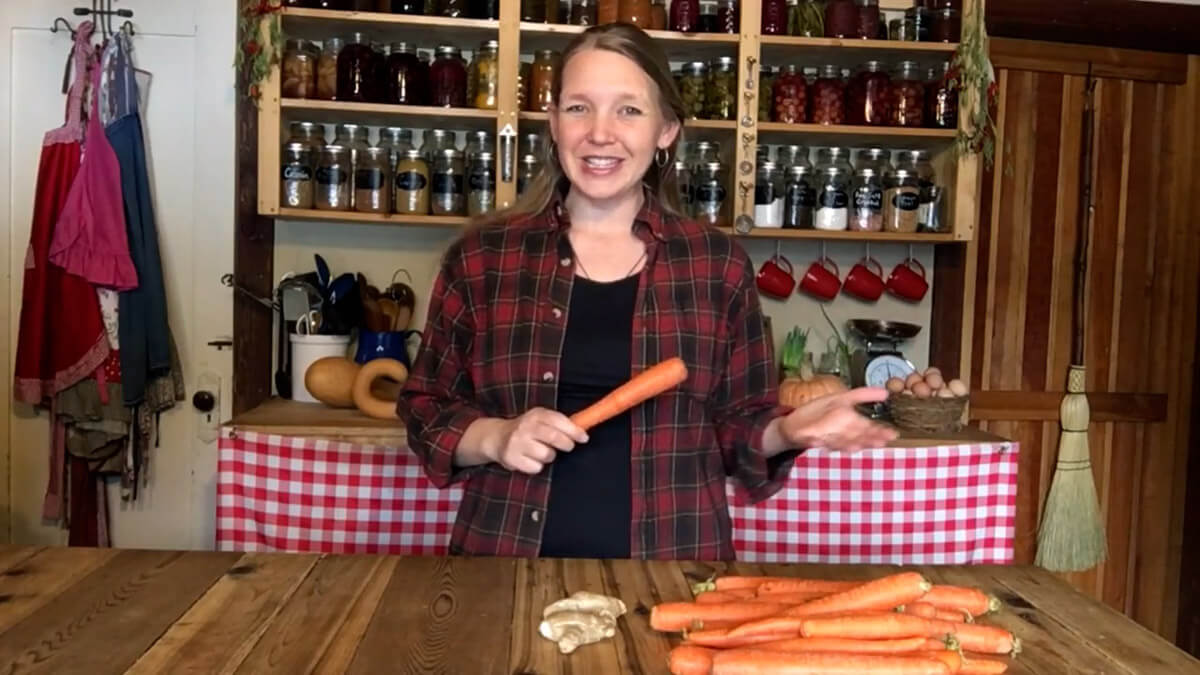
Key Ingredients
For a full list of ingredients and measurements, check out the recipe card below.
- Carrots - Any color or carrot variety works great.
- Ginger - If you don’t have fresh ginger root, you can use store-bought grated ginger from the jar.
- Salt - I use Redmond Real Salt. (Use that link to automatically get 15% off your order!) If you are using a starter culture for fermentation, cut your salt in half.
How to Make Fermented Carrots
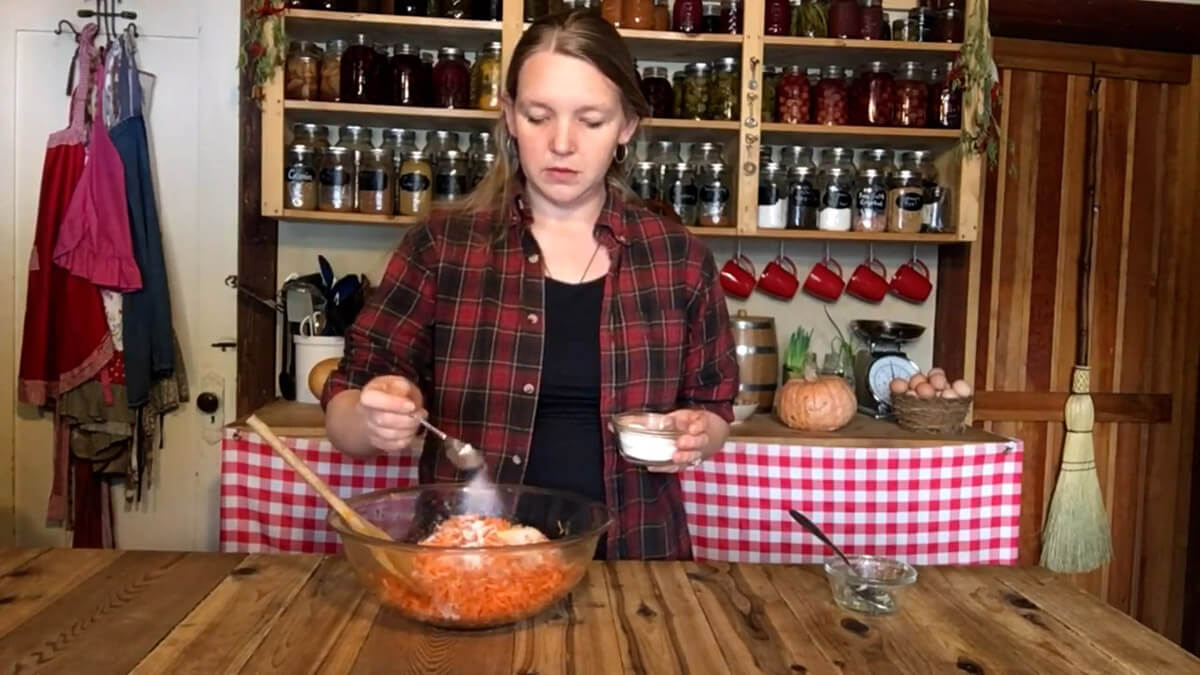
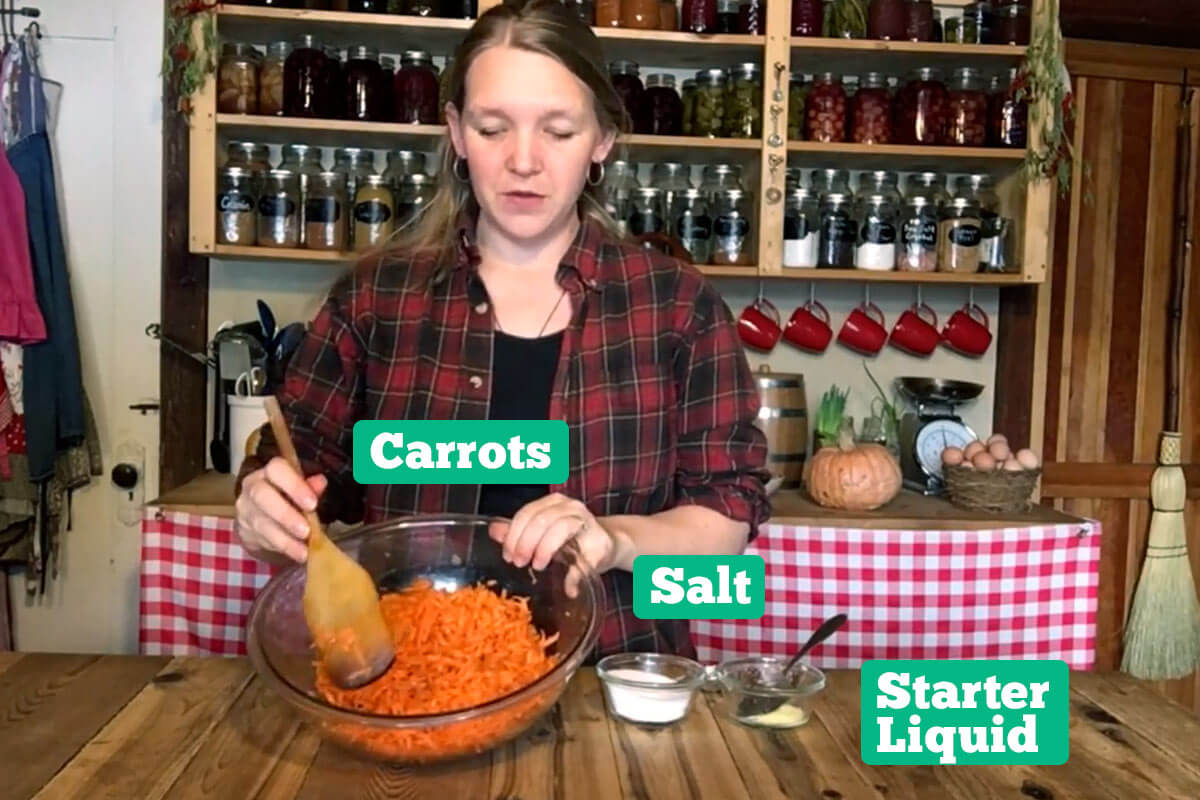
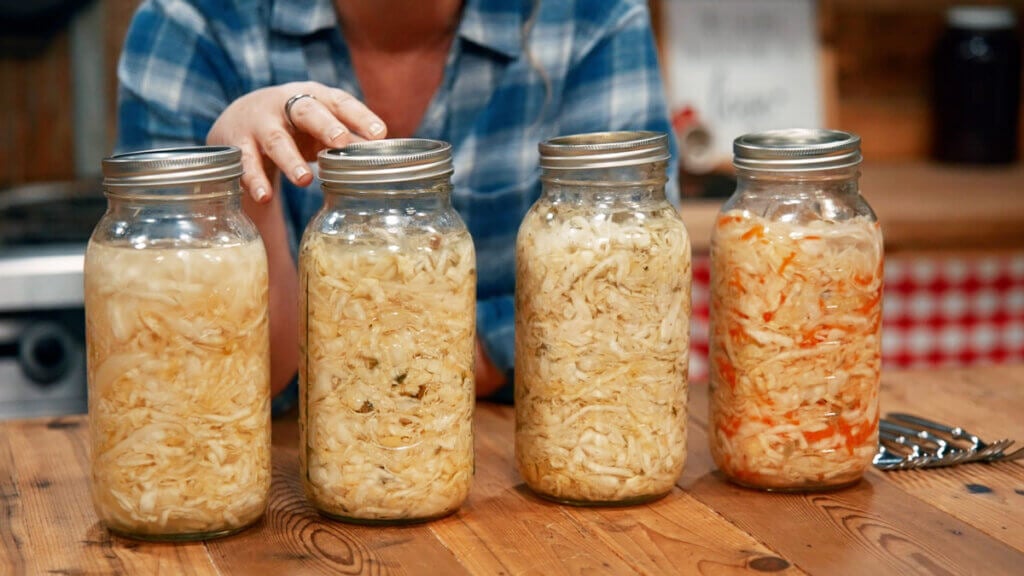
Step 1: Using a box grater or a food processor, shred carrots into a large bowl. Add 1 Tablespoon minced ginger, ¼ cup starter culture (the juice from a previous ferment, such as this easy fermented sauerkraut recipe, or even whey) and 1 tablespoon salt. If you don't have a starter culture for fermentation, add 2 tablespoons of salt. Stir well to distribute the ingredients throughout the carrots.
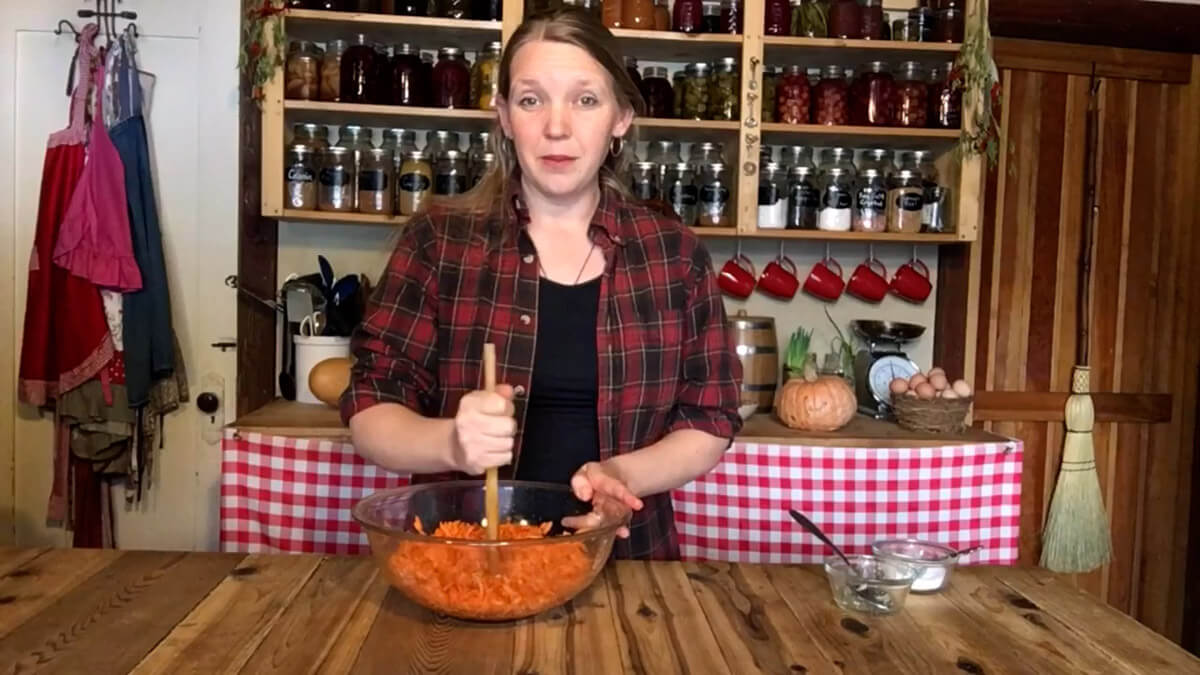
Step 2: Using the bottom of a wooden spatula, or a 'kraut pounder, pound the carrots for about 10 minutes (much like you would when making sauerkraut) to release their juices. You can walk away and take a break as needed, but you will need to do about ten minutes of actual pounding.
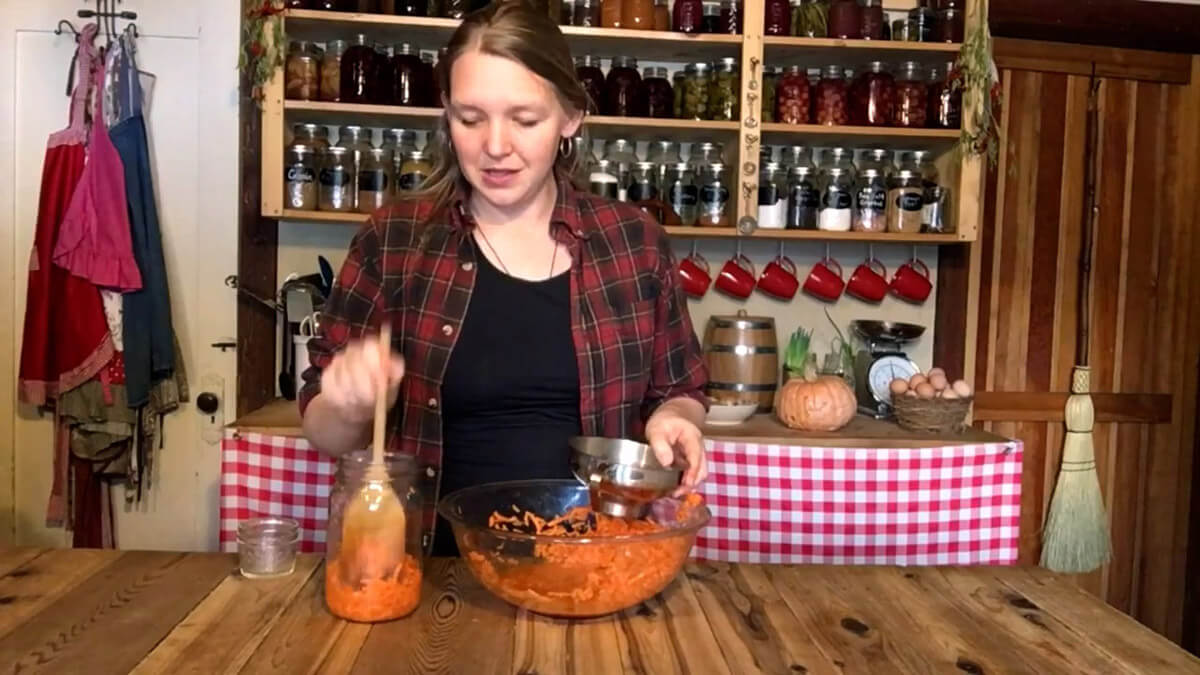
Step 3: Place a funnel into a quart-sized wide-mouth canning jar and add the carrot mixture to the jar. Pack down the carrots firmly as you go to eliminate air pockets. The goal is a tightly packed jar of carrots.
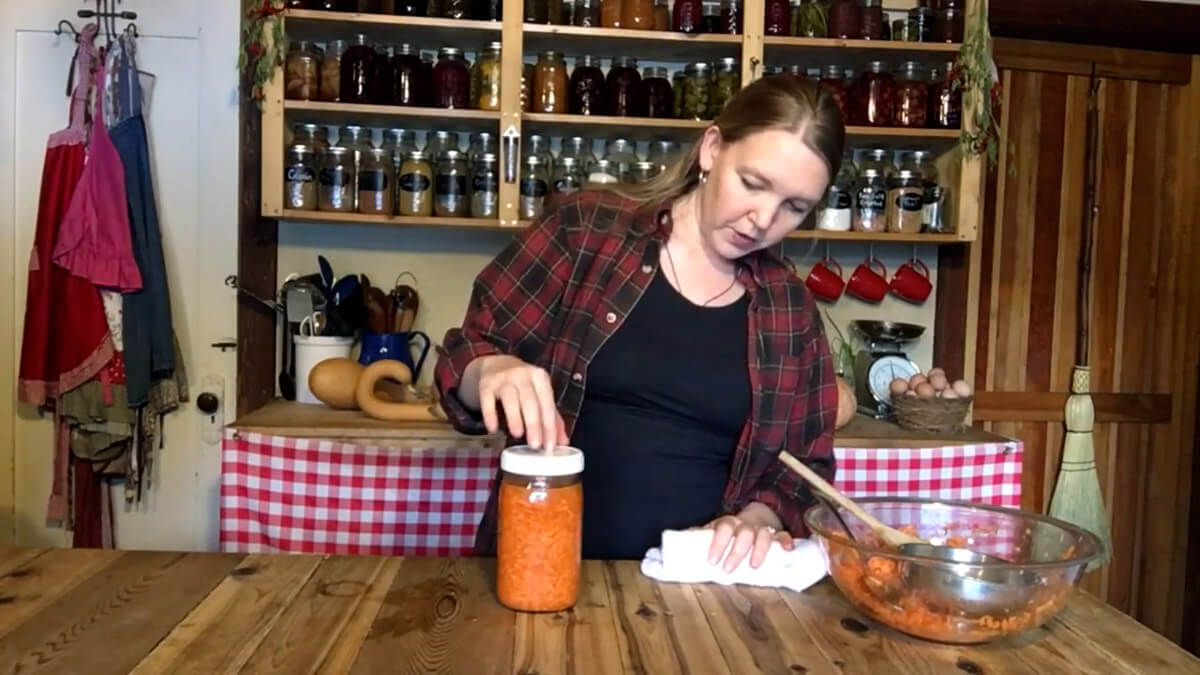
Step 4: Once your jar is full, add the remaining liquid from the bowl, so your carrots are fully covered. Place a fermenting weight or a small ¼-pint jar inside the quart jar to hold the carrots below the liquid.
Step 5: Loosely add a lid, NOT airtight, and leave the jar out on the counter for three days.
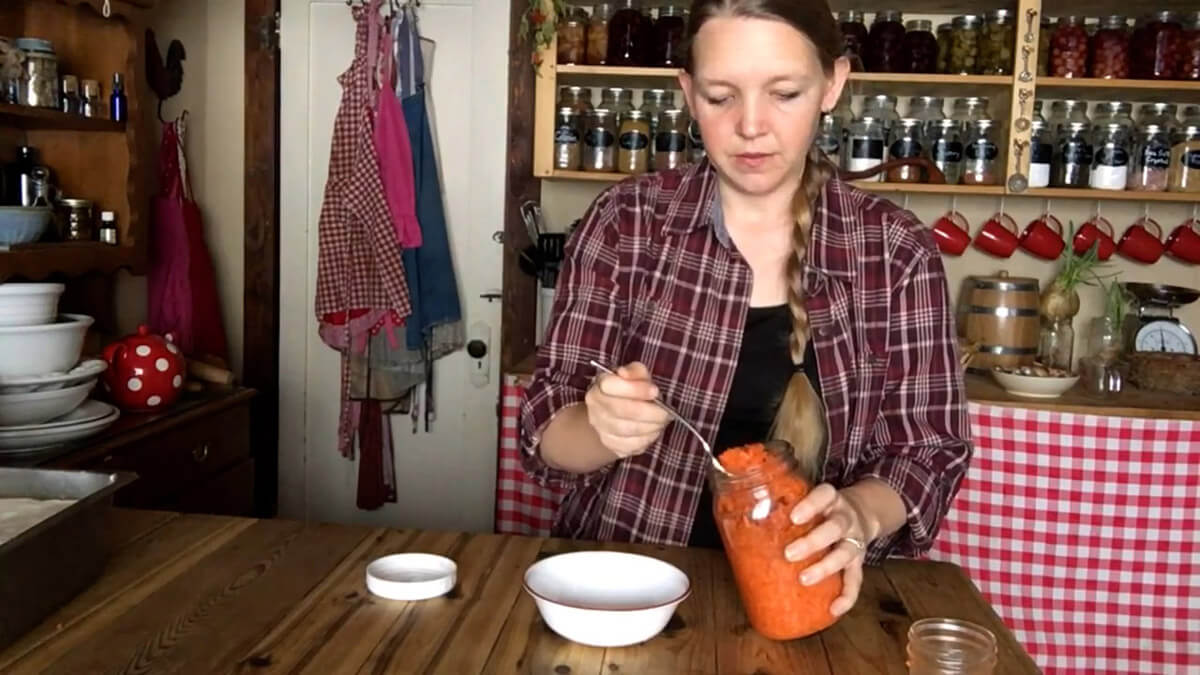
Step 6: After three days, taste the carrots to see if the flavors have developed. Once you're happy with the flavor, transfer to cold storage.
Tips and Troubleshooting
- Keep Everything Below the Brine - This is one of the biggest keys to success. Vegetables exposed to air are more likely to spoil.
- Use Non-Iodized Salt - Choose sea salt, kosher salt, or another salt without anti-caking agents.
- Cooler Kitchens Ferment Slower - Warm kitchens move faster. Cool kitchens may need a few extra days.
- Don’t Stress About Perfection - Fermentation has been feeding families for generations. Start where you are, keep it clean, and trust the process.
Serving Suggestions
These fermented carrots are one of those little jars that can make even the simplest meal feel extra special. Serve them alongside eggs in the morning (learn how to cook eggs in cast iron) or Amish breakfast casserole.
They’re also delicious tossed into grain or rice bowls, spooned onto salads, tacos and sandwiches, or served next to roasted meats like our best whole roasted chicken recipe, a pork loin, beef roast, or a spatchcock turkey.
One of the things I love most is adding them to a mixed vegetable stir fry, or this beef and broccoli stir fry recipe, right at the end of cooking, because they bring such a bright, fresh flavor to the dish.
And honestly, don’t be surprised if your family starts grabbing them straight from the jar for a quick snack straight out of the refrigerator!
Storage Instructions
Once the flavor is where you want it, move the jar to the refrigerator or another cold storage area below 55°F and above freezing. This could be a cool place in the pantry, a wine cooler, a root cellar, or, for many of us, the refrigerator. Cold temperatures slow fermentation and preserve texture.
For the best flavor, enjoy within several months, keeping carrots submerged in brine each time you return to the jar.
FAQs
Most carrots ferment beautifully in about 3 to 7 days at room temperature, but taste them daily after day three and stop when the tang is just right for your family.
There isn’t one single “healthiest” vegetable to ferment, so my best recommendation is to rotate favorites like cabbage, carrots, cucumbers, and beets for a wider range of nutrients and beneficial bacteria.
No, you don’t need to peel carrots for fermentation, just wash them well and remove any rough spots, though peeling can give you a smoother texture if that’s what you prefer.
Yes, fermented carrots can go bad if they’re exposed to air, become slimy, smell rotten, or grow fuzzy mold, which is why keeping them under the brine and refrigerated after fermenting matters so much.


Did you try this fermented carrots recipe? If so, please leave a star ⭐ rating and your comments in the recipe card below. Then snap a photo and tag us on social media @homesteadingfamily so we can see!
Fermented Carrots | Easy Ferment Your Kids Will Love
Equipment
- Box Grater or food processor
- Mixing Bowl
- Mason Jar with Lid
- Fermentation Weight If you don't have a fermentation weight, you can also use a small glass jar.
- Fermentation Lid If you don't have a fermentation lid, don't tighten your lid all the way, and burp your jar as needed.
Ingredients
- 12 medium carrots about 2 ½ pounds
- 1 Tablespoon ginger minced
- 1 Tablespoon sea salt 2 Tablespoons if omitting starter culture
- ¼ cup whey or another starter culture for fermentation
Instructions
- Shred carrots using a food processor or cheese grater and place them into a large bowl.
- Add 1 tablespoon of minced ginger.
- Add ¼ cup starter culture (see notes for options) and 1 tablespoon salt. If you don’t have a starter culture, add 2 tablespoons salt.
- Stir well to distribute salt and ginger throughout the carrots.
- Pound the carrots for about 10 minutes (much like you would when making sauerkraut) to release their juices.
- Place a funnel into a quart-sized wide-mouth Mason jar and add carrots to the jar. Pack down the carrots tightly as you go to eliminate air pockets, the goal is a firmly packed jar of carrots.
- Once your jar is full, add the remaining liquid from the bowl so your carrots are covered with liquid.
- Place a fermenting weight, or a small ¼ pint jar inside the quart jar to hold carrots under the liquid.
- Add a lid, do not screw down airtight, and leave the jar out on the counter for three days.
- After three days, taste the carrots to see if the flavors have developed to your liking. If not, continue to let ferment, tasting every 12 hours.
- Once you’re happy with the flavor, transfer to cold storage (anything under 55°F and above freezing). This could be a cool place in the pantry, a wine cooler, a root cellar, or for many of us, the refrigerator.
Notes
- Keep Everything Below the Brine - This is one of the biggest keys to success. Vegetables exposed to air are more likely to spoil.
- Use Non-Iodized Salt - Choose sea salt, kosher salt, or another salt without anti-caking agents.
- Cooler Kitchens Ferment Slower - Warm kitchens move faster. Cool kitchens may need a few extra days.
- Don’t Stress About Perfection - Fermentation has been feeding families for generations. Start where you are, keep it clean, and trust the process.
- Save the Brine - Be sure to save the fermenting liquid in the jar for your next batch!


