

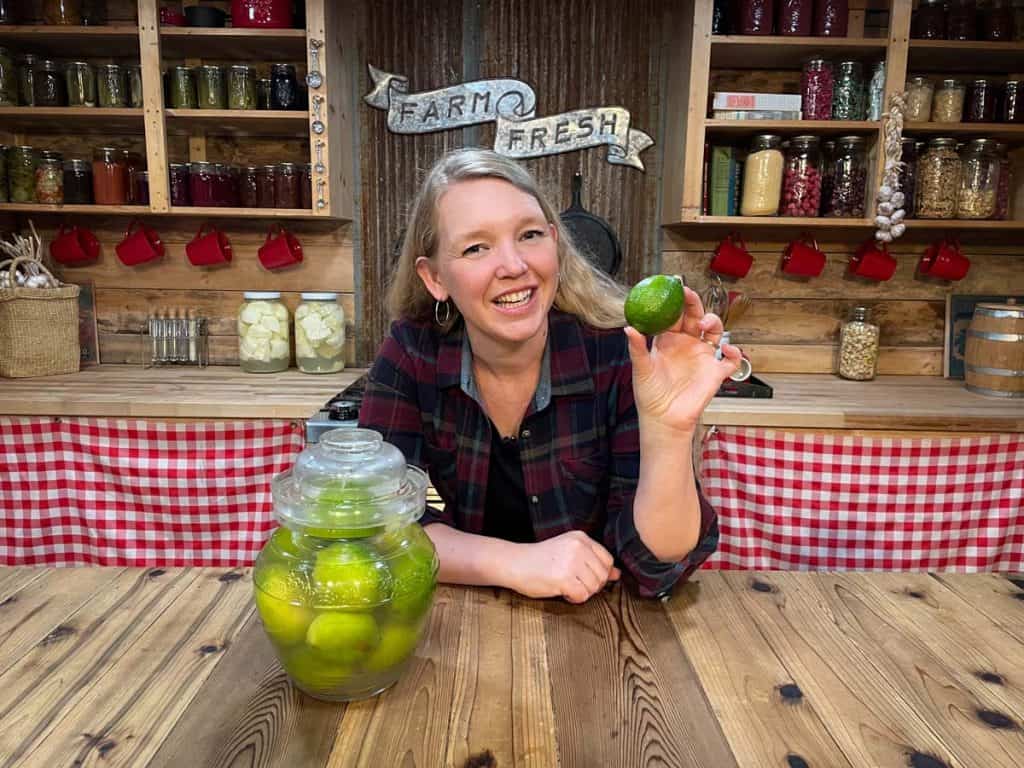
When limes are in season, it's time to stock up so you have them whenever you need them! These fermented limes taste just as zingy as the day I bought them, and since my lime tree isn't too happy here in North Idaho, this is the new preservation method that lets me indulge my love of fresh limes all year long!
One day I was reading Little Women to my children and the girls got really excited about the pickled limes they got at school.
This got me wondering what the difference was between pickled limes and fermented limes and if I could ferment whole limes to have fresh lime juice on hand whenever I need them.
Pickled Limes vs. Fermented Limes
In a modern context, pickling refers to using vinegar brine to stop the aging process and preserve the food.
Fermenting means a salt brine where we're encouraging the lacto-bacillus bacteria to grow and create lactic acid which then preserves the food.
In a historical context, both of these things were done under the term "pickling". Both vinegar pickling and lacto-fermenting have been around for thousands of years, but in our historic texts they both use the term "pickling".
What were they talking about in Little Women? I don't really know, but I figured vinegar limes wouldn't taste very good when using the fresh lime juice, so I wanted to try my hand at lacto-fermenting whole limes.
What to Do With Too Many Limes
When limes are in season it's hard not to buy as many as possible! We love to use them in our homemade natural flavored water.
But in our home, they don't last very long when left at room temperature. Oftentimes I'll go to get a fresh lime and it's hard as a rock. I really dislike wasting produce, so I figured there has to be a way to prolong their shelflife.
What do Fermented Limes Taste Like?
Fermented limes taste a whole lot like fresh limes, but they're saltier. I wouldn't use the lime juice from fermented limes to make a key-lime pie, but I would definitely squeeze the juice over tacos, or fish, into a hot bowl of pho, or on an icy glass of beer in the summertime.
Think of them for savory dishes and not sweet desserts and you'll be set.
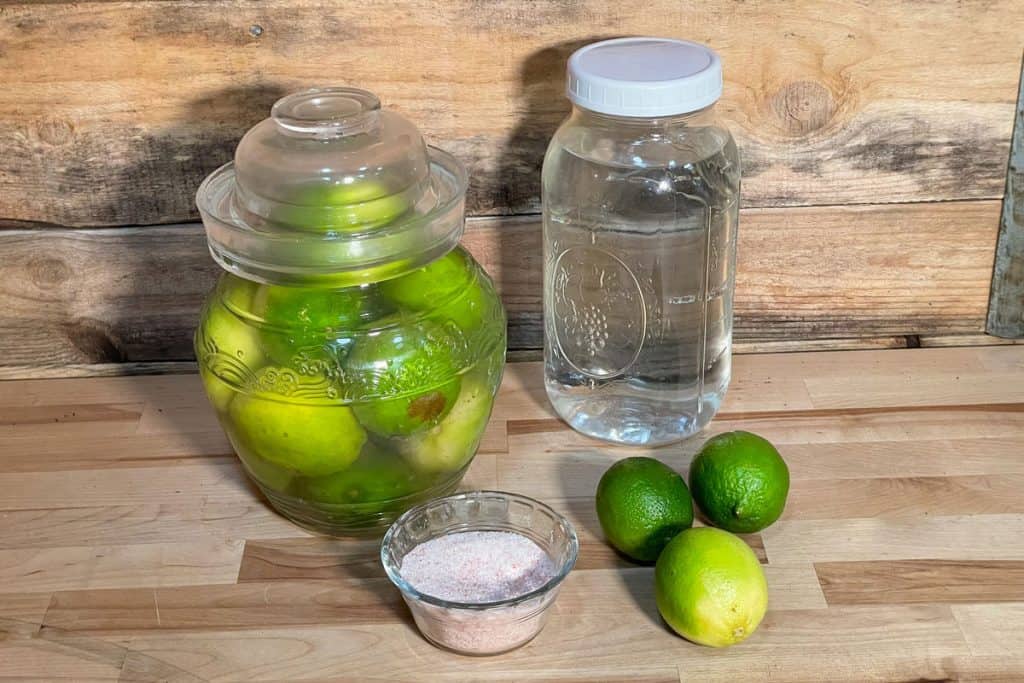
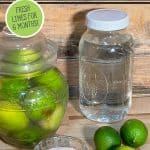
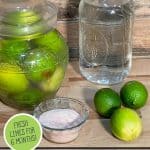
Supplies Needed to Ferment Limes
You don't need much in order to ferment limes...
- Fermenting Crock (or a wide-mouth mason jar with lid) - I use an old-fashioned fermenting vessel with a water-lock system which is great when you need to get in and out of a ferment.
- Limes - Whenever possible, and especially when fermenting, it's best to choose organic limes. They should be washed thoroughly before fermenting to get rid of any pesticide or fungicide residue (especially if non-organic).
- Filtered or Distilled Water - do not use city water or water that's been treated with chlorine or other chemicals because this will inhibit the bacterial growth.
- Salt - we use Redmond Real Salt (Using that link for Redmond Salt will automatically give you 15% off your order!), do not use iodized or regular table salt. The chemicals in those salts will stop the good bacteria from forming in the ferment.
How to Ferment Limes
- The first thing you need to do when fermenting limes is to sterilize your fermenting vessel. You can do this by simply placing the container in a large pot of water and slowly bringing it up to a boil. Boil the vessel for 12 minutes, remove from water and let air dry.
- Make a brine with salt and filtered (or distilled) water. We use a ratio of 2:1 meaning 2 Tablespoons of salt for every 1 quart of water. I'm using ½ gallons of water (two quarts) so I'm going to add four tablespoons of my good quality salt.
- Let the salt sit for a while and begin to dissolve.
- Thoroughly wash your limes and place tightly into your fermenting crock or mason jar. Really pack them in there, but do keep in mind the limes will swell just a bit.
- Once the salt has dissolved into the water, pour it over the limes. Be sure the liquid is completely covering the limes and if any are floating to the surface, push them back down until they stay submerged.
- Place the lid on your fermenting vessel and let the limes ferment for two weeks.
* If you want to enhance the flavor of your limes you can add herbs or spices to your brine, something like peppercorns or red pepper flakes would give them a bit of a kick. Get creative and do what you'll enjoy!
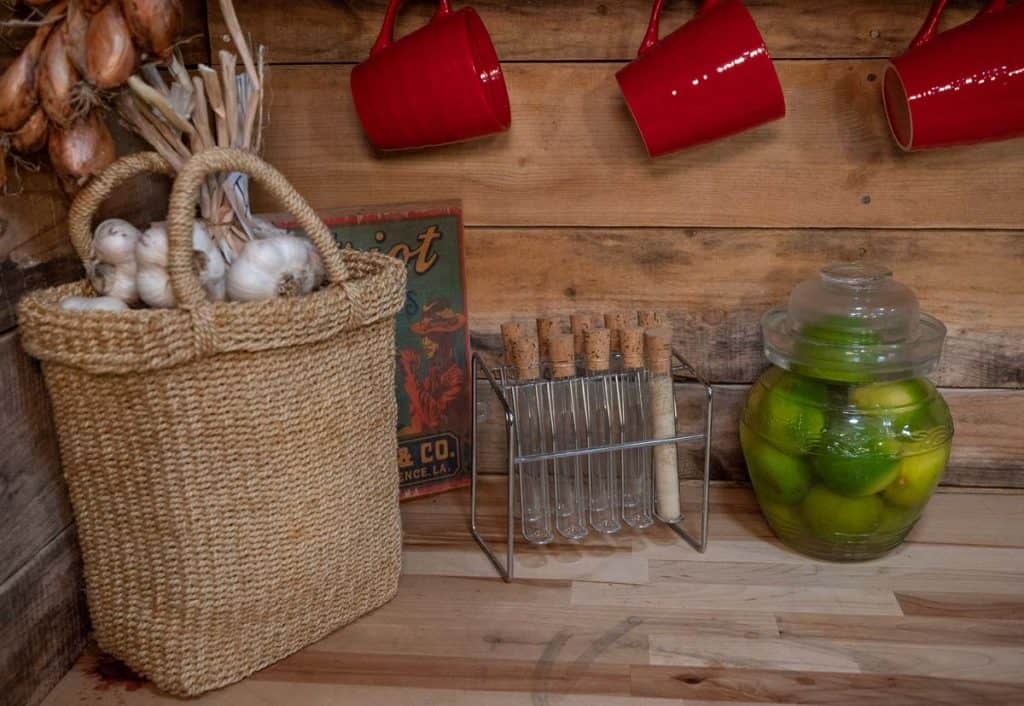
How Long Are Preserved Limes Good For?
Limes will be ready to start using after two weeks, but they will be shelf-stable for up to six months.
It's important to realize the better you sterilize your jar and only allow impeccably clean utensils into the jar when getting limes out, the longer they'll last.
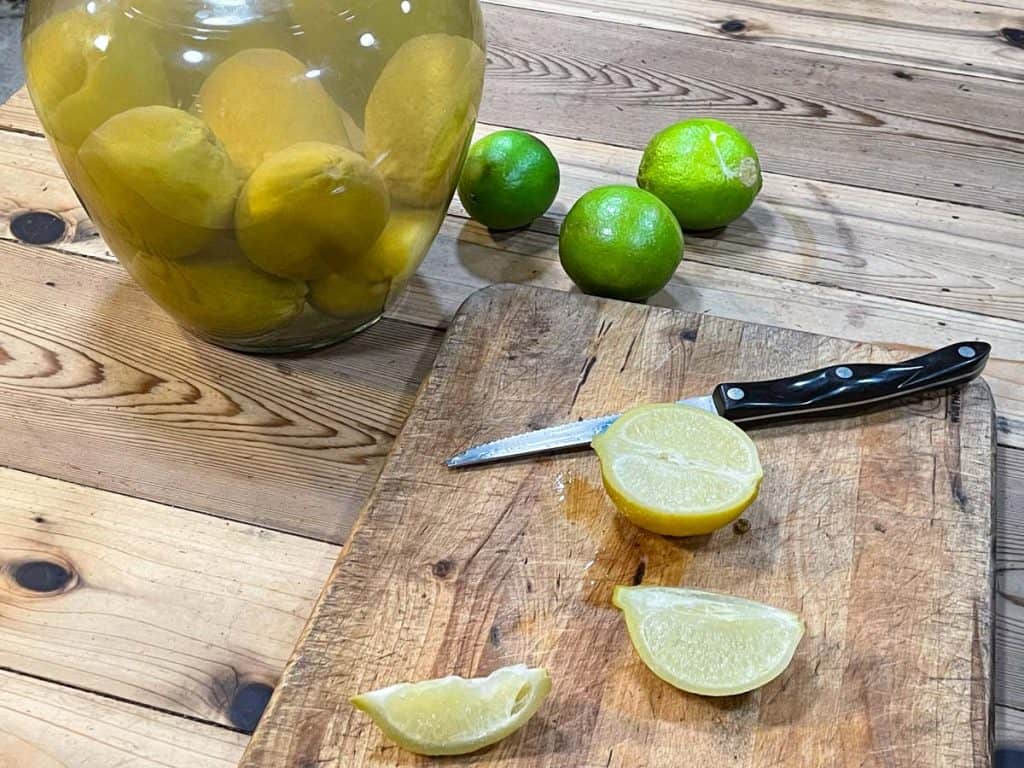
How to Use Fermented Limes
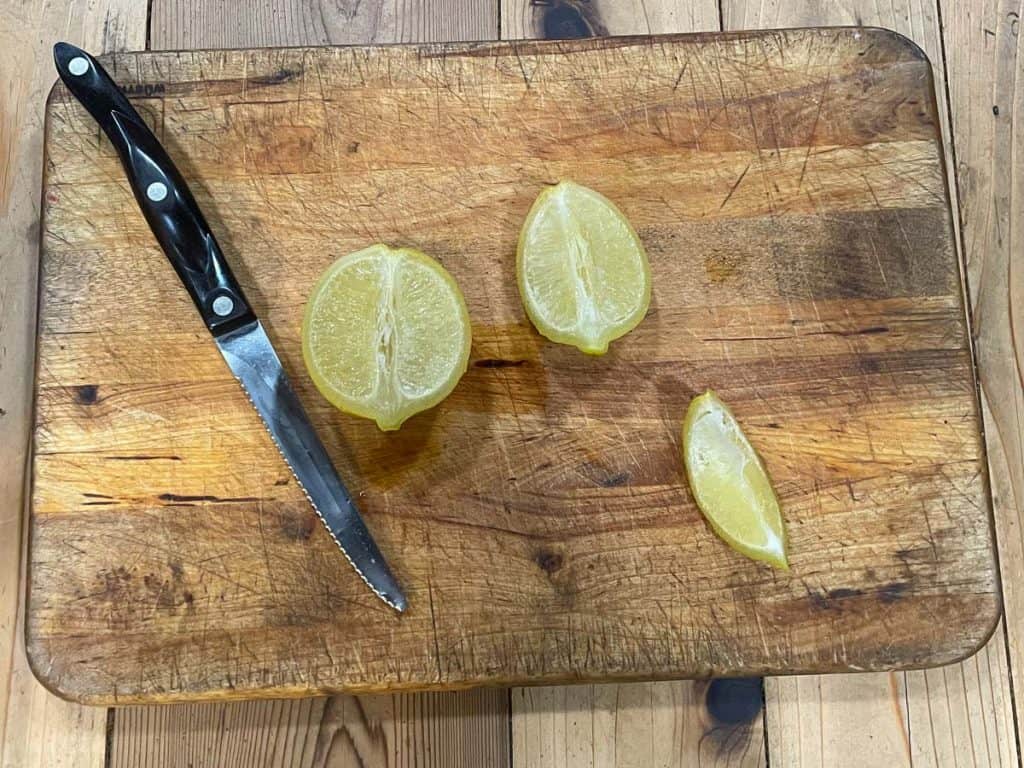
You can use the fermented limes the same way you would fresh lime juice. Just know they will have a distinct saltiness to their flavor, so you may want to avoid using them for sweet desserts or drinks.
Some of my favorite ways to use fermented limes are to cut them into wedges and squeeze them over tacos, into homemade pho, or even to squeeze into an icy glass of beer.
The options are endless and you can even get creative with different herbs and spices that you add into the brine to give your limes additional flavors.
More Fermenting Resources You May Enjoy
- Best Foods to Ferment (And What You Should NOT Ferment)
- Homemade Fermented Ginger Carrots
- Lacto-Fermented Sauerkraut
- Preserved Lemons (Fermented Lemons)
- Homemade Kombucha
- "Dr. Pepper" Kombucha
- Lacto-Fermented Green Beans (aka Pizza Beans)
- Fermented Tomatoes (Easiest Tomato Preservation)
- Fermented Cranberry Sauce
- Best Fermenting Vessels (And What Else You Can Use!)
- Fermentation for Long-Term Preservation
Did you make this recipe? If so, we’d love for you to give us a rating on the recipe card below. Also, we want to see your fermented limes, so tag us on social media!

Preserved Limes (Lacto-Fermented Limes)
Equipment
- Fermenting Crock (or glass mason jar)
Ingredients
- 12 whole limes
- ½ gallon water
- 4 tablespoons salt
Instructions
- Make the brine by mixing together the salt and water until salt is completely dissolved.
- Add washed limes to a sterilized fermentation crock or glass jar large enough to hold your limes.
- Pour brine over the limes until they are completely submerged. If any limes float to the surface, force them back under the brine until they stay submerged.
- Add a water lock lid, airlock lid, or a regular mason jar lid and let limes ferment at room temperature for two weeks.
- After two weeks the limes are ready to use. Use only impeccably clean utensils to retrieve the limes from the jar, be sure remaining limes stay submerged and replace lid.
Notes
- Use only filtered water or purchase spring or distilled water from the grocery store.
- Do not use iodized or regular table salt for this recipe.
- Be sure to sterilize your fermentation crock or jar.
- Use only very clean utensils and hands when getting limes from the jar.
- Nutrition facts are inaccurate and include the entire amount of salt used for this recipe. However much of the salt is contained in the brine and will not be consumed.


