


Lacto-fermented green beans make a fantastic healthy snack. They're tangy, flavorful and crunchy and can be flavored up countless ways. Fermenting beans produces a product that can be stored at cool temperatures for months, meaning one less thing you have to can, all while keeping the vitamins, living enzymes and probiotics intact.

Fermentation for long-term preservation is a method that's just now coming back into popularity. Before refrigeration, our ancestors were preserving foods by fermentation for centuries.
Fermentation converts the sugars and other carbohydrates naturally present in food into alcohol, carbon dioxide, and preservative organic acids, naturally preserving the food for long-term cold storage.
Our family enjoys fermented ketchup, kid-friendly fermented carrots (with ginger), homemade lacto-fermented mayonnaise, and quick & easy zucchini pickles. Here's my list of the best foods to ferment, especially when just starting out.
Equipment Needed to Ferment Green Beans
Most people think fermentation takes a lot of equipment, but truth be told, it's one of the easiest forms of food preservation.
All you need is a mason jar with a lid, green beans, water, and salt!
There are a few other tools that can help make fermentation easier (such as fermentation weights and lids) but there are definitely added benefits and not necessary.
- Mason jar and lid (or crock)
- Brine
- Beans
- Fermentation weight (or these fermenting weights on Amazon)
- Fermentation lid

Ingredients Needed
This recipe is one that's a family favorite, and we call them "Pizza Beans". The reason for this is that the tomatoes, garlic, and oregano add a nice pizza-like flavor to the crunchy snack!
- Green beans
- Brine (salt + water)
- Diced tomatoes
- Garlic cloves
- Dried oregano
How to Lacto-Ferment Green Beans
If you're going to allow this ferment to sit at room temperature for more than just a couple of days, then you're going to want to sterilize your jar for 12 minutes in boiling water.
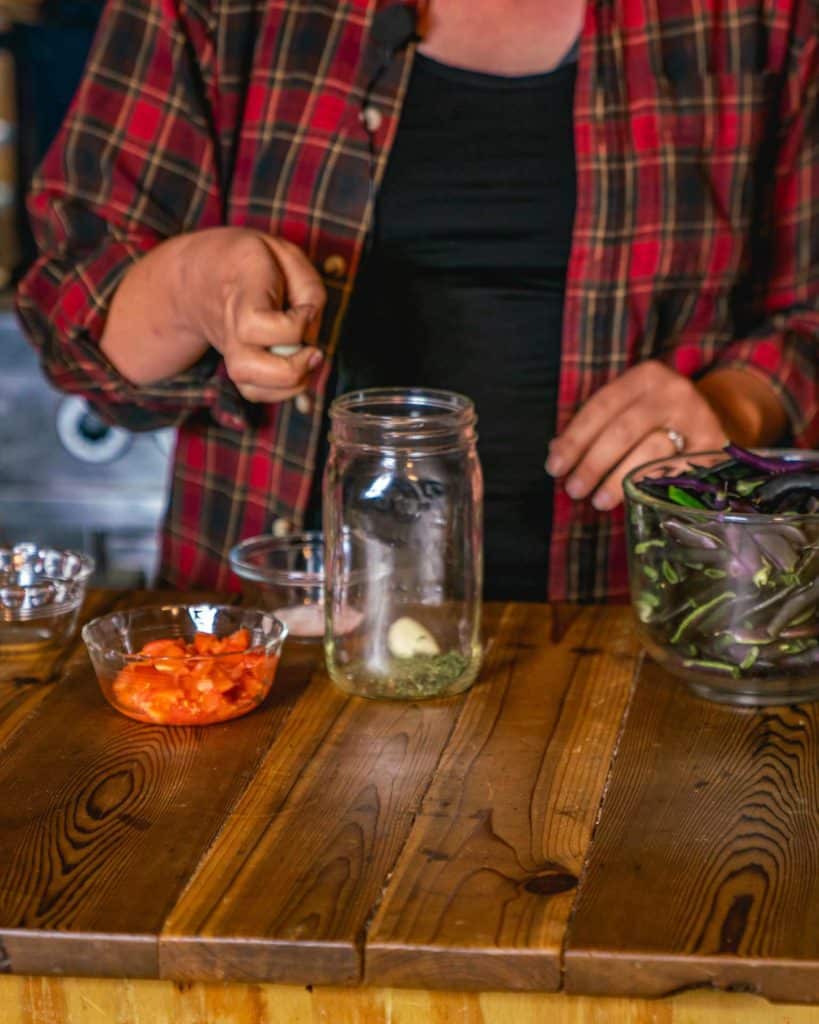
1. Gather all ingredients and supplies.
2. Add garlic and oregano to the bottom of a clean mason jar or fermenting crock.

3. Pack your green beans into the jar until about ⅓ full.
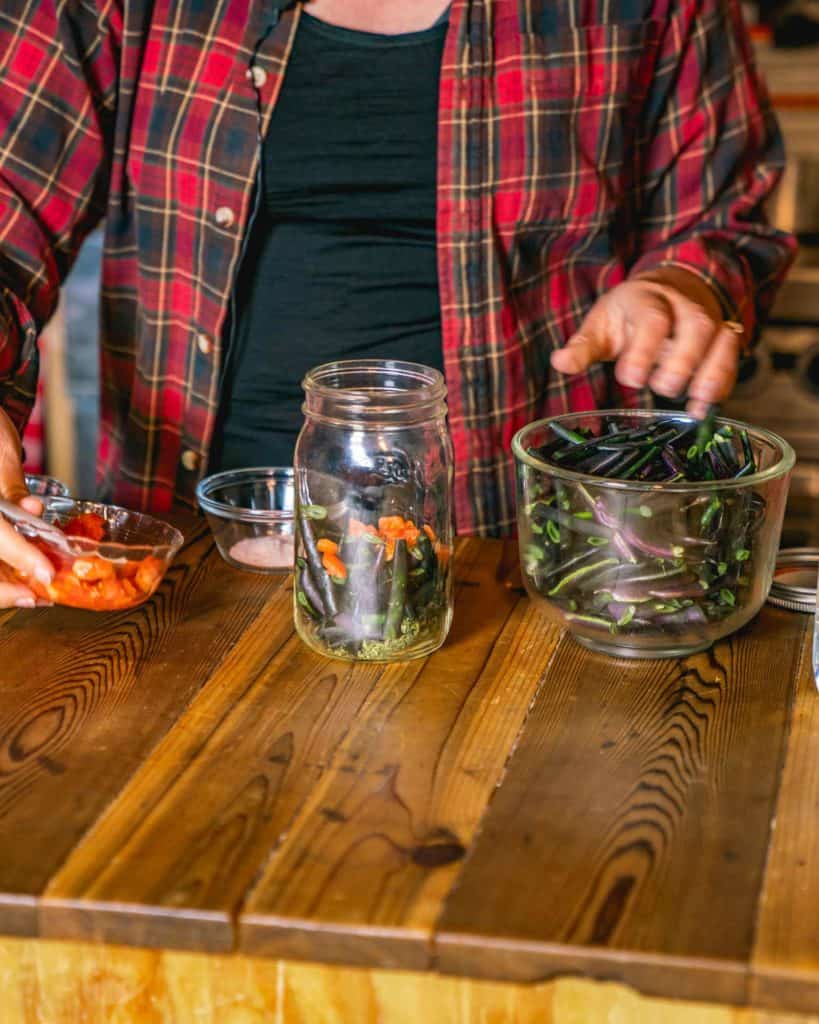
4. Add half of the diced tomatoes to the jar.
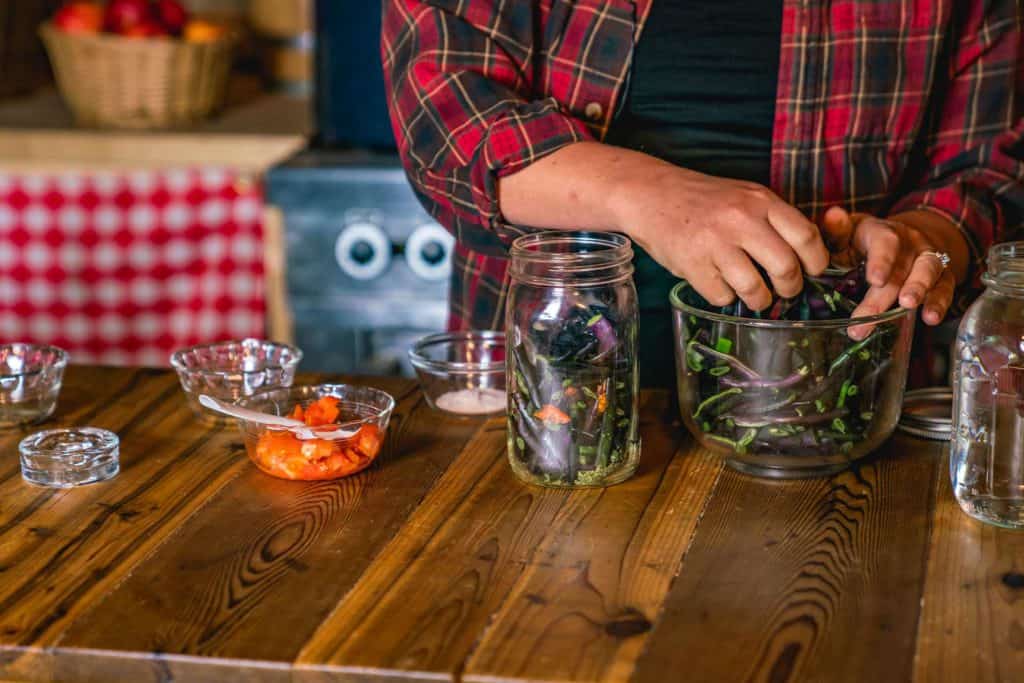
5. Pack in more green beans until the jar is about ⅔ to ¾ full.

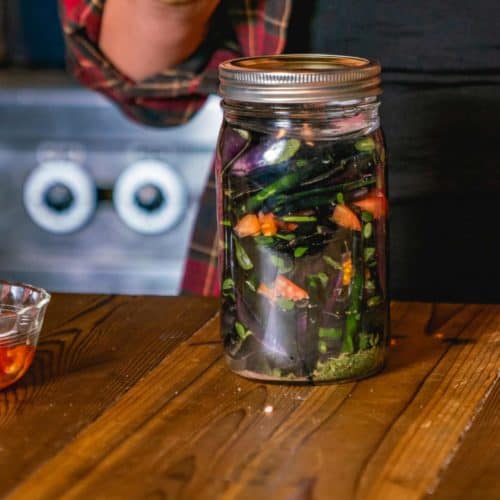
6. Add remaining tomatoes then top the jar off with as many beans as you can until filled to the shoulder of the jar (remember to really pack them in tightly!)

7. Sprinkle the sea salt into the jar then fill with water up to the first ring on the neck of the jar.
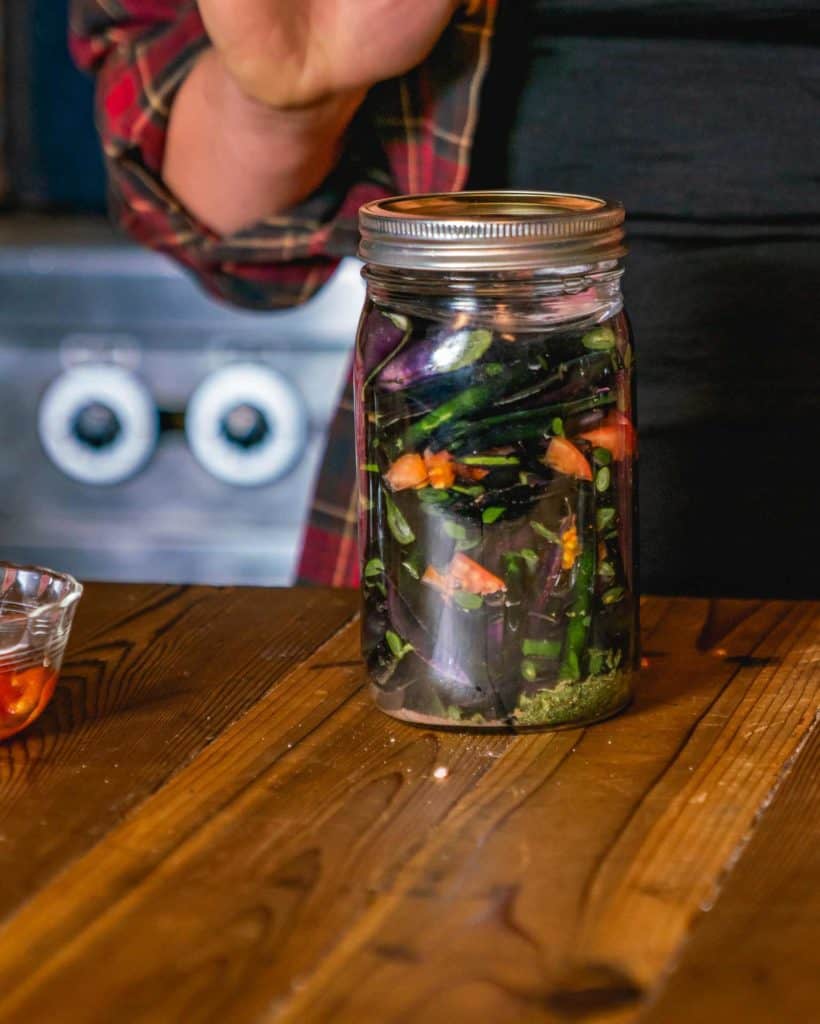
8. If using a fermenting weight, add it now so all food is completely submerged below the brine.
9. Using a two-part canning lid, place the lid onto the jar and gently screw down just until you feel resistance, then turn back a half turn.
10. Allow the beans to sit at room temperature for two weeks.
11. Tighten the lid down to fingertip tight, then move to cold storage. This could be a refrigerator, root cellar or cold storage (ideally, below 55 degrees).
More Fermentation Resources
- Preserving Tomatoes for Winter – Fermented Tomatoes Recipe
- Easy Homemade Fermented Cranberry Sauce
- Easy Homemade Sauerkraut Recipe
- Homemade Fermented Ginger Carrots
- Preserved Lemons (Easy Fermented Lemons)
- Preserved Limes With Fermentation
- How to Strengthen Your Immune System
- How to Second Ferment Kombucha
- Apple Jalapeño Sauerkraut Recipe
Lacto-Fermented Green Beans (aka "Pizza Beans")
Equipment
- Mason Jar
- Fermenting Weight
Ingredients
- 1 teaspoon dried oregano or 1 tablespoon fresh oregano
- 2 cloves garlic large cloves
- 4 cups green beans rinsed and snapped
- 2 small tomatoes diced
- 2 tablespoon sea salt
- 3 cups distilled water
Instructions
- Gather all ingredients and supplies.
- Add garlic and oregano to the bottom of a clean mason jar or fermenting crock.
- Pack your green beans into the jar until about ⅓ full.
- Add half of the diced tomatoes to the jar.
- Pack in more green beans until the jar is about ⅔ to ¾ full.
- Add remaining tomatoes then top the jar off with as many beans as you can until filled to the shoulder of the jar (remember to really pack them in tightly!).
- Sprinkle the sea salt into the jar then fill with water up to the first ring on the neck of the jar.
- If using a fermenting weight, add it now so all food is completely submerged below the brine.
- Using a two-part canning lid, place the lid onto the jar and gently screw down just until you feel resistance, then turn backward a half turn.
- Allow the beans to sit at room temperature for two weeks.
- Tighten lid down to fingertip tight, then move to cold storage. This could be a refrigerator, root cellar or cold storage (ideally, below 55 degrees).
Notes
- If storing fermented green beans for long-term storage (more than a couple of weeks), sterilize your jars for 12 minutes prior to filling with food.
- Using a fermentation weight is a great way to keep all food below the surface of the brine.
- You can use a fermenting lid so you don't have to worry about "burping" your jar, or using a two-part canning lid, you can place the lid on and gently tighten the ring, then turn back half a turn so the jar can naturally burp as gasses build up.


